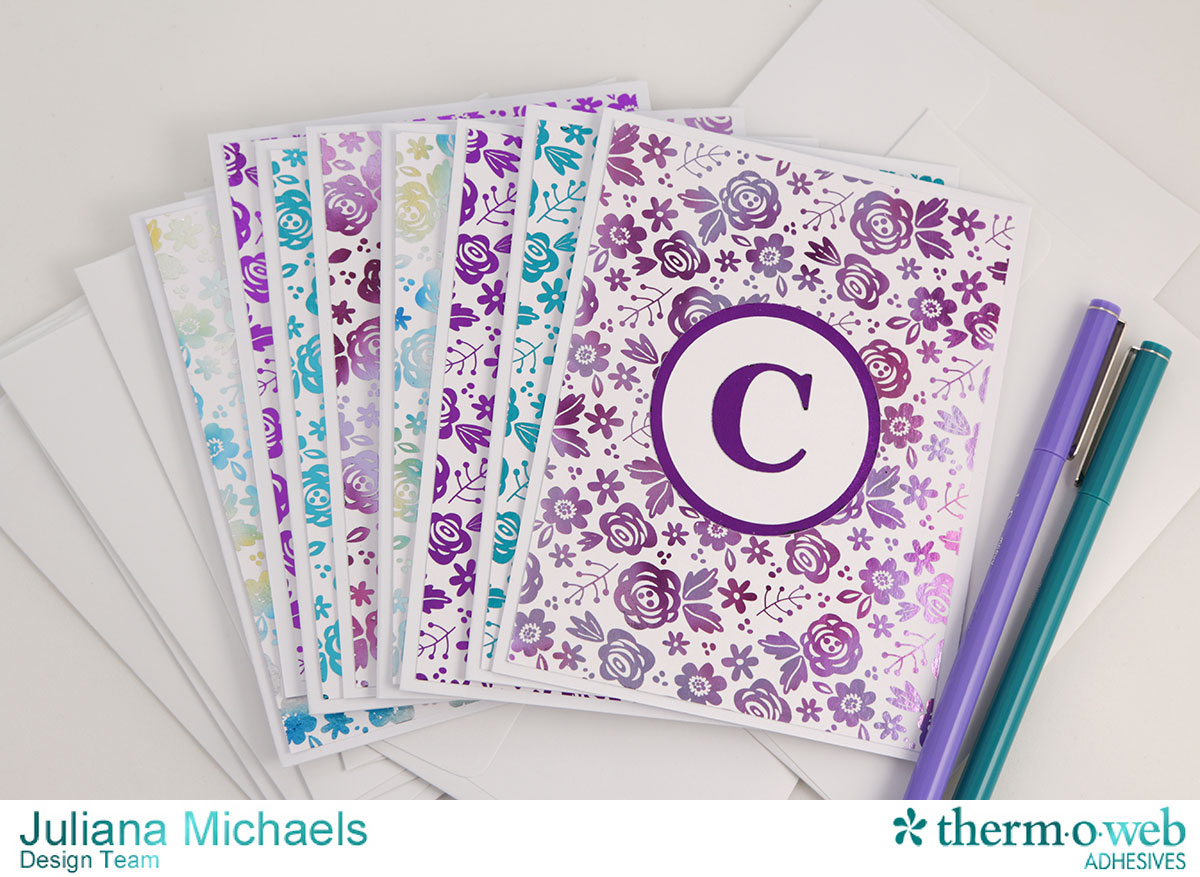
Hello everyone! Christmas will be here before you know it, so now’s the perfect time to start creating gifts for your friends and family. It’s Juliana here with you today, and I’d like to share a quick Holiday gift idea using Therm O Web’s fabulously fun DecoFoil®. I love to create handmade gifts and making something that has a personalized touch to it can mean so much to the person who is receiving it. With that idea in mind, I decided to create a set of personalized notecards by adding a Deco Foiled monogram to each card.
Supplies:
Therm O Web Deco Foil™ PeelnStick Toner Sheets
Therm O Web Deco Foil™ – various colors
Therm O Web 12″ Foil Laminator
Therm O Web Memory Tape Runner XL™
Laser Printer
White Cardstock
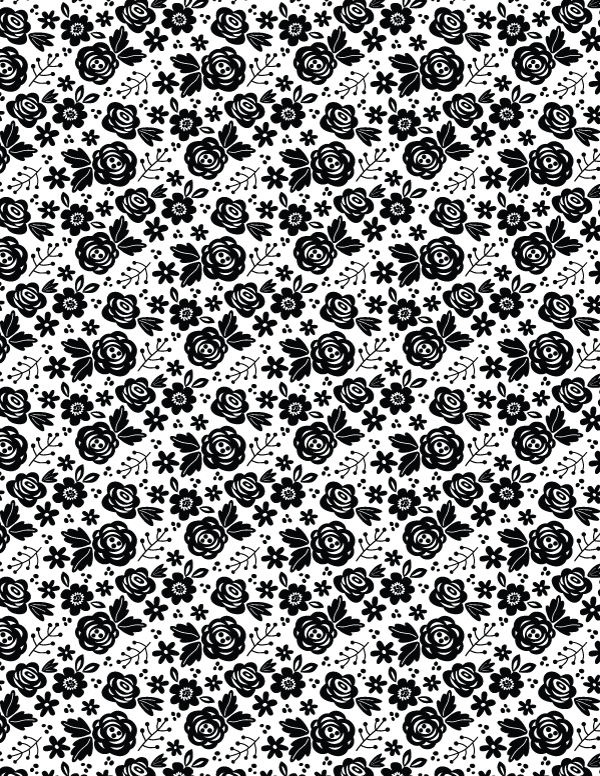
Floral Pattern Free
Monogram Free Digital Cut File (just right click on the image to save)
Project Instructions:
Begin by printing the Floral Pattern Printable onto a piece of 8.5 x 11 white cardstock using a laser printer. If you don’t have a laser printer, you could have these printed at your local office supply store. Once it’s printed, cut it into 4 pieces measuring 4 x 5.25 inches each. You will be able to create four cards from each printed piece.
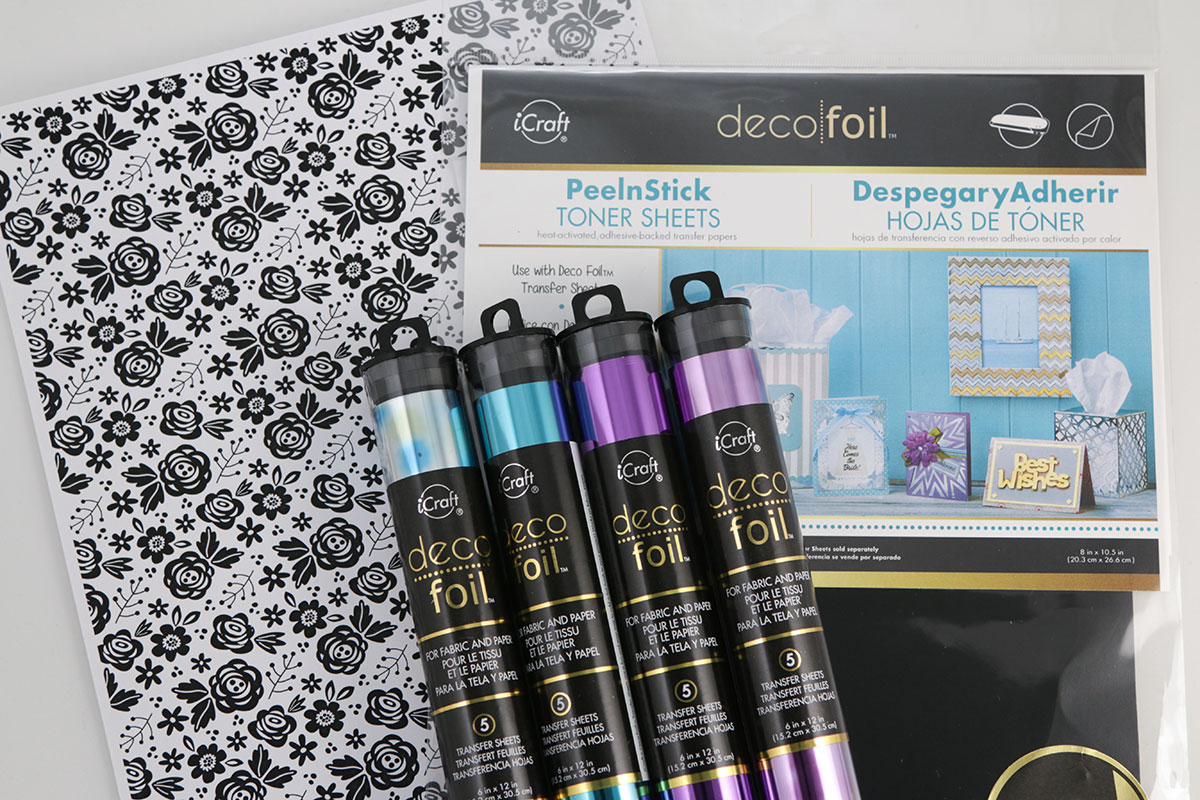
Next, cut a piece of Deco Foil™ to just slightly large than 4 x 5.25 inches and cover the printed design with the backside of the foil. Place them into a carrier sheet or piece of folded wax paper and run it through a pre-heated laminator.
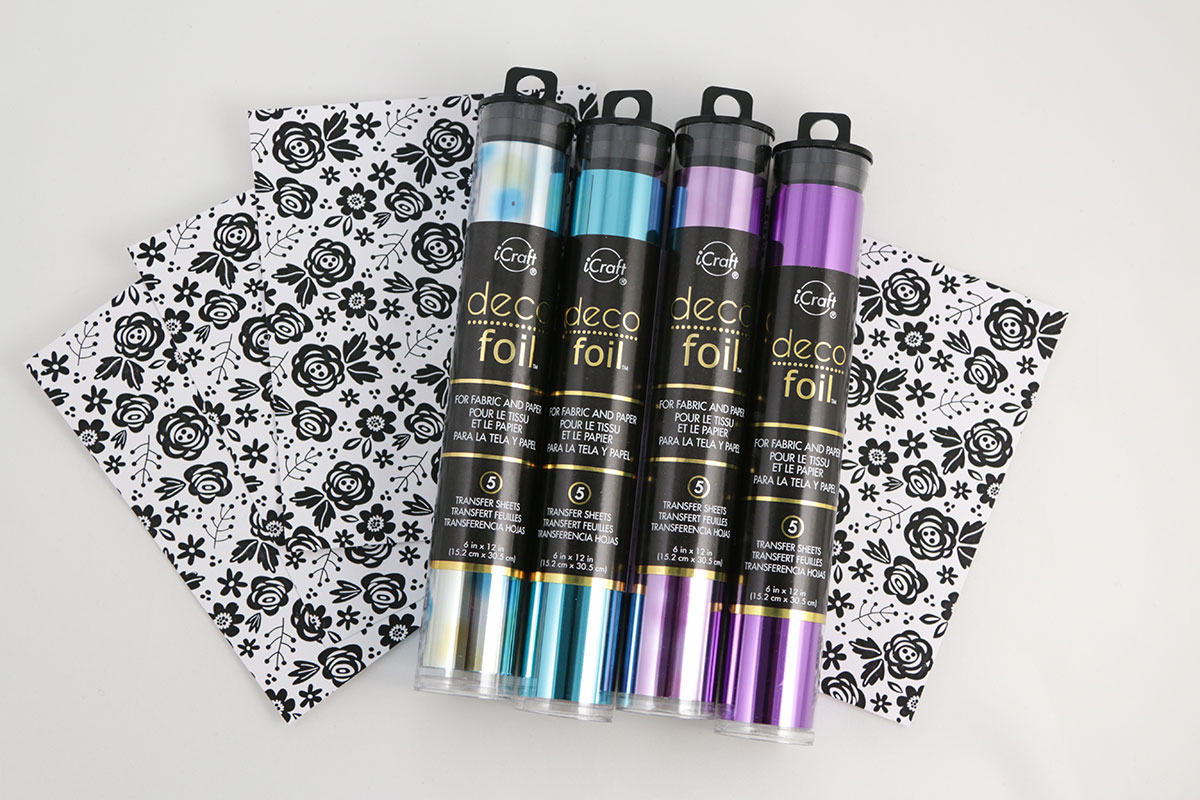
Peel off the Deco Foil™ to reveal the beautifully foiled design.
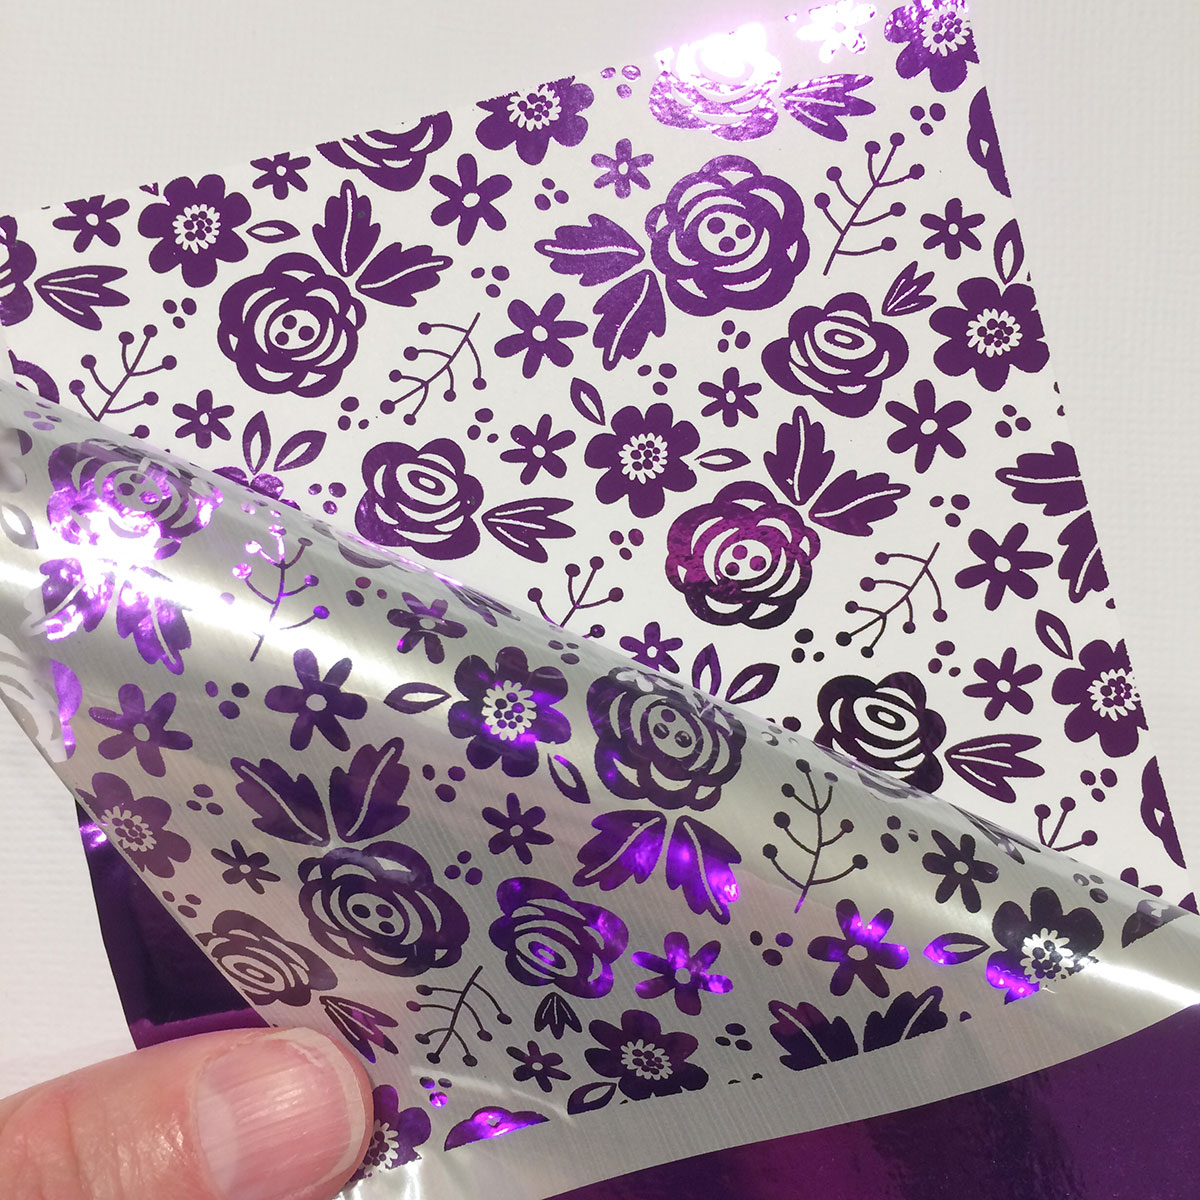
Repeat the foiling for each printed piece. To help me select which colors to use, I choose colors that I knew were favorites of the person who is going to be receiving these notecards. It might also be fun to do them in rainbow colors!
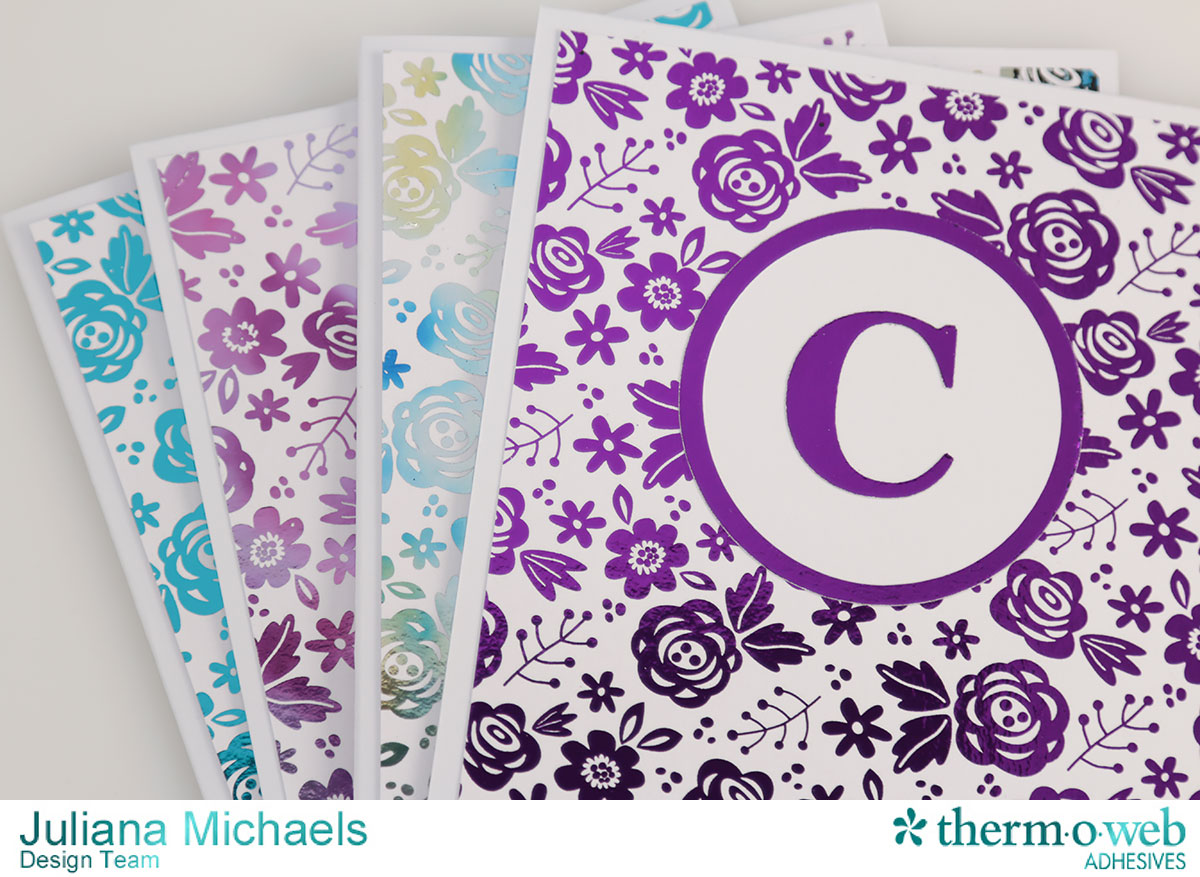
Now it’s time to add the monogram. I have created a free Monogram Digital Cut File for you to download and use for these. If you don’t own an electronic cutting machine, you could also use dies or punches to cut out the circles and letters.
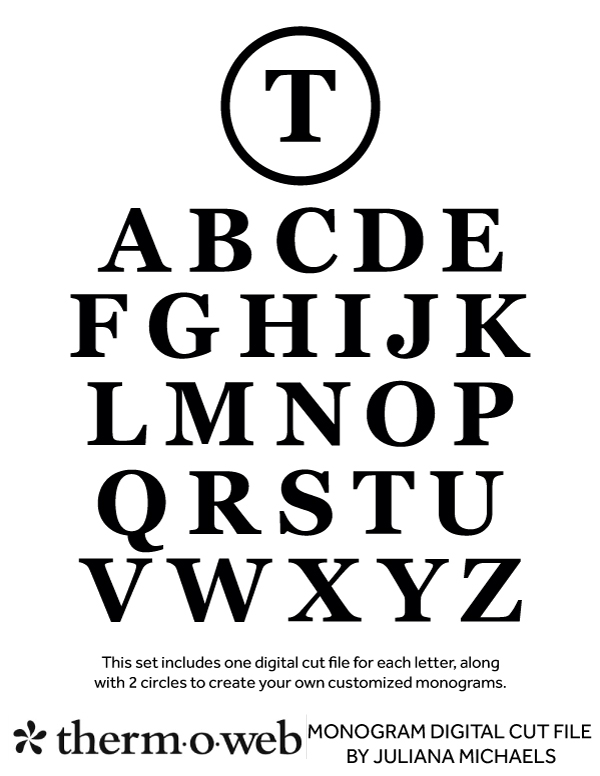
Cut out the largest circle and your chosen letter from a piece of iCraft® PeelnStick Toner Sheet. Cut the smaller circle from white cardstock. The circles I cut out are 2.25 inches and 2 inches in diameter.
Cover each of these die cut pieces with a coordinating color of Deco Foil™. Place them into a carrier sheet or piece of folded wax paper and run it through a pre-heated laminator. Peel off the Deco Foil™ to reveal the beautifully foiled circle and letter.
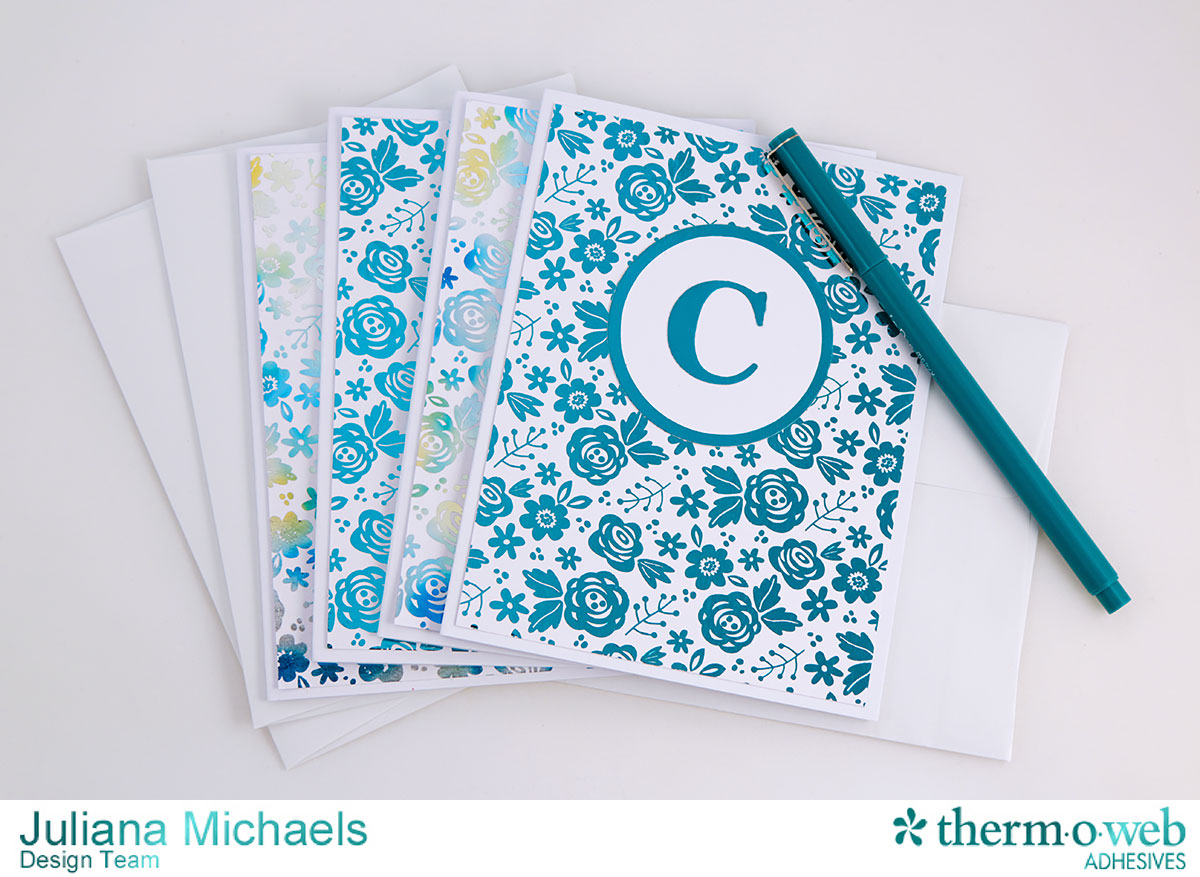
To assemble the monogram pieces, peel off the backing from the die cut letter and adhere it to the center of the white circle. Use Therm O Web’s Memory Tape Runner XL to attach this piece to the large Deco Foiled Circle. Peel off the backing on the large die cut circle and adhere the entire piece to the center of the floral pattern.
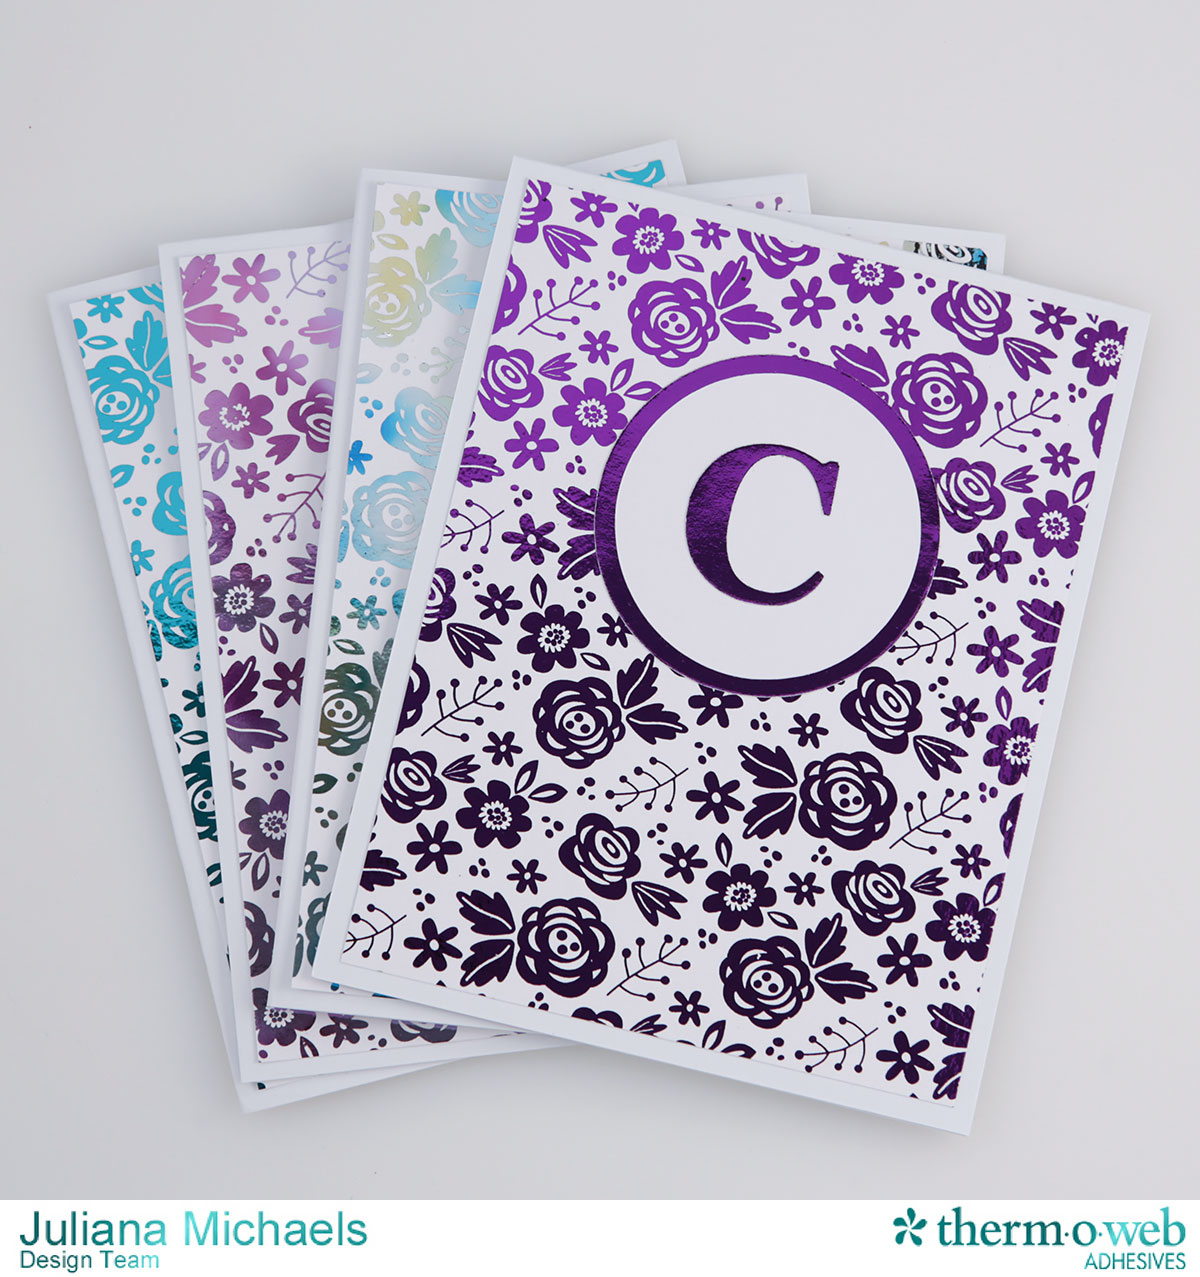
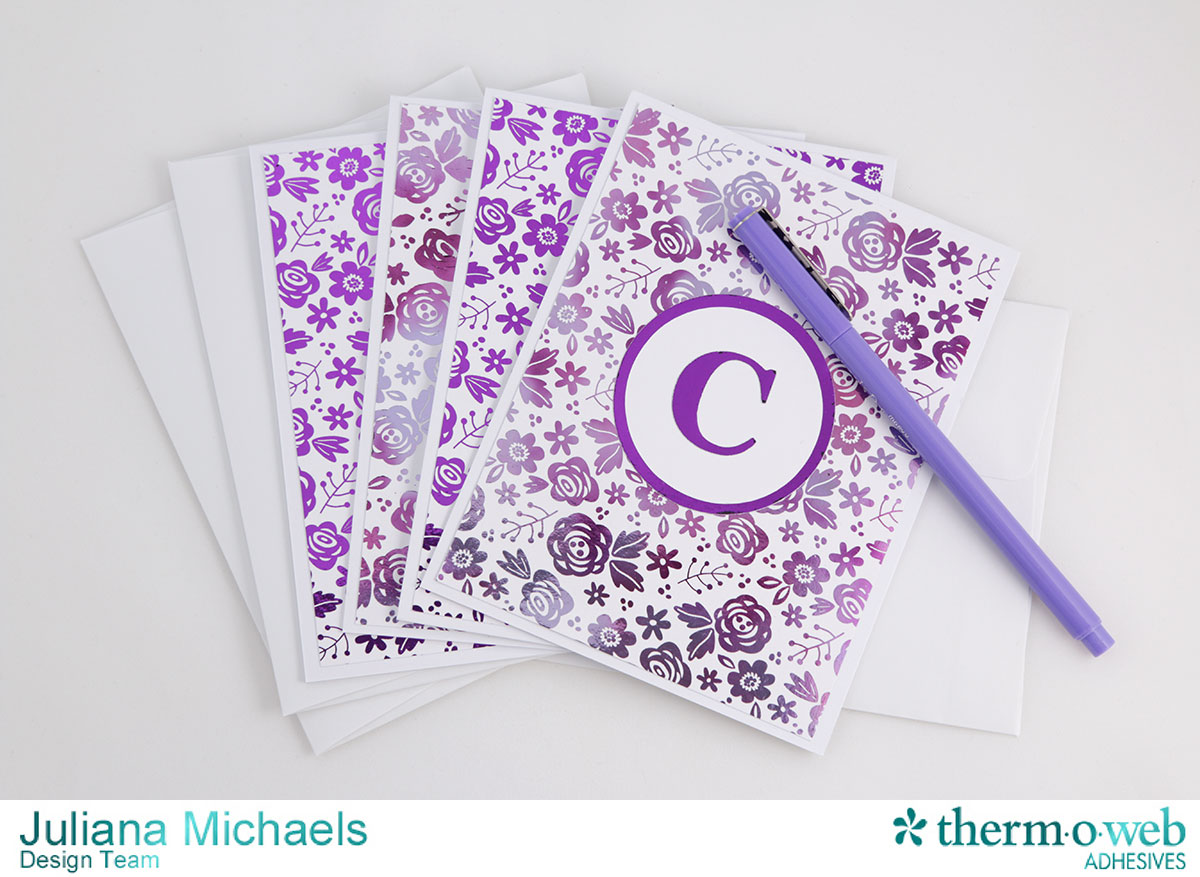
Use Therm O Web’s Memory Tape Runner XL to adhere the entire piece to a standard A2 size white card base – 4.25 x 5.5 inches. Repeat this process to complete each card. Add some envelopes and your set of monogram notecards are ready to be gifted.
I hope you enjoyed learning how to create these beautiful, but quick, Monogram Notecards using Deco Foil. I’m sure whoever you make them for will enjoy them as well! Happy holiday crafting!
Juliana
For a limited time only we’re offering a special sale on our Autumn Collection of Deco Foil Transfer Sheets! Pick up our Copper, Champagne, Red, Rose Gold and NEW Amber Watercolor at a great price! (it’s like getting one for FREE!) Click the image below to shop now!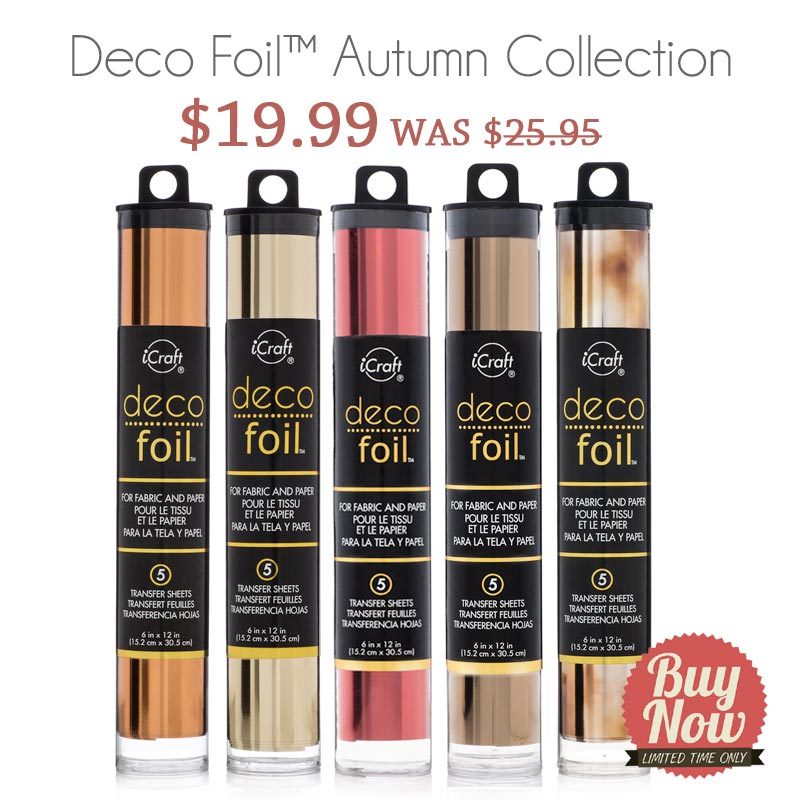

BunnyD
November 14, 2016 at 7:10 am (9 years ago)Your projects are always stunning Juliana and you haven’t disappointed here! Thanks so much for the downloads! You are so generous with those too! Gorgeous cards and so easy to do in multiples! Thank you so much!
Sally Pestana
November 22, 2016 at 8:29 pm (8 years ago)How do I download the floral file to print? Thanks so much. Lovely project.
admin
November 23, 2016 at 8:57 am (8 years ago)Hi Sally…just right click and save the file!
Diane Zalusky
November 23, 2016 at 6:28 am (8 years ago)HI, I would love to try this, but there is no link to the floral file, only the cut file.
Thanks
admin
November 23, 2016 at 8:57 am (8 years ago)Hi Diana…just right click and save the file!
Eleanor Diane Cook
November 23, 2016 at 7:15 am (8 years ago)I love this idea and will teach it at my next cardmaking class. Thanks so much.