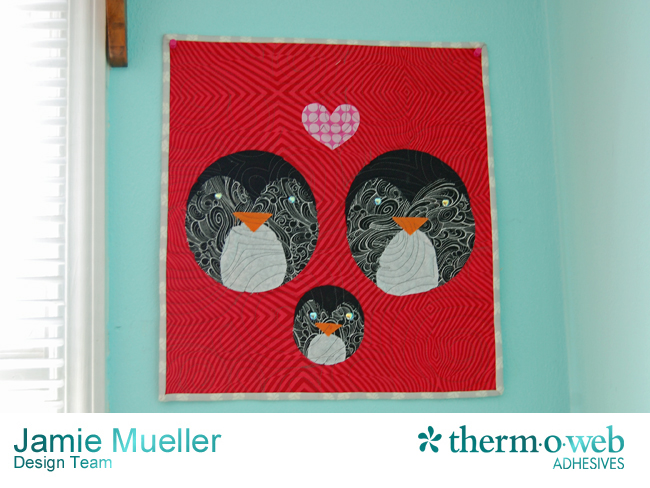
It’s that time of the year! Valentine’s Day is just right around the corner!
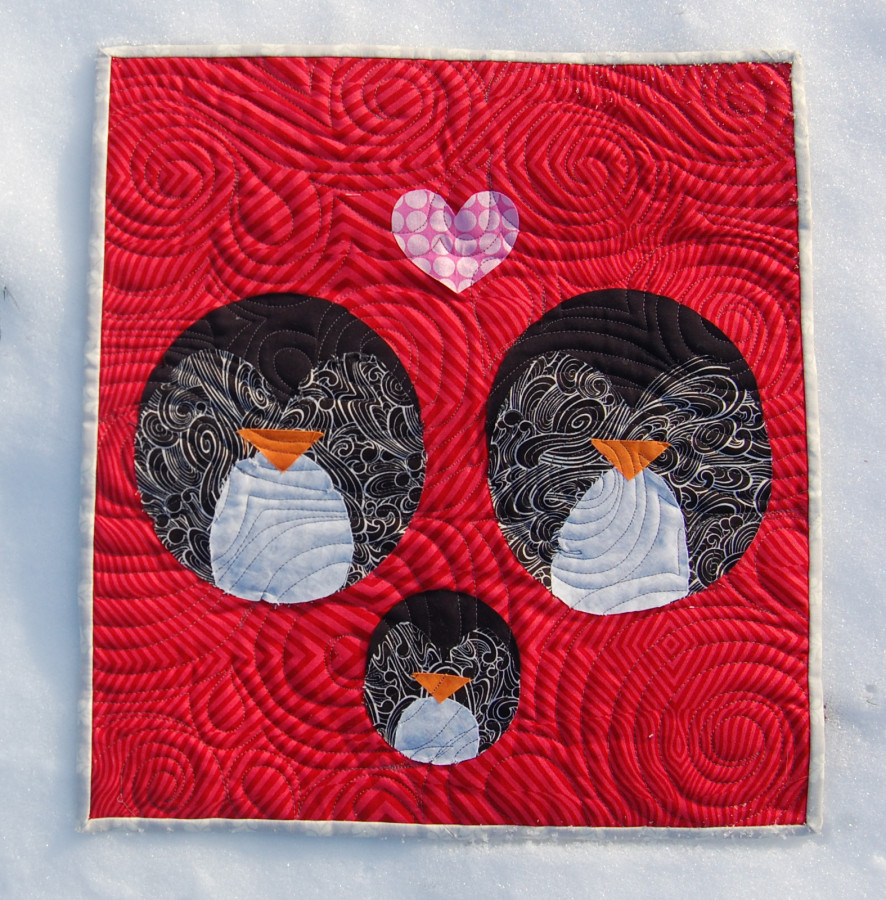
Stores are filled with hearts, candies and all sorts of love themed items! Designer Jamie Mueller has a sweet mini quilt for you today that is perfect for Valentine’s Day and all year round. Make one for a friend with a small penguin to mark each of their children. Or perhaps a grandparent. You could even embroider names on it…let Jamie help get you started!
Supplies:
3 Fat Quarters (one for front background, one for backing and one for binding)
Fabric scraps (Fat Eighth or larger) for penguins and heart (black solid-body, black and white printed-face, grey-tummy, orange–beak and pink-heart)
Buttons or beads for embellishments
Heat N Bond® Ultra Hold Fusible Adhesive
Directions:
*Before cutting any of the scrap fabrics for penguins, attached Heat N Bond® to the wrong side of all the fabrics needed for penguins and heart.
- With a black solid fabric cut 2 circles at a 6” diameter (or whatever size you desire). Repeat with a black and white printed fabric for 2 more circles. You should have 4 circles. These will be the body and the face for the two larger penguins.
*TIP: I used an Olfa circle cutter with it on the 3” mark to make my 6” diameter circle. If you don’t have a circle cutter, trace a circle using a small plate or glass.
- With a black solid fabric cut 1 circle at a 3” diameter. Repeat with black and white printed fabric. You should have 2 circles. (I had my Olfa cutter on the 1 ½” mark.) These will be the body and face for the smaller penguin.
If you’ve never used an Olfa cutter before, watch my YouTube video here for tips.
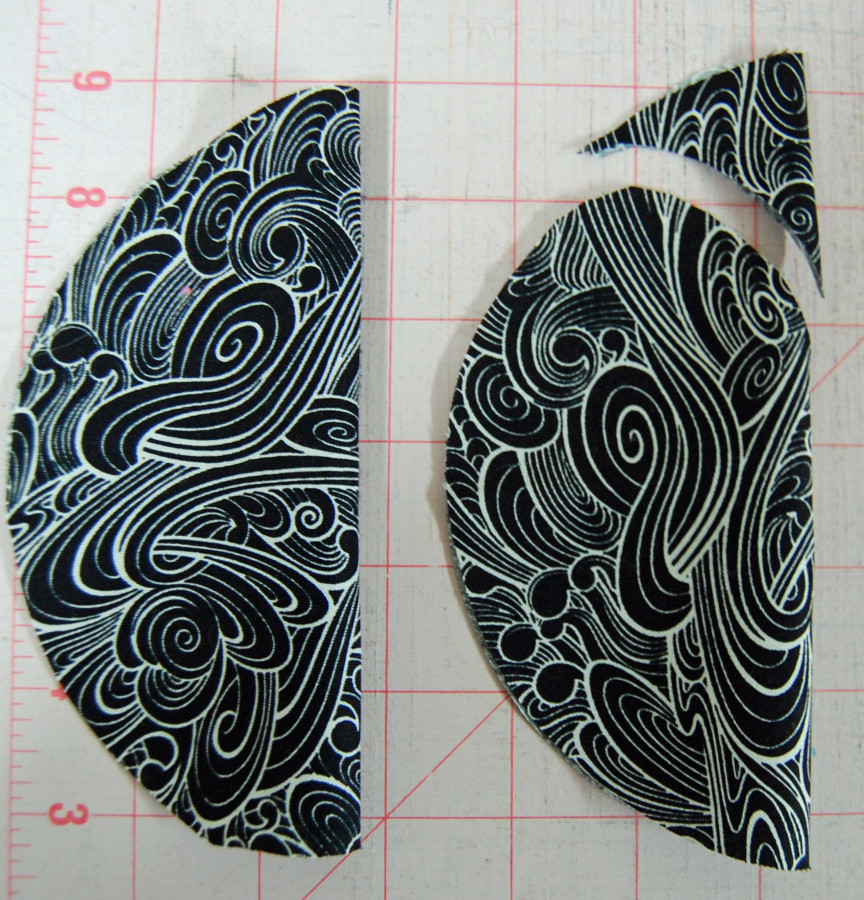
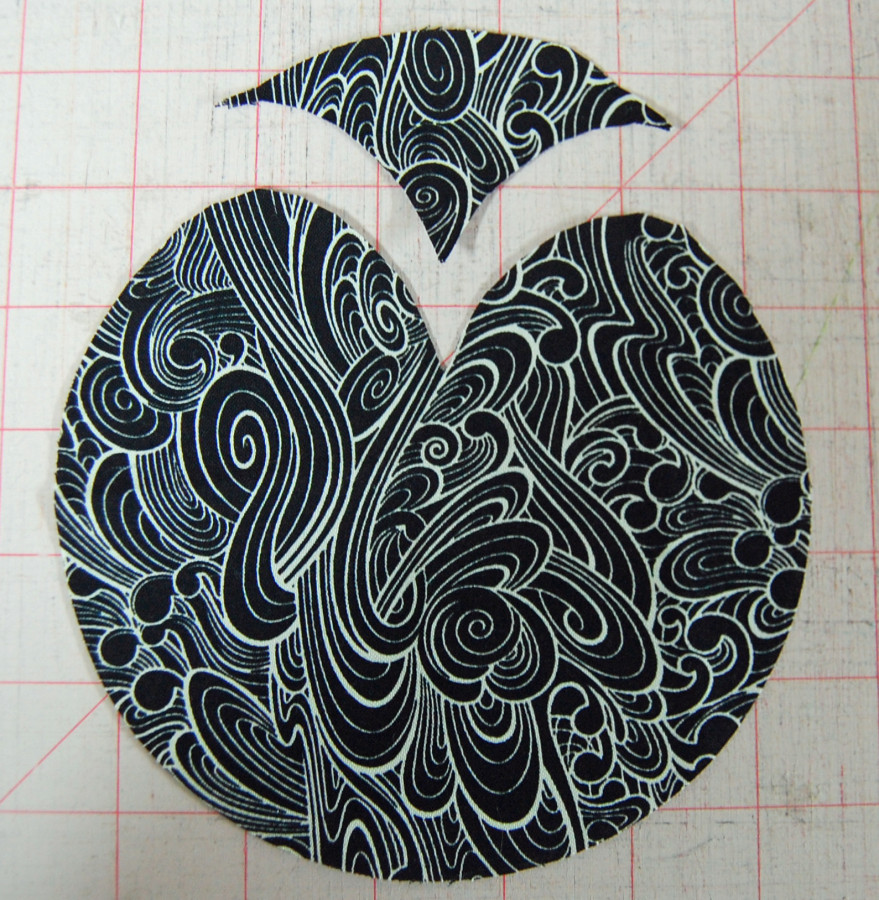
- With 1 black and white printed fabric circles (used for penguins face) fold in half. Then, cut a rounded heart shape on one end of the folded circle. Start at the folded part and cut towards the outside. Repeat with the other 2 face circles.
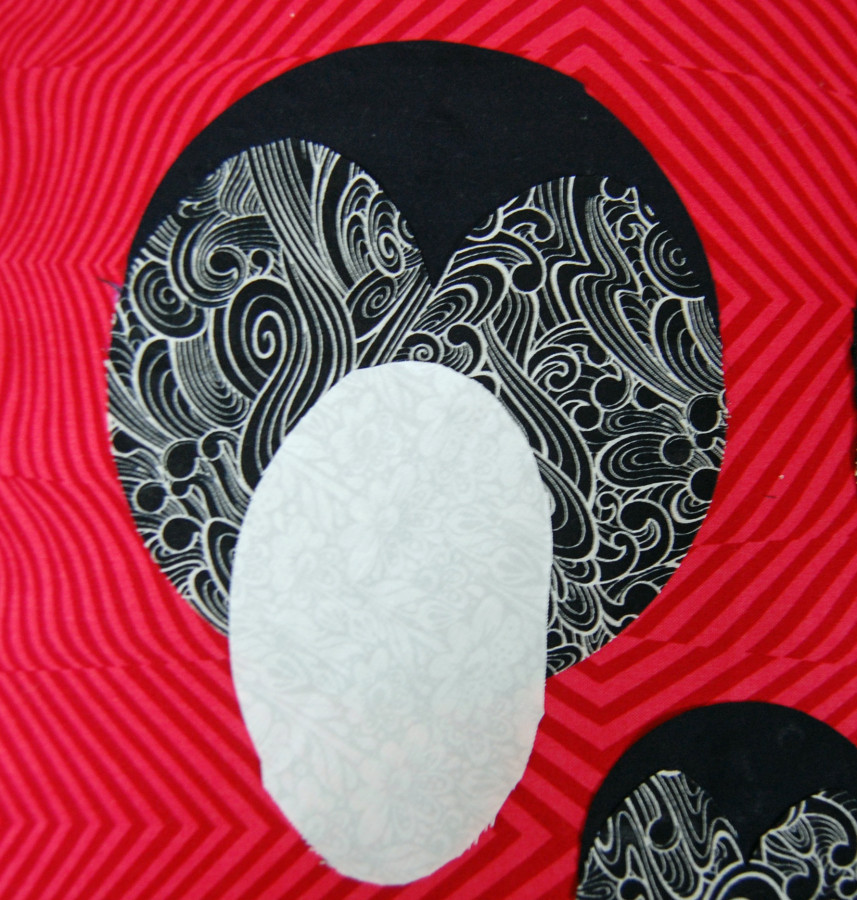
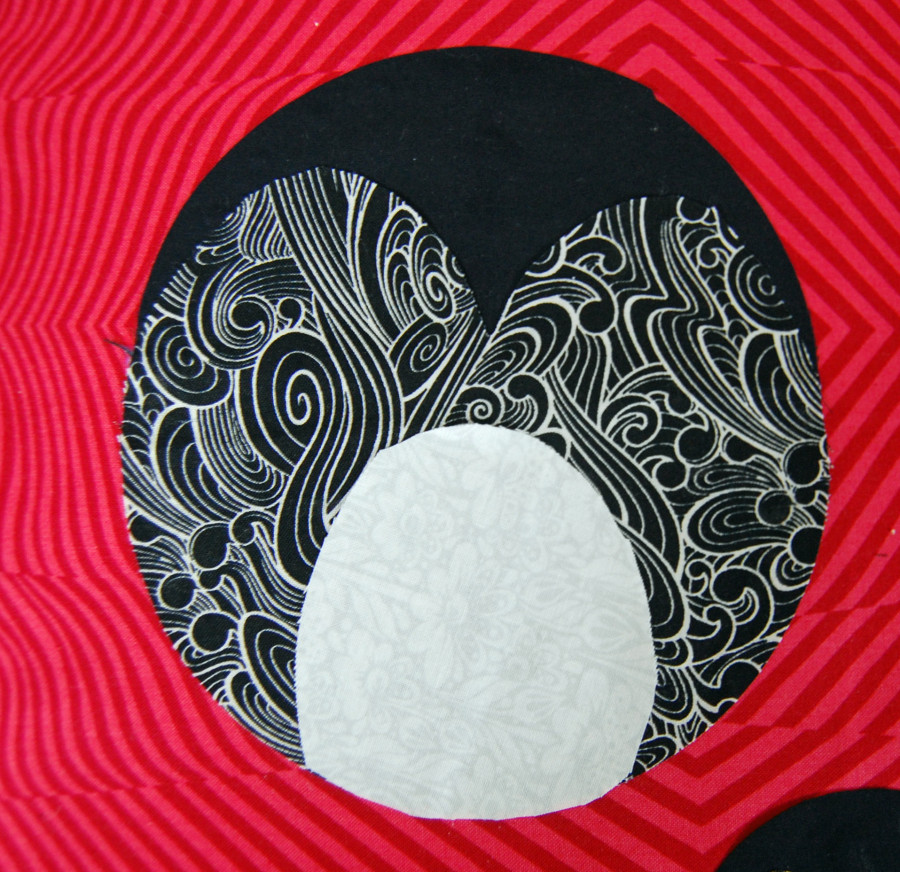
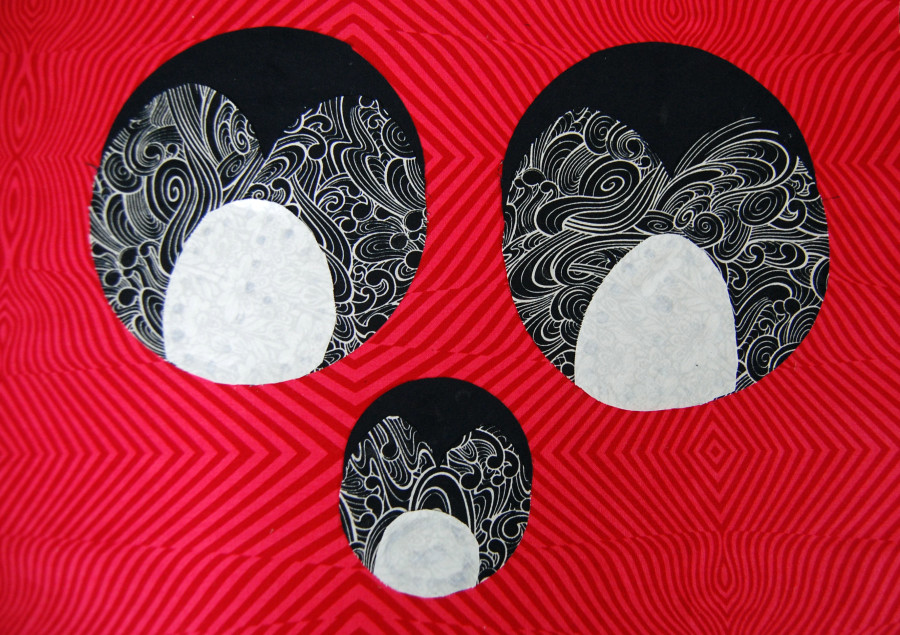
 4. With a grey fabric cut 2 large ovals (smaller than the circles); I don’t have a specific size, I just eyeballed it. With the same fabric cut 1 smaller oval. You should have 3 ovals for all 3 penguins tummies. Lay oval on top of face circle heart to measure where to cut the oval to make the tummy shape. Repeat with all 3 ovals.
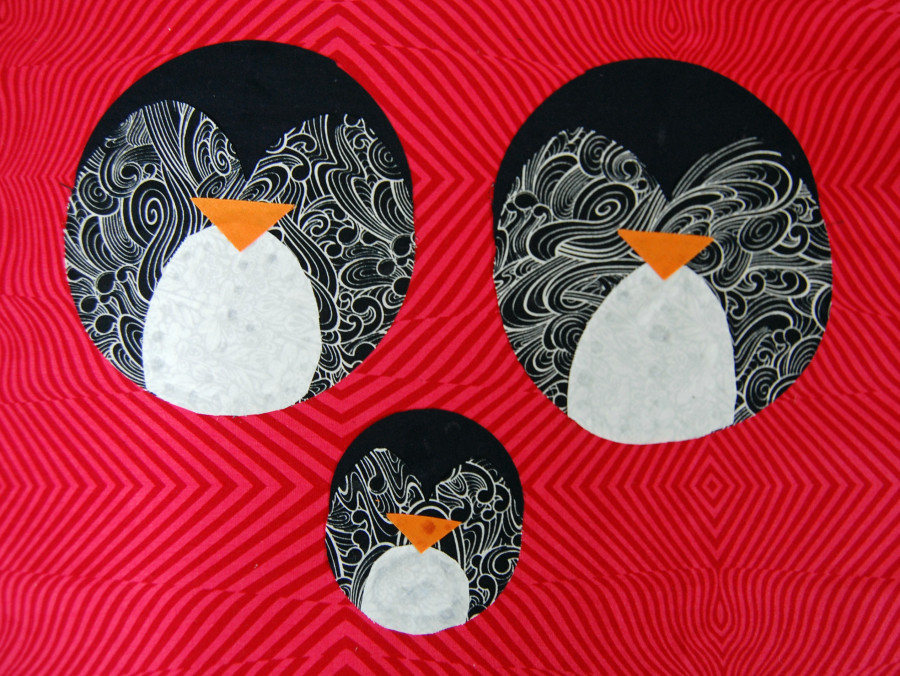
 5. With an orange fabric cut 2 triangles for the larger penguins beaks and 1 triangle for the smaller penguins beak.
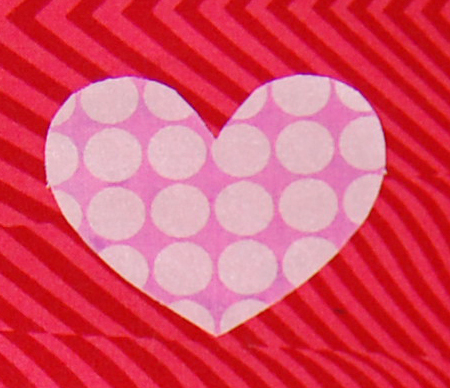
 6. With a pink fabric, cut a small heart (mine was about 2” wide).
7.Cut background Fat Quarter to 16” X 20”.
Layout for Quilt:
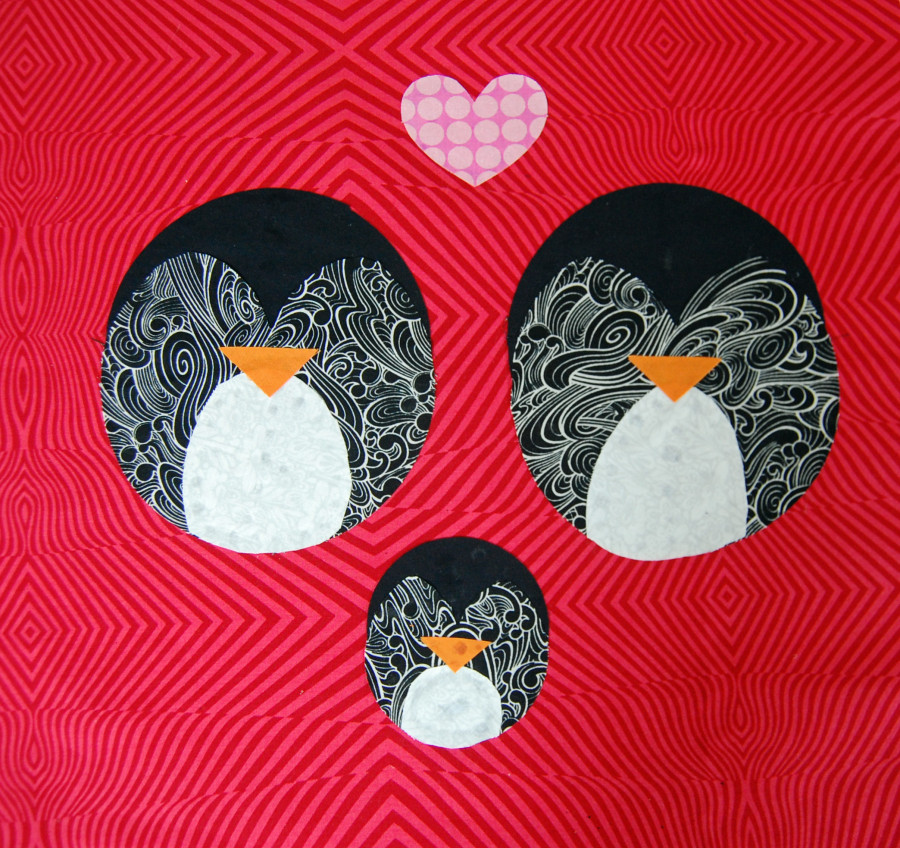
- Layout penguins and heart on 16” x 20” background fabric as desired.
2. Follow instructions on Heat N Bond® packaging to iron all penguin pieces and heart in place.
*TIP: for extra strength you can appliqué around all pieces. You can appliqué them down by using a zigzag stitch on your sewing machine. I didn’t do this as I just quilted over the entire project.
Finishing the Quilt:
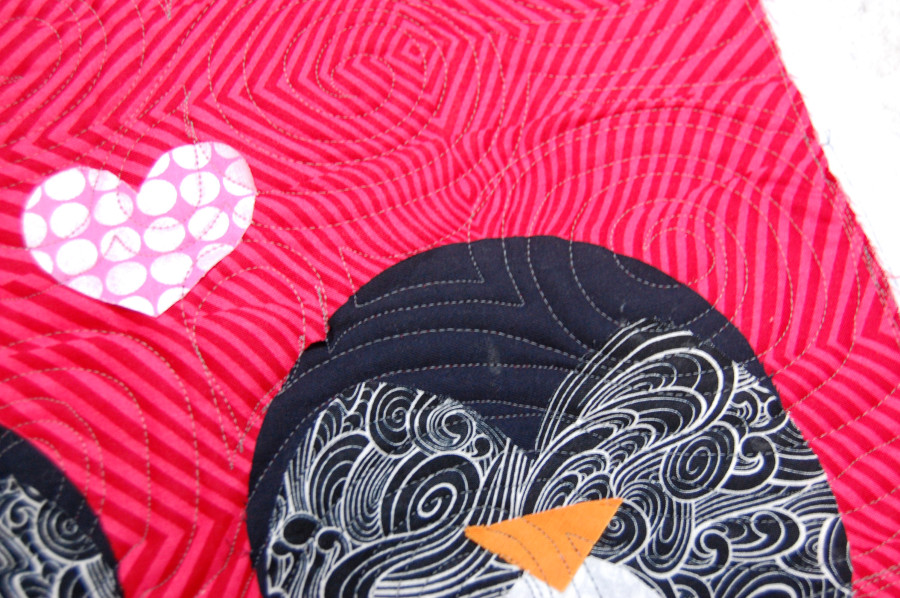
- Layer your backing fabric, StitchnSew™ Sew In Fleece (I used as batting) and penguin mini quilt top and quilt as desired. (I did a fun all over swirl).
2. Trim your quilted mini to desired size.
3. Bind mini quilt using remaining fat quarter.
Embellishments for Quilt:
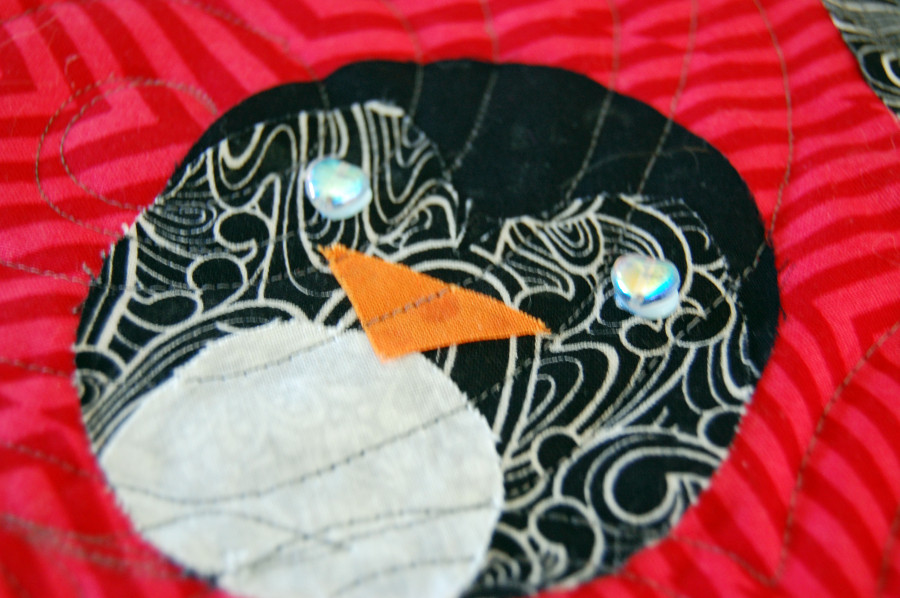
- Using Fabric Fuse™ as instructed on packaging, attach buttons or beads as eyes for your penguins. Allow Fabric Fuse™ to dry fully before hanging your mini quilt. The glue will dry clear, I took the photo right after gluing.
I hope you enjoy your Valentine’s Penguins and I can’t wait to see what you make! Please tag me using #sunflowerquilts if you make one and spread the love!

