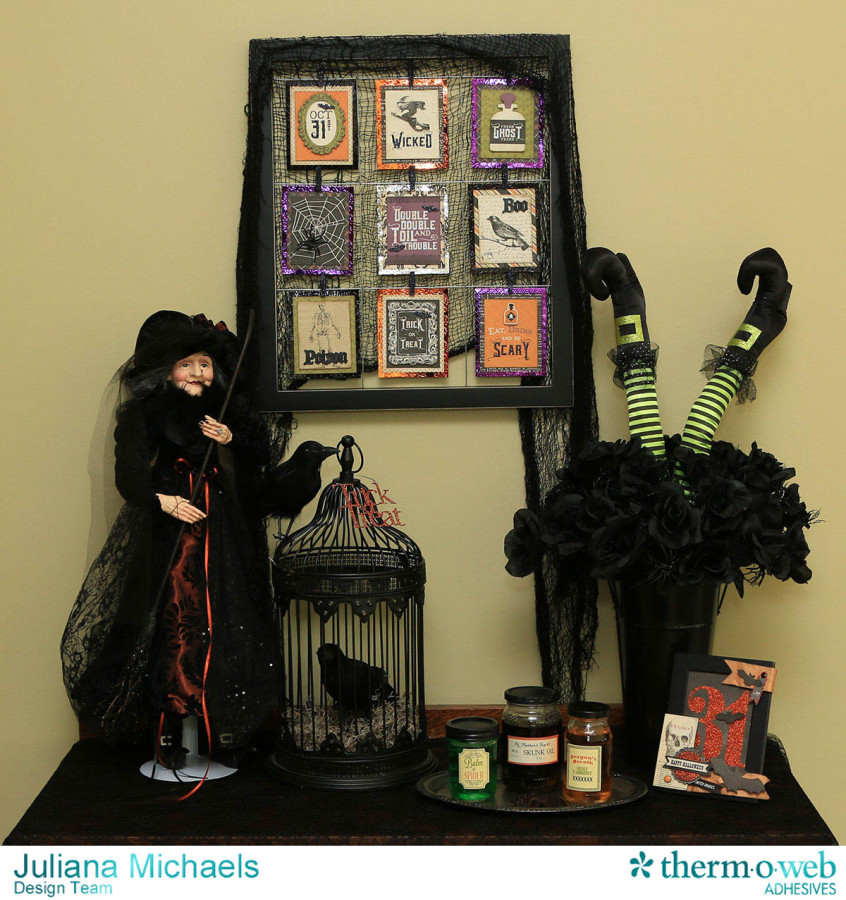
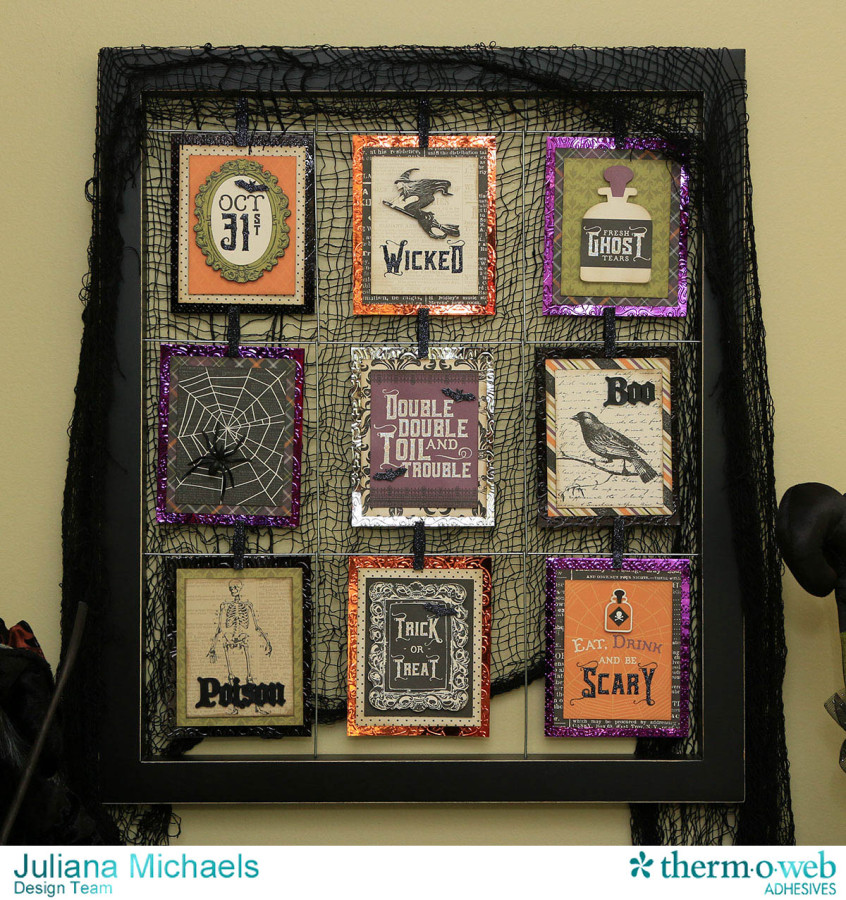
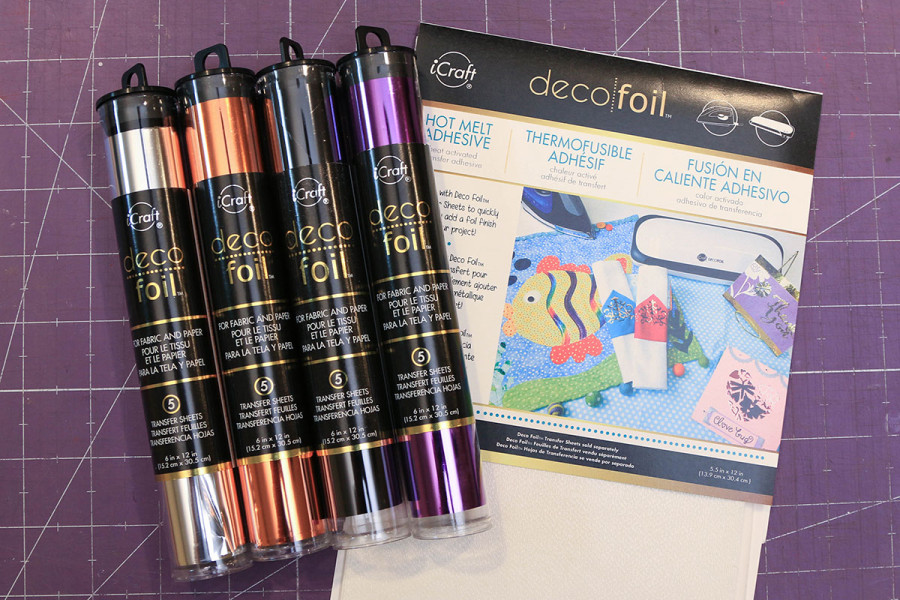
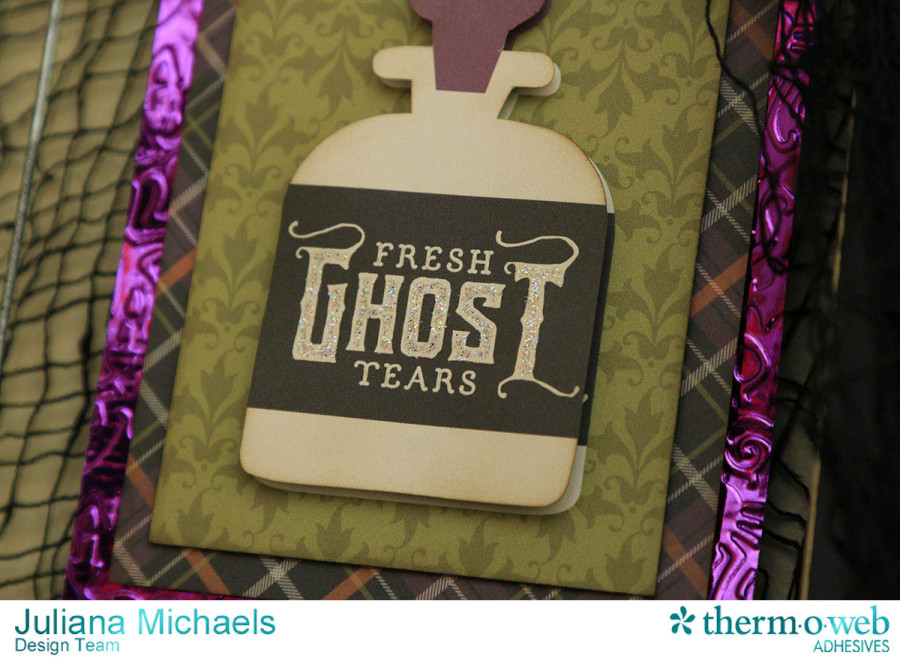
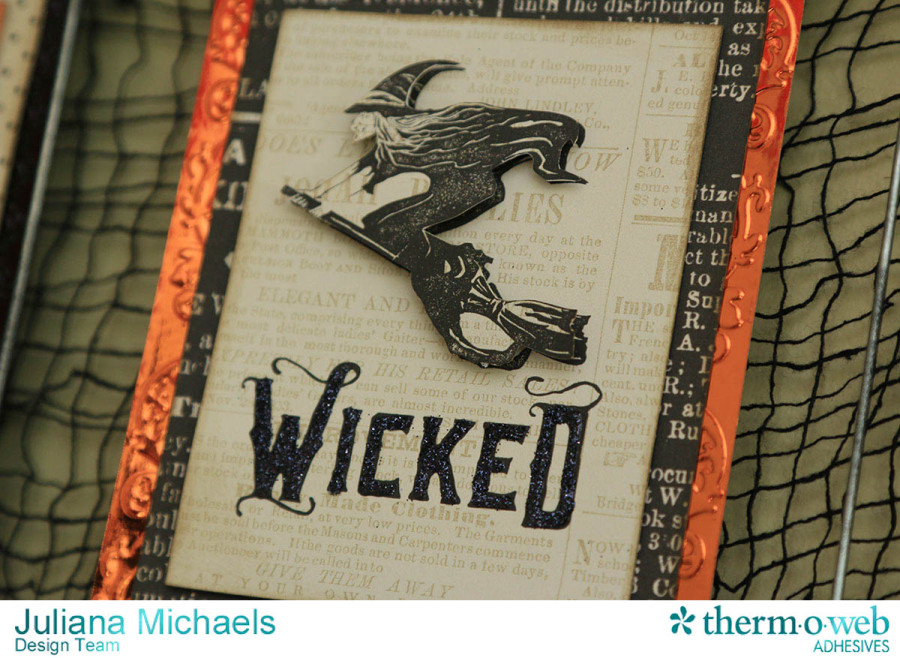
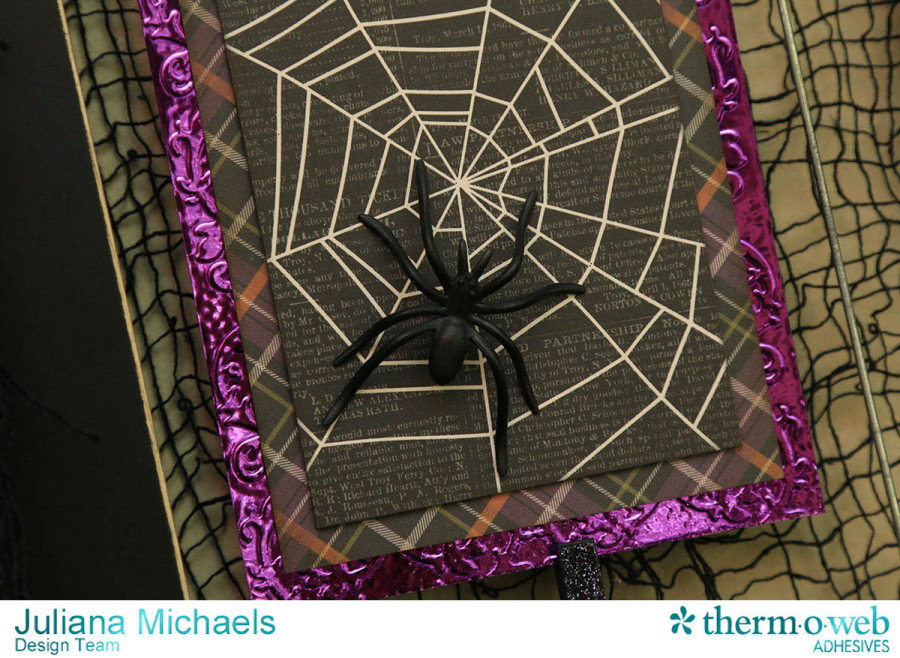
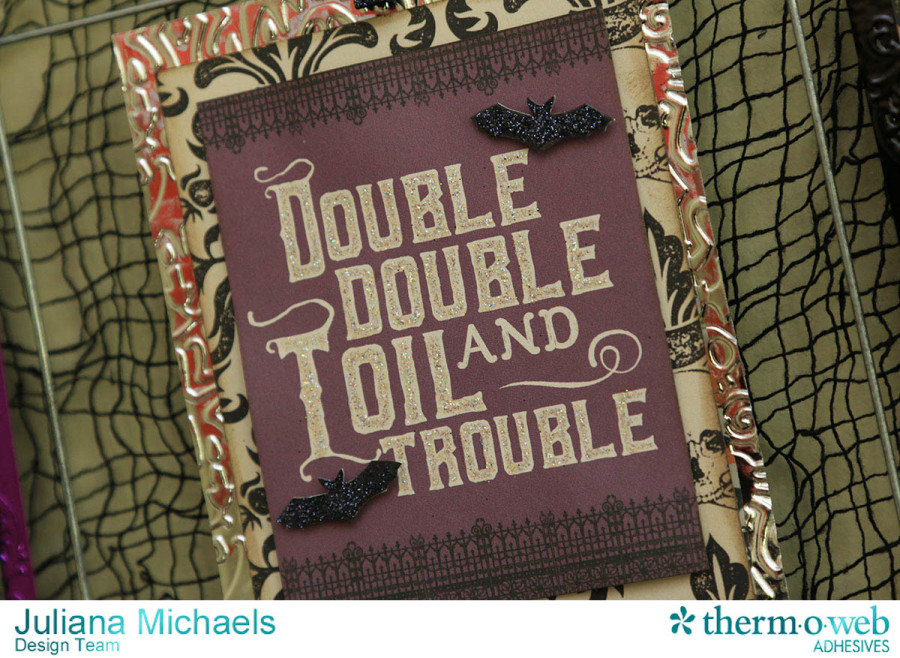
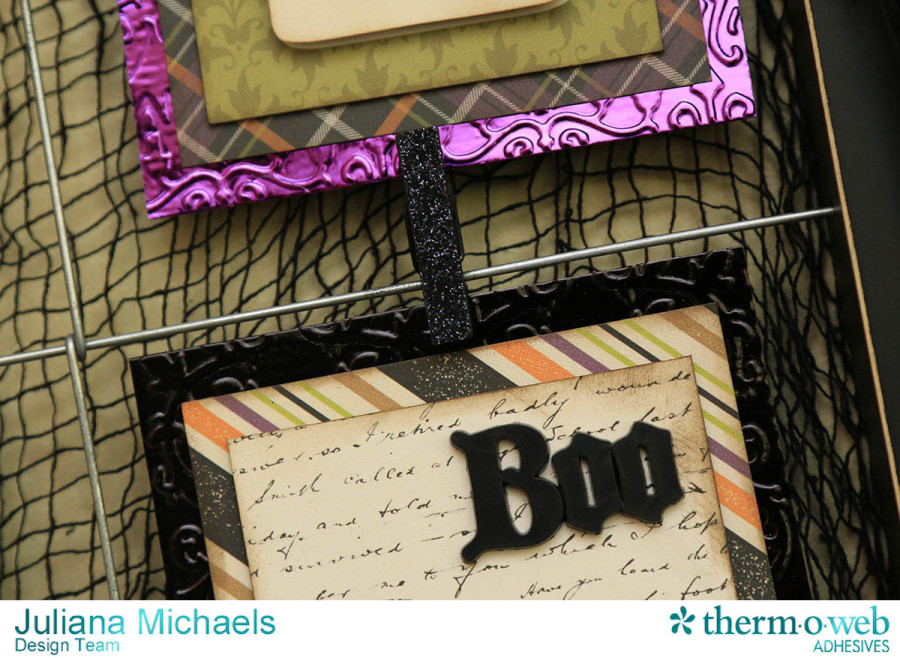
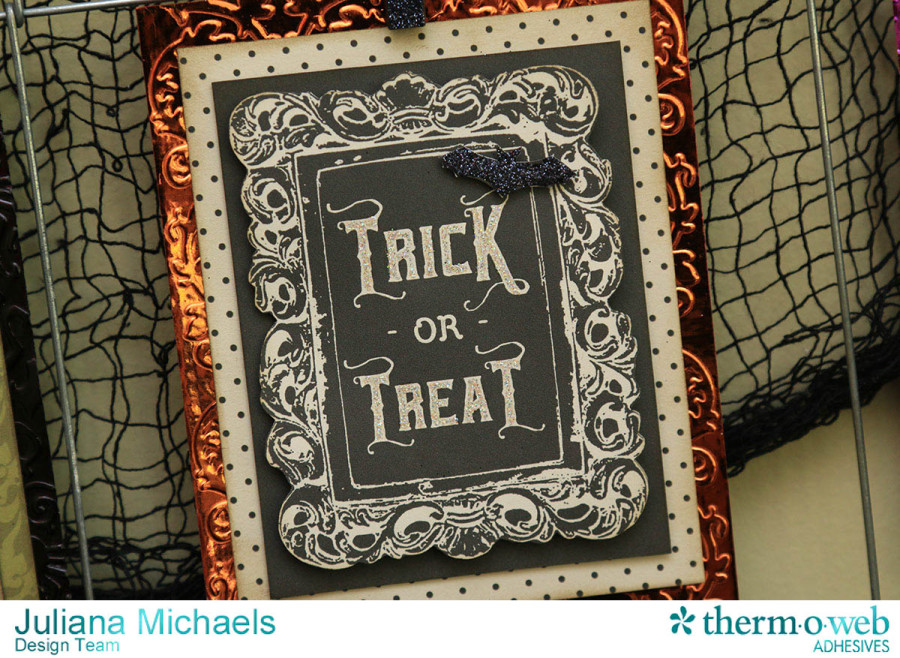
Happy Halloween Therm O Web fans! It’s Juliana with you here today to share a fun Halloween Clip Frame that I decorated using Therm O Web’s awesome iCraft Deco Foil™. Halloween is one of my favorite holidays to decorate for and I had a fa”BOO”lous time creating this frame! Keep reading for a tutorial on how I created it!
Therm O Web Supplies:
Therm O Web 3D White Foam Squares – 1/2 inch
Therm O Web Memory Tape Runner XL
Therm O Web Zots ™ 3D Adhesive Dots
Therm O Web SuperTape ™ – 1/4 inch
Therm O Web iCraft® DecoFoil™ Hot Melt Adhesive
Therm O Web iCraft® DecoFoil™ – Black, Orange, Purple, Silver
Halloween Clip Frame with 3×4 Cards and Embossed Deco Foil Tutorial:
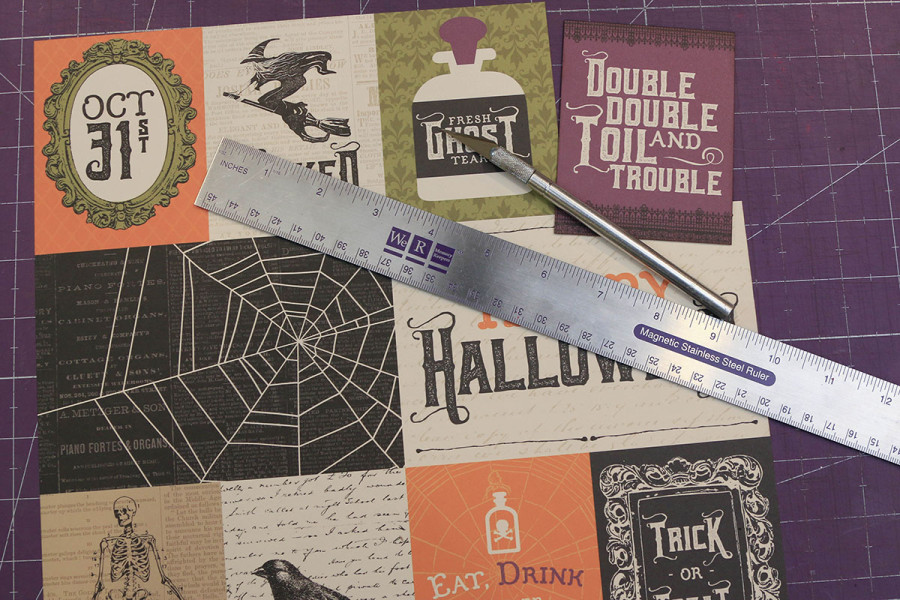
Begin by cutting the 3×4 cards from a piece of patterned paper.
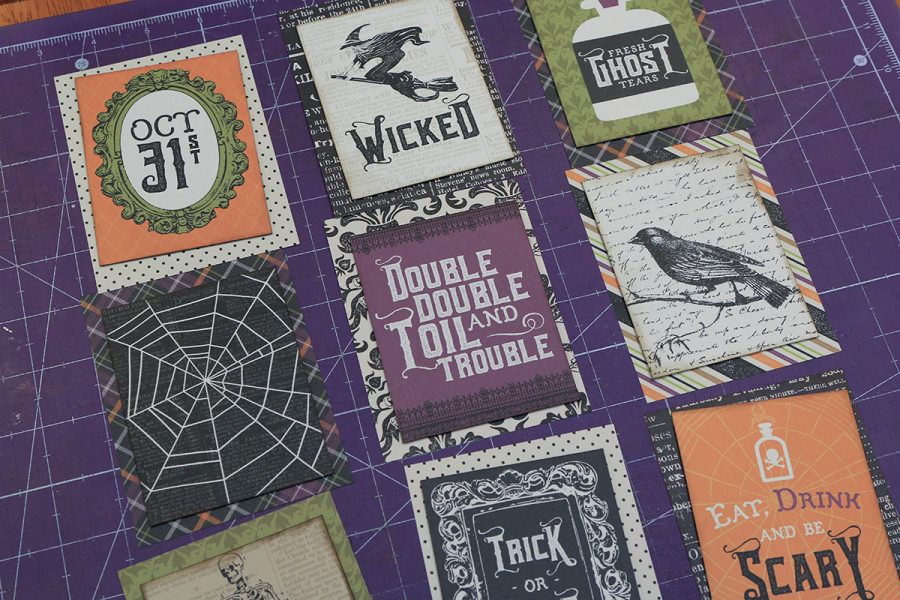
Next, cut pieces of coordinating patterned paper to 3.5 x 4.5 to layer behind each card.
Now it’s time to pull out your Therm O Web iCraft Deco Foil™ and iCraft Hot Melt Adhesive.
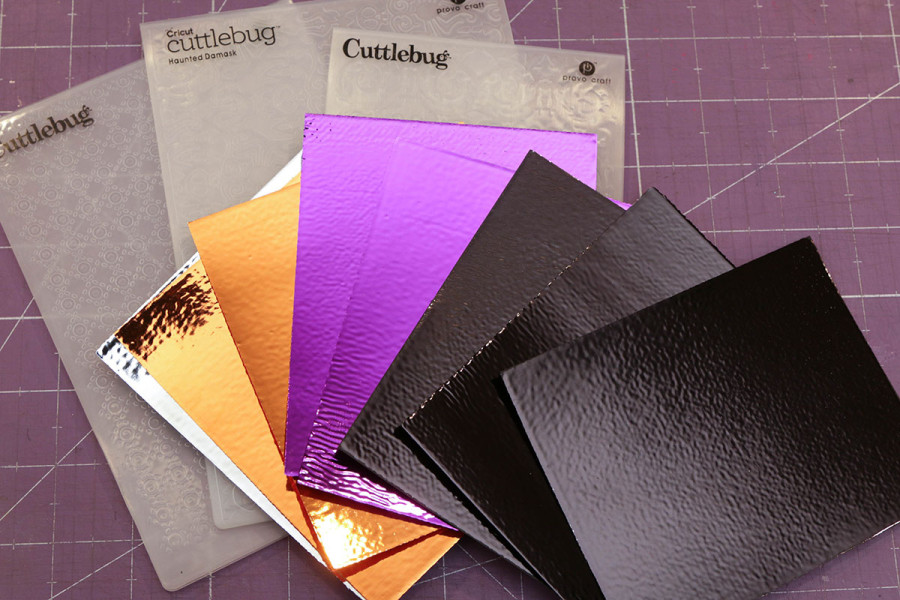
Cut a piece of Hot Melt for each card to 4 x 5 inches and adhere it to a piece of cardstock cut to 4 x 5 inches by running it through your laminator. Next, cut a piece of Deco Foil™ for each card to just slightly larger than the Hot Melt covered cardstock. Apply the Deco Foil™ Transfer Sheets to the Hot Melt Adhesive using your laminator.
After you have your Deco Foiled Hot Melt Adhesive ready to go, select a variety of Halloween themed embossing folders.
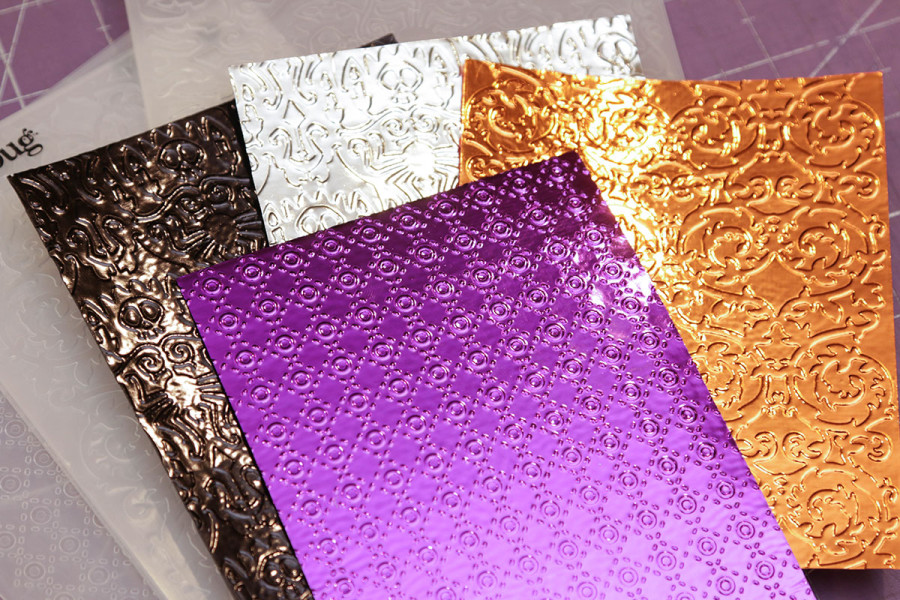
Place the Deco Foiled Hot Melt Adhesive inside the embossing folder and run it through your embossing machine. Repeat this embossing folder for each piece. Here you can see the gorgeous detail that the embossing folders add to the Deco Foil™.
If you are interested in seeing a full video tutorial for this technique, you can check out my Embossed Deco Foil Background Video that I recently shared here on the Therm O Web blog.
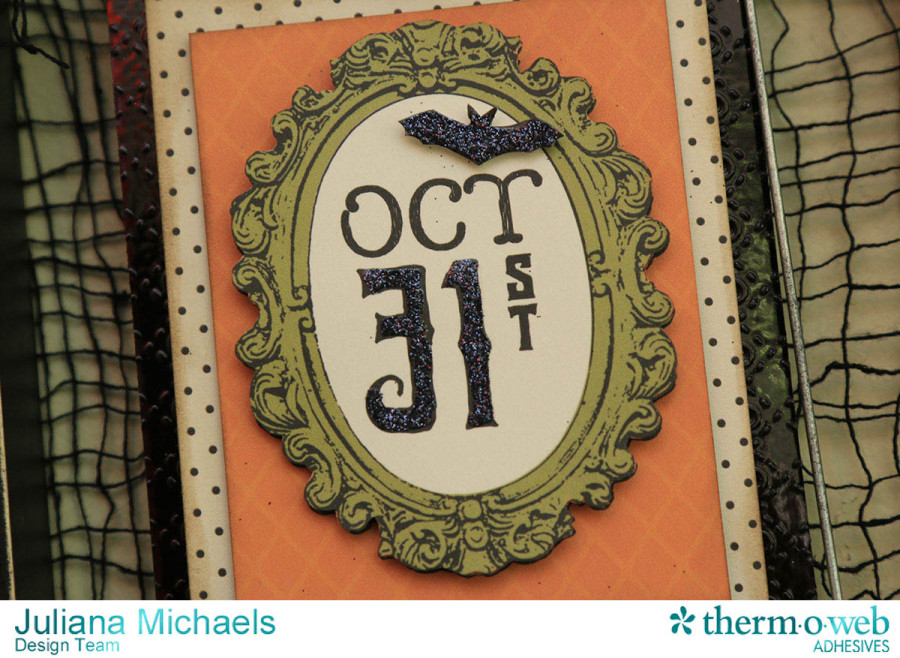
To decorate each card, I fussy cut some of the images from a second piece of the patterned paper. I adhered them using Therm O Web 3D White Foam Squares for added dimension.
I used Zots ™ 3D Adhesive Dots to attach a plastic spider to one of the cards.
Check out that mini clothespin! I used Therm O Web’s SuperTape ™ to cover the front of it with glitter. I simply cut a piece of the tape to the length of the clothespin and then sprinkled it with glitter to cover the tape.
Thanks so much for stopping by today and I hope you enjoyed my Halloween Frame and Tutorial!
HUGS!
Juliana

