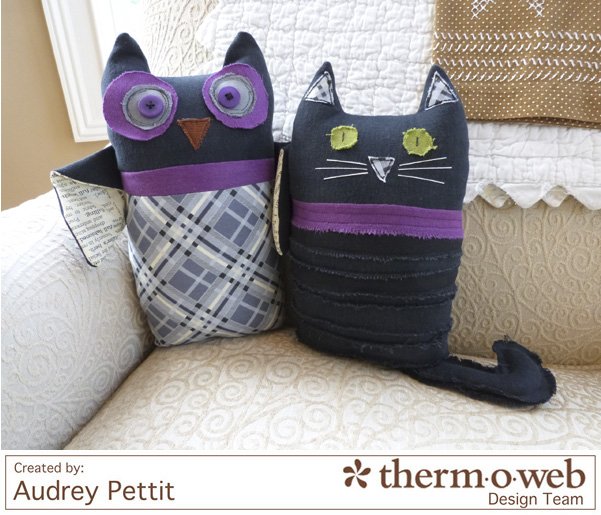
 Woody & Sam by Designer Audrey Pettit
Supplies:
Therm O Web Heatn’Bond® Fusible Interfacing
Therm O Web Fabric Fuse™ Liquid Adhesive
Amy Barickman Woody & Sam Pattern
Amy Barickman Crossroads Denim Collection: Charcoal Black, Metal Grey, Eggplant, Midtown Moss
Amy Barickman Vintage Made Modern Fabric Collection
Floss: DMC
Other: Buttons, Polyfill Fiber Stuffing
Two autumn characters to help your home get ready for the fall! Woody the Owl and Same the cat are created using Crossroads Denim along with fabric from the new Vintage Made Modern collection by Amy Barickman.
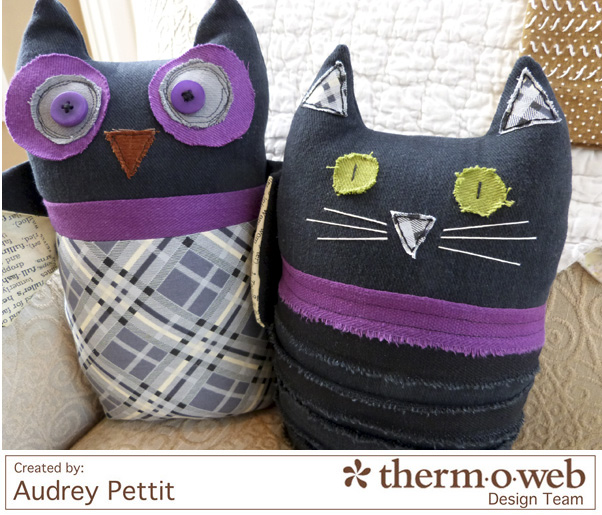 The adorable Woody & Sam pattern comes complete with all the actual-size template pieces needed to create both characters, as well as full step-by-step directions. I love how easy they are to sew, even for beginner sewers. And better yet, I love both the cat and the owl are made from the same base body shape, but with a few modifications for the tail and wings.
Therm O Web’s HeatnBond® Fusible Interfacing makes raw-edge applique such as you see here an absolute snap. Simply follow the manufacturer directions on the packaging to iron-on all the individual body pieces before stitching in place. The HeatnBond® Fusible Interfacing adds strength and stability to the finished project, and keeps those small pieces in place so they don’t shift or slide during sewing.
 And since I love Amy’s Crossroads Denim so much, I couldn’t resist making another fun fall project, this time a Halloween doll.
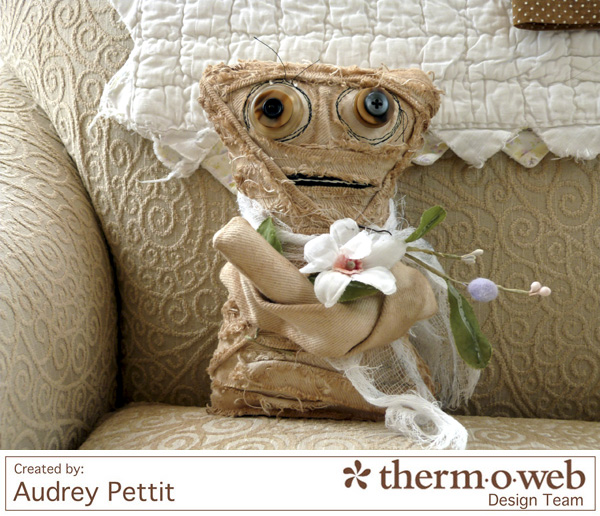 Mimsie the Mummy by Designer Audrey Pettit
Supplies:
Therm O Web Fabric Fuse™ Liquid Adhesive
Amy Barickman’s Crossroads Denim Collection: French Vanilla
Floss: DMC
Other: Muslin, Cheesecloth, Black Felt, Buttons, Polyfill Fiber Stuffing, vintage millinery
Primitive rag dolls are one of my favorite projects to make. I love to create dolls for the different seasons and holidays to add cheer to my home, and the best thing to me about rag dolls is they really don’t require any pattern. As a matter of fact, the more handmade and “primitive” these dolls are, the better.
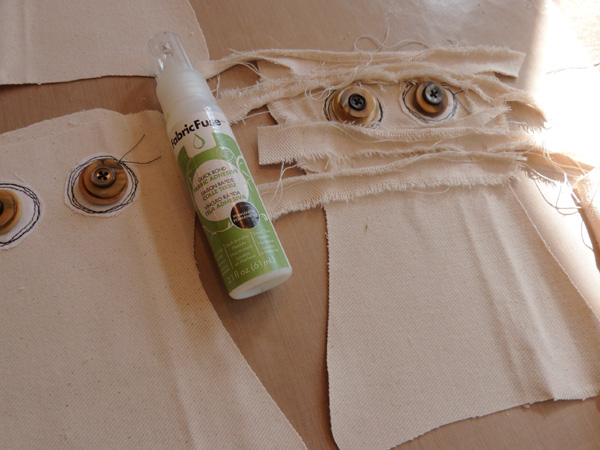
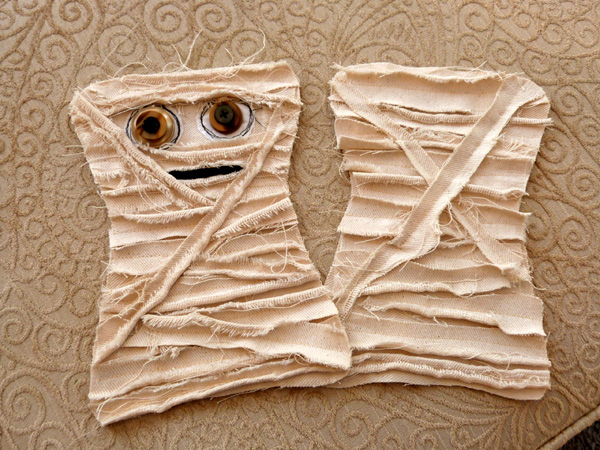
Start by folding French Vanilla denim in half, with right sides facing. Trace pattern onto the fabric, or freehand cut a body shape from the fabric. Machine stitch circles of muslin fabric for the eyes, and then hand-stitch several stacked buttons onto the muslin for eye detail. Tear additional strips of denim fabric, enough to cover both the front and back body piece. Lay the strips across the body, lightly tacking them in place with Therm O Web Fabric Fuse™ Liquid Adhesive. Once the adhesive has dried, holding all the fabric strips in place, machine stitch down the center of each torn strip.
Adhere a small piece of black felt for the mouth using the Fabric Fuse™ glue. Trim around the edges of both body pieces.
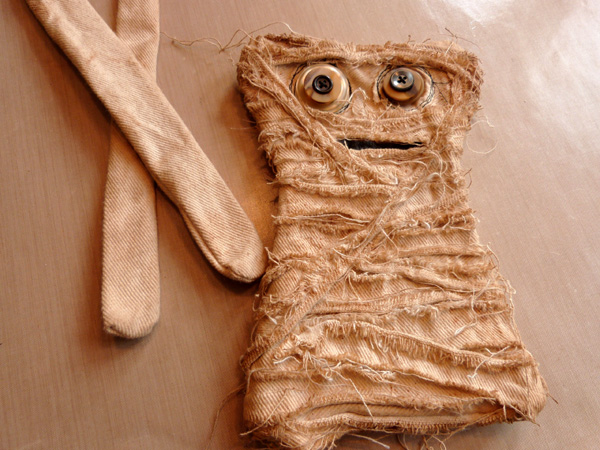
Lay the body pieces together with right sides facing. Machine stitch around the body using an 1/4″ seam allowance, starting at a bottom corner and sewing around to the other corner, leaving an ~ 3″ wide opening. Clip the excess seam allowance about every 1/2″, making sure not to cut into the seam. Turn the doll right side out. Cut two long skinny rectangles of denim. Fold in half with right sides facing, and machine stitch down one end and along the long side. Turn the tubes right side out. Soak all body pieces in a coffee or tea stain and then allow the fabric to dry completely.
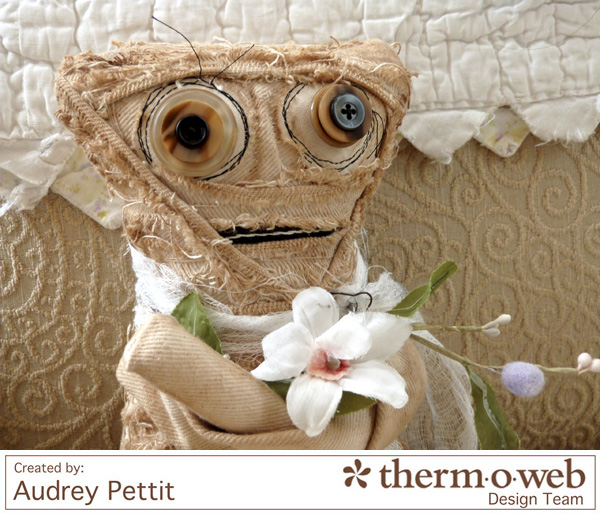
Stuff the mummy with polyfill fiber and then whip stitch the bottom opening closed. Pinch stitch a nose detail using embroidery floss. Add stitched detailed to the mouth with white embroidery thread. Stuff the ends of the tube arms with polyfill, and then hand stitch the arms in place.
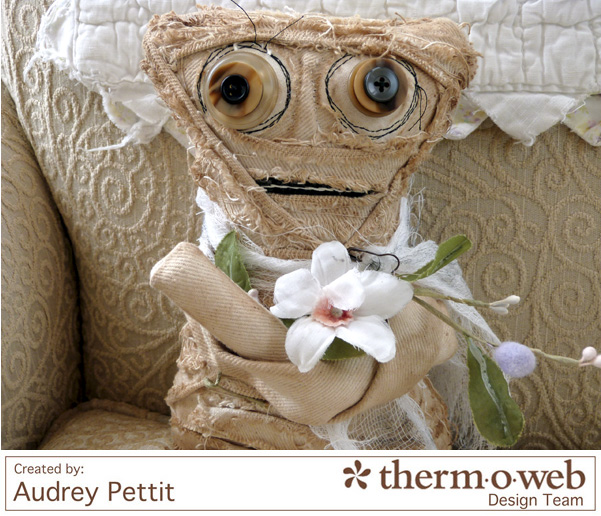 Tie cheesecloth around the mummy’s neck, and cross the arms into a simple knot. Tuck millinery flowers into the arms.
Enjoy!

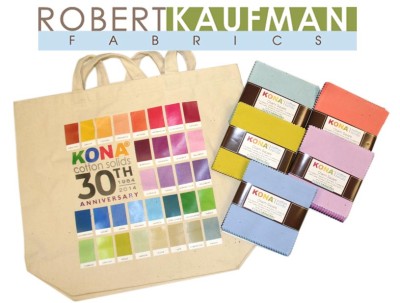
In honor of September being National Sewing Month we’d like to give you some goodies to use for your next sewing project! Use the Rafflecopter entry form to enter to win a collection of some of our favorite fabrics from our friends at Robert Kaufman Fabrics! And to use with those our new iCraft Deco Foils! as shown in today’s project! We’ll send the winner 7 Deco Foil colors of their choice, our Deco Foil Hot Melt Adhesive, Liquid Adhesive and Spray Adhesive!
a Rafflecopter giveaway
And there is still time to enter these National Sewing Month giveaways too! a Rafflecopter giveaway
5 Comments on Create Halloween Rag Dolls with Liquid Fabric Fuse
1Pingbacks & Trackbacks on Create Halloween Rag Dolls with Liquid Fabric Fuse
-
[…] Create Halloween Rag Dolls with Liquid Fabric Fuse, by Audrey Pettit […]

Belinda K-N
September 22, 2015 at 8:14 am (10 years ago)I am working on a large floral applique quilted wall hanging….and a set of quilted autumn placemats and napkins. I love this tutorial – it makes me want to do some Halloween sewing, as well!
Rosalind
September 22, 2015 at 9:33 am (10 years ago)I am working on a fabric yoyo witch and a ruffled reversible apron on Saturday. I will also be making a wall hanging with a Halloween cross stitch that I finally finished.
Cheri H
September 22, 2015 at 7:38 pm (10 years ago)I adore the Mummy ! Thanks for sharing 🙂
Janie
September 28, 2015 at 10:58 am (10 years ago)Love the inclusion of purple in the owl and cat. The mummy looks great. Thank you for the inspiration!