Can you believe in some places kids are already getting set to go back to school? With the crazy amount of snow we got this winter, kids in my town didn’t finish school until June 30th, so no one around here is ready to face the start of another school year quite yet. However, the lazy days of summer are a great time to get a jumpstart on your crafting projects and today I have a teacher thank you card to share.
The components of the card were created using the Silhouette, but would work for any electronic die cutting system.
First, create an apple shaped card base. Replicate an apple shape and flip the copy over, so you have a mirror image. Use the eraser tool to remove the leaf and stem from the flipped copy and then position them both so there is a slight overlap in the center. Weld the two apples together to create the card base.
Size the card so the height is 4.5″ and cut from white cardstock. Score in the center and fold to create the apple shaped card. Color the stem of the apple using markers, or another color medium.
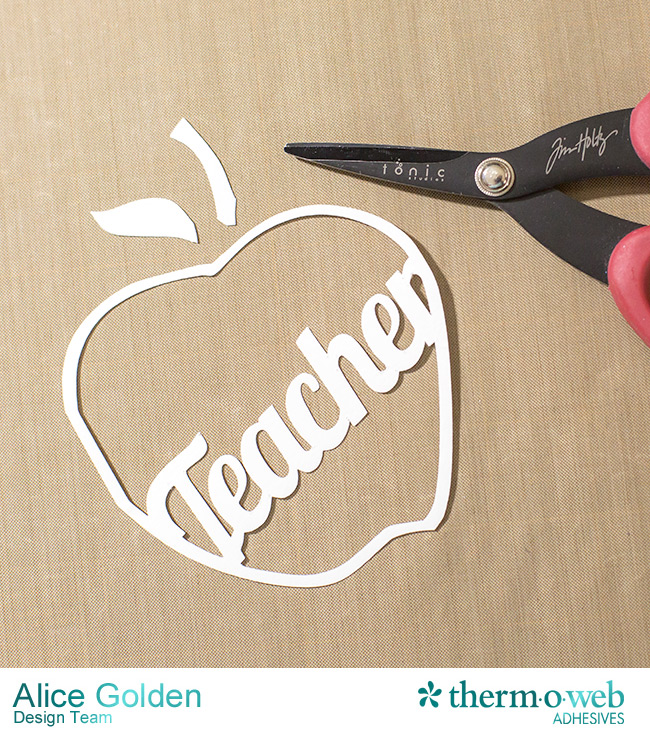
Next, create the outline for the front of the card. Duplicate the original apple shape and resize the copy to be slightly smaller than the card front. Erase the leaf and stem from the copy and add the word “Teacher” at an angle, as shown. Meld the two together to create the outline cut file. Tip: To customize the card, use the teacher’s name instead of the word “Teacher”. Size the outline shape to be 4.5″.
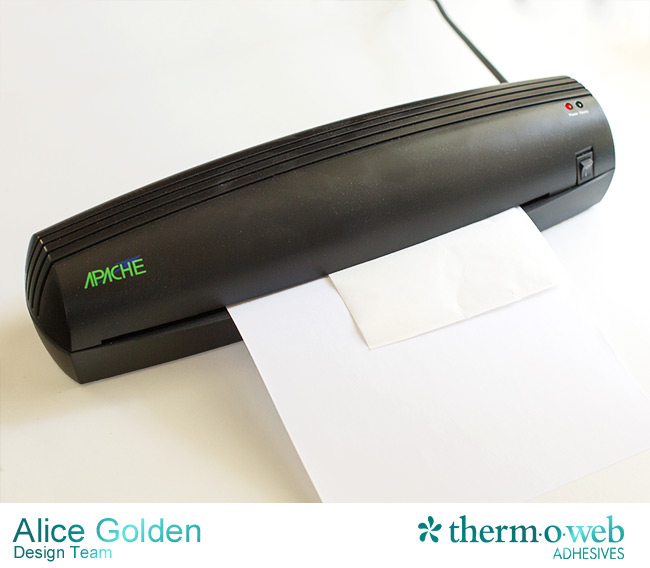
Prepare paper for cutting/foiling by first adhering iCraft® DecoFoil™ Hot Melt Adhesive to a piece of copy paper. Cut a piece of adhesive slightly larger than the finished card and run through a laminator with the paper backing side up. (Note: The Silhouette used for this project is one of the original models and has a hard time cutting through thicker materials, so I found using copy weight paper worked best. A newer machine might be able to cut through a heavier weight stock.)
Cut the outline shape from this paper with the iCraft® Deco Foil™ Hot Melt Adhesive side facing up. Trim the stem and leaf, as shown. This makes it easier to foil the leaf with green and the outline in red Deco Foil without the worry of one color overlapping the other.
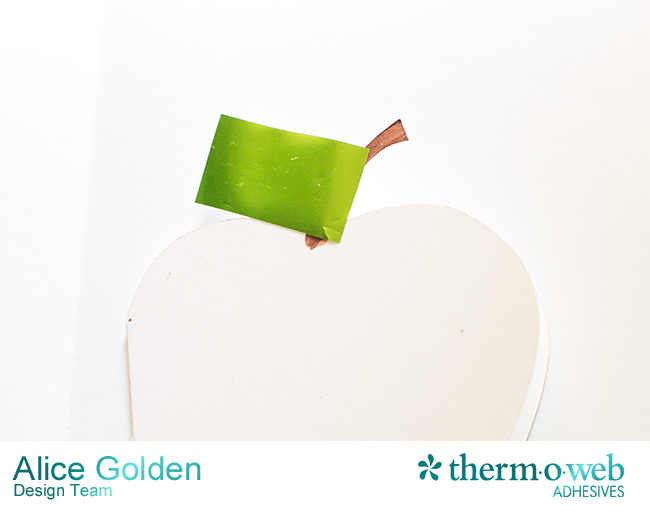
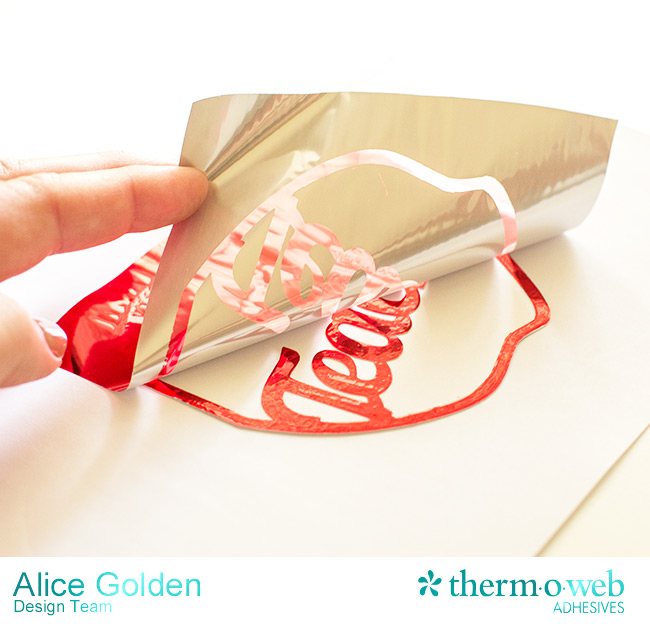
Use Zots™ for bling or a small dab of tape runner to adhere the copy paper leaf to the leaf on the card front. Remover the protective liner from the front, apply a small piece of Lime Deco Foil™ with the green side facing up, the whole thing in a sheet of folded copy paper and run through a laminator. Allow to cool briefly and then carefully peel off the foil.
Cut another apple shape from white cardstock, or use the card as a template and cut one freehand. Adhere the apple part of the outline shape to this piece and repeat the foiling process as above, using Red Deco Foil™. Using a separate piece of cardstock for each color foil takes a little more time, but can be make it easier when using multiple colors of foil on the same project. Stamp “Thank You” above the foil word and adhere the piece to the card front.
Finish it off by tying a piece of Baker’s Twine to the stem. It takes a bit of time to create the design using your machine’s software, but once you have the files created, it would be easy to produce multiples of this card – perfect if your child has more than one teacher or you have more than one child in school.
 Thanks so much for visiting the Therm O Web blog today! Hope you are having a wonderful summer.
Therm O Web Supplies
Lime, Red iCraft® DecoFoil™ Transfer Sheets
iCraft® DecoFoil™ Hot Melt Adhesive
Zots™ for Bling
Mini Tape Runner
Other
Green Apple file – Silhouette
Lobster font
Inside Out: Thank You clear stamp set – Papertrey Ink
VersaFine Onyx Black ink – Tsukineko
E25, E27, E29 Copic Markers
Looking to add some Deco Foil™ shine to your next project? Visit our online store to shop for all of our iCraft® Deco Foil™ products! Try some of our 18 colors of Deco Foil™ and our Hot Melt Adhesive Sheets for both paper AND fabric, Foam Adhesive Sheets and more!


