Hi everyone! Andy here, from A Bright Corner. If your house is anything like mine, then you could use some quick and easy ways to add to your Valentine’s Day decor. Today I’m sharing a tutorial to make this quick, Cupid’s Arrow Valentine pillow!
- a 16″ pillow form
- 8″ x 17″ piece of Heat n Bond® Lite
- 1/2 yard of fabric for pillow front and back
- red and brown fabric scraps for applique
- Heart and Arrow Template
Step 1: From the 1/2 yard of main pillow fabric, cut 1 @ 16.5″ x 16.5″ and 2 @ 11.5″ x 16.5″
Step 3: Print the Heart and Arrow Template. With a pencil, trace three arrows and one heart shape on to the piece of Heat n Bond® Lite.
Step 4: Cut out around each shape, leaving about 1/4″ of space all the way around.
Step 5: Iron the Heat n Bond® Lite arrows to the wrong side of the brown fabric scraps. Iron the heart shape to the wrong side of a scrap of red fabric. Using sharp scissors, cut out along the drawn lines.
Step 6: Remove the paper backing from heart and arrows. Place as desired on to the 16.5″ x 16.5″ pillow front. Iron just the top two arrows in place.
Step 7: Cut a small (about 1″) slit in the center of the heart.
Insert one end of the final arrow and slide heart through until it is about half way. Arrange as desired and press heart and arrow in place.
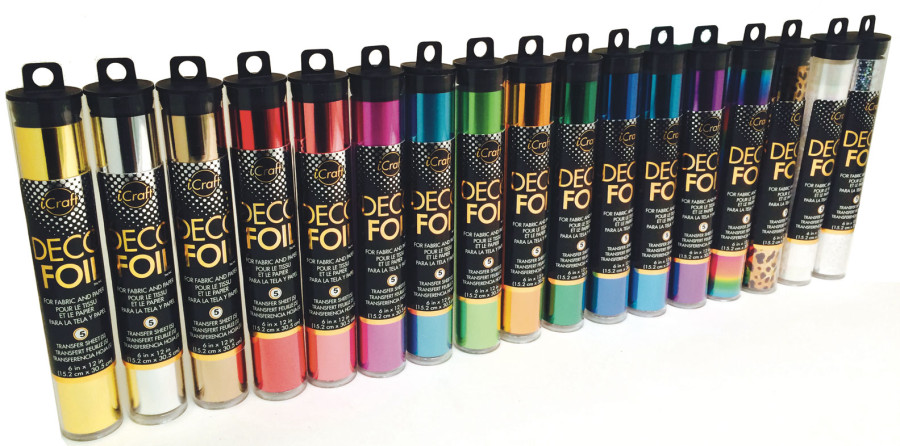
Have you heard about our NEW iCraft Deco Foils? They were a HUGE hit at the Winter 2015 Craft & Hobby Show!
They’re perfect for paper, fabric and all porous surfaces! Use our iCraft™ Deco Foil Liquid, Foam Sheets or Iron-On Transfer to adhere to multiple surfaces!!
And you can pre-order NOW!