Hi Daniela Dobson here and today I am sharing several projects I created using Therm O Web adhesive and Basic Grey Highline collection.
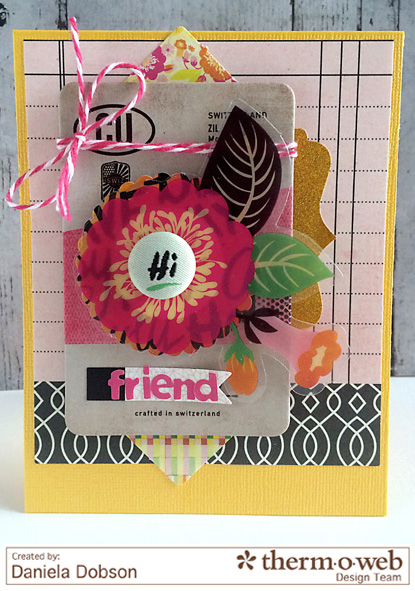
Hi friend card by Daniela Dobson
Therm O Web Supplies:
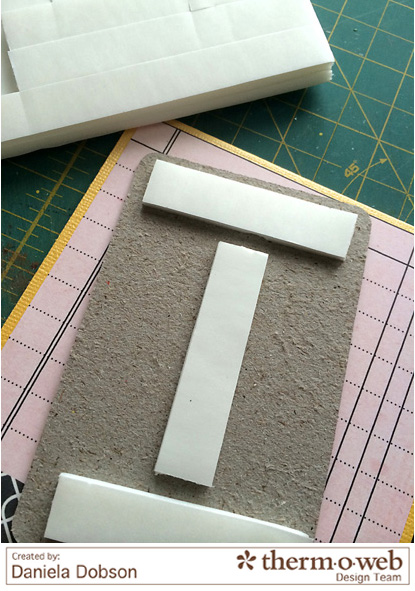
Therm O Web 3D White Foam Sticky Strips 1/2″
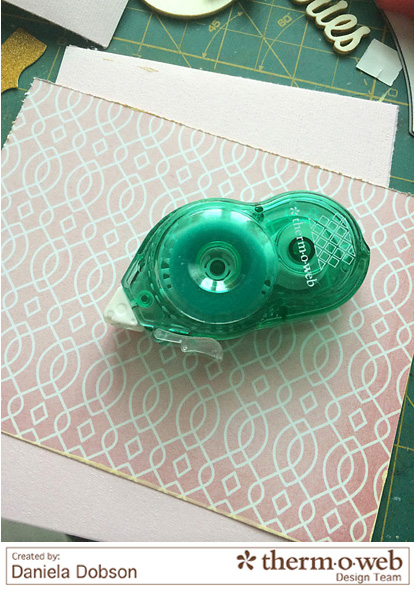
Therm O Web Sticky Dot Mini Runner
Therm O Web 3D White Foam Squares Combo Pack
GLITTER DUST™ VINTAGE FRAME ASSORTMENT-Gold
DECORATIVE PHOTO CORNERS • Kraft
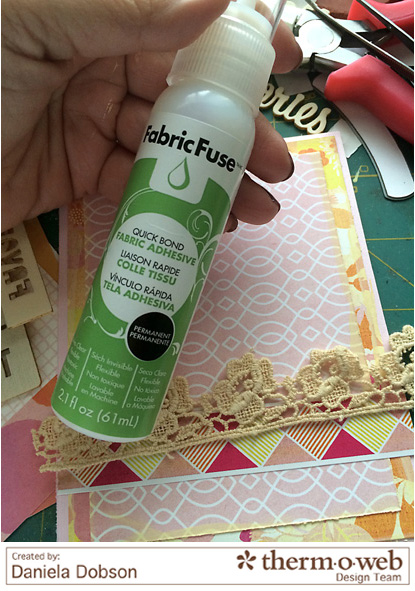
FABRIC FUSE LIQUID ADHESIVE
Therm O Web Zots™ Medium
Therm O Web Zots™ Small
Basic Grey Highline Collection
Other Supplies:
Cardstock
Prima lace
Paint
Silhouette Cameo
Kerri Bradford cut file
Twine
Heidi Swapp mask
Clearsnap ink
Instructions:
1. Make card base from yellow cardstock. Cut one of the 4×6 journaling cards slightly smaller than the card front and adhere to the cardstock using Therm O Web Sticky Dot Mini Runner.
2. Remove the sticker backing from one of the chipboard shapes. Tie twine around the top and apply Therm O Web 3D White Foam Sticky Strips 1/2″. Adhere to the card.
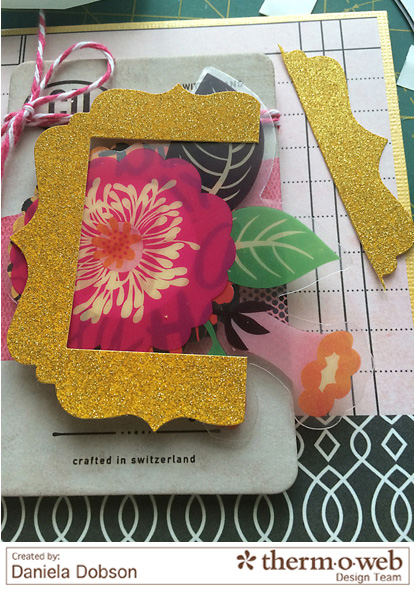
3. Layer several different die cut transparencies and stickers and adhere using Therm O Web 3D White Foam Squares Combo Pack and Therm O Web Zots™ Medium. Cut an edge from one of the GLITTER DUST™ VINTAGE FRAME ASSORTMENT-Gold and adhere it to the right side of the chipboard.
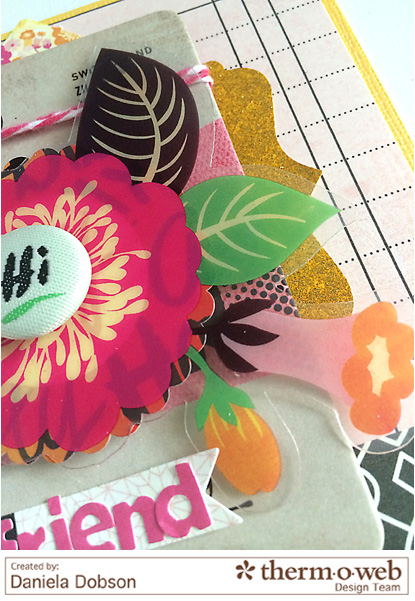
4. Remove prongs from one of the brads and adhere to the flower center using Therm O Web Zots™ Medium. Spell “friend” on one of the sticker tags and adhere to the card.
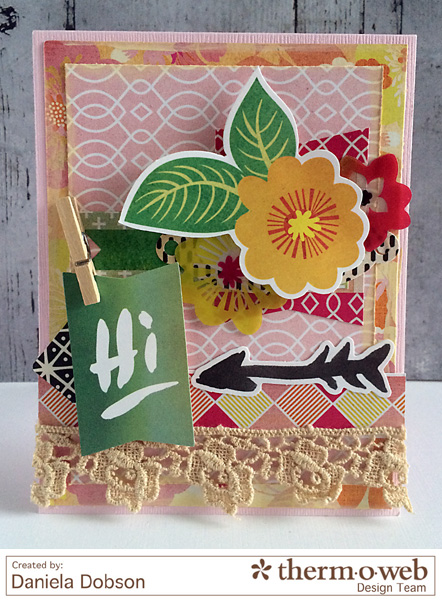
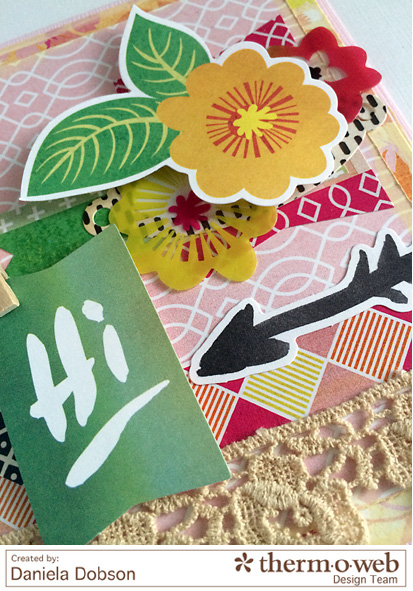
Hi card by Daniela Dobson
Instructions:
1. Make card base from pink cardstock. Cut two different patterned papers for the card front and paint edges with cream paint. Adhere to the card using Therm O Web Sticky Dot Mini Runner.
2. Adhere one of the sticker strips to the bottom of the card. Add a piece of lace using FABRIC FUSE LIQUID ADHESIVE.
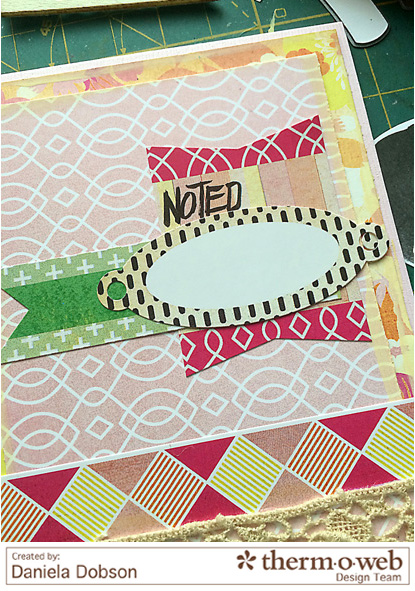
3. Layer several different stickers and die cut transparencies to the right of the card using Therm O Web Zots™ Small.
4. Adhere large flower die cut and “hi” tag using Therm O Web 3D White Foam Squares Combo Pack.
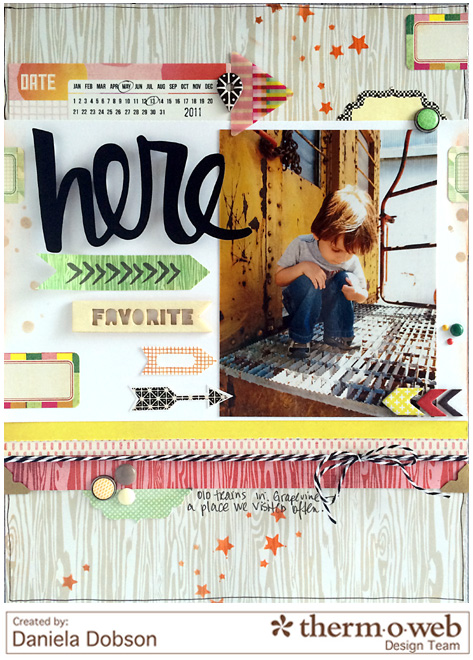
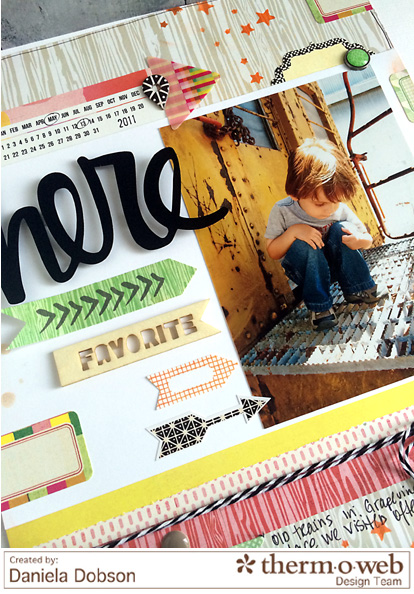
Here layout by Daniela Dobson
Instructions:
1. Cut a piece of cardstock to 8 1/2 x 11. Adhere 3 different stirps of patterned paper towards the bottom of the page using Therm O Web Sticky Dot Mini Runner. Add DECORATIVE PHOTO CORNERS • Kraft to the red piece of patterned paper.
2. Adhere a piece of white cardstock to the middle of the page, tucking one of the 4×6 journaling cards under the right side, using Therm O Web Sticky Dot Mini Runner.
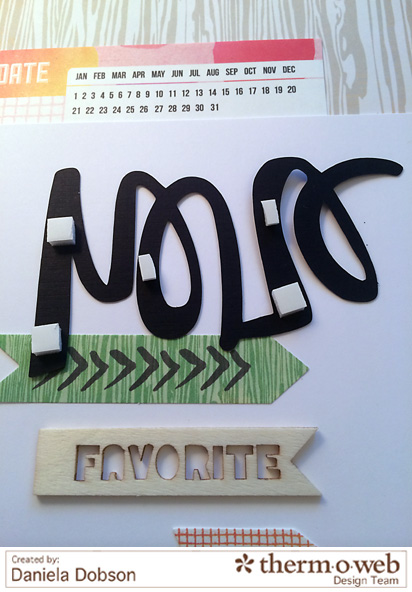
3. Adhere photo. Cut title from black cardstock using Silhouette Studio and adhere to the left of the photo using Therm O Web 3D White Foam Squares Combo Pack.
4. Adhere die cut transparencies, chipboard shapes, stickers, and brads as shown on the page. Tie twine to the bottom. Add circles and stars using ink and a mask.


Linsey
September 10, 2014 at 12:45 pm (11 years ago)Oh my Daniela, you have been one busy bee!!! And what a treat! –these are all awesome!!! I love your 2 cards and all the great layers of interesting pretties! Good thing Therm-o-web makes so many FANTASTIC adhesives perfect for whatever you may need it for creating! And this BG paper is so great and full of life! I love it! Your scrapbook layout is superb too!!! Thanks for all the wonderful inspiration today! All your projects are very enjoyable and inspiring!Hugs!
debbie standard
September 11, 2014 at 6:29 pm (11 years ago)Adorable page! Love it Daniela! Thanks for a chance to win – love therem o web and My Mind’s Eye – fabulous products!