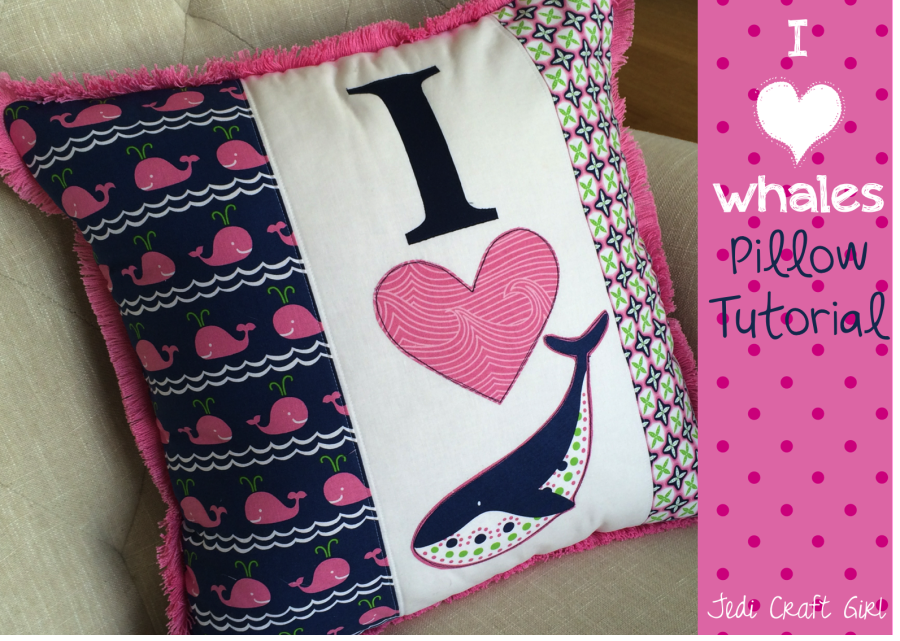
It’s Amanda from Jedi Craft Girl. This week I am hosting Whale Week with new whale tutorials everyday!!!
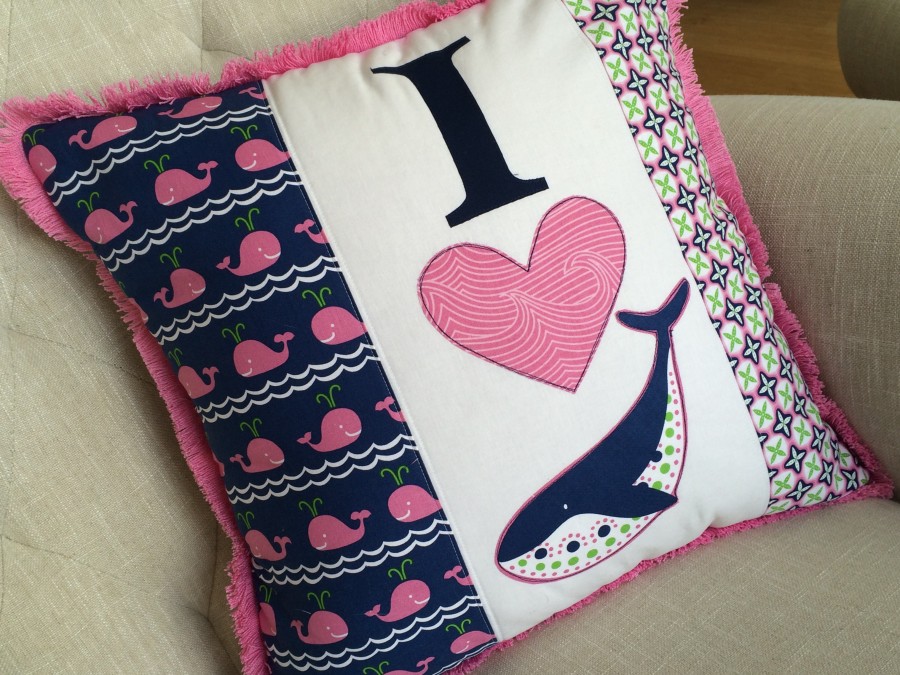
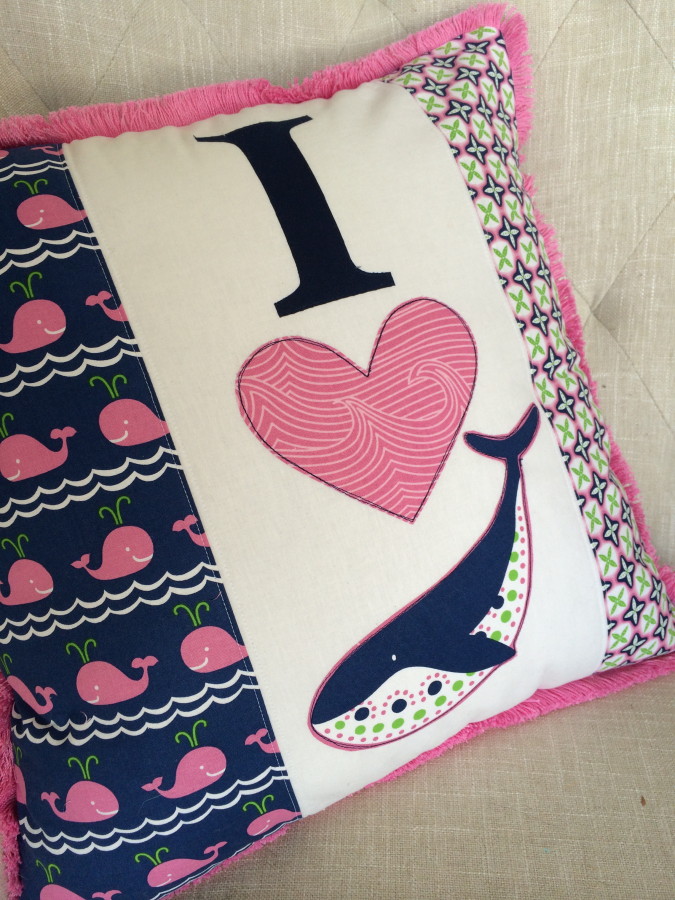
 I really do love whales and I felt like expressing it in a throw pillow! Here’s how you can make one:
Supplies:
Fat Quarters from True Blue fabric line
8″ x 18″ solid white fabric
1/2 yard backing fabric
2 1/2 yards trim
20″ or larger zipper
Heat n Bond® Lite or Heat n Bond® EZ print sheets
18″ pillow form
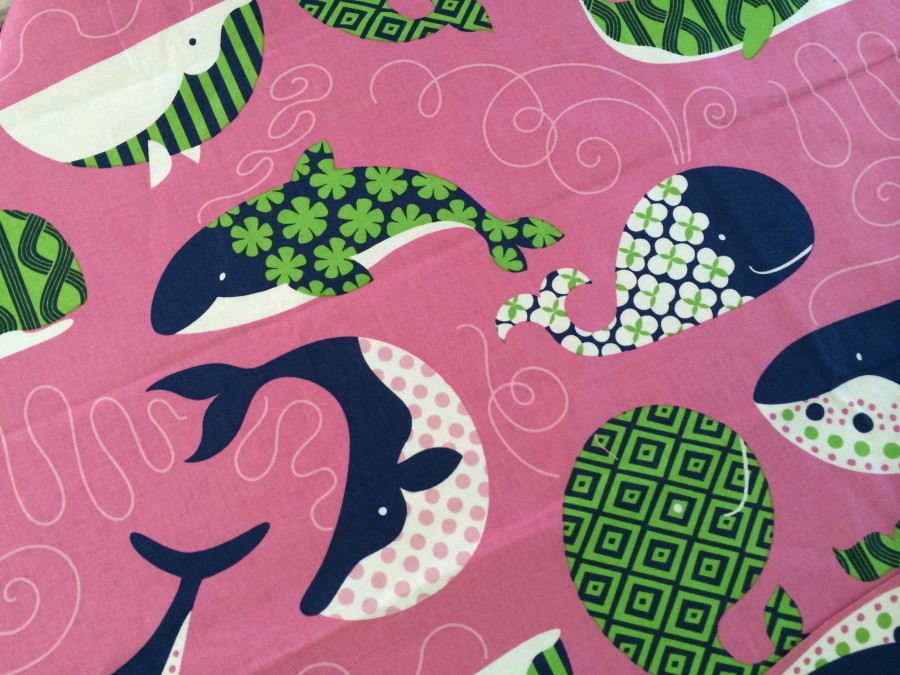
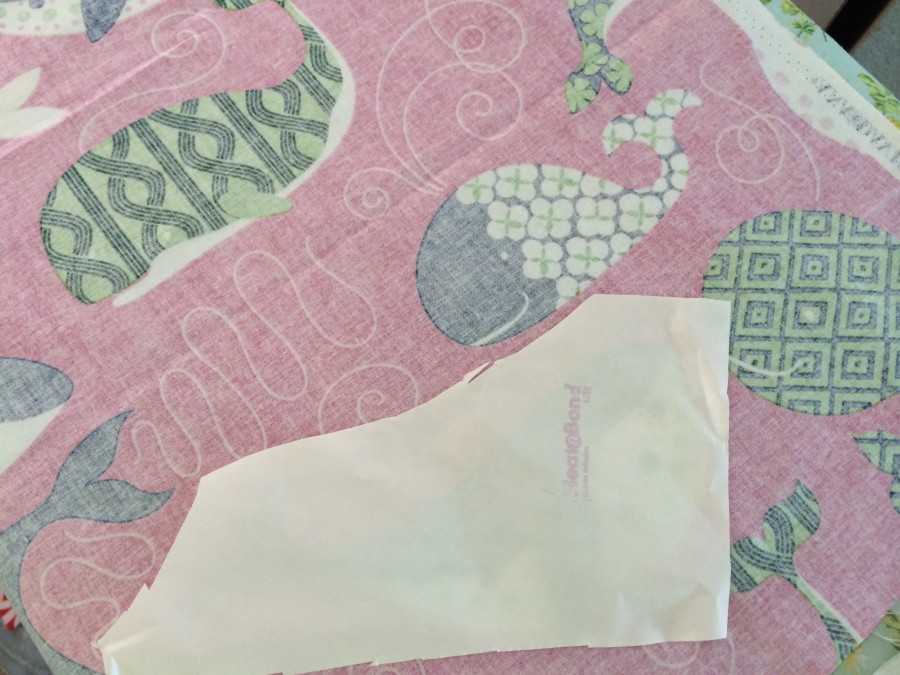
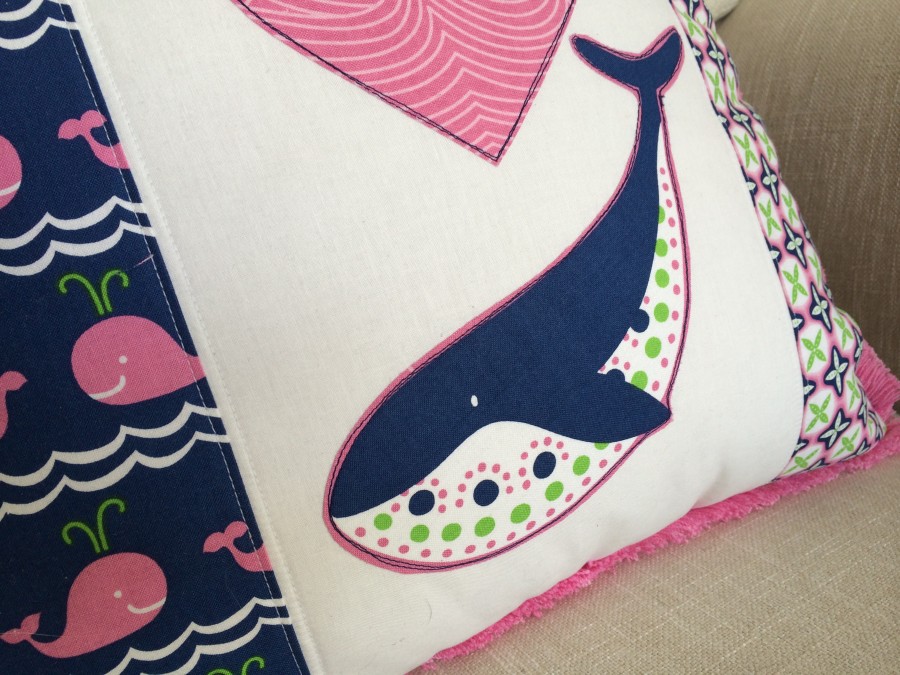
Begin by rough cutting a piece of Heat n Bond® Lite and placing it on the wrong side of the whale. Press to adhere. Cut out around the whale.
Print the “I” and the heart pattern (HERE) and trace them to the Heat n Bond® Lite or print them directly on Heat n Bond® EZ print sheets. Press them to the wrong side of the fabric and cut out. Press onto the white piece of fabric. (You can choose to have the words got horizontal, that was my first idea, then I liked the looks of the vertical placement.)
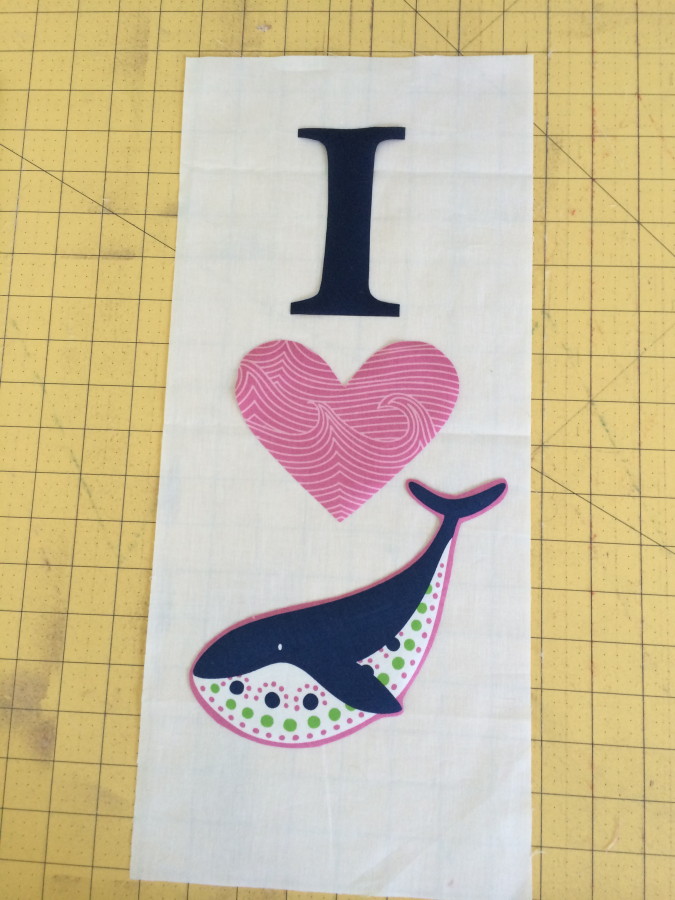
Stitch around each appliqué piece twice using navy blue thread.
Cut the whale strip 6.5″ x 18″ and the patterned strip 4.5″ x 18″. Sew them together in this manner using 1/4″ seams. Press toward the dark.
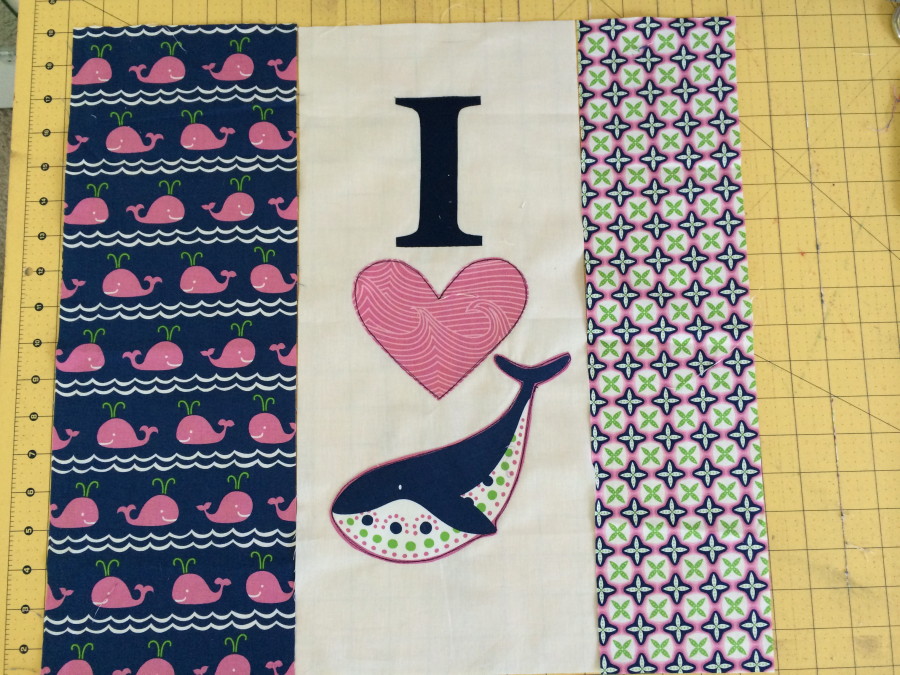
Cut the HeatnBond® fusible fleece 18″ x 18″ and fuse it to the wrong side of the whale pillow front. Top stitch 1/4″ along both sides of the seam. You could add more quilting if you want.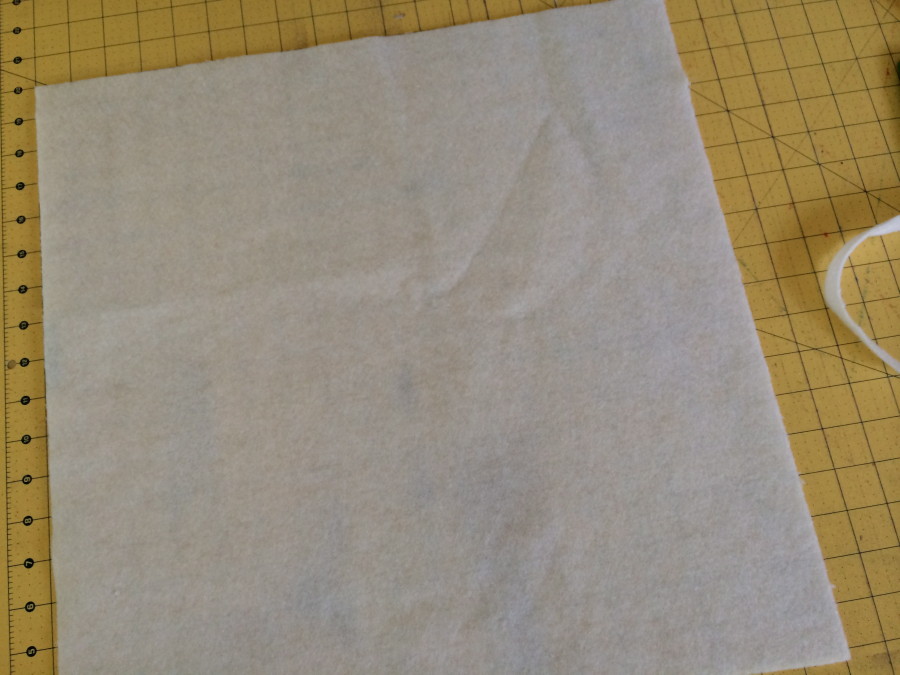
Sew the pink trim around the pillow top like this. Use a narrow seam – this is to hold the trim in place while we sew the pillow together. Once the trim is sewn on prepare the back.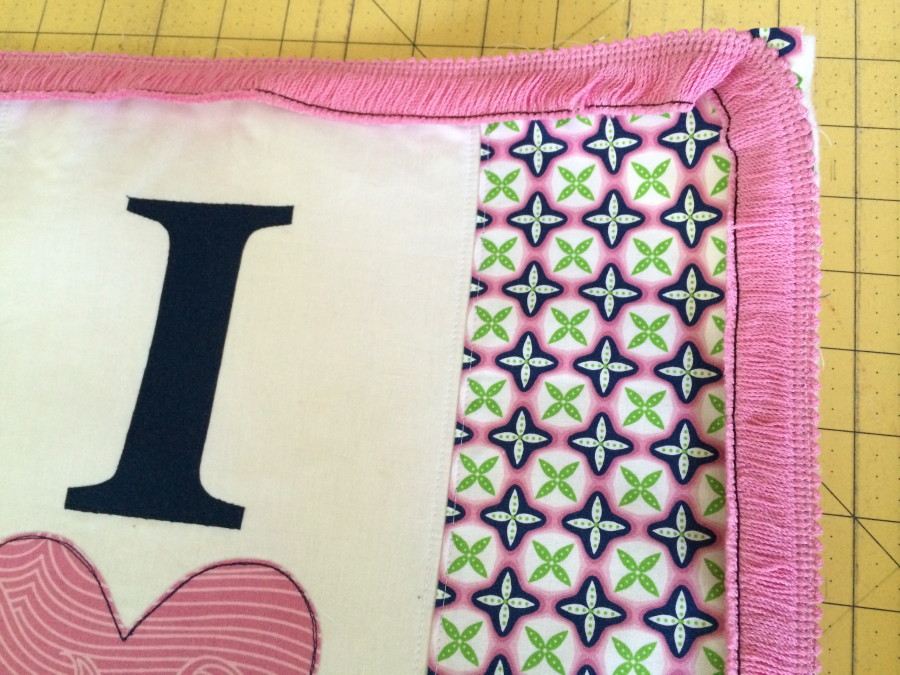
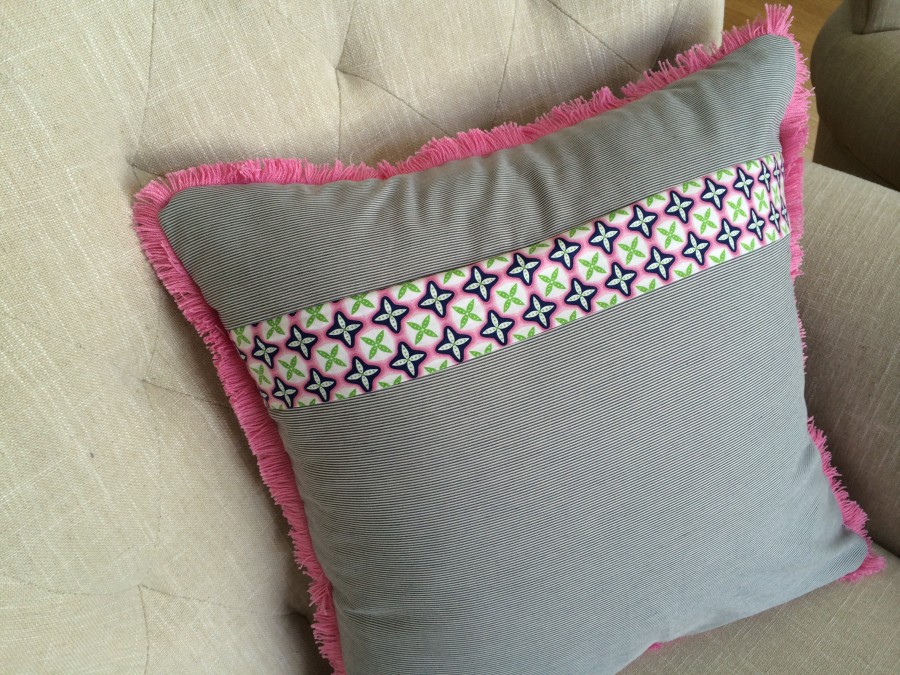
This is how the back looks with a zipper closure under the flap. This is my favorite way to finish a pillow because it is super fast!!
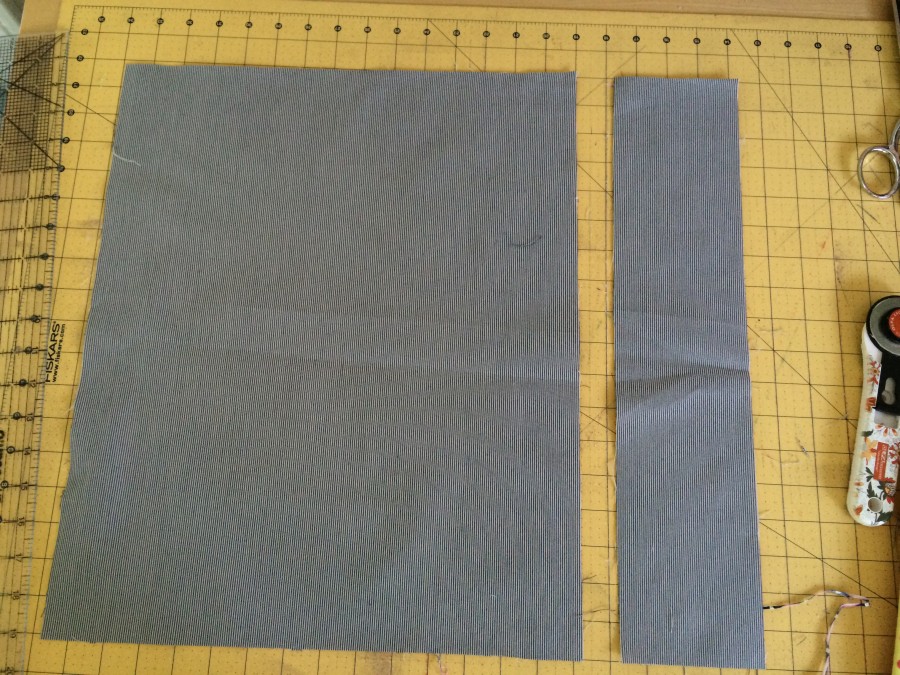
Cut the back pieces 18″ x 4″ and 18″ x 14″ x 18″
Cut the decorative flap 4.5″ x 18 ” and press in half lengthwise.
Lay then pieces out like this:
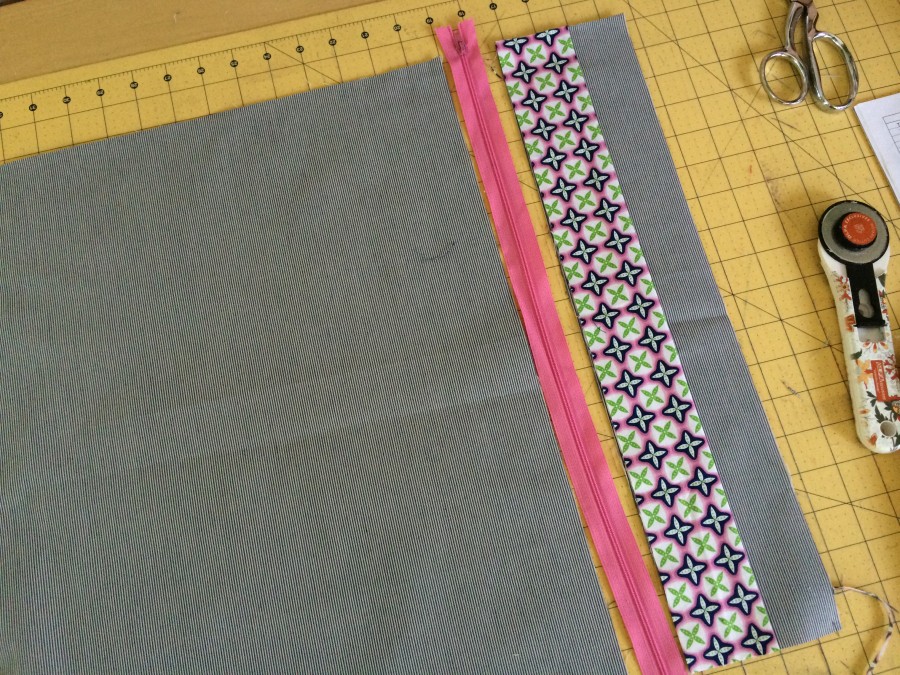
Flip the zipper over and align the edges of the larger piece and sew the zipper using a zipper food. Line up the raw edges of the flap and the 4.5″ strip of the back and sew to the opposite side of the zipper. Press. Trim the zipper to fit.
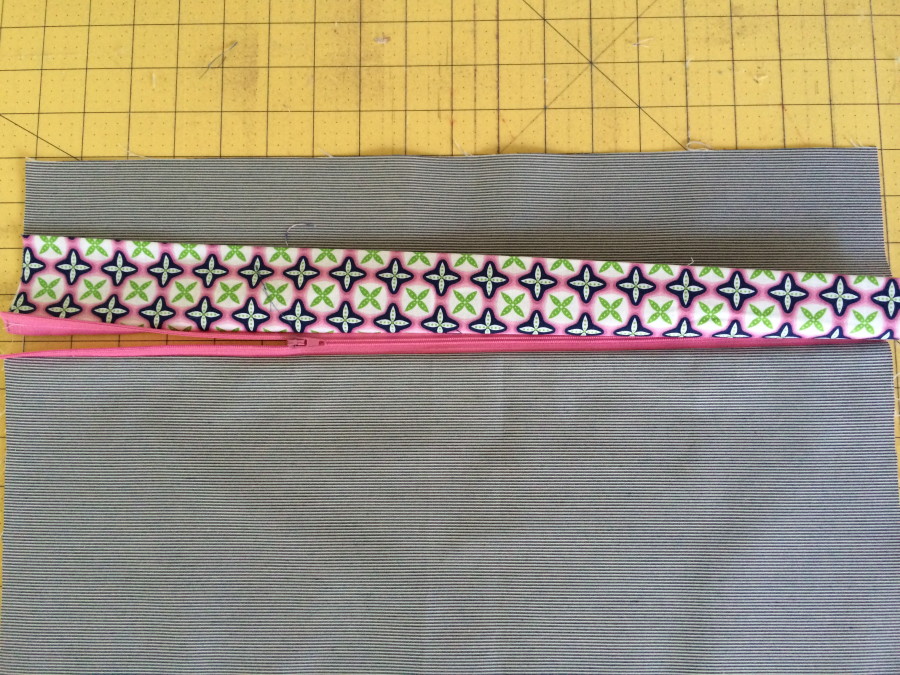
Leaving the zipper open part way, place the pillow front to the back right sides together. Sew using a generous 1/4″ seam all the way around. Turn the pillow right side out through the zipper opening. Poke out the corners and insert the pillow form.
Announcing our First Crafty Corners Contest!!

We’re kicking off a fun contest and we hope you’ll join in! We invite you to pick up our Glitter Dust™ Photo Corners and our Decorative Photo Corners to create a Crafty Corner project! Create a fun card, mini book, scrapbook page, mixed media, altered art project …the skies the limit! Then submit your project to craftycorners@thermoweb.com by August 15th! Please include your name, address, products used and 2-3 images of your project.
We’re giving away prizes for the Most Creative Out of the Box use of Photo Corners along with Best Overall Use of Photo Corners. Your project should use our Glitter Dust™ Corners and/or our Decorative Photo Corners.
And to help you get started we’re offering 25% off those products so you can get shopping now and creating!
Best of all…we’re awarding a $50 VISA Gift Card to each winner along with an assortment of our best selling iCraft Adhesives™ and Glitter Dust™ products valued at over $100! Plus the winners projects may be chosen to be used in an upcoming ad! #Craftycorners
Click here for more information on our Crafty Corners Contest!

[…] old I thought this pillow was super fun and I love the colors! My tutorial is over at the Therm O Web blog – so hop over there if you want the instructions to make your […]