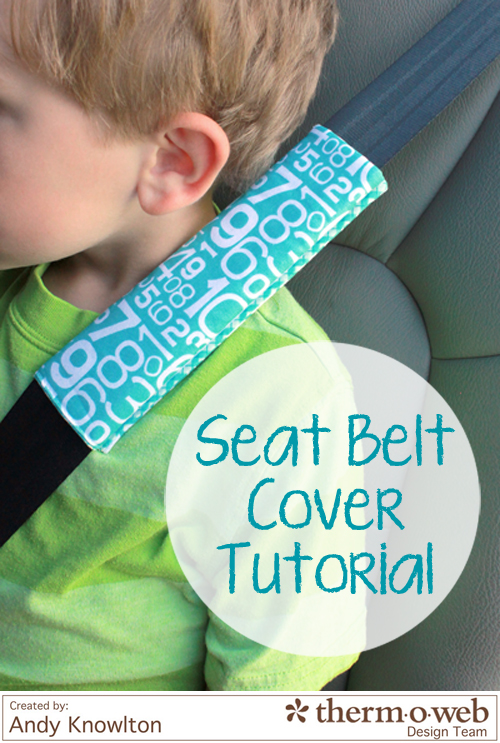
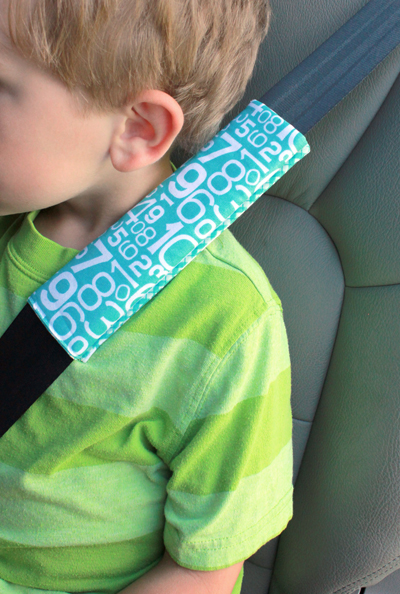
Our family is looking forward to a couple of road trips this Summer and in order to keep everyone comfortable for those long hours in the car, I’ve sewn up a couple of seat belt covers with HeatnBond® Fusible Fleece for my kiddos. These were fast and easy to whip up and I thought I’d share with you how I did it!
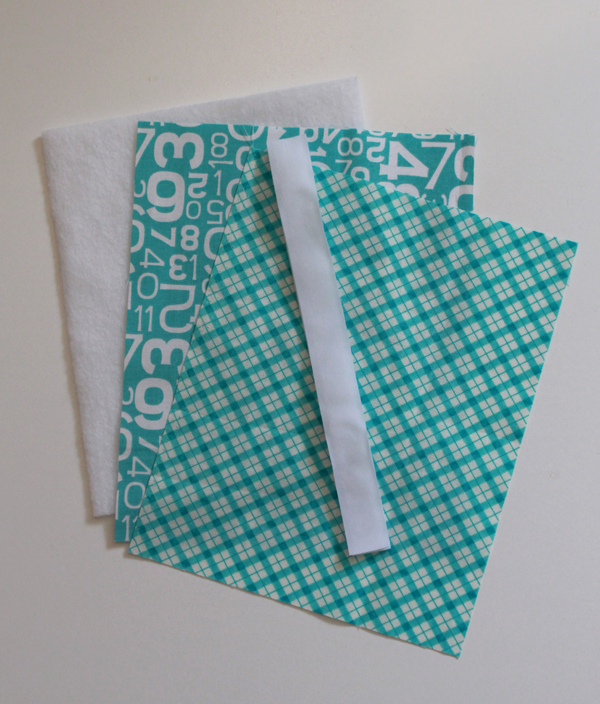
Here’s what you’ll need:
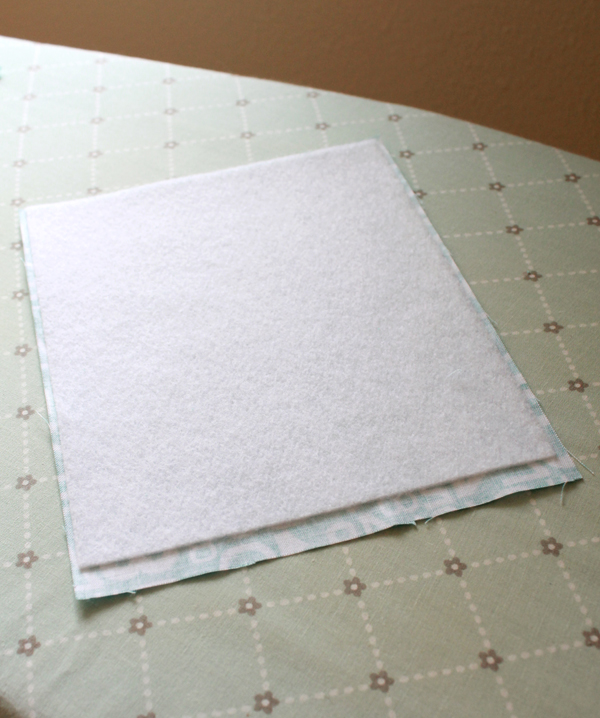
 1. Following the instructions on the package, fuse the piece of HeatnBond® fusible fleece to the WRONG SIDE of one of the fabric rectangles. Line up the fleece so that about a 1/2″ gap is left on one end of the fabric.
If you are using two different prints, fuse the fleece to the fabric that will be on the outside of the seat belt cover (from here on out I’ll refer to the fabrics as “outside” and “inside”).
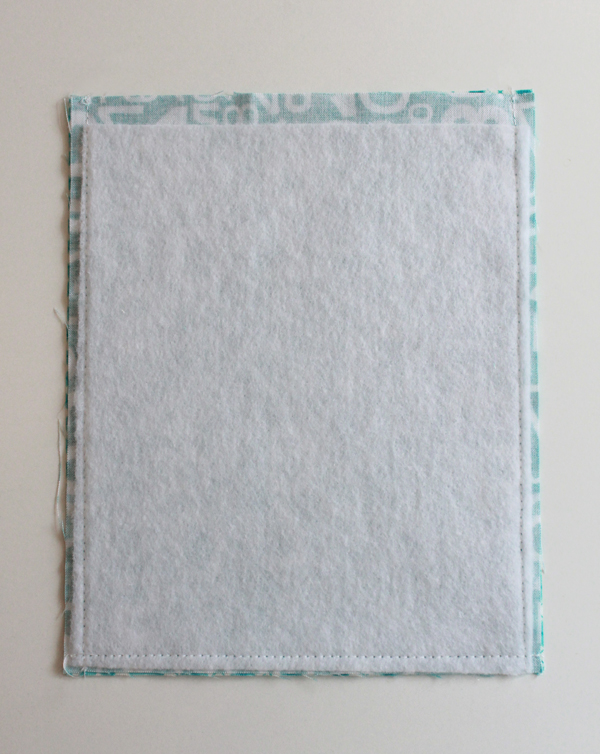
 2. Layer the two fabric rectangles right sides together. Sew around three of the sides using a 1/4″ seam. DO NOT sew along the side that has the 1/2″ gap with no fleece.
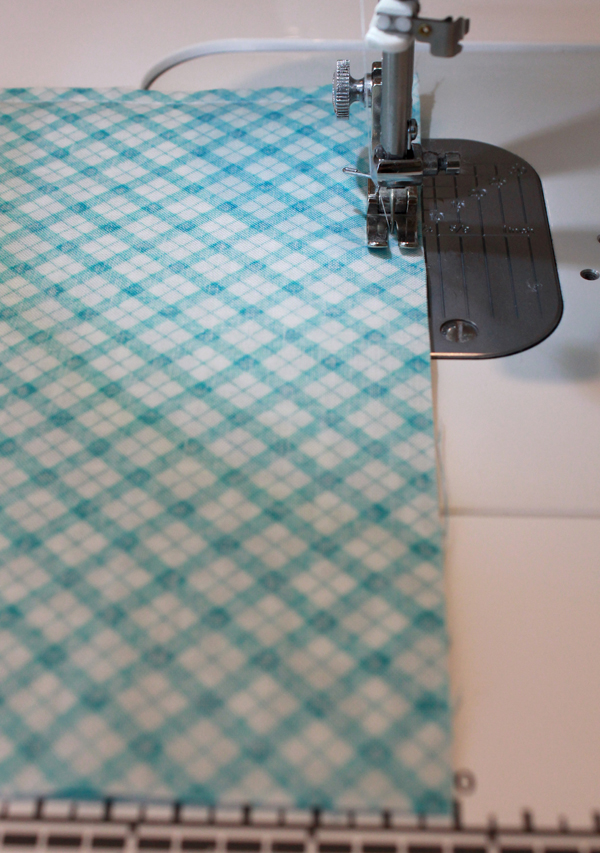 As you can see in the photo below, you may or may not have stitched over some of the fused fleece on the sides and bottom. It’s fine either way!
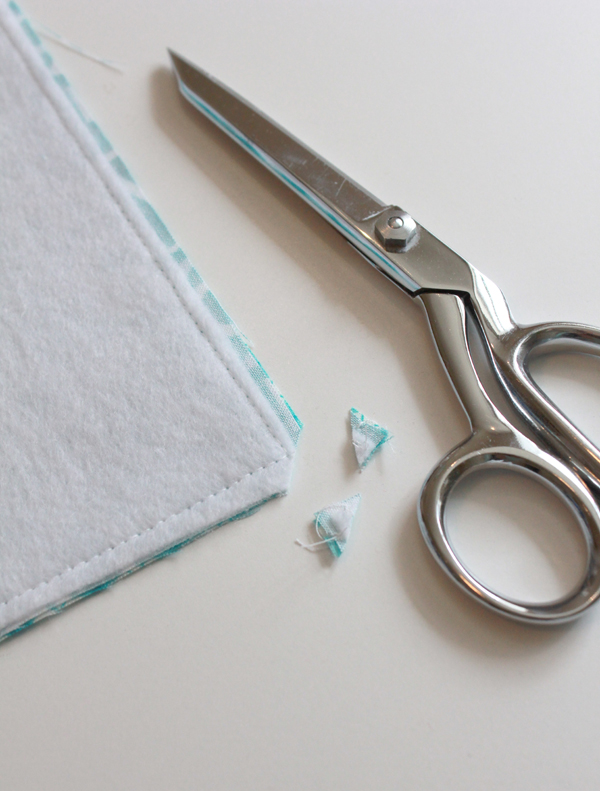
 3. Carefully clip the bottom two corners without cutting through the stitching.
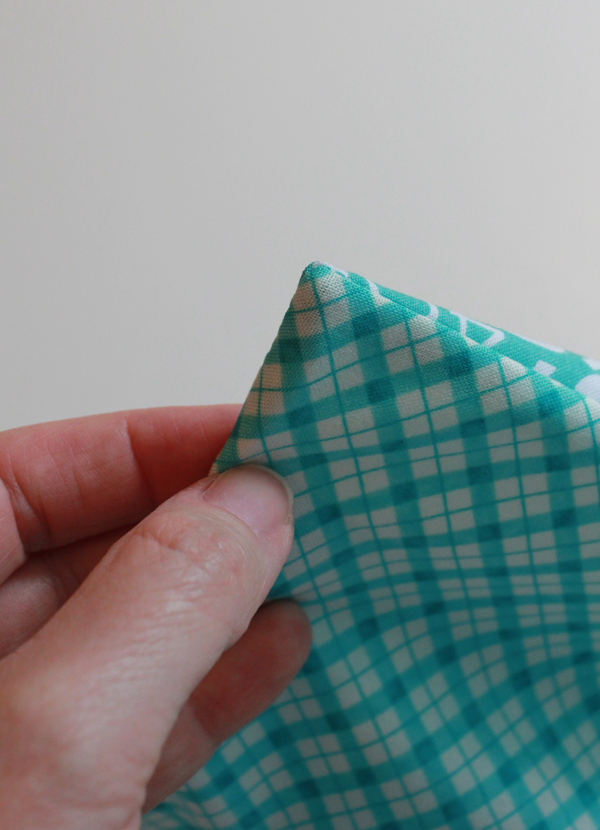
 4. Turn the cover right sides out now and carefully push out the corners to make a nice point:
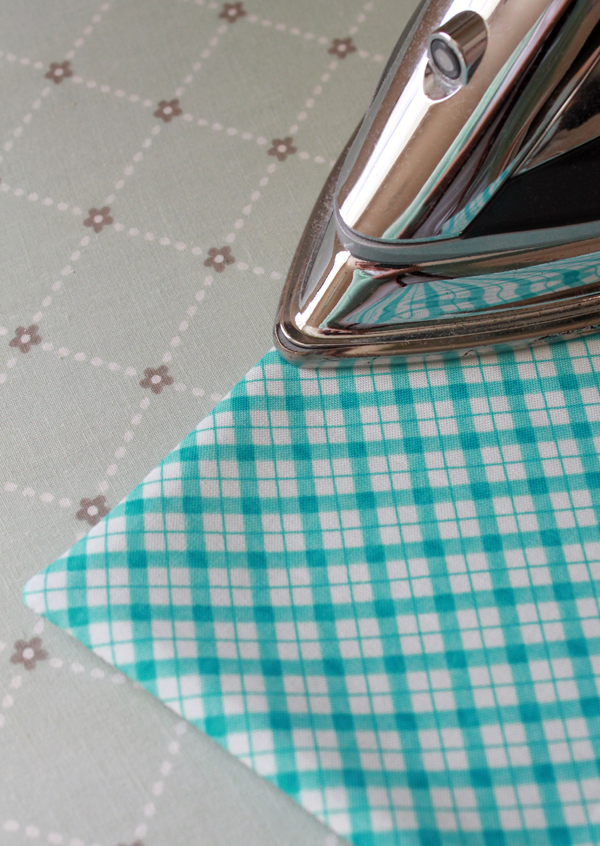
 5. Press along the three sewn edges:
 6. On the open end, fold the fabrics to the inside about 1/2″. Use the HeatnBond® Fused Fleece as a guide.
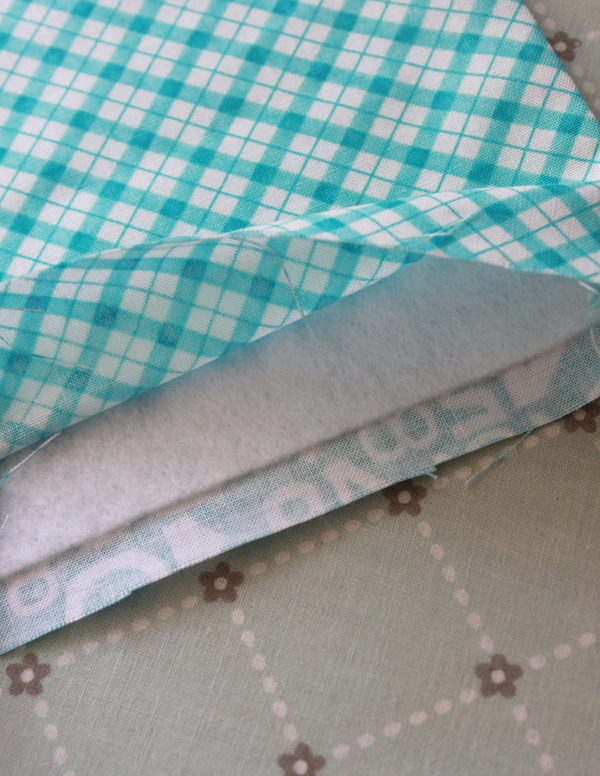 7. Press the opening well to make a nice, crisp edge and to make sure the two edges line up.
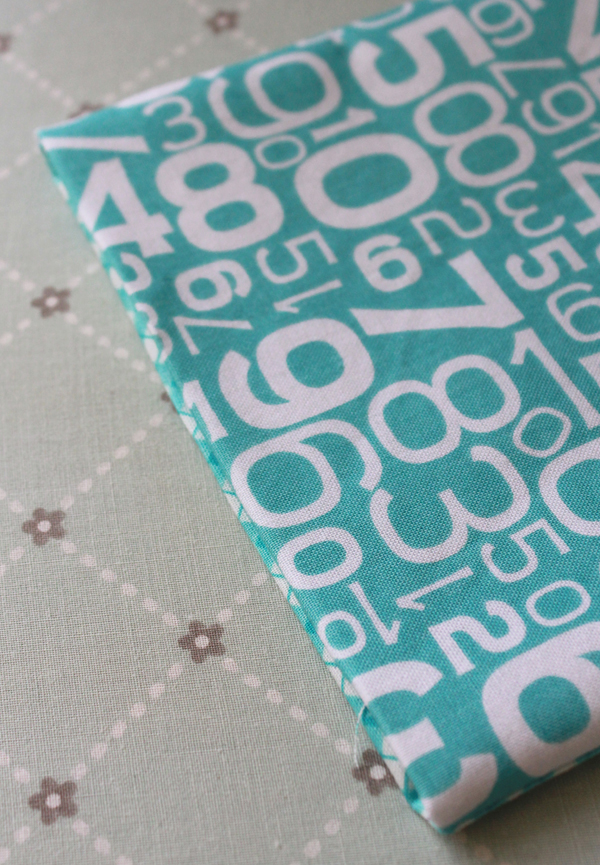 8. Top stitch along that open end to close it up.
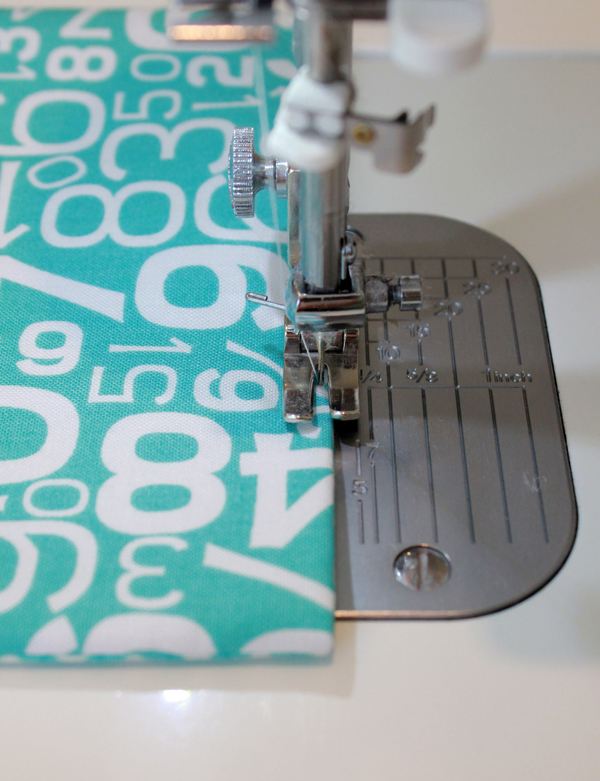 9. Using a ruler and a pencil, mark two lines on the INSIDE fabric. The first line should be 2″ in from the left edge. The second line should be 2 1/4″ to the right of the first line.
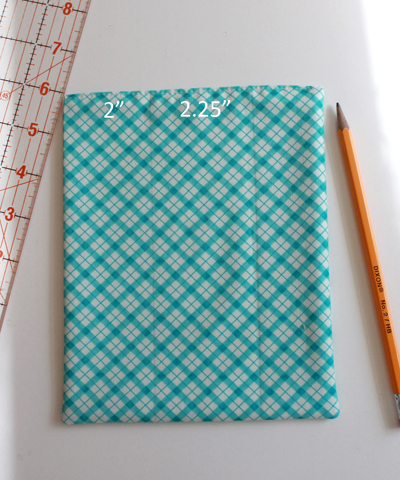 10. Using a straight stitch, sew along the two drawn lines. These sewn lines are the folding lines on the cover and will help it fold nicely around the seat belt and stay snug.
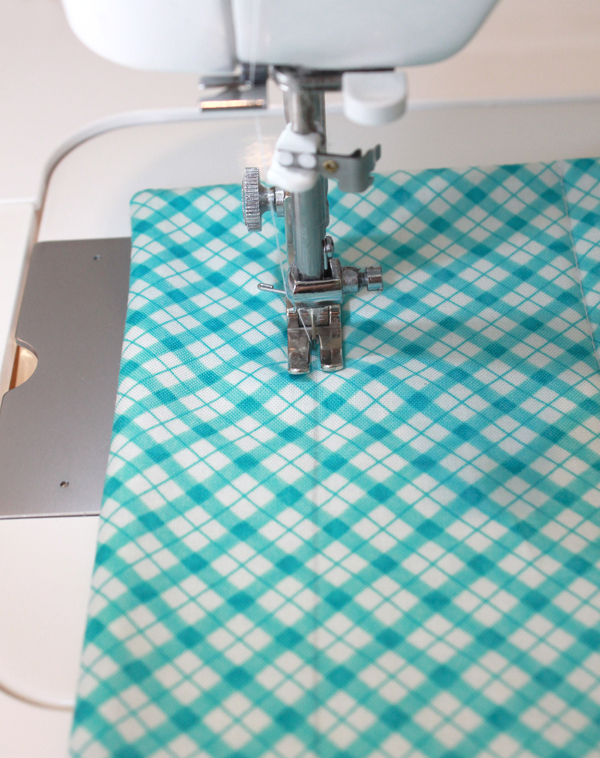 11. Measure the velcro strips and trim to be the needed length. I made mine about 1/2″ shorter than the cover. Position one of the velcro strips along the left edge of the INSIDE fabric. Sew in place.
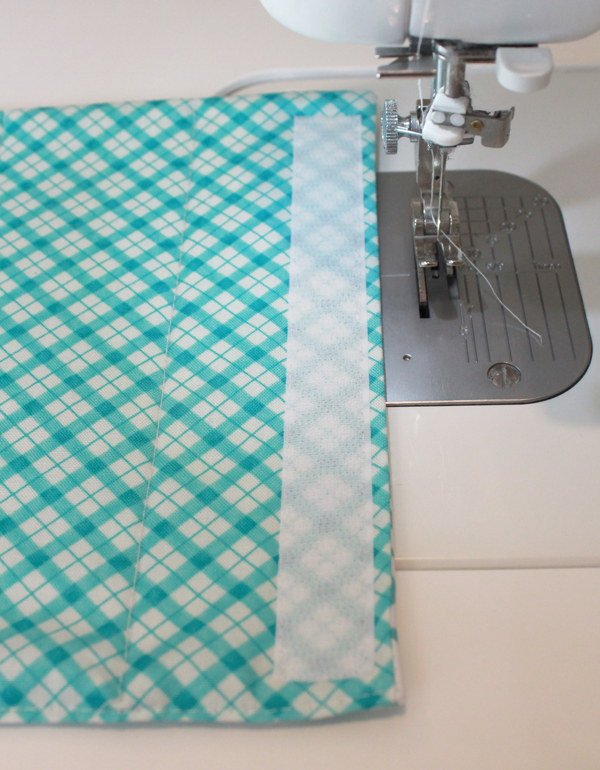 12. Next, to check the placement of the second strip of velcro, test the cover on your seat belt.
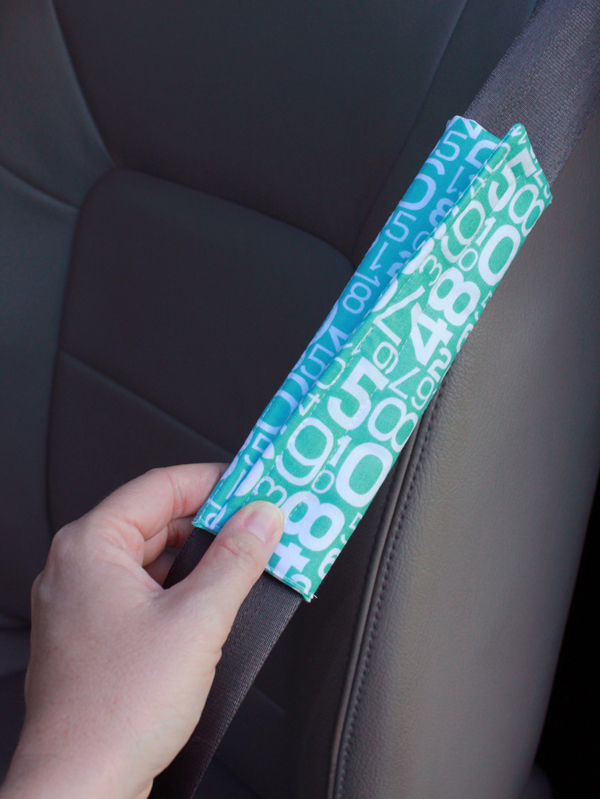 13. Sew the second strip of velcro in place (it will go on the OUTSIDE fabric.)
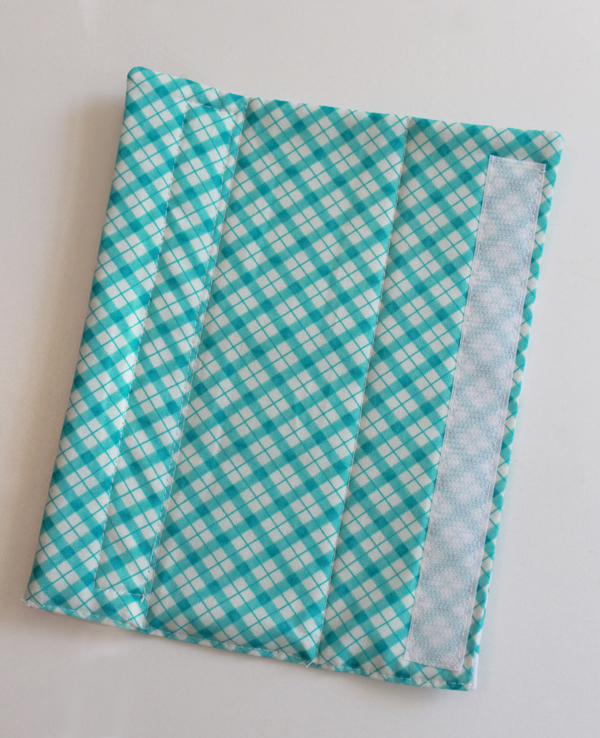
Your seat belt cover is done! My kids love their covers and will now be a lot more comfortable as we travel!
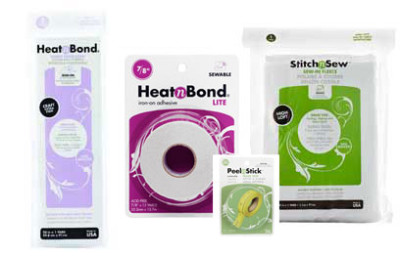 Join us all this week as we share project highlighting our Fleece! HeatnBond ®Fusible Fleece and our StitchnSew™!
And to get you ready for your next project…enter to win an assortment of our Fleece, HeatnBond® and more!
a Rafflecopter giveaway


Dora, the quilter
June 27, 2014 at 4:34 pm (11 years ago)I haven’t tried either fusible fleece, but I’ve been planning to make a cover for our seatbelts (since apparently I’ve either grown or shrunk or have just removed the winter clothing, and those seatbelt are now hitting me at an uncomfortable spot. Thanks!
Beverly
February 19, 2015 at 3:46 pm (10 years ago)Thanks for showing how you did your seatbelt covers. I am making several for my truck for my grandkids but I like your idea of using the heat and bond, I was going to use only batting. Thanks again for sharing.
Beverly Amin
March 23, 2015 at 6:38 pm (10 years ago)Thank you for sharing your seat belt covers. I have been wanting to make some for my granddaughter. Your tutorial was super easy and quick. Wow!!!!! I made her an Olaf quilt and other accessories and knew this was the perfect opportunity to do these covers with the left over Olaf flannel I had. Thank you again.
Deb Wilson
October 3, 2017 at 9:58 am (8 years ago)I have increased the length of this seat belt cover and dressed it up a bit for adult use — made 3 and shared them with my quilting group. What a hit!!! Now I have to share my pattern!!! Your Fusible Fleese is AWESOME!! These seat belt covers could become a regular thing!! People love them!!
admin
October 3, 2017 at 12:55 pm (8 years ago)Love this and love hearing how you’ve modified this Deb for adults!!
marian
May 1, 2018 at 9:53 pm (7 years ago)Just an FYI if you are doing these for a truck seat belt double check the width as I made these and they are 1″ too narrow to fit on the belts.
admin
May 10, 2018 at 6:06 pm (7 years ago)Thanks for the tip!
Ann Krull
October 11, 2018 at 6:51 am (7 years ago)I enjoyed looking at your pattern and instructions on seat belt covers.
I make my covers using pre quilted fabric it has two different fabric patterns already and quilting in between.
Makes it really simple and you get a double dose of batting and softness already super easy and I use bias tape to seal around the outside edges to give it that finished look. For lady friends, I add some “bling” sewn on to small spot of the design. They love them!!
Liz
April 1, 2021 at 5:56 pm (4 years ago)would you do the same size for a adult? If not what would the measurement be for a adult.
admin
April 5, 2021 at 1:18 pm (4 years ago)The seatbelt cover is about 8 inches in length. Depending on who it would be made for you might want to consider making it slightly longer.