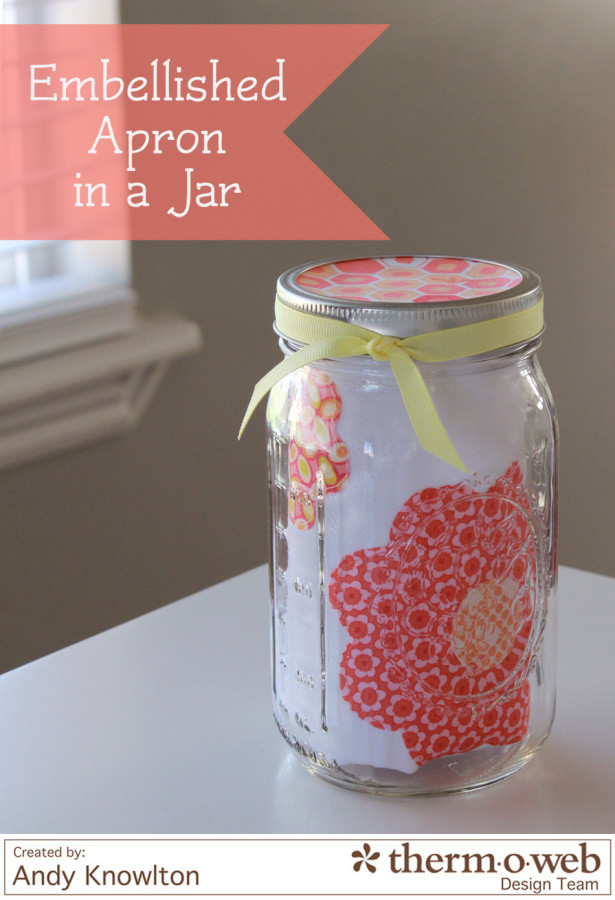
Need a quick gift for a friend? Store bought pre-made aprons are easy to personalize and embellish.
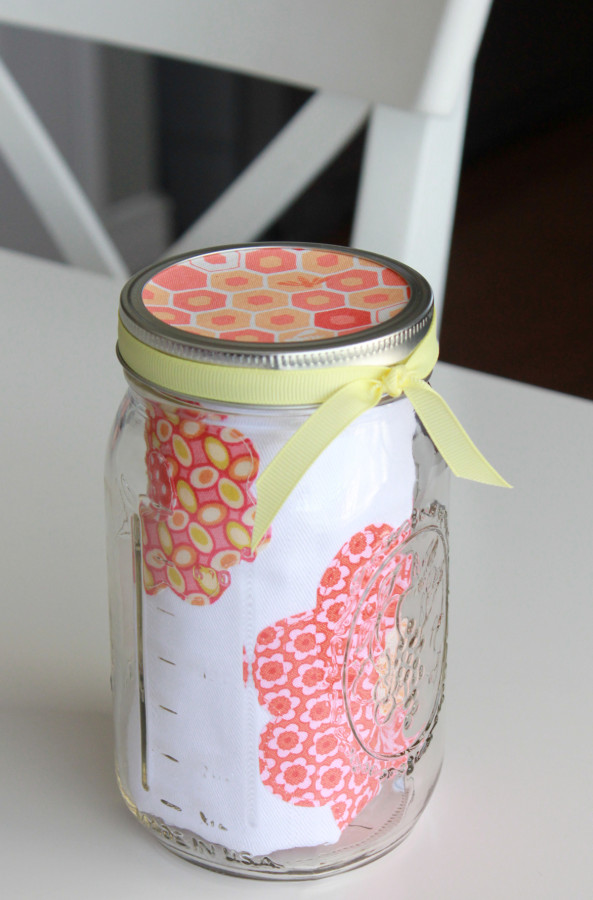
Roll one up with a favorite recipe or measuring spoons and “wrap” it in a mason jar. Within no time at all you’ll have a sweet and semi-handmade gift!
Here’s what you’ll need:
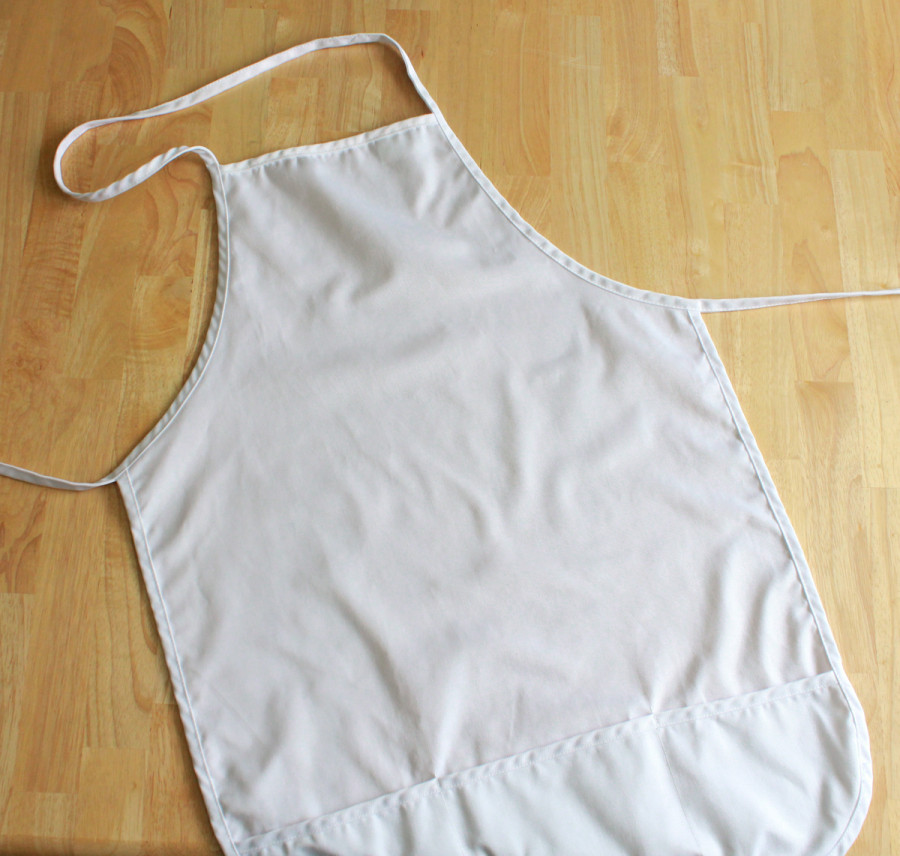
- 1 pre-made apron (or make your own!) *At several local big-box craft stores I was able to find both child and adult sizes in white, khaki and black.
- flower applique pattern (printable page)
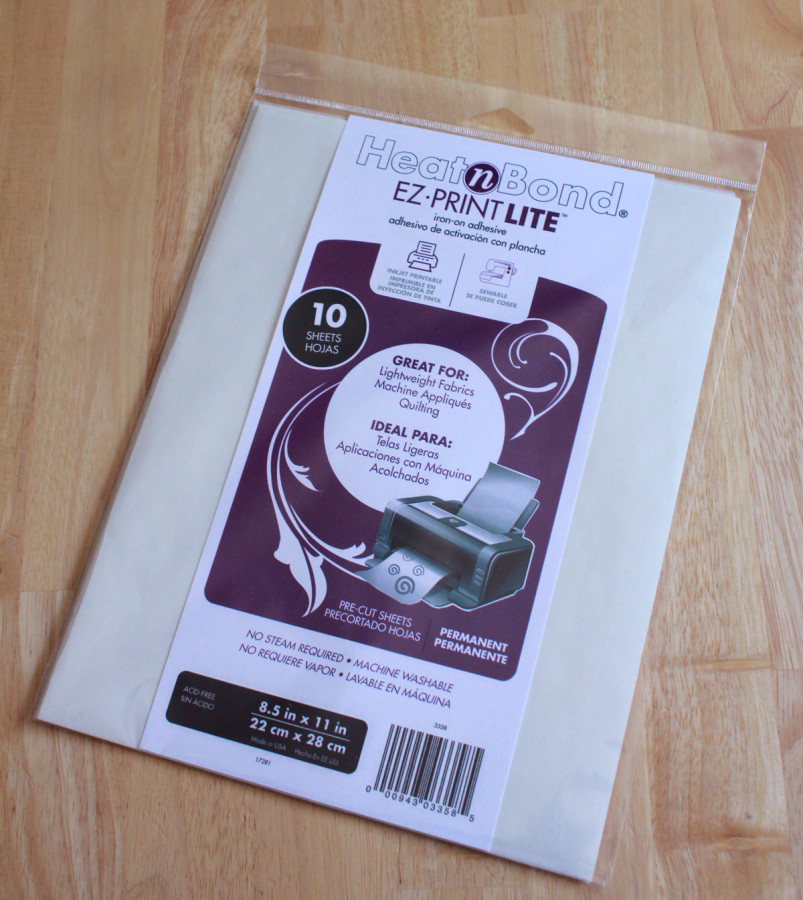
- 1 sheet of Heat n Bond® EZ Print Lite
- fabric scraps (4 or 5 scraps that are at least 5″ square)
- coordinating thread
- clean jar and lid
- ribbon
First, I recommend pre-washing your apron, then give it a nice press. As you press the apron, be mindful of the type of fabric it is made of and adjust your iron settings accordingly.
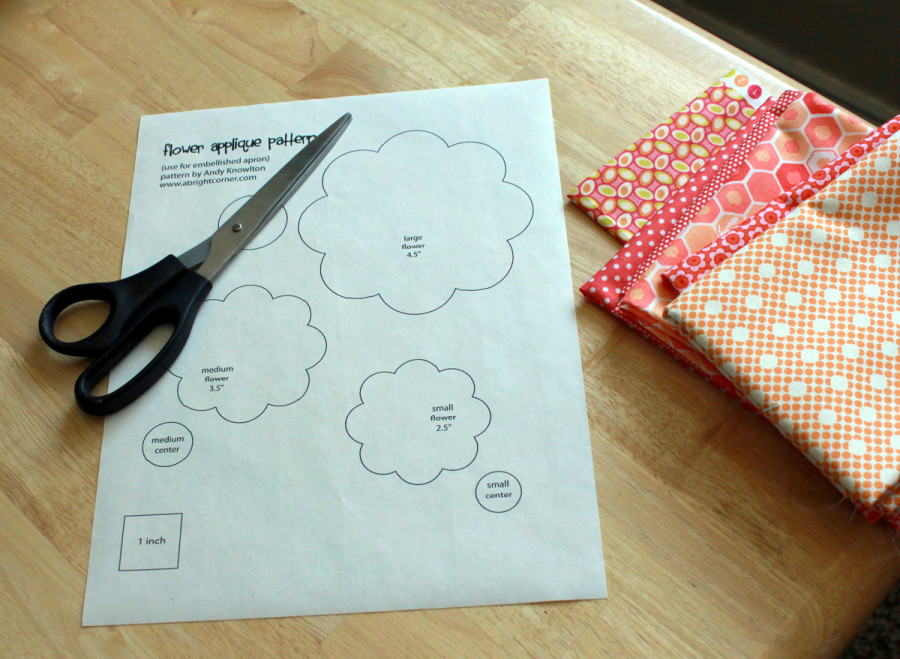
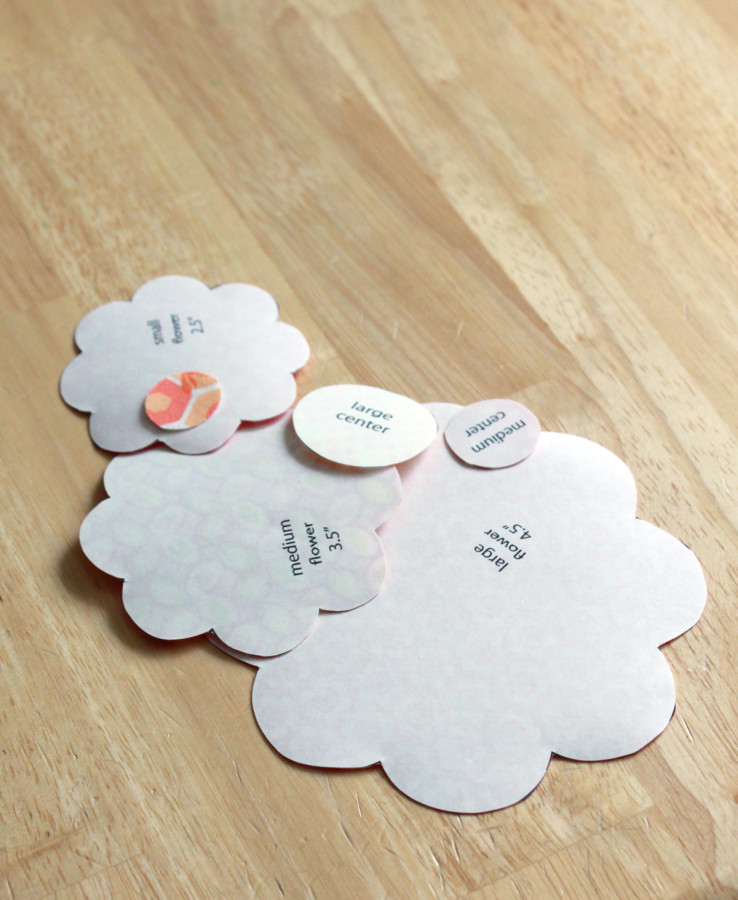
Next, print the flower applique pattern (click to download) onto a sheet of Heat n Bond® EZ Print Lite. Have you seen these? They’re fabulous! You save a step (the tracing) by being able to print directly on the Heat n Bond® Lite! Definitely a time-saver.
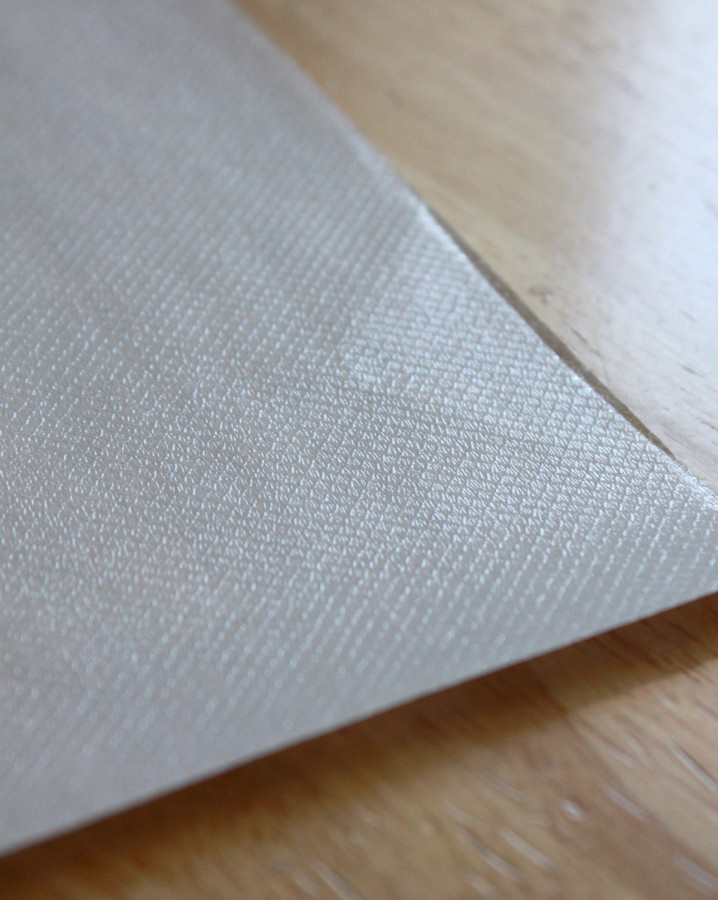
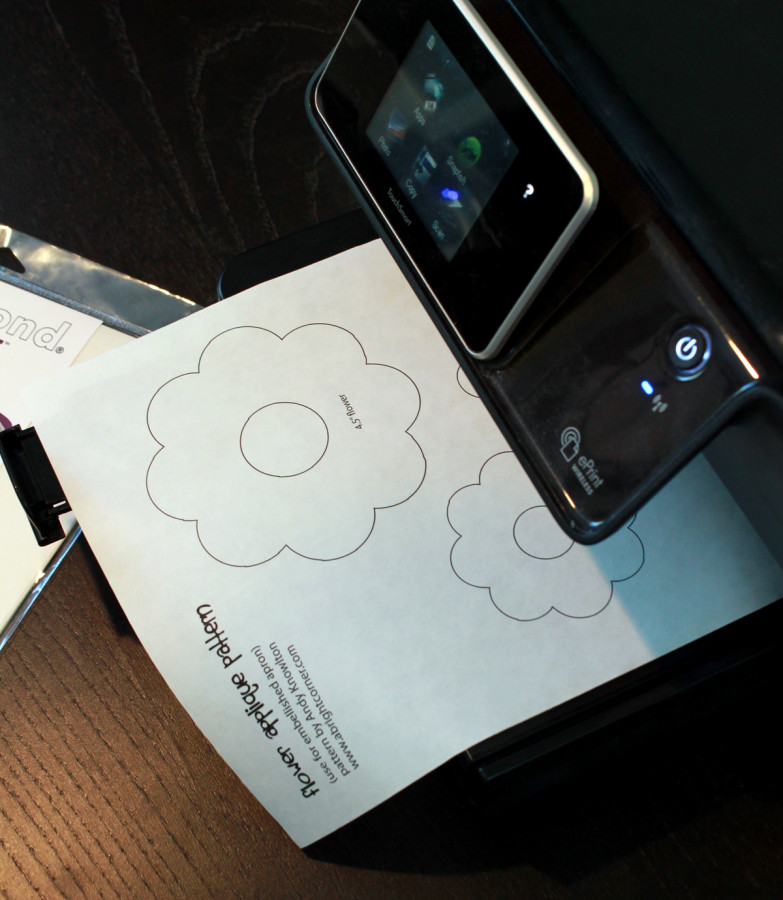
As you can see in the photo below, one side of the Heat n Bond® EZ Print Lite has some texture to it. The other side is the paper side and that’s the side you want to print on. DO NOT print on the textured side.
Remove all other paper from your printer. Then add the sheet of Heat n Bond® EZ Print Lite. Print page as you normally would. Let the sheet sit in your printer for a few seconds (5-10) to let the ink dry.
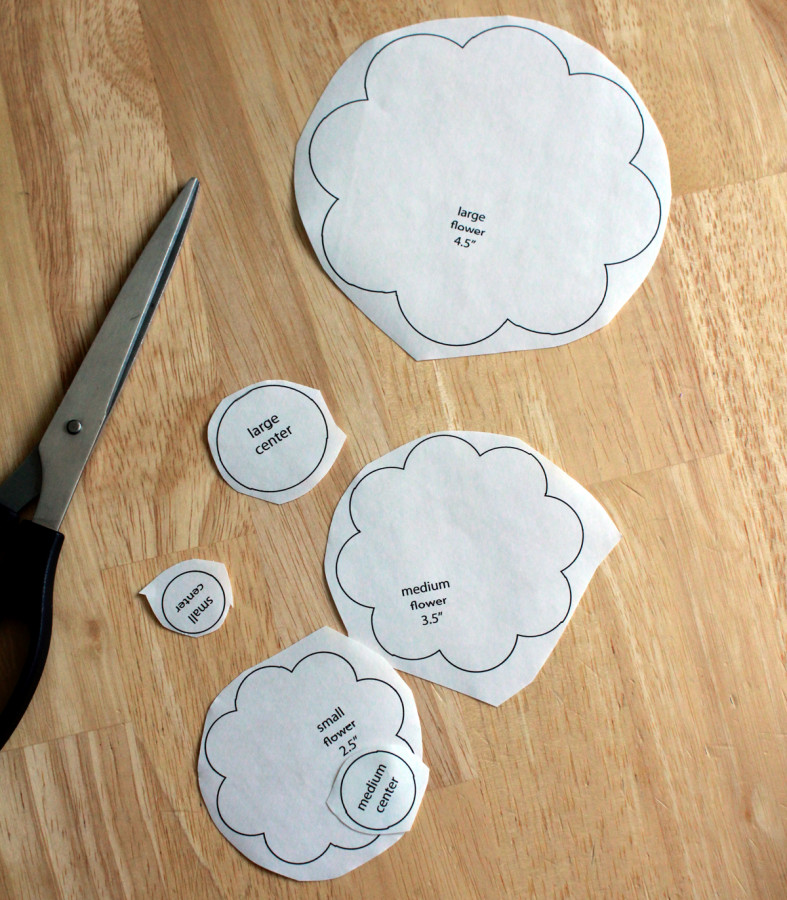
Cut around each shape, leaving at least 1/4″ around the lines.
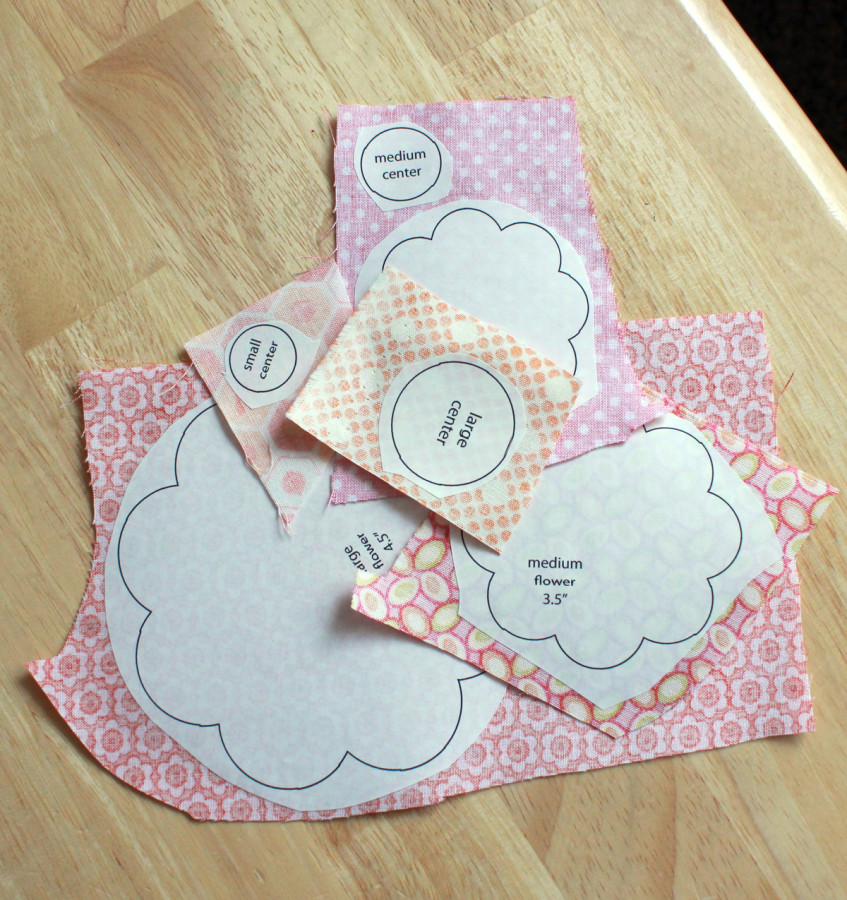
Iron each shape to the wrong side of your fabric scraps.
Then using nice, sharp scissors cut out each shape, directly on the lines this time.
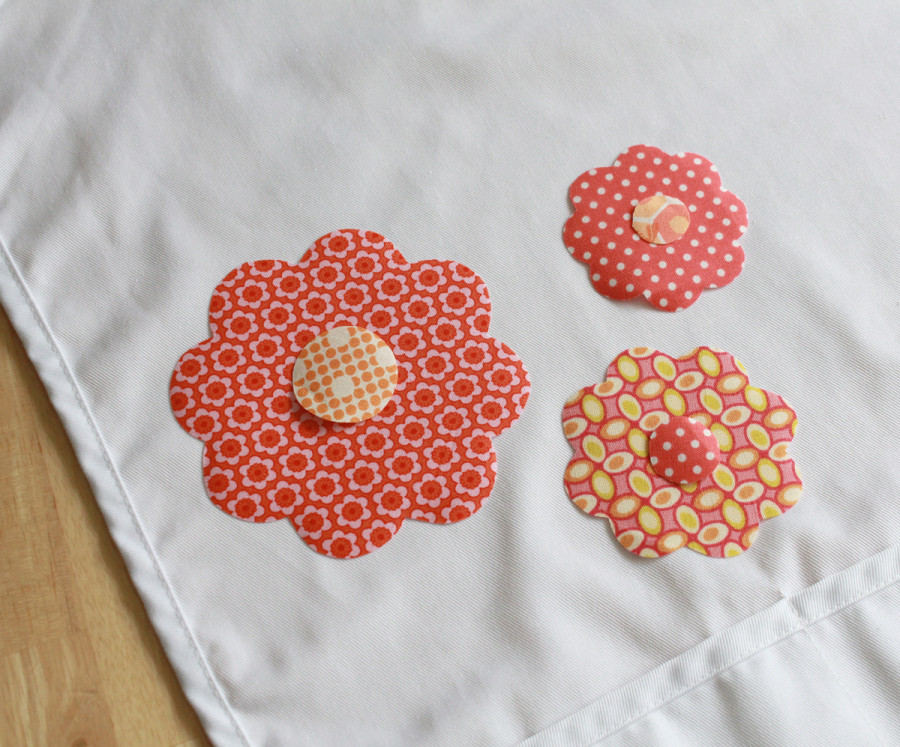
Remove the papers from the back, and place the flower shapes on the apron where you would like them. Then press into place.
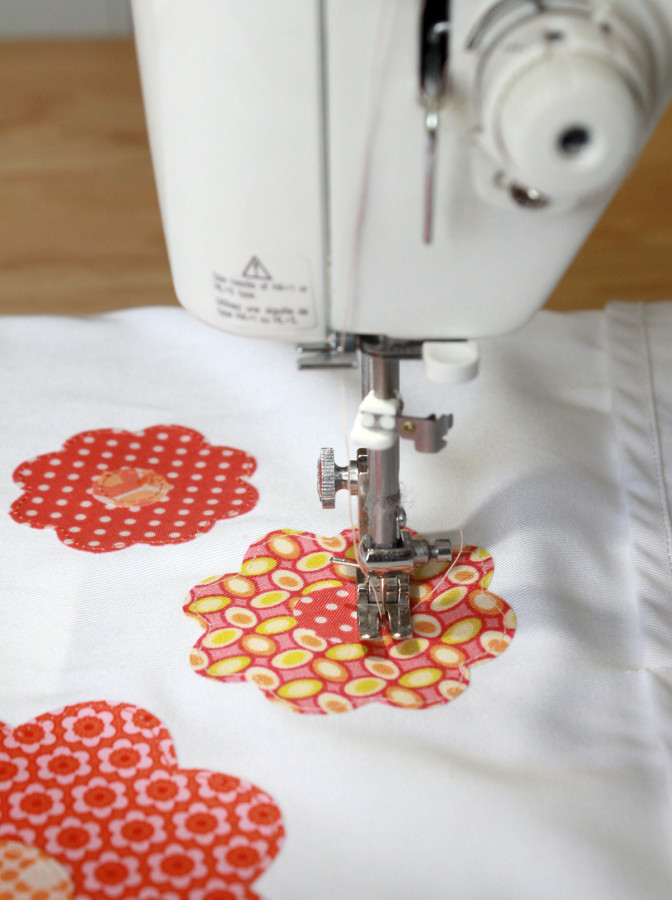
Using a coordinating thread and a straight stitch, sew around each flower shape and flower center.
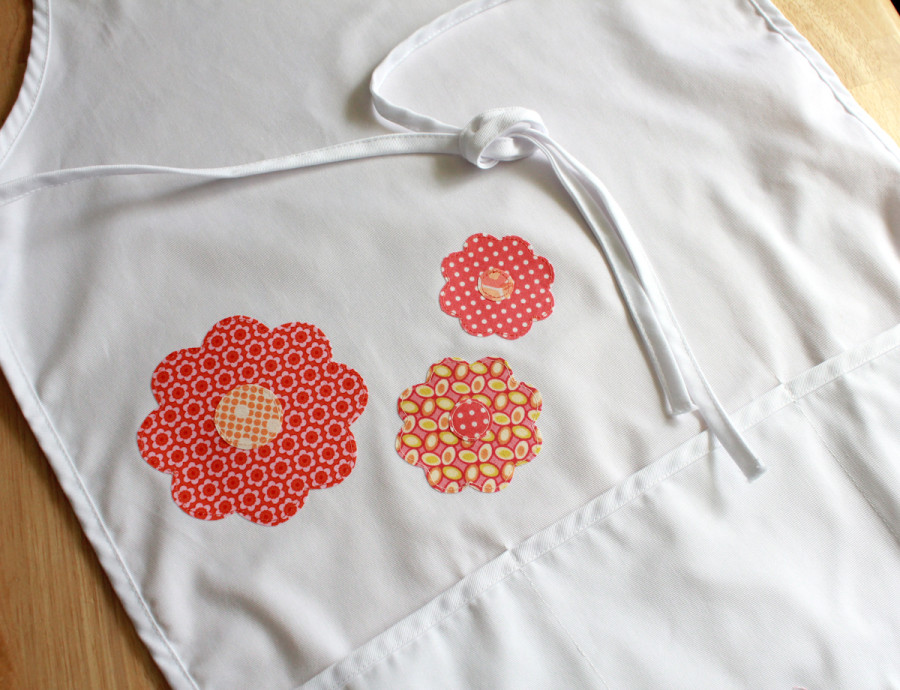
And your apron is done – easy as that!
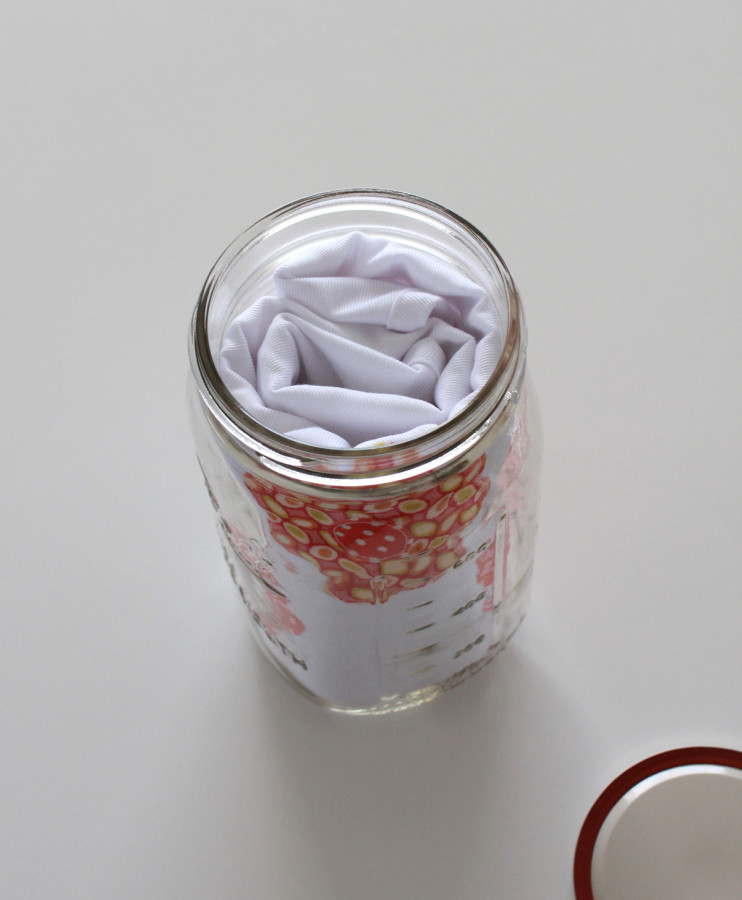
Fold and roll the apron until it fits nicely in the mason jar.
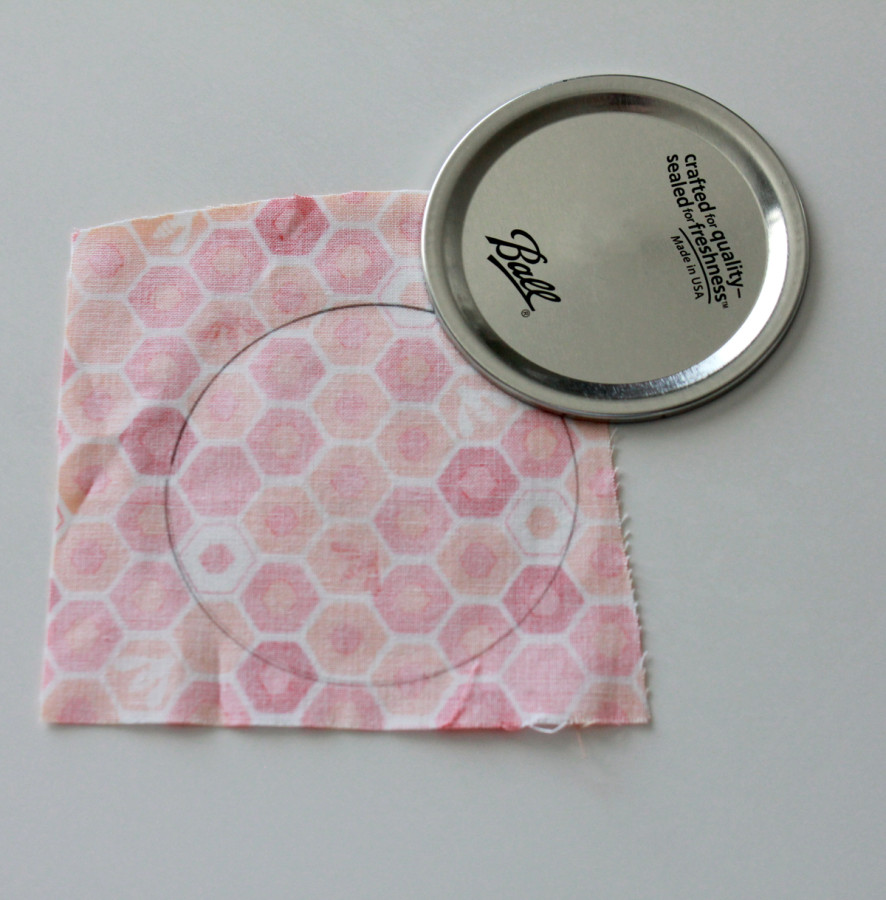
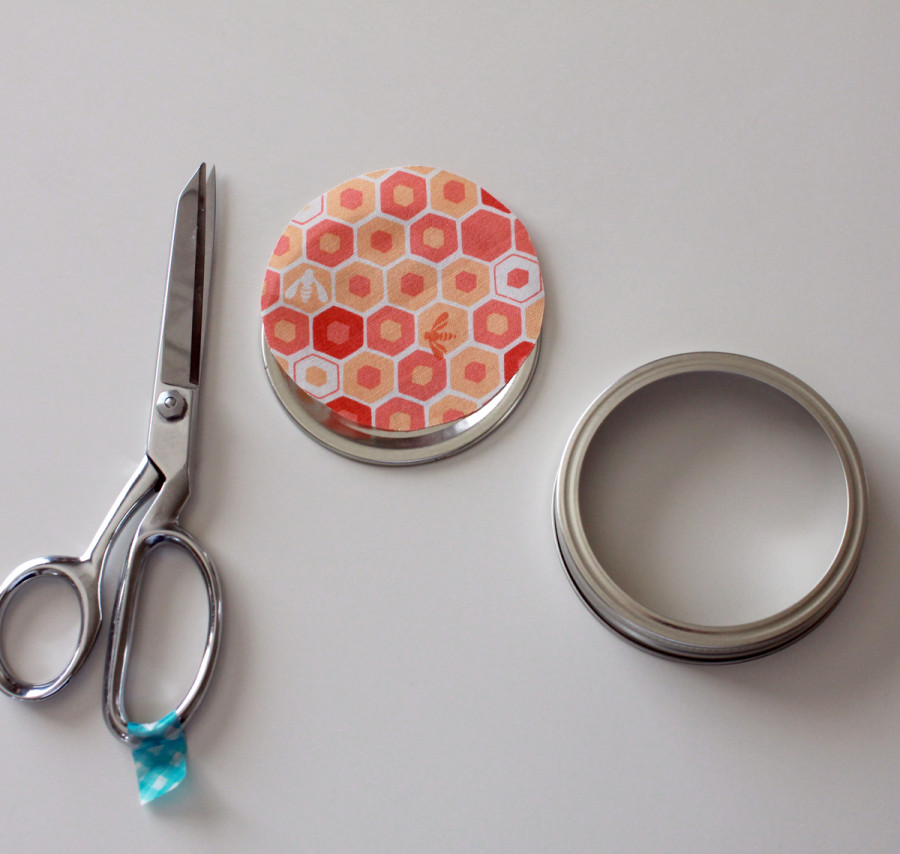
Using a fabric scrap and a pencil, trace the lid to the wrong side of the fabric. Cut out along the traced lines. Place the fabric circle over the metal lid and replace the ring. There’s no need to glue this in place – the ring will hold it securely enough.
Add a ribbon to the jar and it’s ready to give to your favorite chef!
One final note: You can use this technique to applique other images to an apron. Just keep in mind that if you are printing letters or another (non-symmetrical) image on to the Heat n Bond® EZ Print Lite, you must first use your computer to create a mirror image before printing. That will ensure that the letters are the right direction once fused to the apron. This wasn’t an issue with the flowers since they are non-directional.
7 Comments on Easy Embellished Apron in a Jar
1Pingbacks & Trackbacks on Easy Embellished Apron in a Jar
-
[…] You’ve probably seen mason jars used to package gift mixes, but you can also use mason jars to package other gift items – like this embellished apron. Andy Knowlton shares a tutorial at Therm O Web showing how to make one. They start with a plain apron purchased at a craft store, and then use fusible webbing to add fun appliques. This would make an awesome end of year gift for a favorite teacher! Go to Therm O Web for the tutorial. […]

Heather Thompson
April 23, 2014 at 4:41 pm (11 years ago)This is so neat, what a great gift Idea.
admin
April 25, 2014 at 10:25 am (11 years ago)We agree! Thanks for the comment Heather!!
Roie G
April 25, 2014 at 10:09 am (11 years ago)And those of you who do Machine Embroidery can personalize the apron even more. What a GREAT idea. Thanks for sharing!
admin
April 25, 2014 at 10:24 am (11 years ago)Absolutely…glad you liked the project!
Sasha Kamfiroozie
April 29, 2014 at 1:00 am (11 years ago)Wow! This is so cool!
The Funster
May 1, 2014 at 9:07 pm (11 years ago)What a simple yet great gift idea. This is really easy to make and it will really make someone happy. Thanks so much for the great idea!