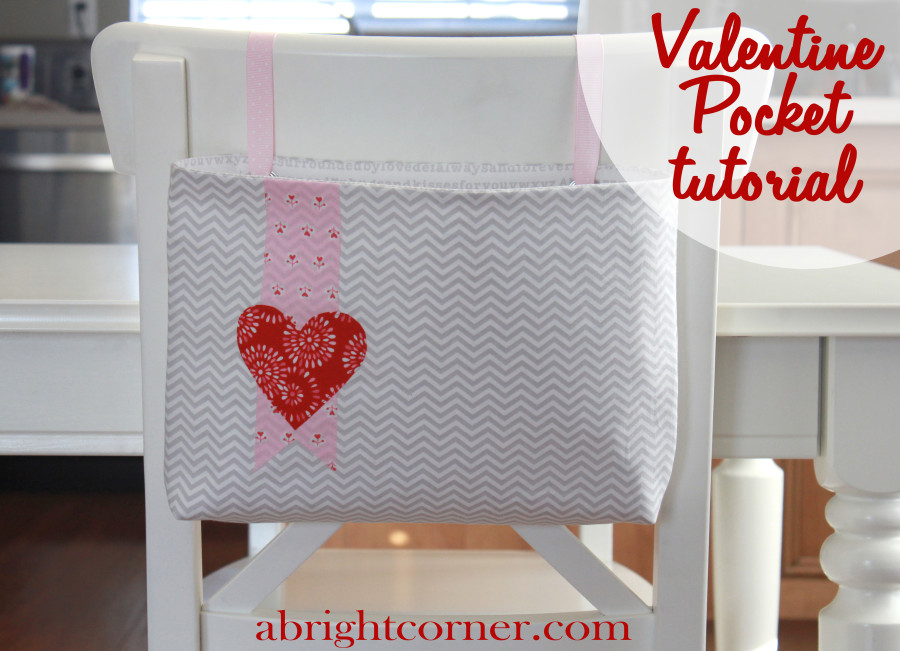
Hello everyone! My name is Andy Knowlton from A Bright Corner and I’m excited to share this Valentine Pocket tutorial with you!
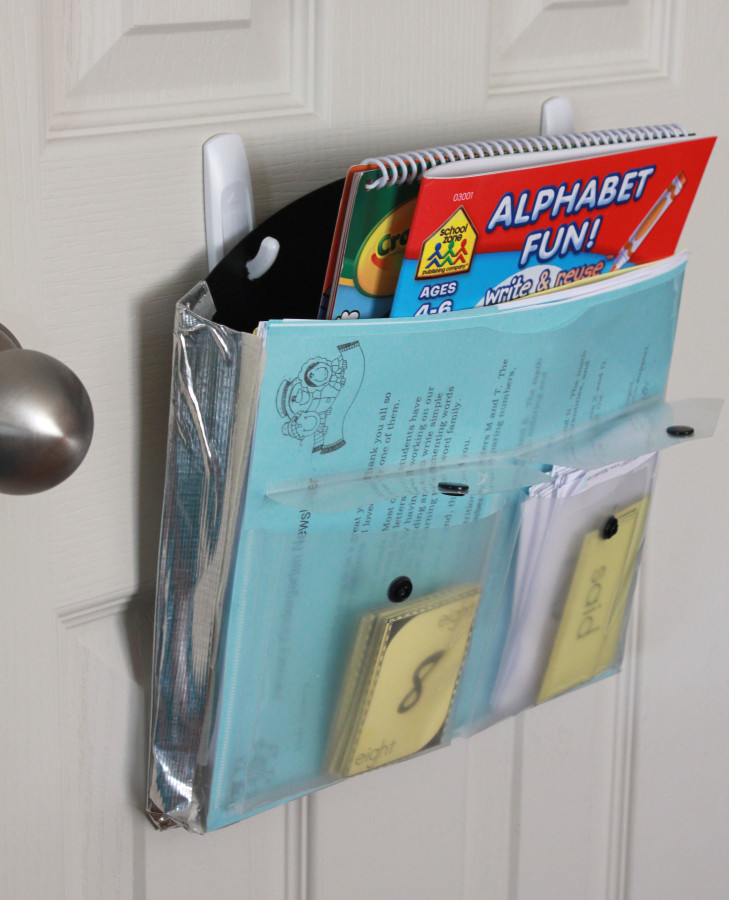
Today I have two tutorials in one! Let me explain- Inside our coat closet we have these four plastic folders hanging from hooks. There’s one for each of us and we use them to hold school papers, schedules, important receipts and such. These simple folders do a marvelous job of keeping our household’s papers in check. As you can see, they take quite a beating.
My youngest son’s folder has been taped back together multiple times. Time to replace them!
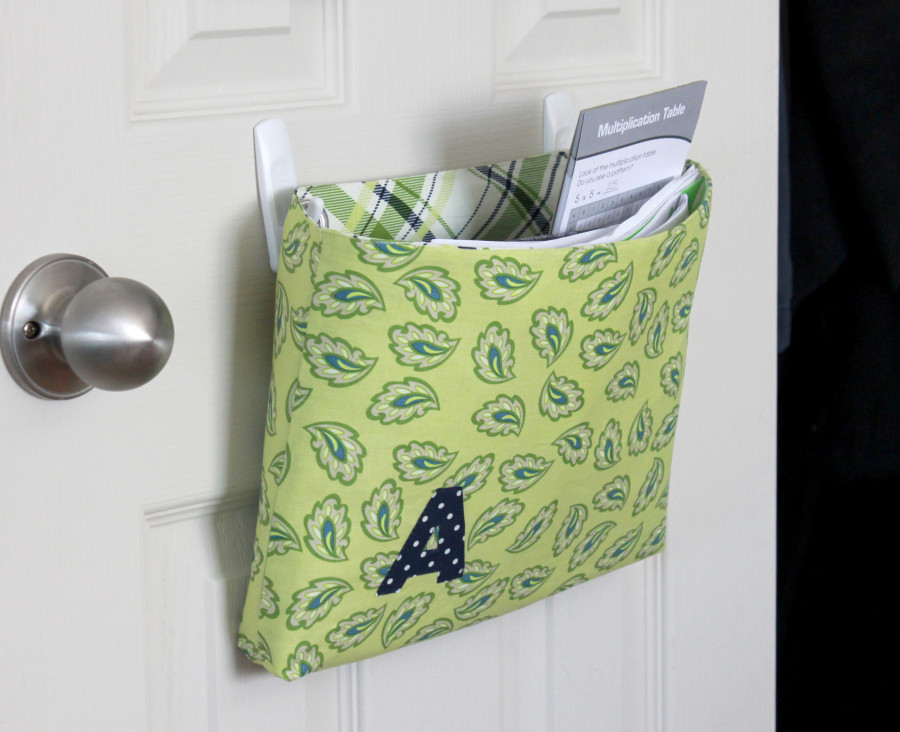
I made each of us a new wall pocket, with just a simple monogram in the corner.
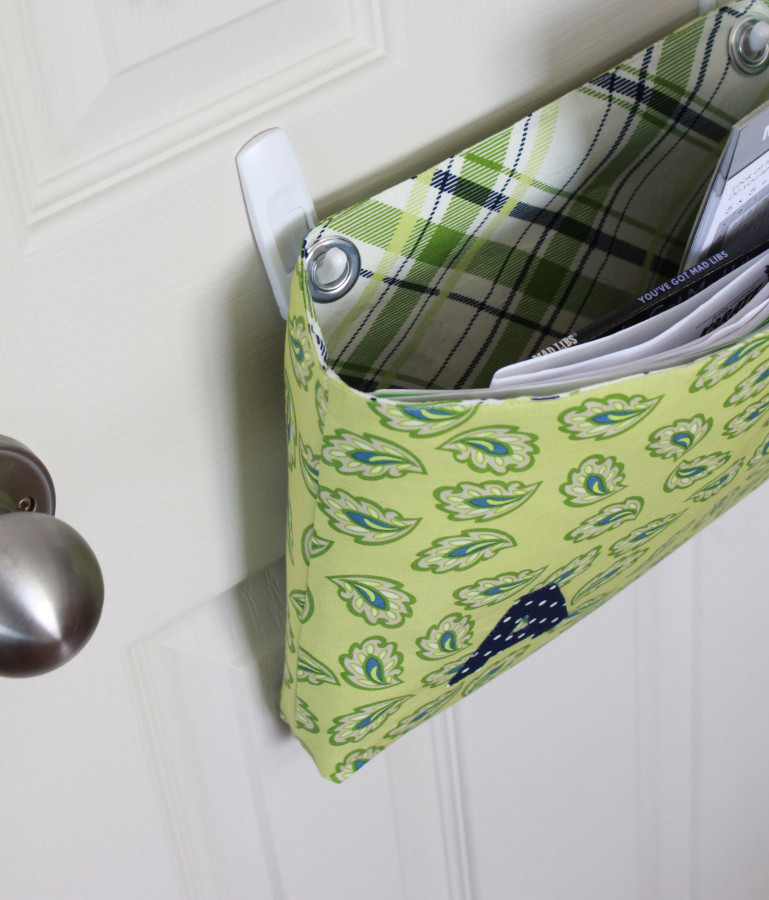
Later, as I was Pinterest surfing, I saw some adorable Valentine bags and realized that this organizer wall pocket tutorial could be used to create a great Valentine pocket as well! These can be hung either using hooks and grommets, or using a ribbon or two – it’s up to you!
Valentine Pocket Tutorial
Let’s get started!
Supplies:
- 2 fat quarters (one for outer pocket, one for lining)
- fabric scraps for applique pieces
- HeatnBond® Lite
- HeatnBond® Craft Fusible Extra Firm Interfacing
- two grommets (optional)
- ribbon (optional)
- Valentine Applique Shapes pattern sheet
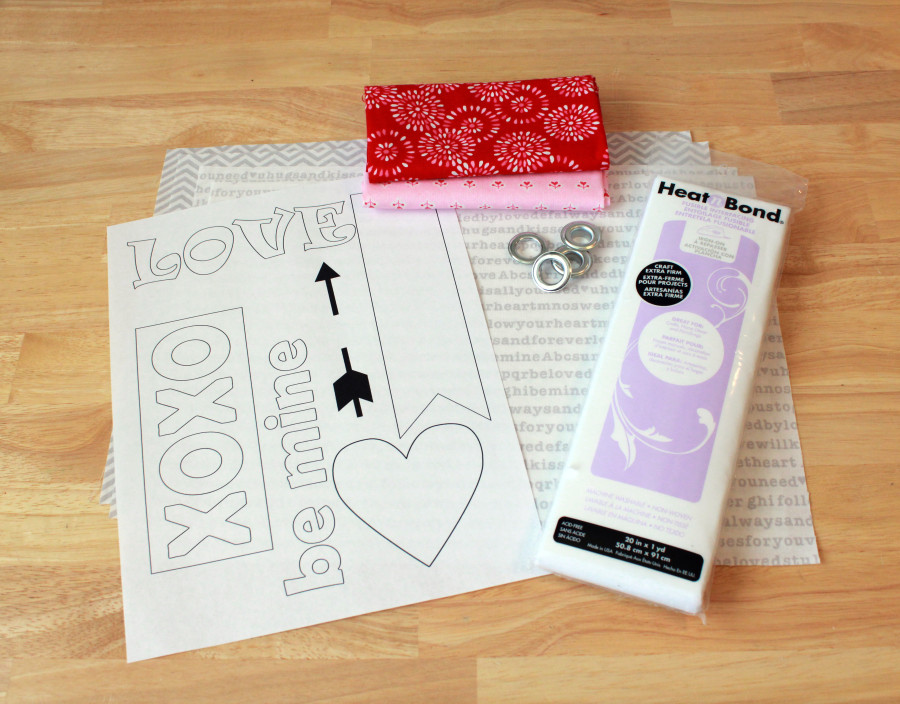
Valentine Pocket Tutorial Instructions:
First of all, if you’re making the Valentine pocket you’ll need to download the Valentine Applique Shapes pattern sheet. This sheet gives you several options for embellishing the pocket – choose one, or combine several!
From both of the fat quarters cut two rectangles that measure 10″ x 13.5″. From the interfacing cut two rectangles that measure 9.5″ x 13″
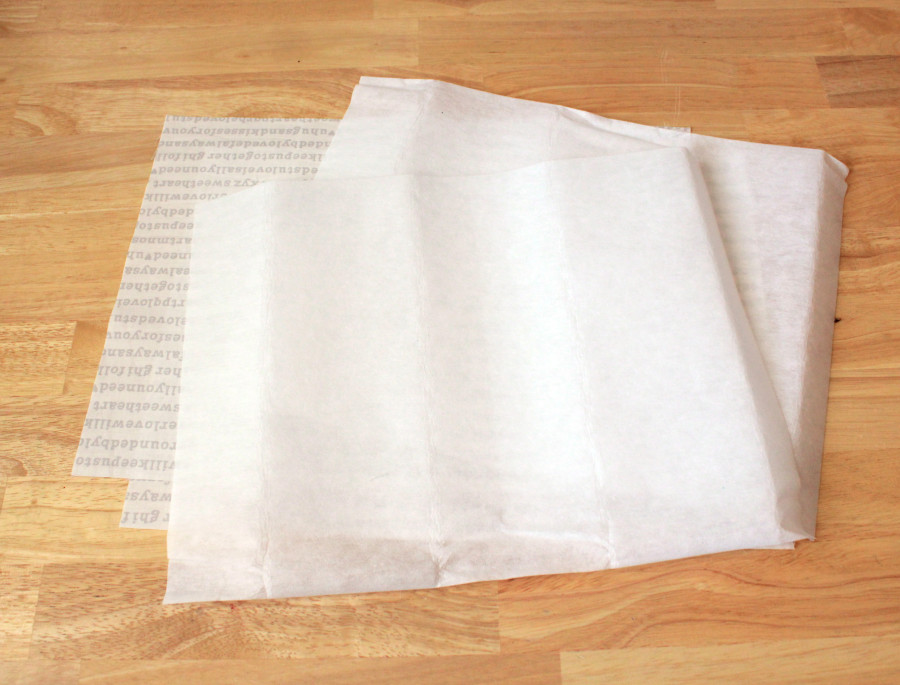
Following the instructions on the package, iron the fusible interfacing to the wrong side of each of the lining pieces, leaving about 1/4″ all the way around.
Place the lining pieces right sides together, matching corners. Pin in a few places. Sew together along the sides and bottom using a 1/4″ seam and leaving a 4″ opening on the bottom edge. This is important because this opening will be used to turn the pocket right sides out in a later step!
Trace the desired applique shapes onto the HeatnBond® Lite. Iron on to the wrong side of the fabric scraps and cut out shapes.
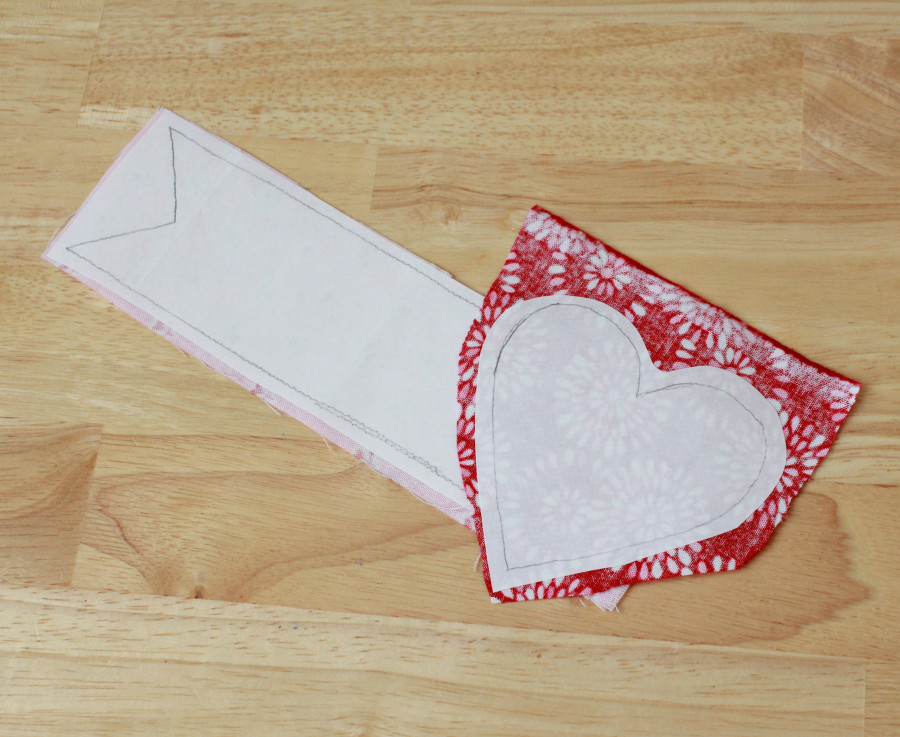
Peel off paper backing and place shapes on one of the outer pocket rectangles. Iron in place. For the Valentine ribbon and heart appliques shown in the photos, place the ribbon about 3″ in from the left edge of the pocket.
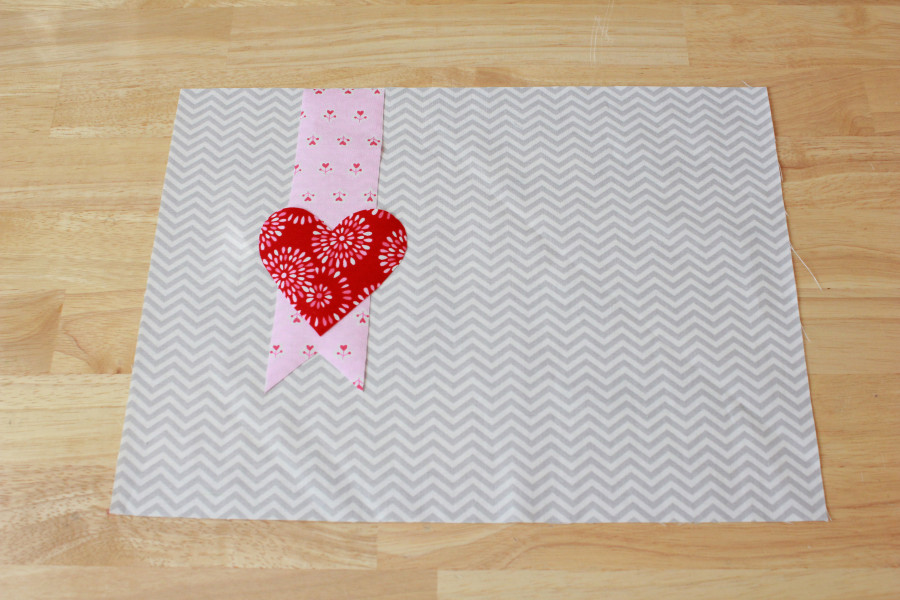
Using coordinating thread and a straight stitch, sew along the outside edge of each applique piece.
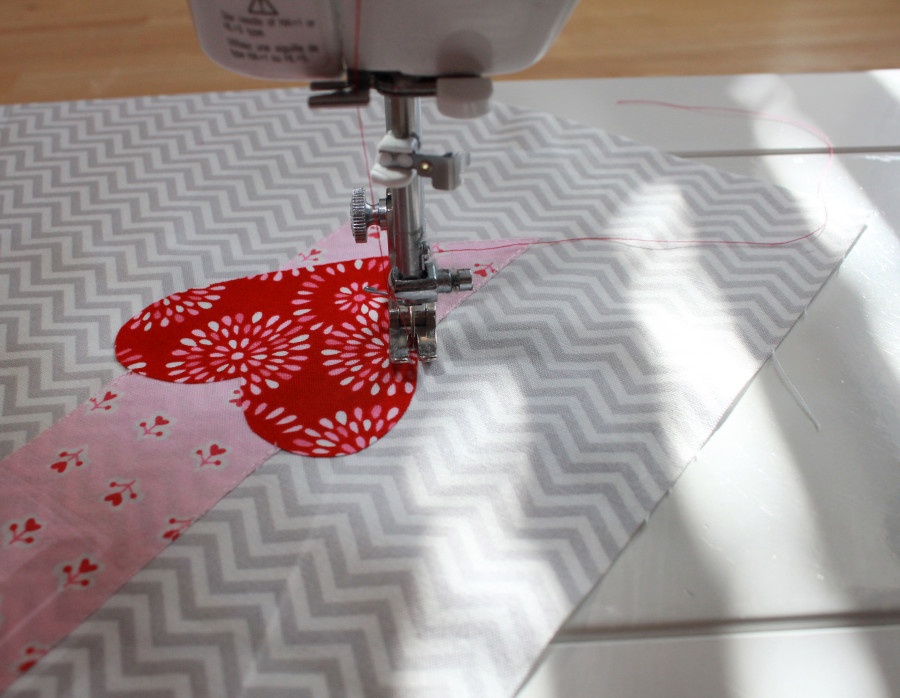
Place outer pocket pieces right sides together, matching corners. Pin in a few places. Sew together along the sides and bottom of pocket using a 1/4″ seam.
Next we will box the bottom corners – On the bottom two corners of the pocket lining, draw a 3/4″ square and carefully cut out using sharp scissors (rotary cutter not recommended here).
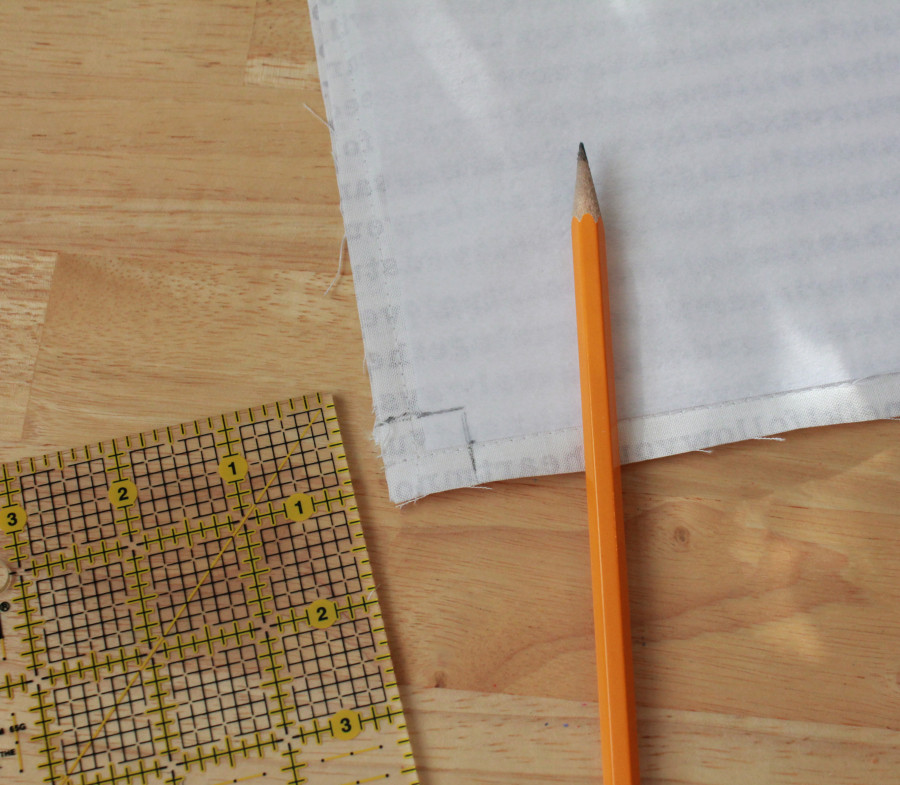
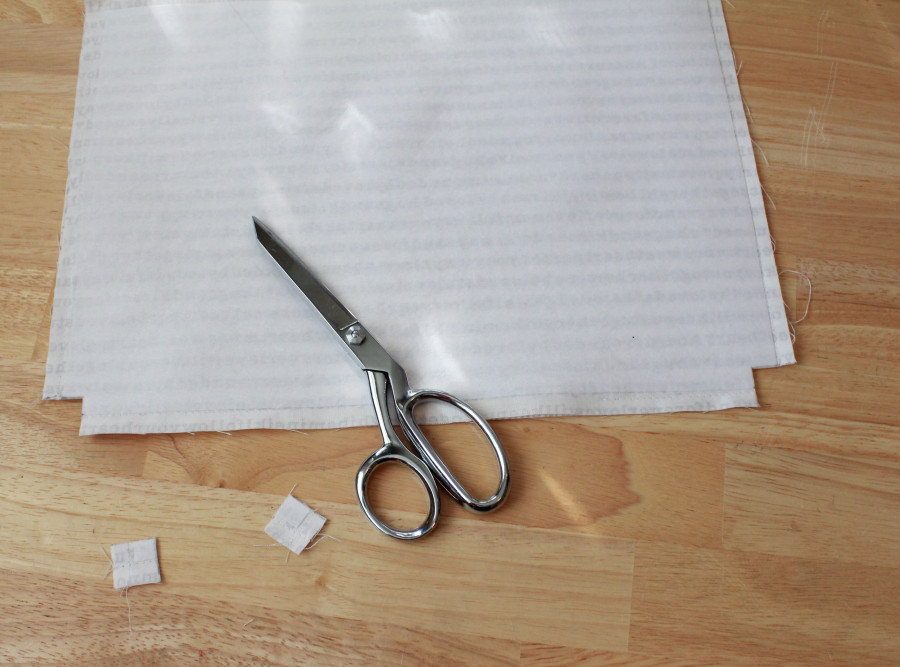
Repeat for the bottom two corners of the outer pocket.
Open that cut area and fold so that the seams match.
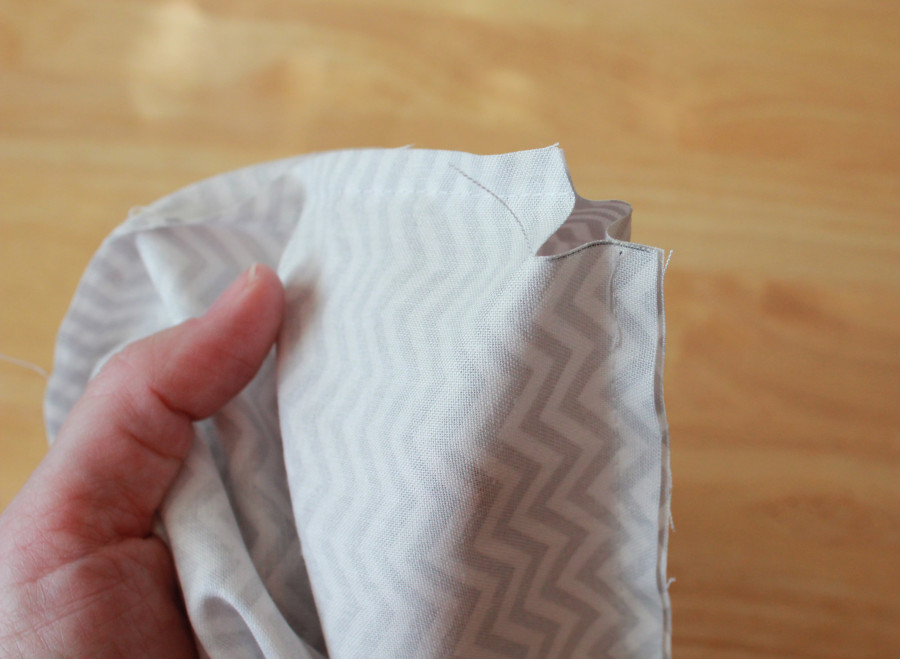
Sew along that edge using a 1/4″ seam. Repeat for all bottom corners.
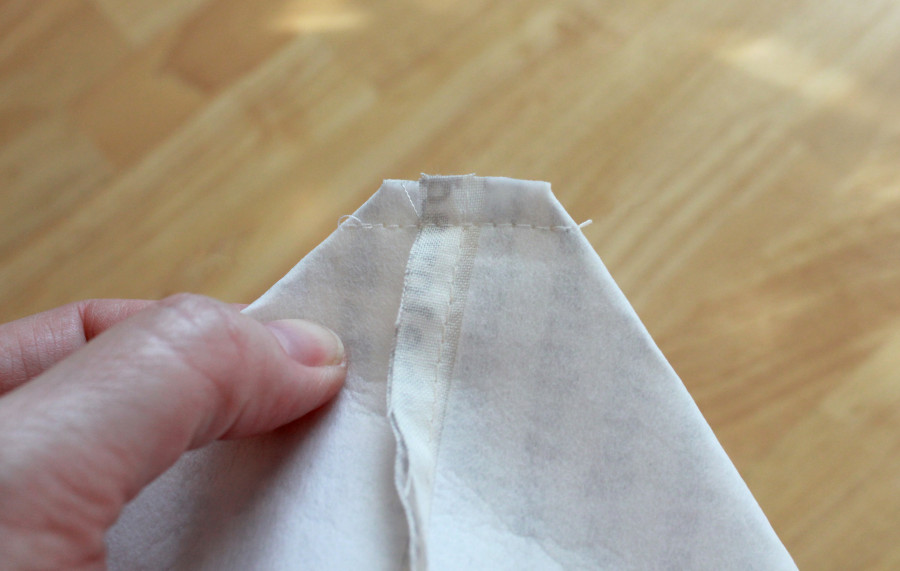
Turn outer pocket so it is right side out. Place it inside of the pocket lining so that the two are right sides together.
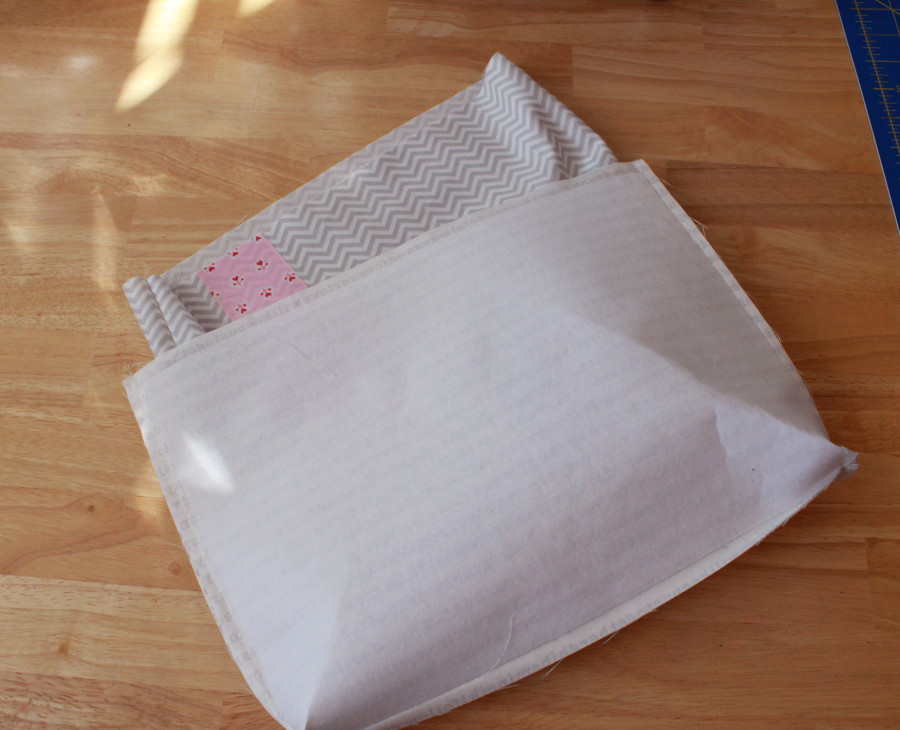
Pin outer pocket and lining together along top edge, matching side seams. (If you will be using ribbons instead of grommets for hanging, they should be added in this step.)
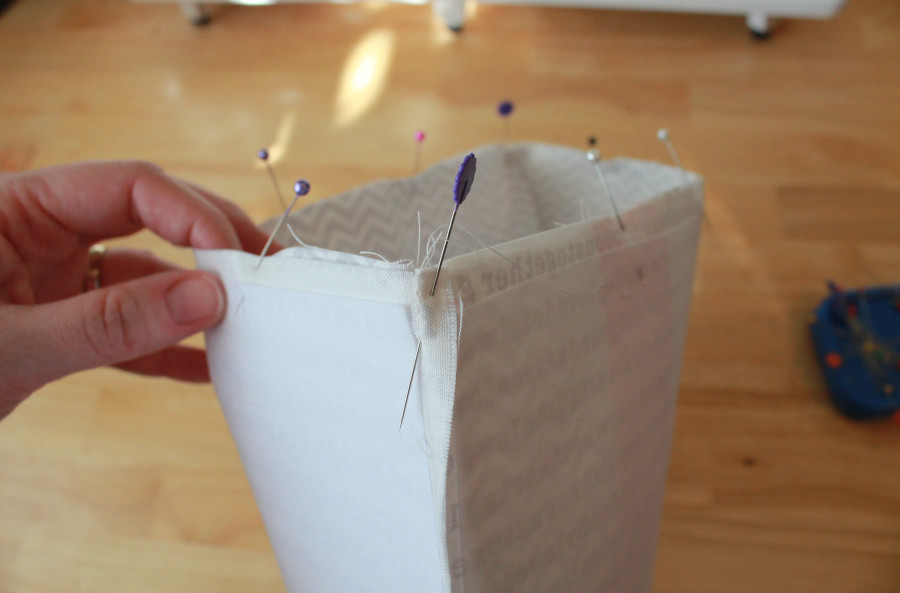
Sew all the way around the top edge of pocket, using a 1/4″ seam.
Turn pocket right side out through the 4″ opening in the lining.
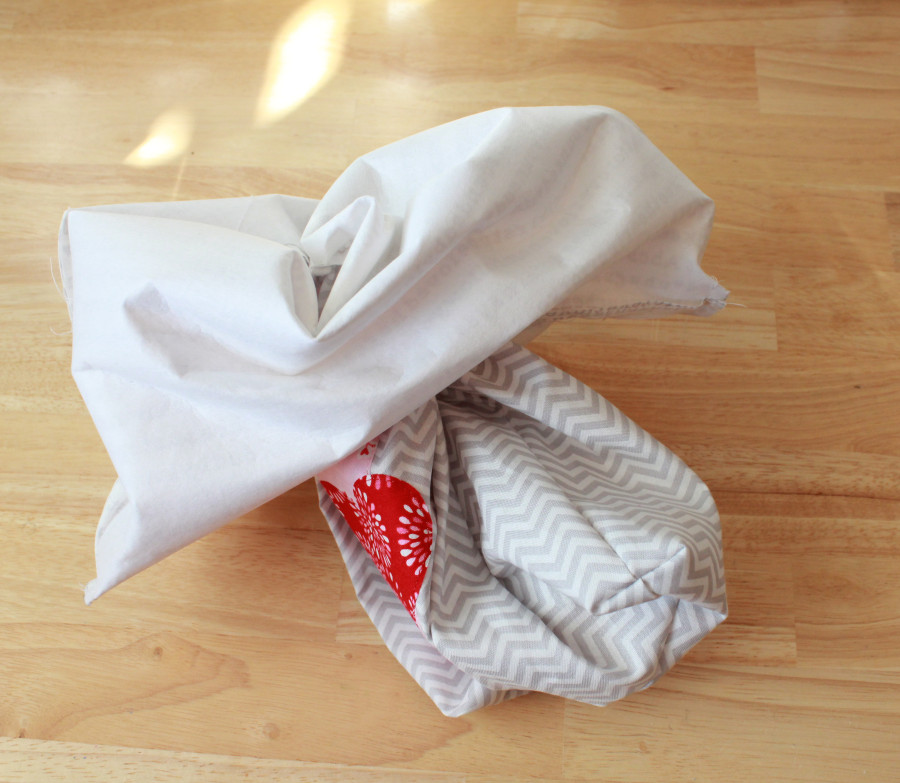
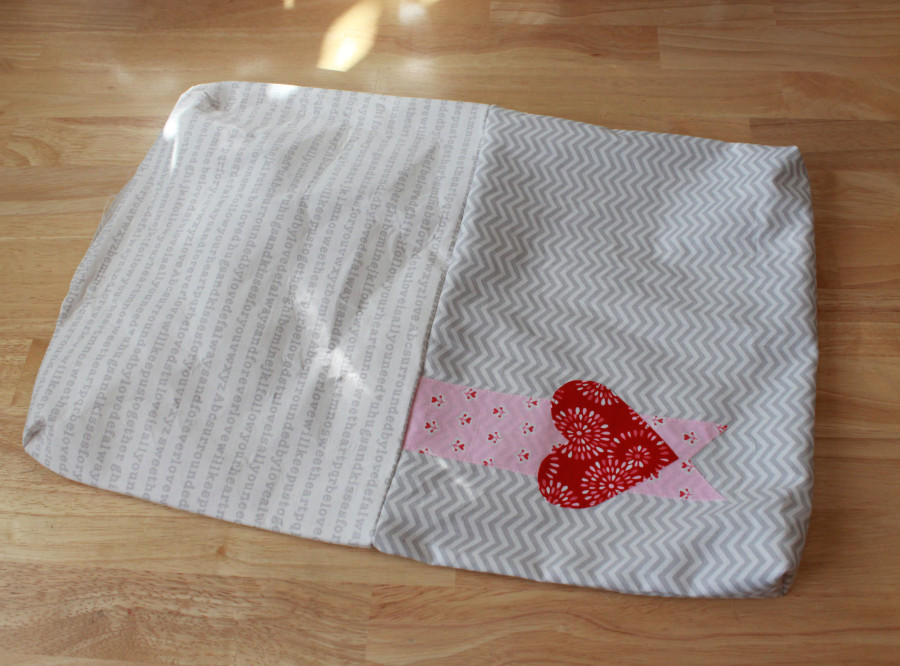
Fold the raw edges of the opening in, press and stitch closed. This doesn’t have to be pretty since it is the bottom of the lining!
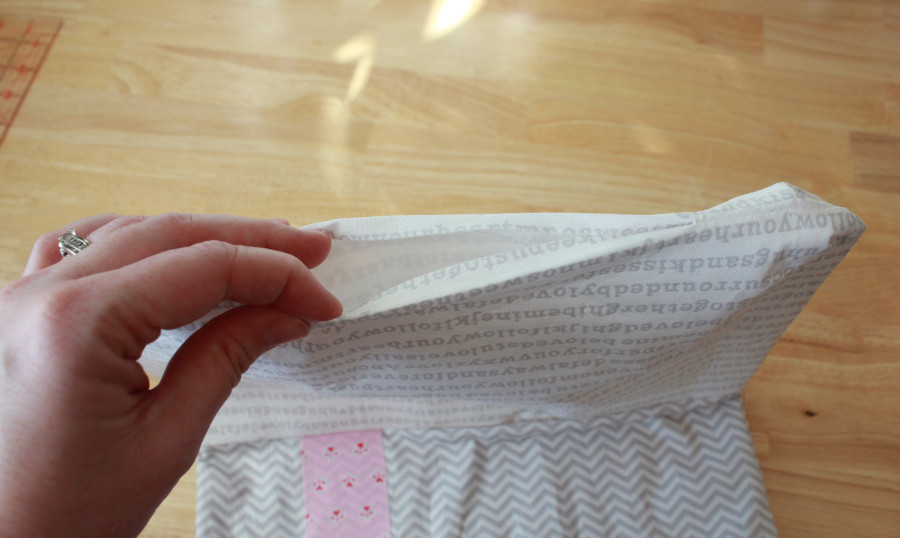
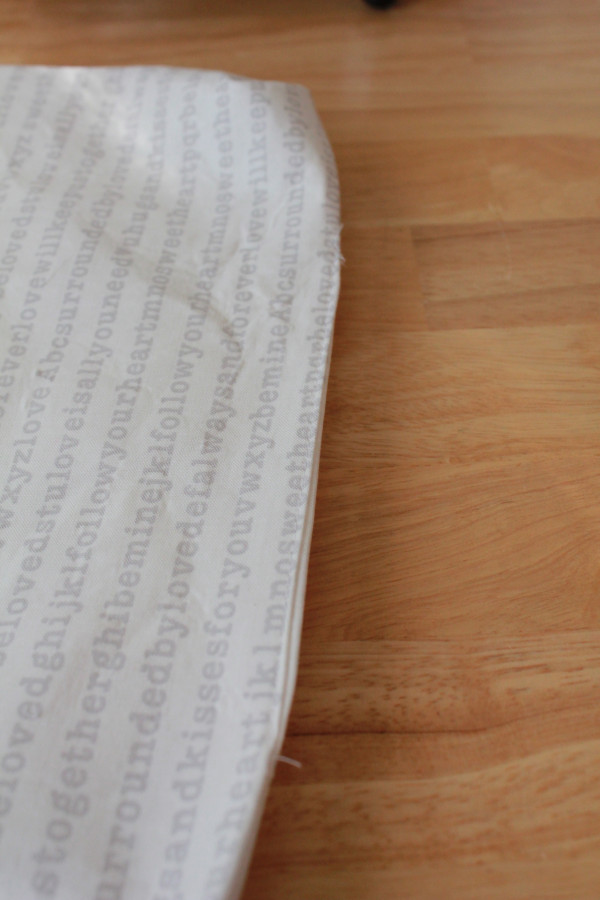
Push the lining into the outer pocket. Almost done!
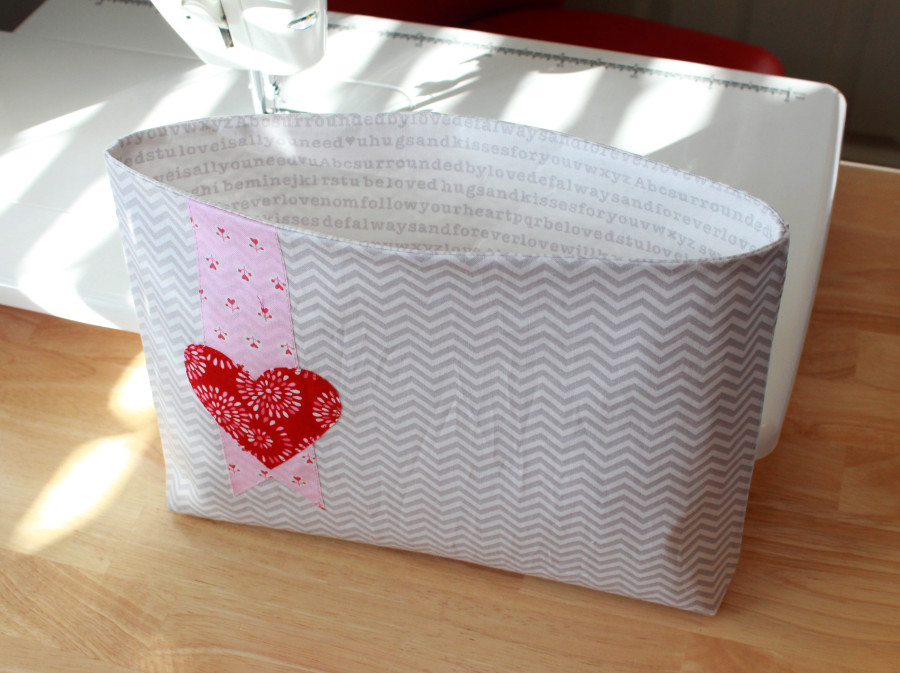
Press the top edge of pocket and top stitch if desired.
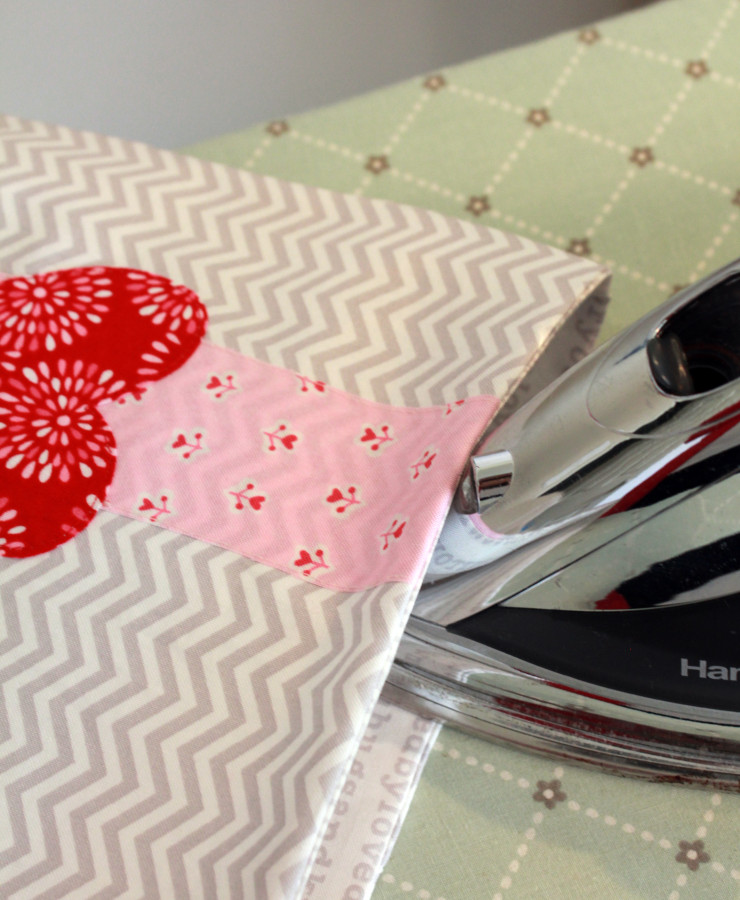
Add two grommets to the back of the pocket for hanging. Hang with hooks or ribbons.
This one is ready to fill with love notes and sweet thoughts!
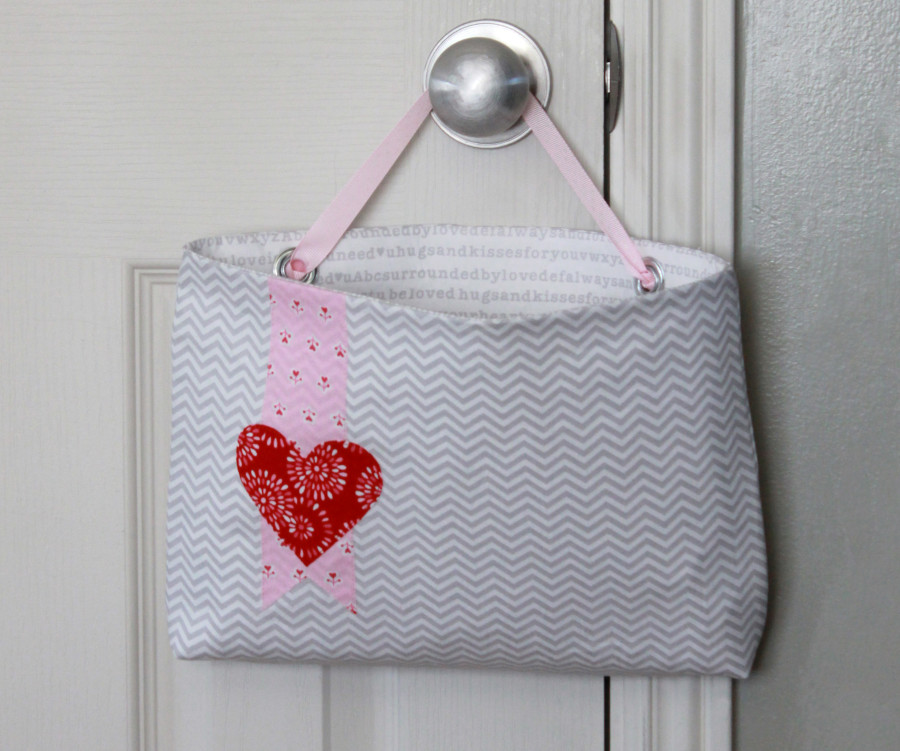
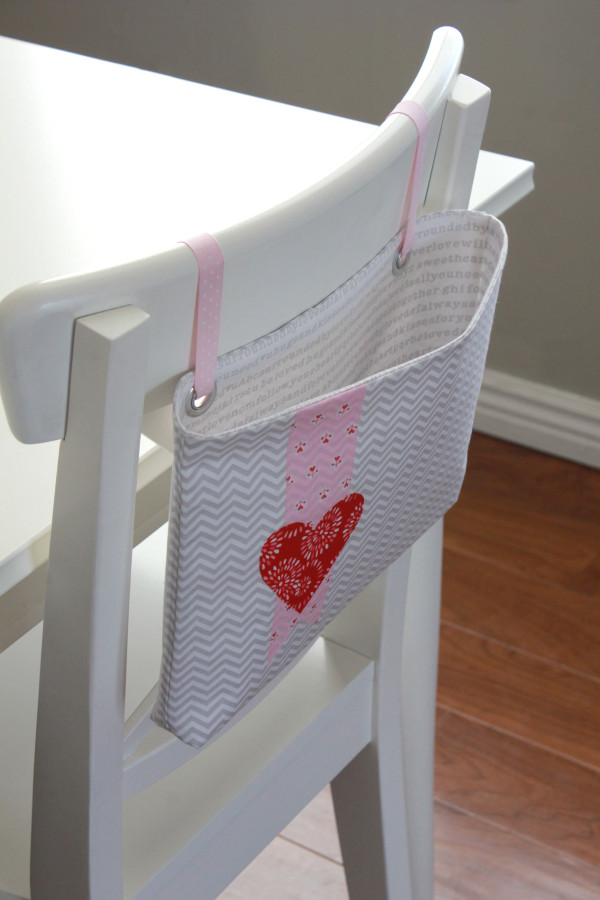
If you’ve never worked with grommets before they are quick and easy and add a finished look to your projects. I love them! If you’re new to the world of grommets, I have a quick tutorial on my blog that takes you step-by-step through the process of adding a grommet.
10 Comments on HeatnBond Wall Organizer and Valentine Pocket
4Pingbacks & Trackbacks on HeatnBond Wall Organizer and Valentine Pocket
-
[…] Andy from A Bright Corner shares a tutorial at the Therm O Web blog showing how you can make a fabric pocket. You can decorate it with hearts and make it a Valentine pocket to hang on the back of a chair. Or, leave off the hearts and Valentines, and it can be a organizer to keep track of school papers. Go to the Therm O Web blog for the tutorial. […]
-
[…] You’re going to need something to put all those Valentines into, so how about this cute Valentine Pocket from ThermoWeb? […]
-
[…] what it would probably not be strong enough or accessible enough to hold. Luckily, kismet brought Andy Knowlton of A Bright Corner’s Valentine/Wall Pocket Tutorial across my screen at just before I made the mail organizer, which I had decided to move ahead as I […]
-
[…] Birthday, Halloween and of course Christmas! Our HeatnBond® Fusible Adhesive makes it a snap! Find out how you can make this […]

Judi Duncan
January 27, 2014 at 5:44 pm (11 years ago)that is sooooo sweet!
Cindy
January 29, 2014 at 10:39 am (11 years ago)This is a great project — So Simple! This is a good first project to try my hand at installing grommets.
Dorothy Bushman
January 29, 2014 at 10:04 pm (11 years ago)I love doing projects like this one. Thanks for sharing and hope you share more….the project is so cool!
Mia
February 3, 2015 at 4:51 pm (10 years ago)Great pocket organizer, ideal for Valentine’s day gift. Thank you for the inspiration.
Jen Whited
January 5, 2017 at 5:39 pm (8 years ago)THANK YOU so much for this tutorial. When I logged on to Pinterest this evening, this is EXACTLY what I was looking for! I appreciate your clear instructions and photos. I plan to make one with a rod pocket so I can hang it on my wall. This is perfect and I can’t wait to get started!
admin
January 5, 2017 at 6:01 pm (8 years ago)You are very welcome and thank you for taking the time to post that comment! We love to hear from you and that you’re finding good use for our tutorials!