Holiday Cards with NEW Deco Foil Toner Card Fronts & Toner Sentiments
by Jessica Michaels
Hello everyone! Jessica here! Have you seen the new Deco Foil Toner Card Fronts in the shop? They are absolutely amazing! I’m using them today along with some of the newly released Deco Foil Transfer Foils to create some festive cards!
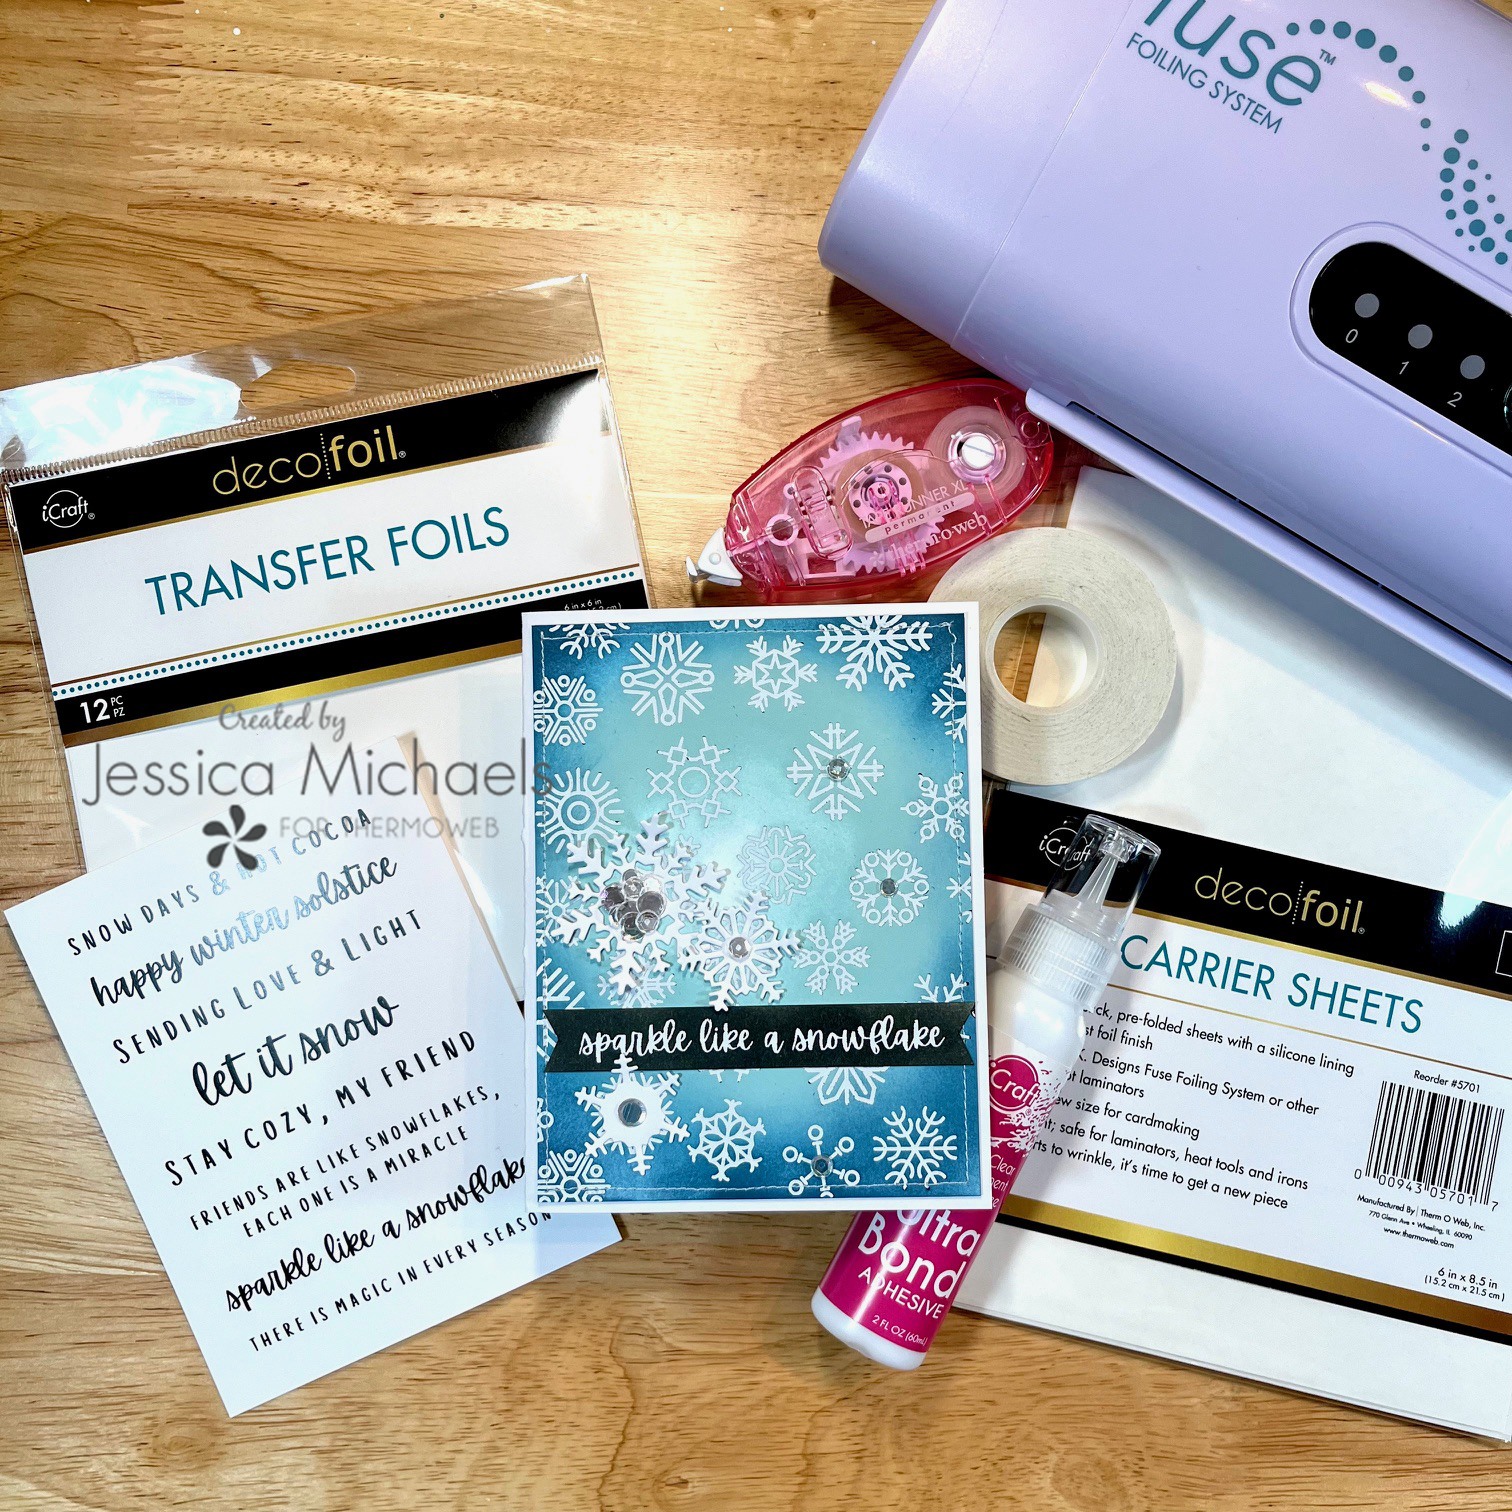
Therm O Web Supplies Used
Memory Runner XL
Memory Runner XL Refill
Deco Foil Toner Card Fronts Winter Sparkle
Deco Foil Toner Card Fronts Holiday Rush
Deco Foil Toner Card Sentiments- Merry Moments
Deco Foil Transfer Sheets, Birch
Deco Foil Transfer Sheets, Blizzard
Easy Tear Tape ½”
Easy Tear Tape 1/4″
Craft & Carrier Sheets
UltraBond Liquid Adhesive
Fuse Foiling System
Other Supplies Used
Park Lane white card stock
Snowflake Dies and Manual Die Cutting Machine
Close to My Heart Inks
Distress Oxide Ink in Black Soot and Rustic Wilderness
Intense Black Ink Pad
Sequins by Spiegelmom Scraps
Clear Shaker Pocket
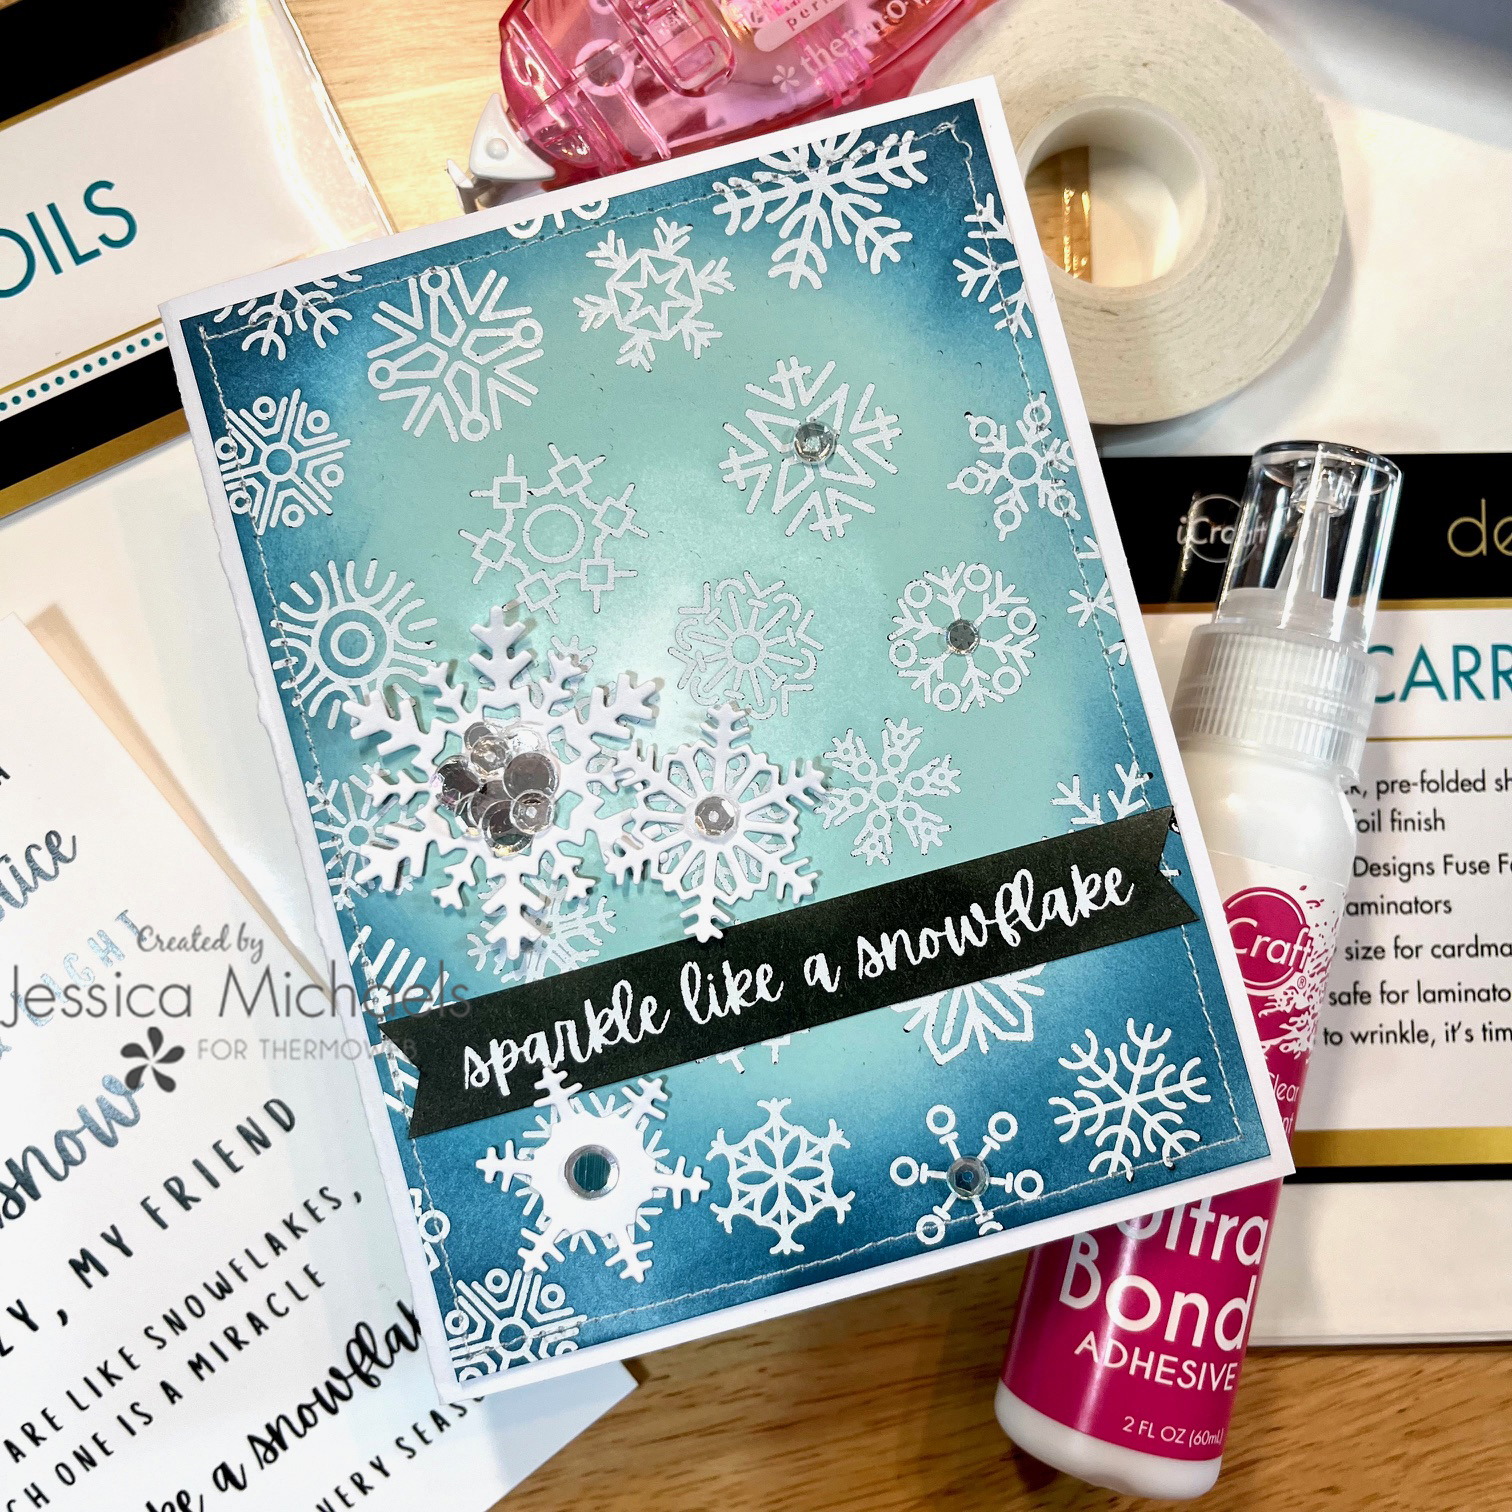
I started this card with a white card base and grabbed a couple blue inks from Close to My Heart to do some ombre ink blending on one of the Winter Sparkle toner card fronts. I heated up my Fuse Laminator while working on this step. Once I had the ombre effect I was going for, I reached for the new Blizzard Deco Foil and one of the new smaller size Deco Foil Carrier Sheets. I laid the foil directly on top of my card front design, ensuring the foil covered my design completely. With the white foil, just be sure the shinier side is facing up and the duller side is against the toner design. I then sandwiched both pieces inside the folded Carrier Sheet and inserted the folded end into my laminator. For best results, before inserting into the machine, wipe away any ink from the toner design using a lint free cloth and insert the foil into the machine with the heavier roller marks (on the back) vertically into the opening.
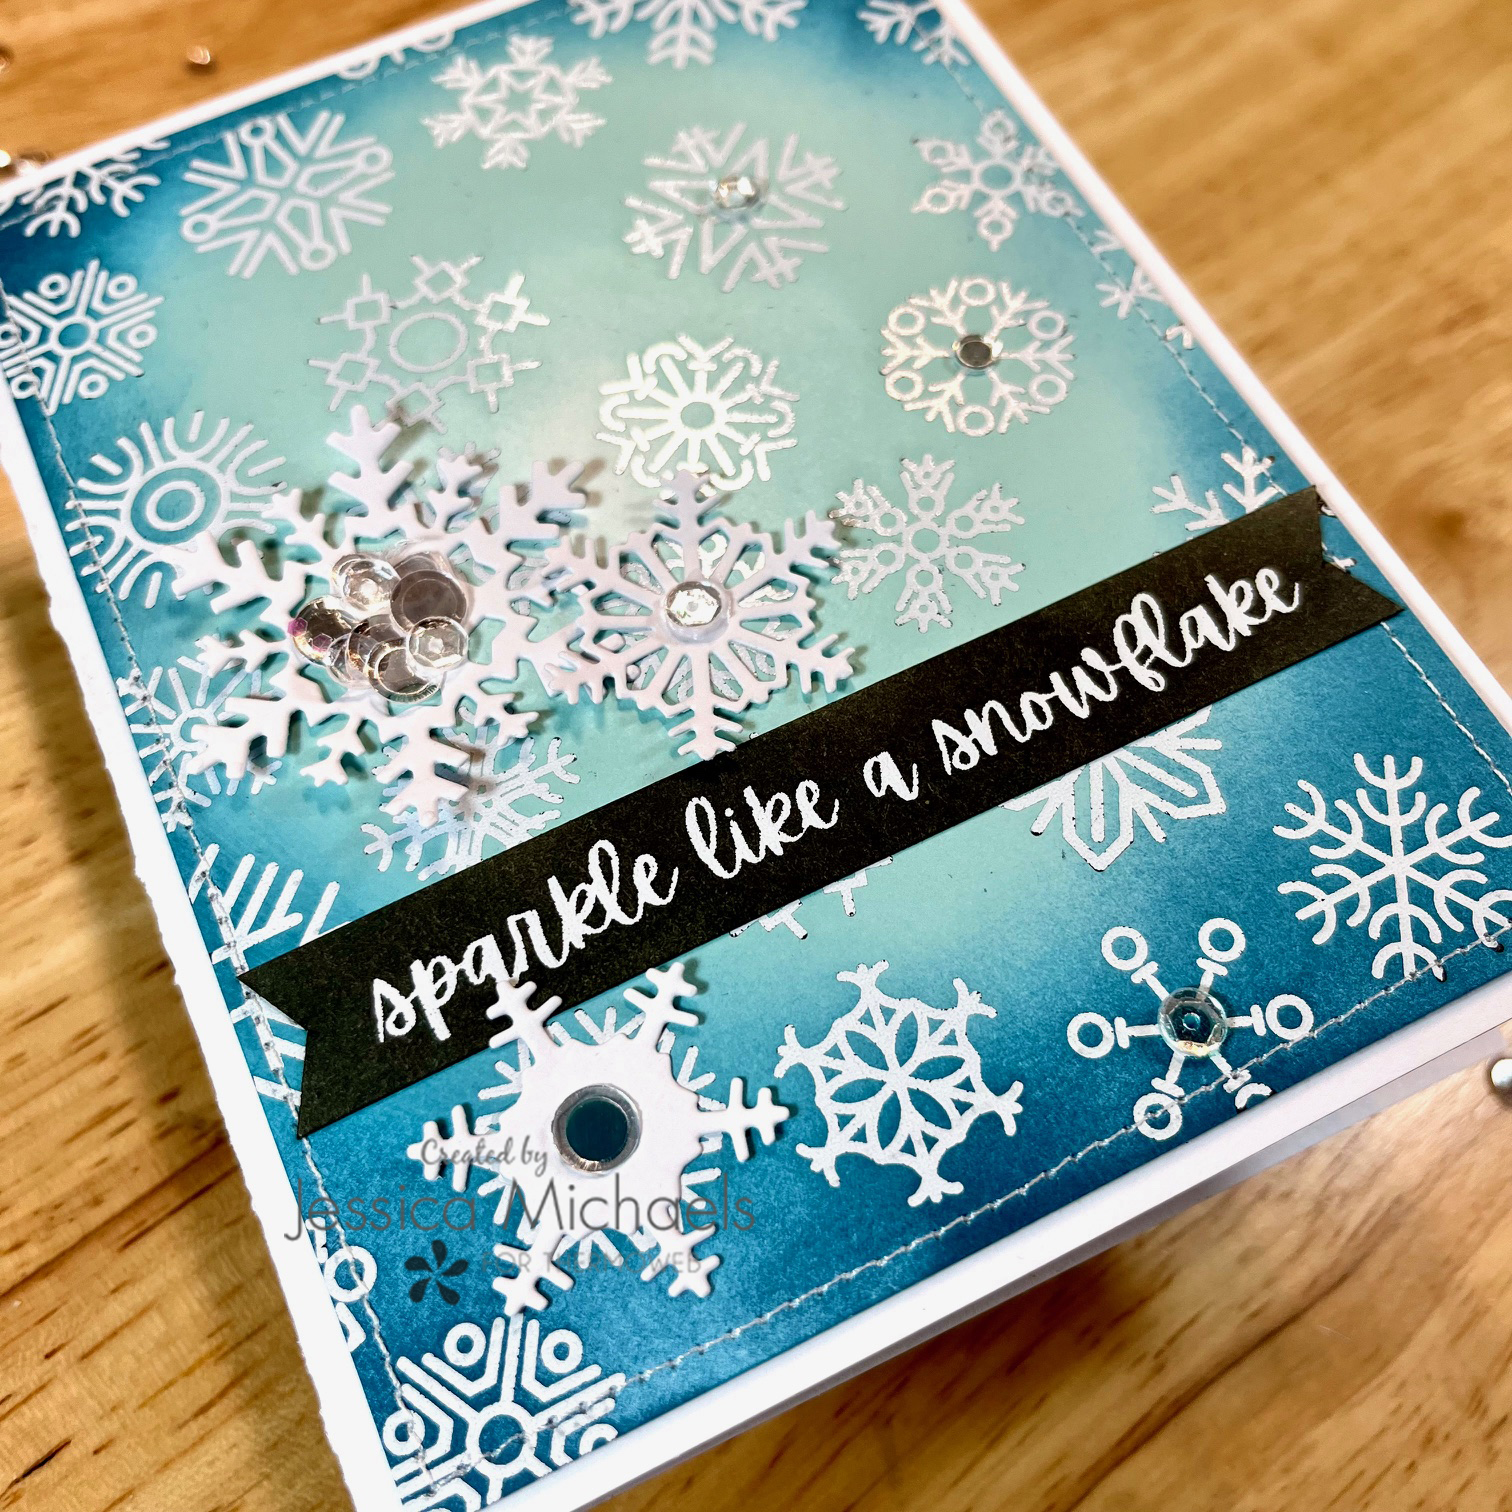
I then trimmed the card front to fit my card and did some machine stitching around the outside. I then went to work on the sentiments, cutting them from the Merry Moments Sentiments sheets and doing some more ink blending in black soot distress oxide. Next, I applied the Blizzard foil to my sentiments as well. I attached one to the front and one to the inside.
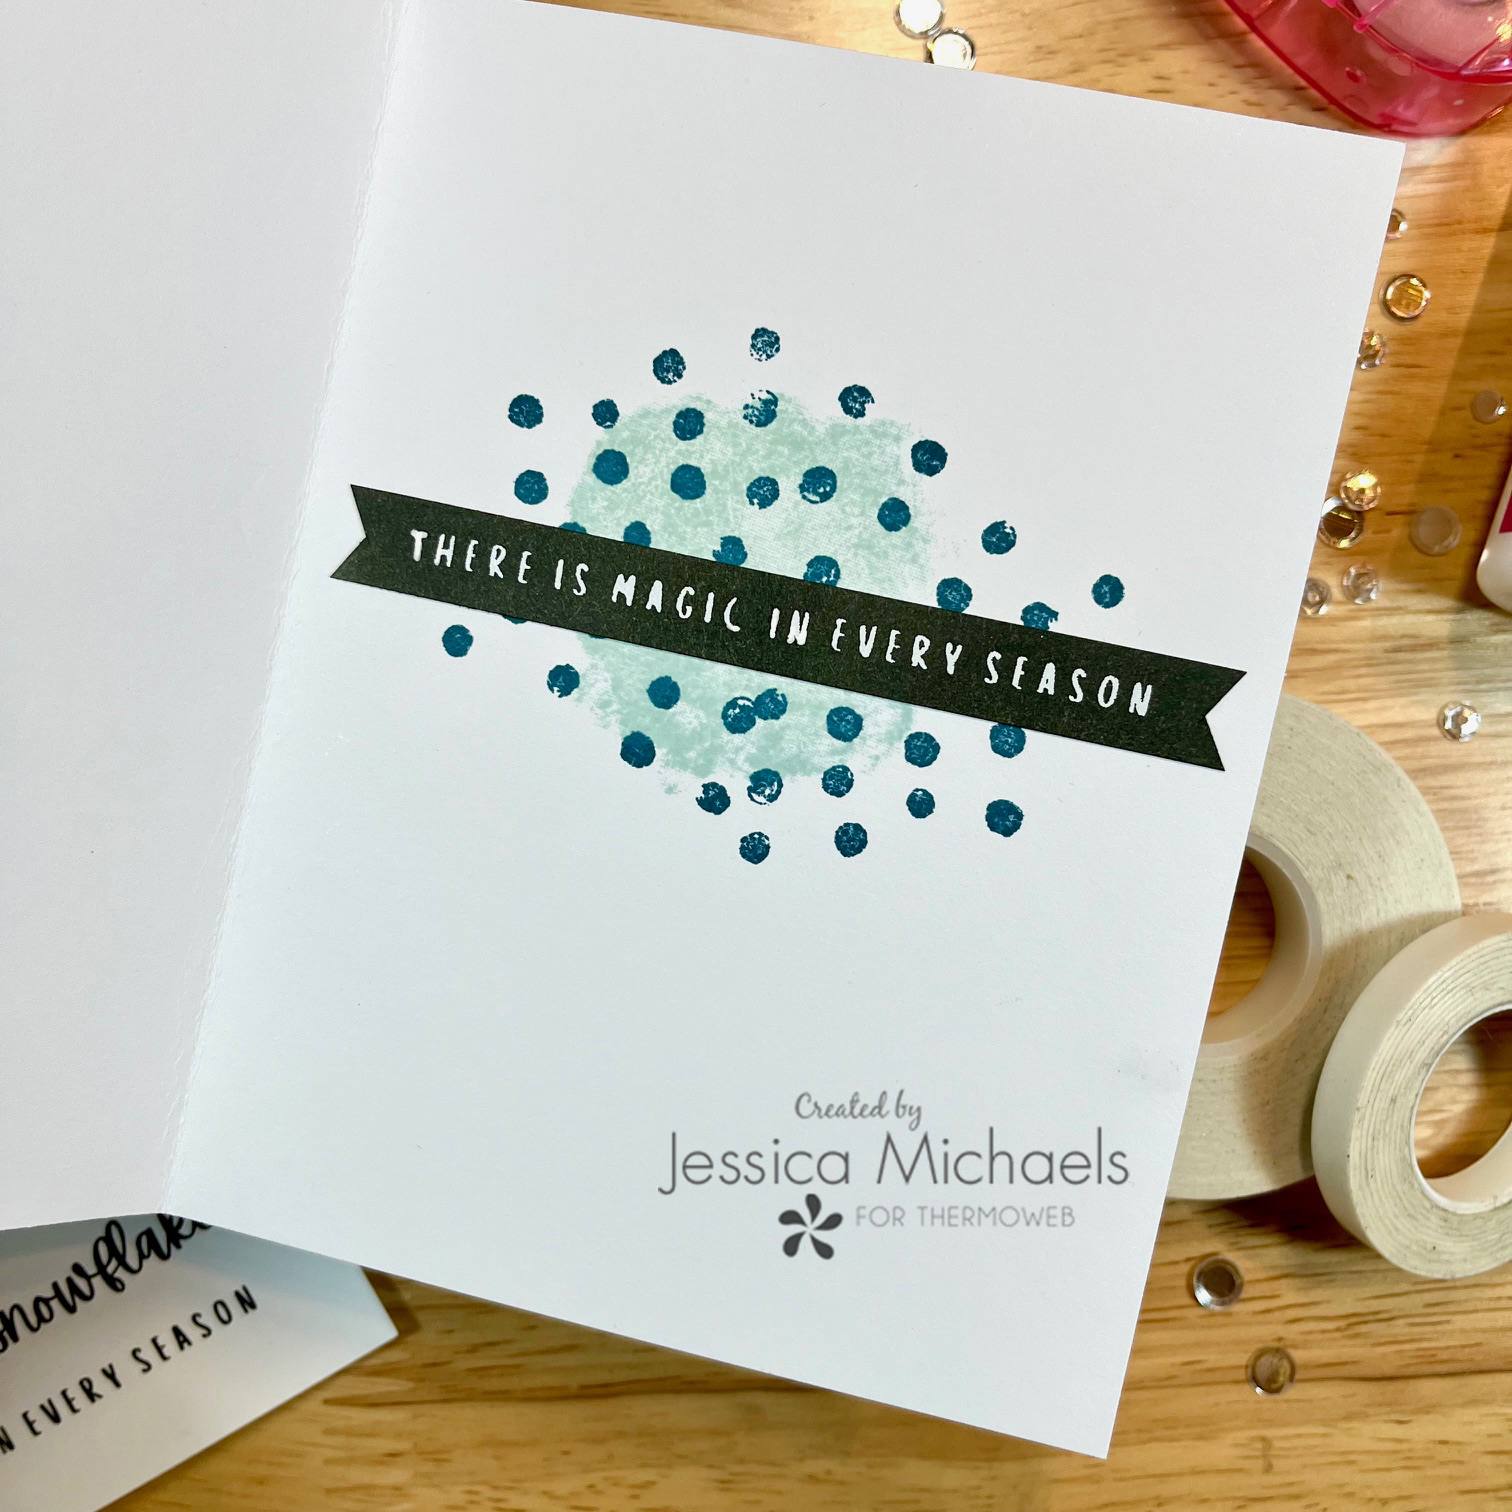
I did some stamping on the inside of my card and added the other sentiment. Lastly, I added some die-cut snowflakes to the front with some sequins from my stash!
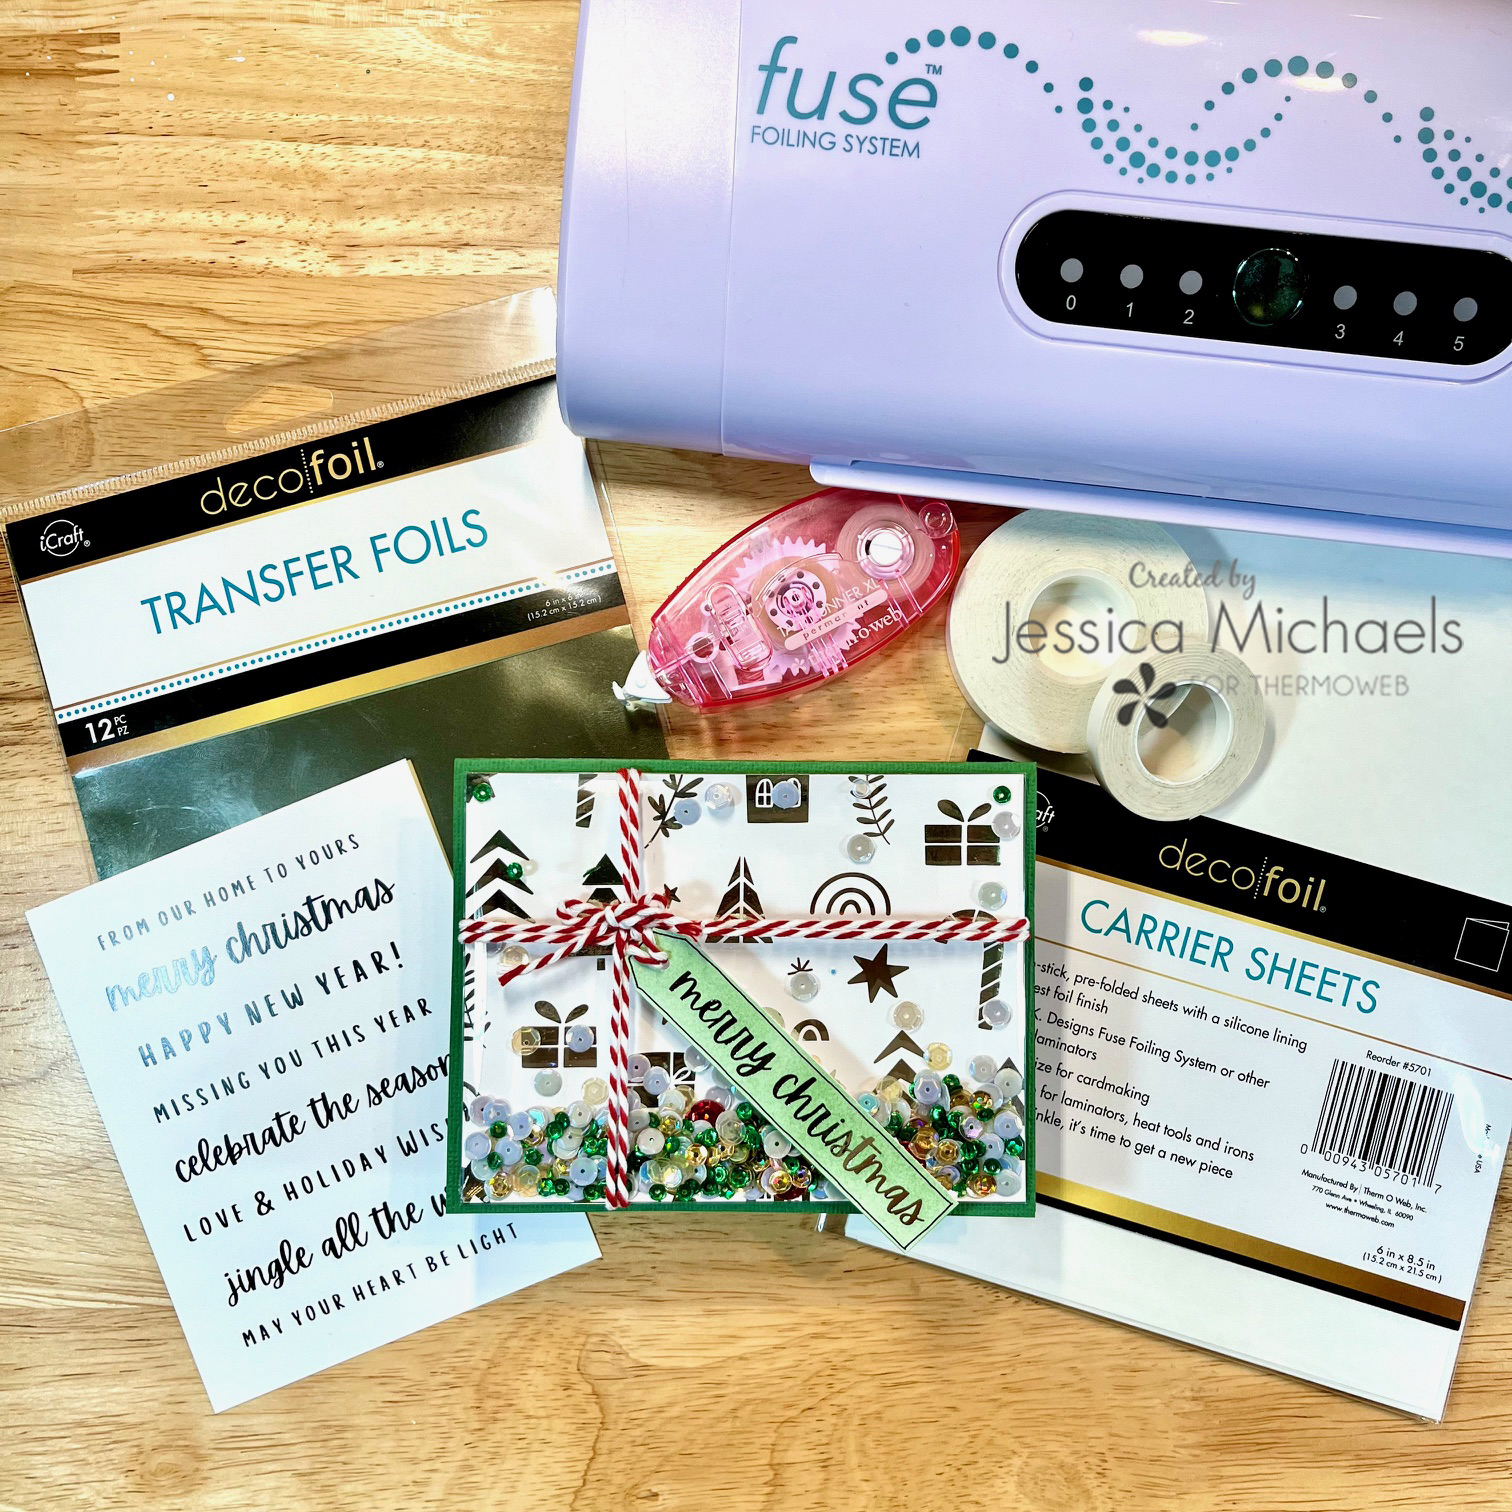
I decided to make a shaker card for my next one! I wanted it to look similar to a gift box as I will be putting a gift card inside. I reached for one of the Holiday Rush toner card fronts and applied Birch colored foil to the design. I left this background white as I wanted the foil to shine and then I wrapped it with a clear acetate shaker card holder and taped it down to the back using some Easy Tear tape as it has a strong hold! I dumped a bunch of sequins inside before fully pressing it down.
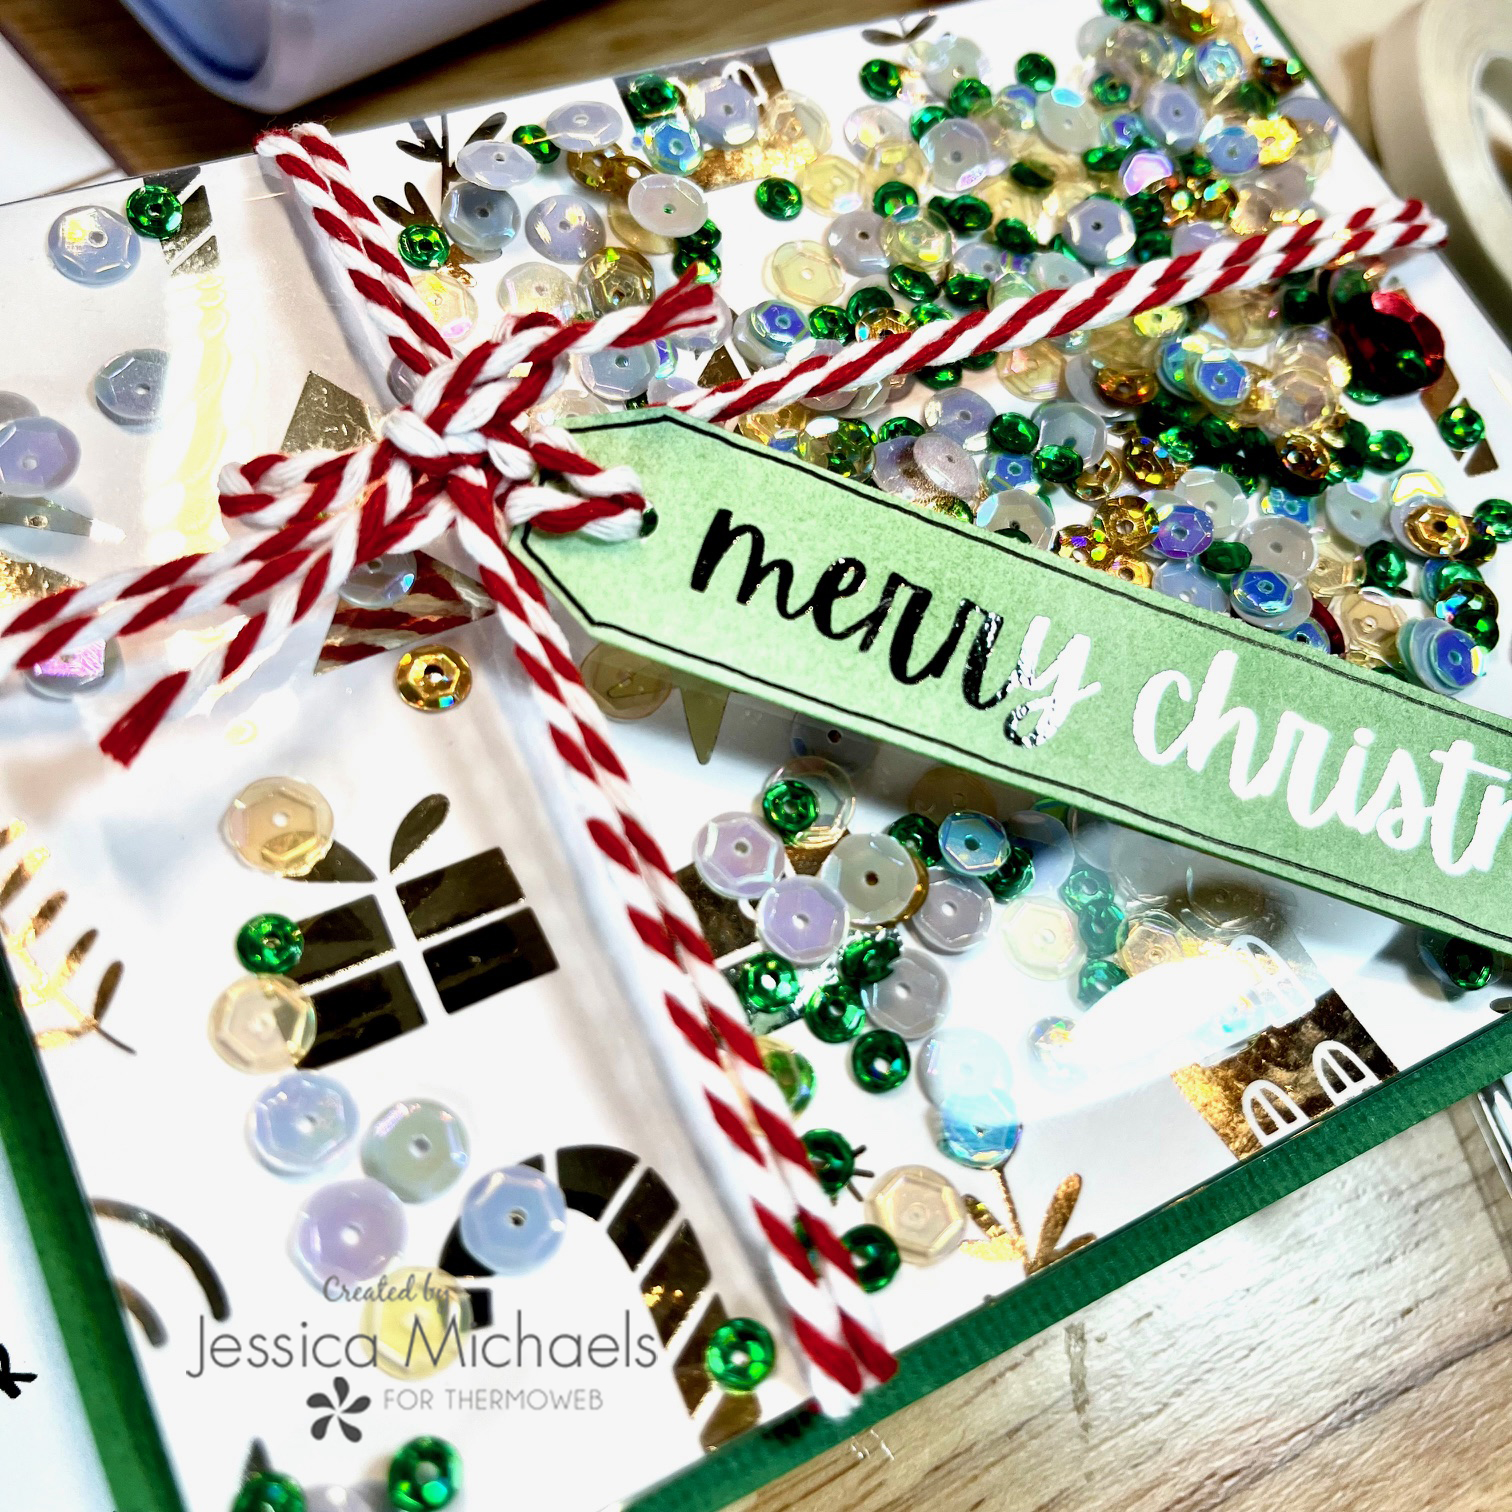
I cut the Merry Christmas sentiment into a tag shape and did some more ink blending with Rustic Wilderness distress ink. I then ran it through my Fuse laminator with more of the Birch foil. I actually only used one sheet of the foil for each card I made today! I adhered my little tag to the front and wrapped some bakers twine around it to look like a gift box!
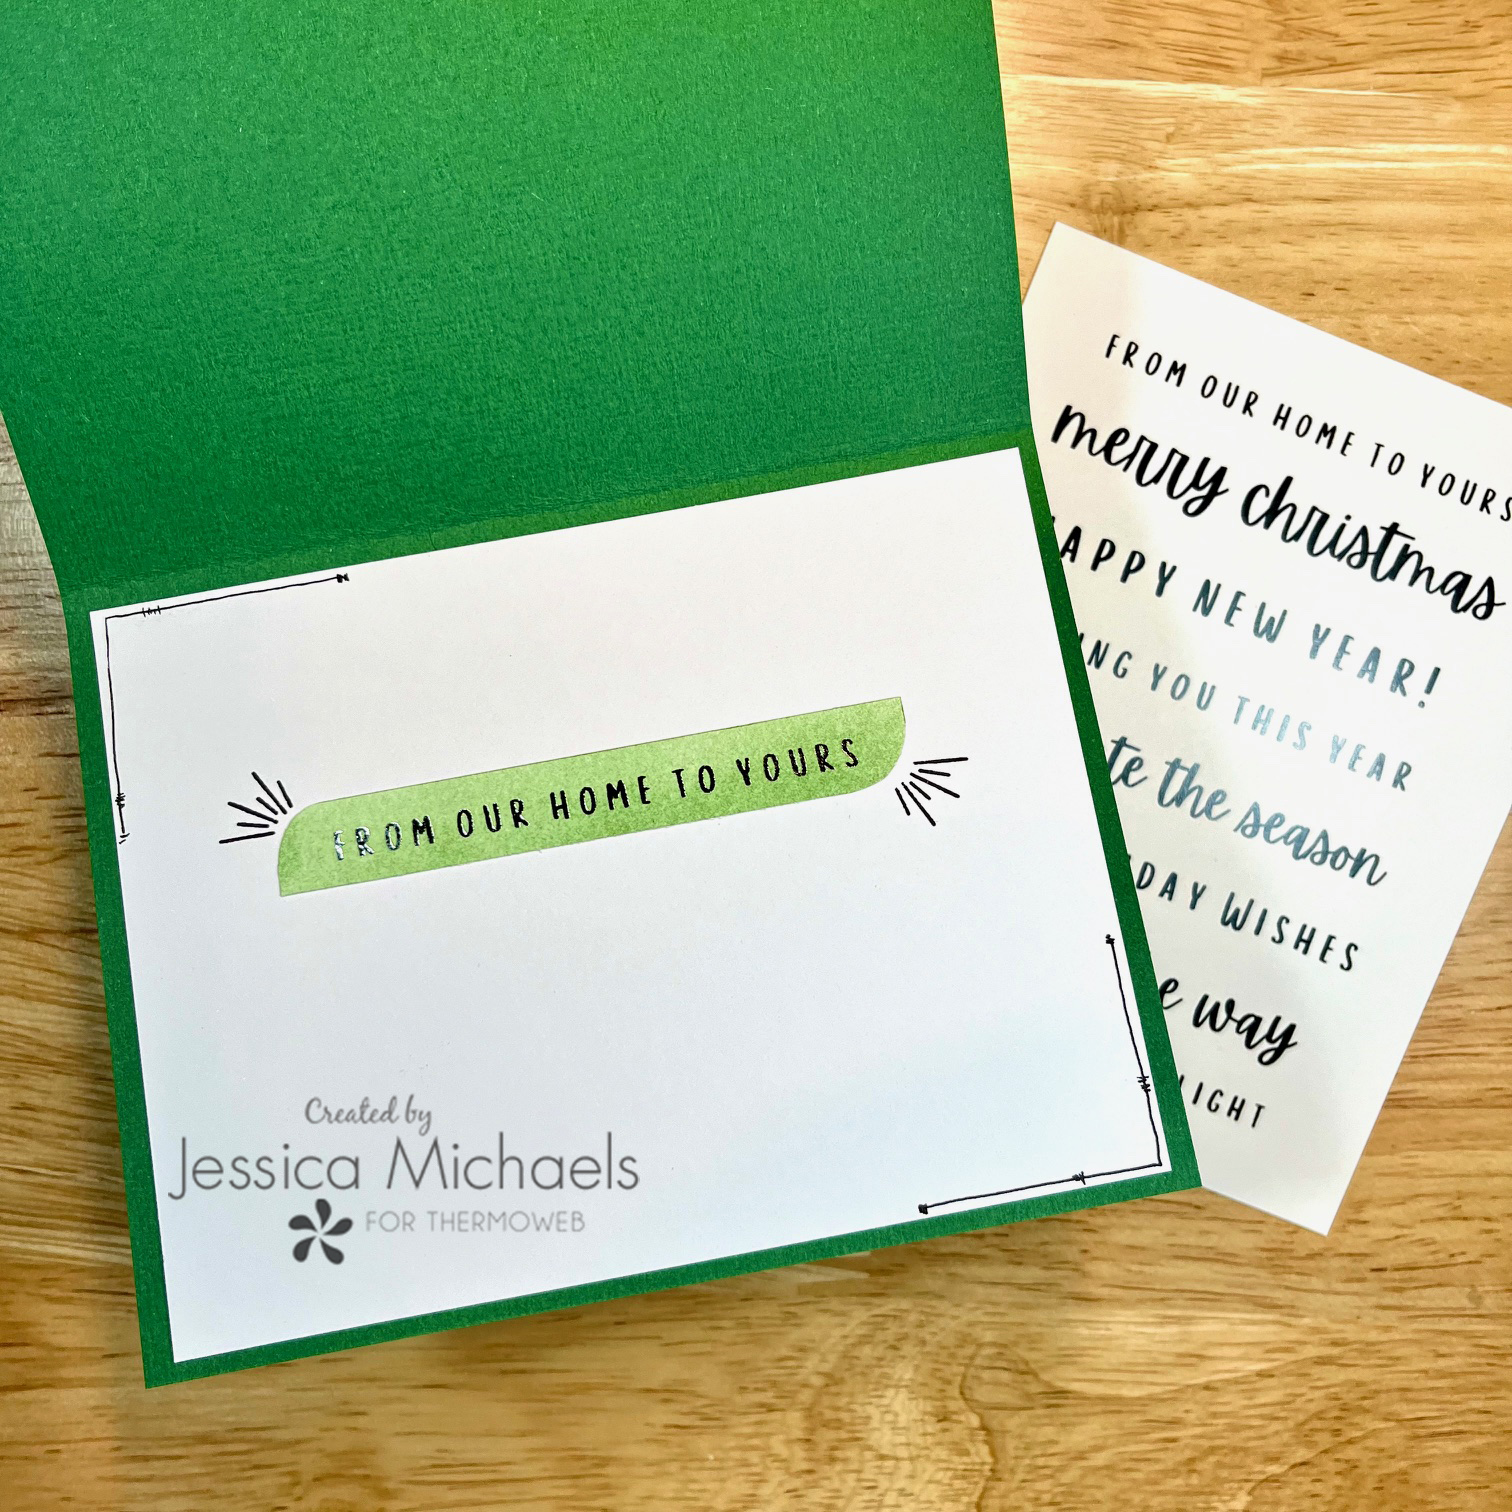
I used a second sentiment for the inside and did some stamping and doodling to finish it off! I hope you’ve enjoyed these holiday cards and have some time to do some shopping for the new products! Links are posted above for you!
Thank you for being here today and I hope I was able to inspire you to create!
Jessica
This post contains affiliate links. For more information, see our disclosure HERE.
