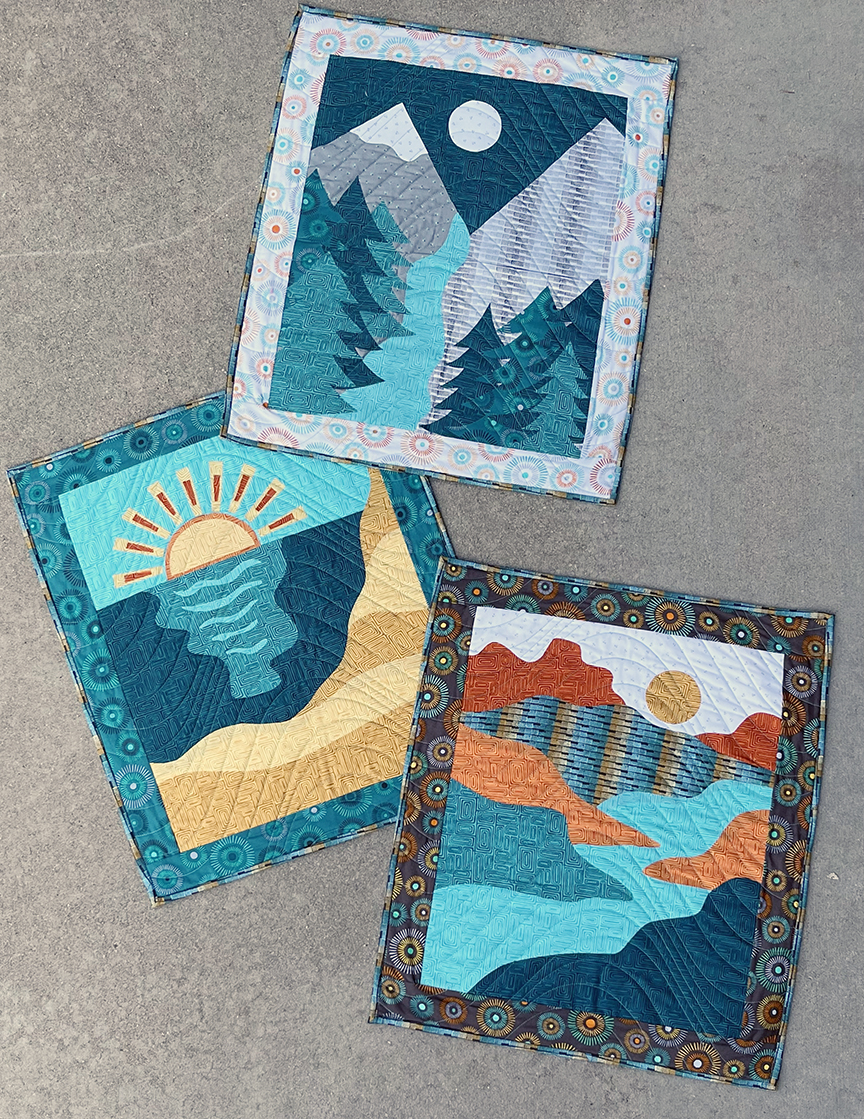
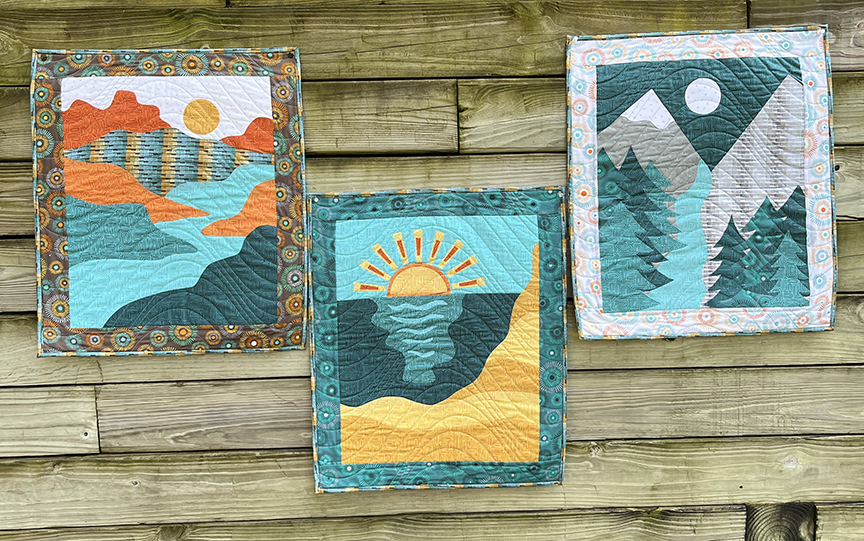
Hi! I’m Lisa Ruble from Quilty Zest and today I’m sharing my love of landscape quilts with you. My first fabric collection from Benartex – Find Your Way – is now available in shops, and I created three wall hanging-sized landscape quilts using the fabric. You can purchase the pattern on my website, but first keep reading for some tips of creating landscape quilts. (And check out my YouTube video talking about building each applique scene here.)
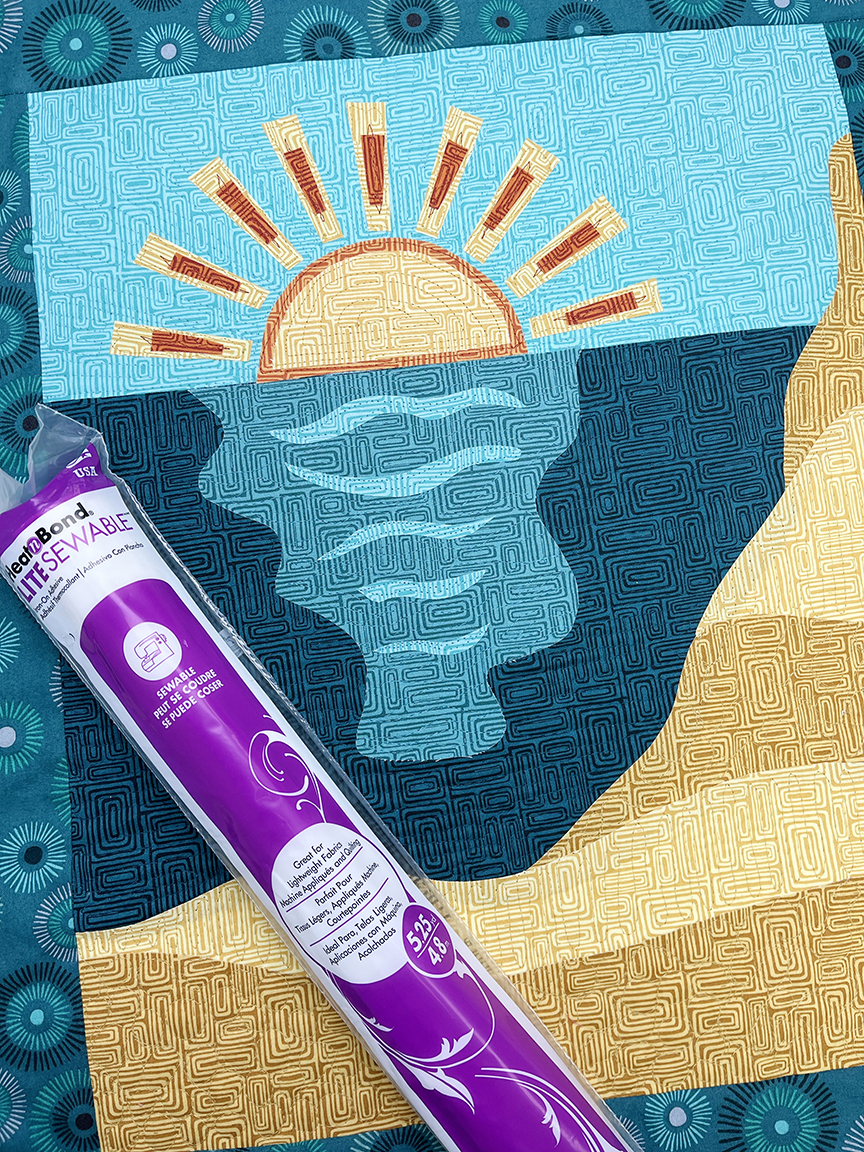
Tip 1: Use HeatnBond Lite Sewable to create your landscape quilt. It adheres well and it’s easy to peel the paper backing off.
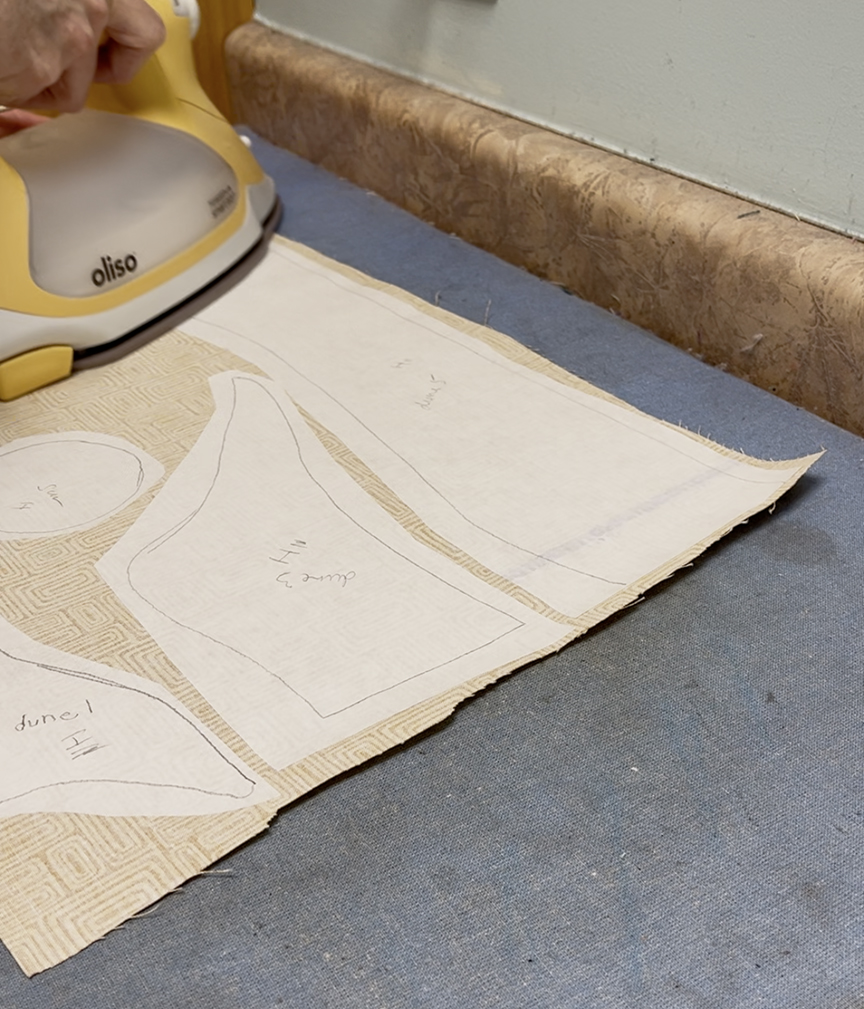
Tip 2: Trace and loosely cut out of all of your template shapes. Then sort the shapes by which fabric they’re fused to, and arrange the pieces onto the fabric in the most efficient way possible to reduce fabric waste.
Tip 3: I use a muslin base for building my landscape quilts. This creates a light colored background and helps me control the size and shape of my finished project.
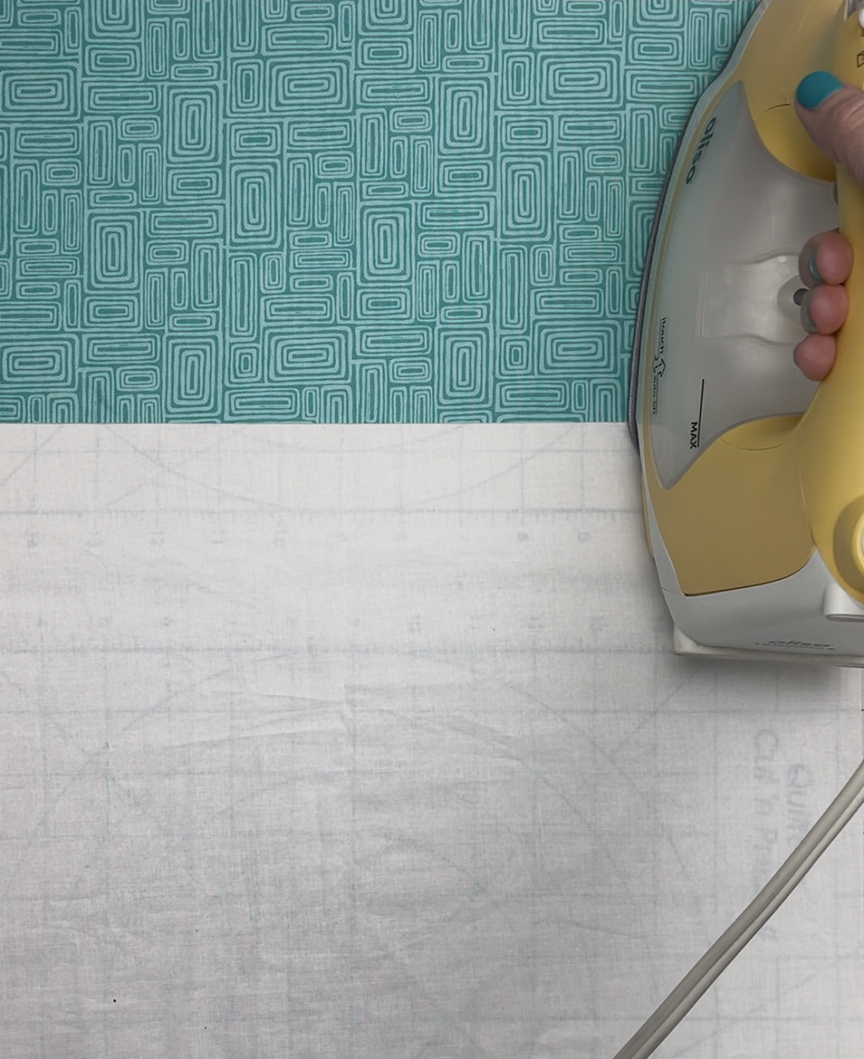
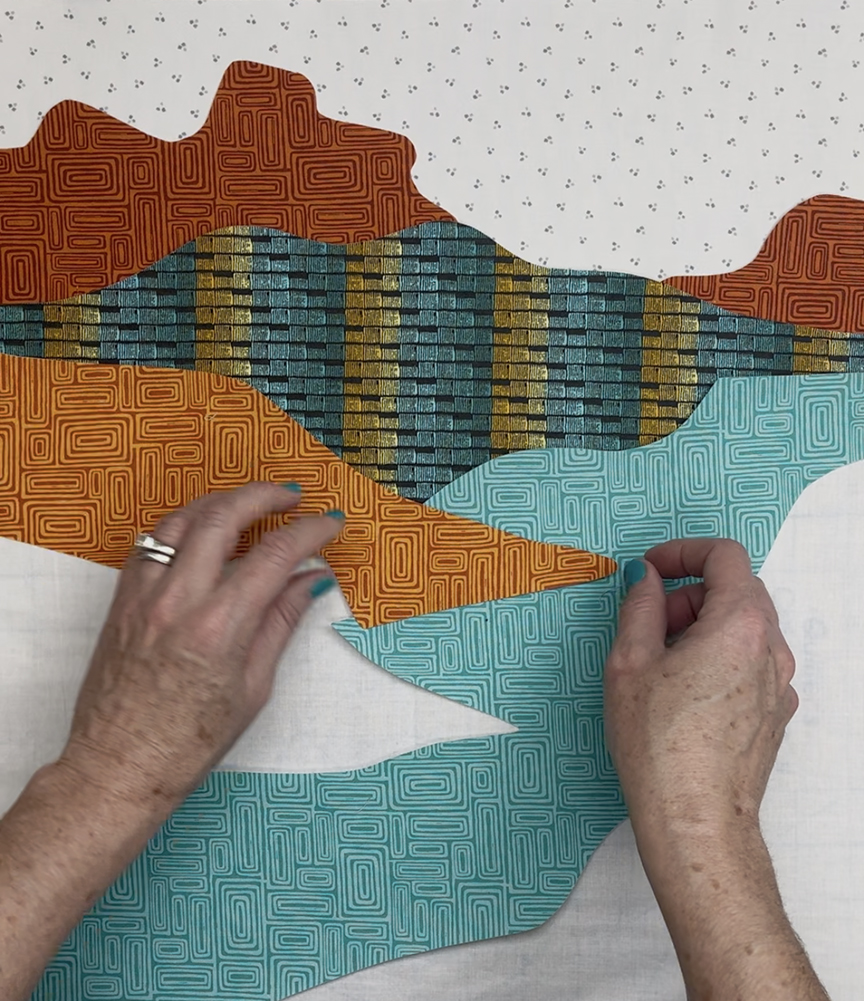
TIp 4: Add the background layers first, working from the top to bottom. I typically position a couple pieces at a time and then fuse them to make sure that the pieces are lined up.

Tip 5: Be patient when fusing larger pieces. It’s easy to press quickly and move on to the next piece because it’s so exciting to see your landscape come together, but make sure you keep heat and pressure on each piece until it is firmly fused in place.
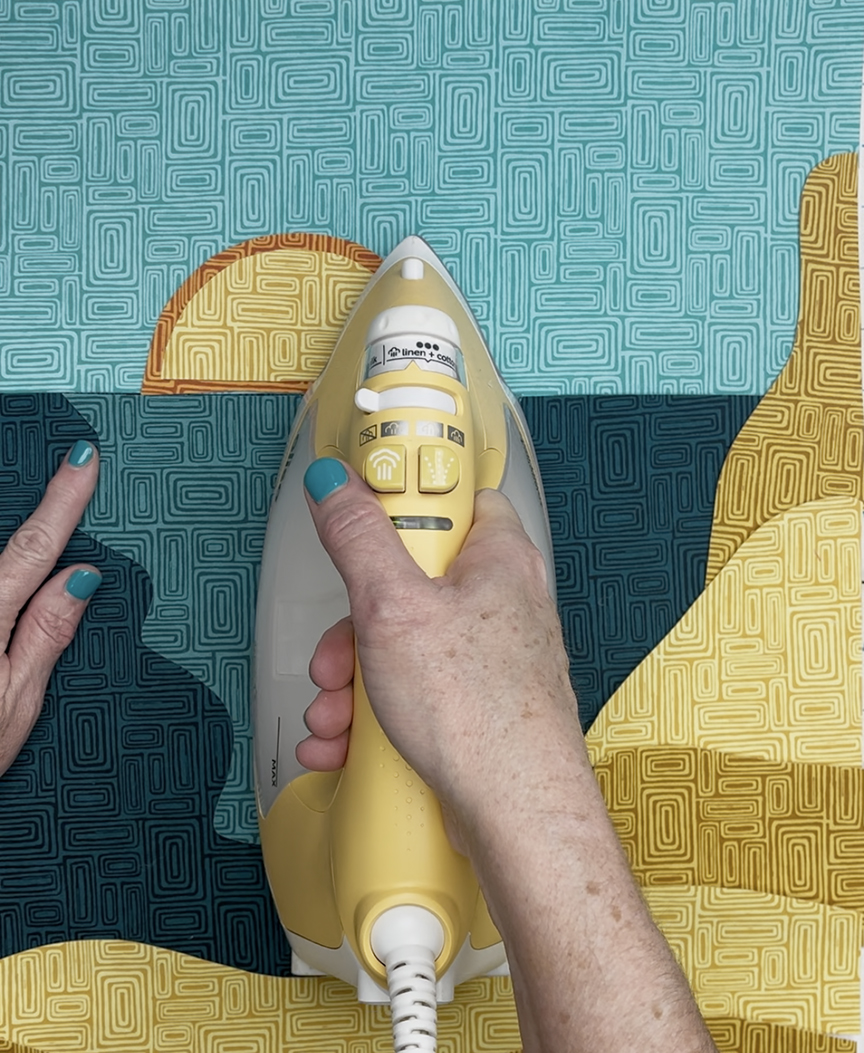
Tip 6: Keep a close eye on placement of the detail pieces. Double check before you fuse to make sure they haven’t shifted.

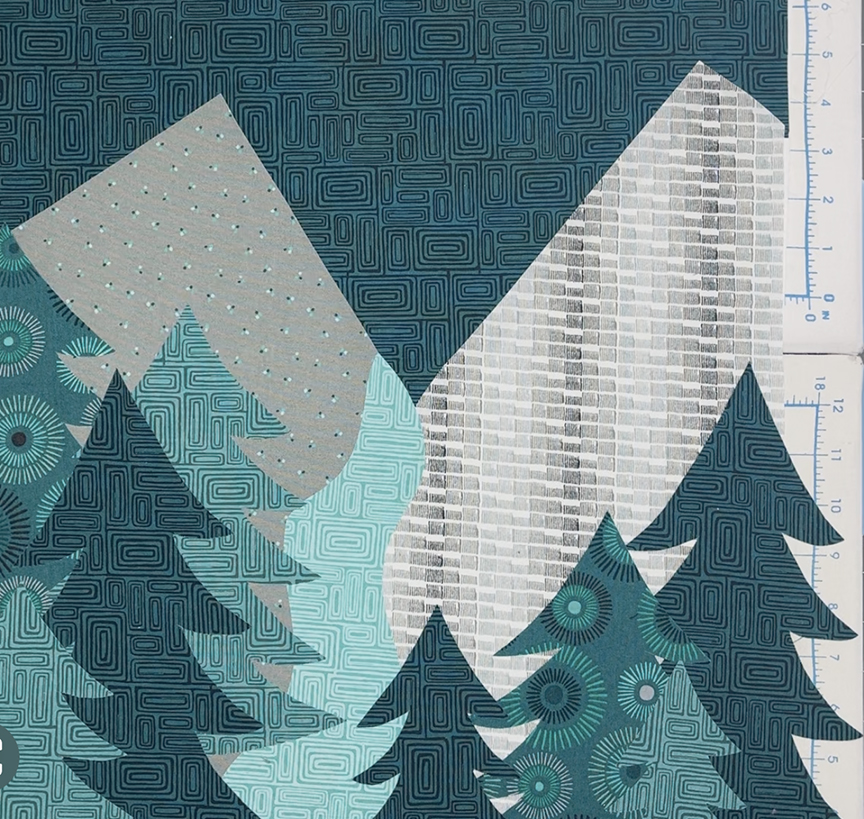
Tip 7: Watch where the river meets up with the mountain – you don’t want your river to look like it’s falling out of the sky!
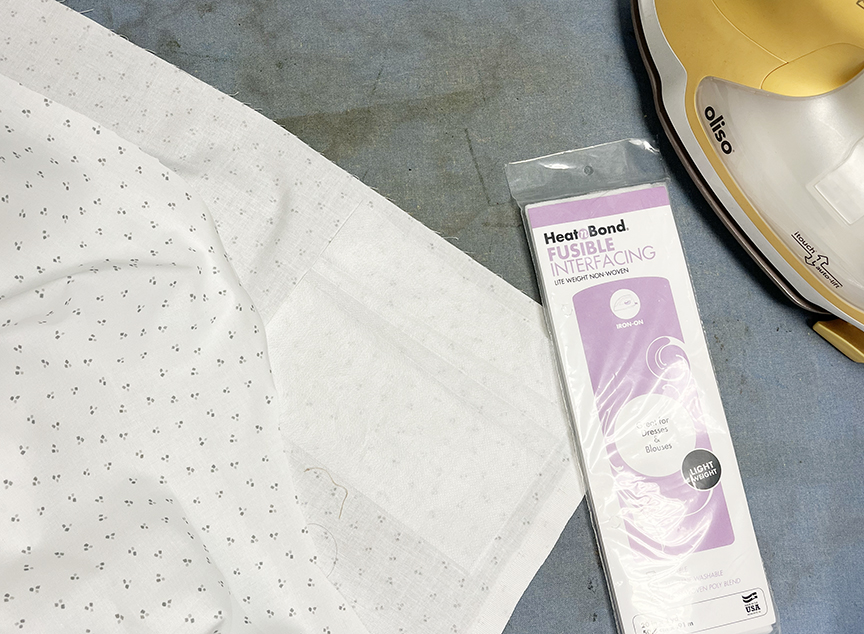
Tip 8: When you need to fuse light fabrics on top of dark fabrics, adhere HeatnBond Lightweight Fusible Interfacing to the wrong side of the light fabric before adding the fusible. This will prevent the dark fabric from showing through.
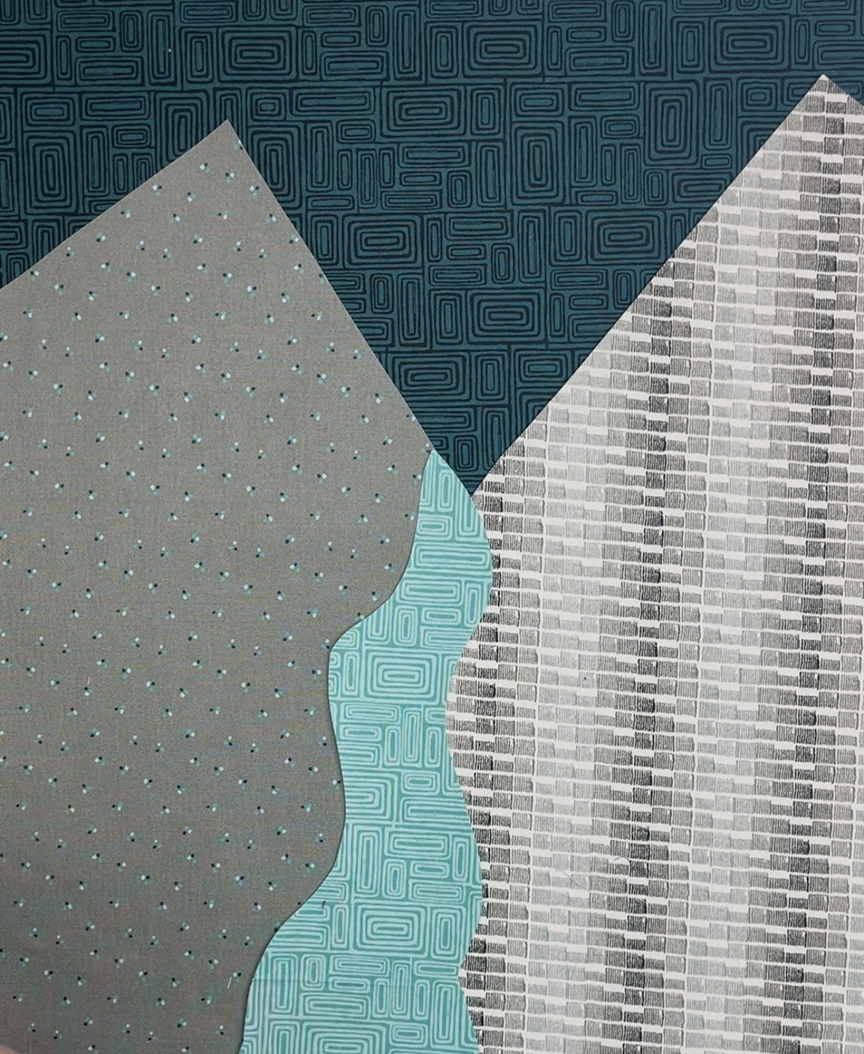
Tip 9: Which came first, the river or the rock formations? In our case, it’s the river – positioning it first makes it easier to line up the rocks!
Tip 10: You’ll need to trim some evergreen branches after you’ve finalized the position of the trees near the edge of the muslin. Be careful only to fuse up to the edge of the muslin. Then use a straight edge and rotary cutter to trim off excess tree branches.
I hope these tips help you feel confident about tackling a fusible applique landscape quilt! For step by step applique instructions, watch my YouTube video. They’re so fun to make – I especially like watching the scene come to life as I build it! And the best part – once the tracing and cutting are done, all you have to do is fuse the pieces in place, add borders, quilt and bind! If you’re interested in trying my Postcard Views quilts, the pattern (includes all 3 designs – Dune Sunset, Moonlight Mountain and River Gorge) can be found here.