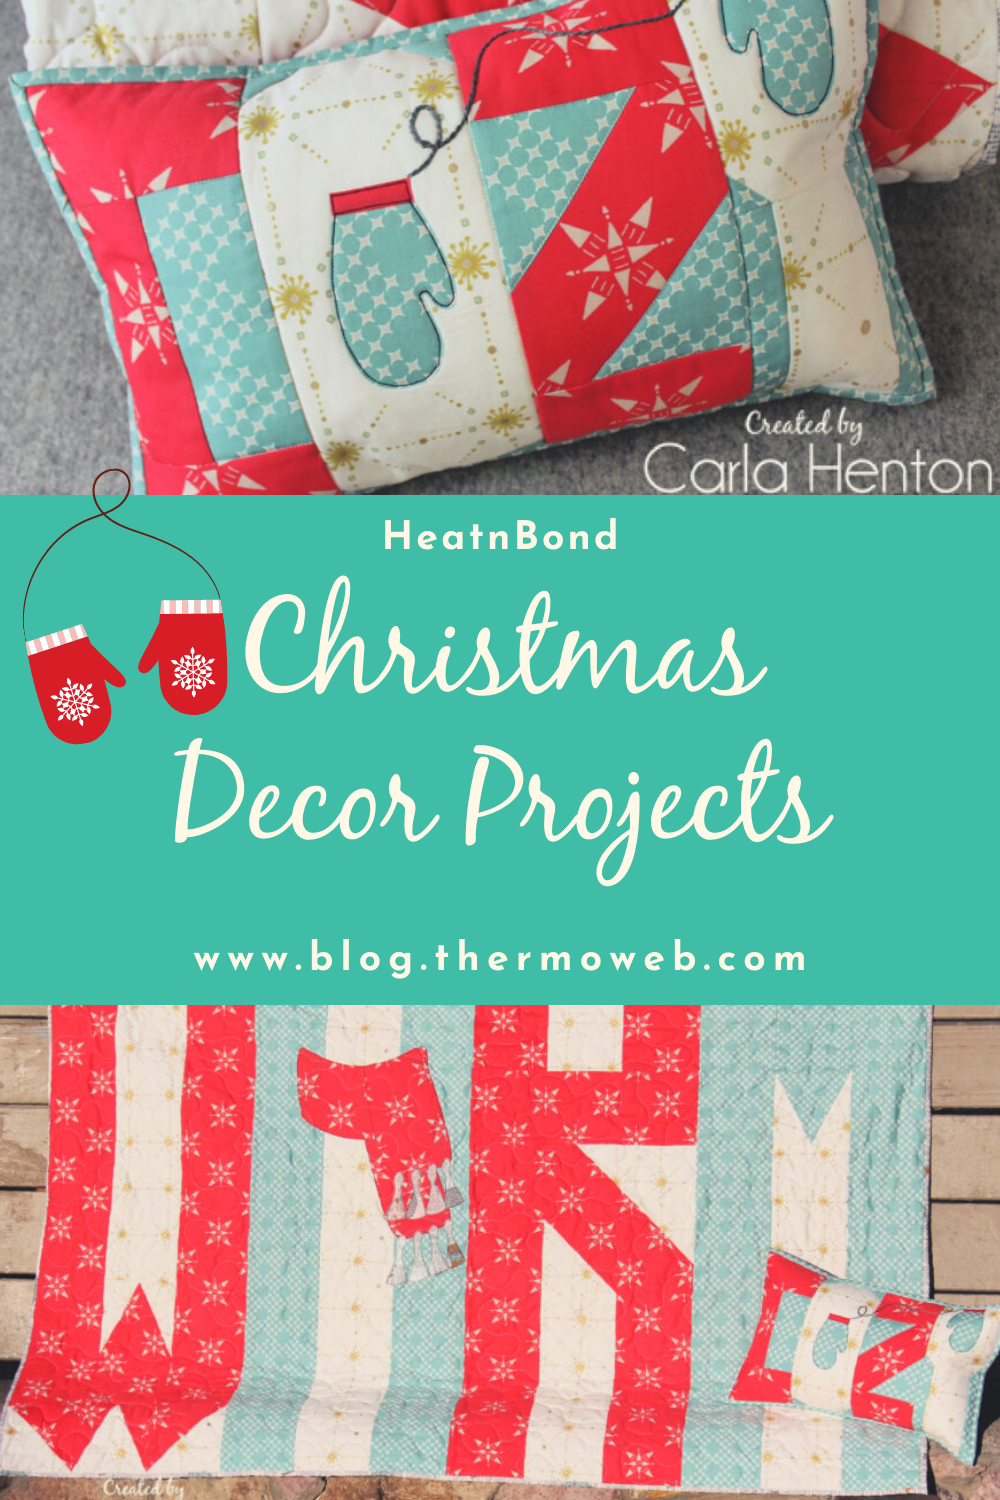
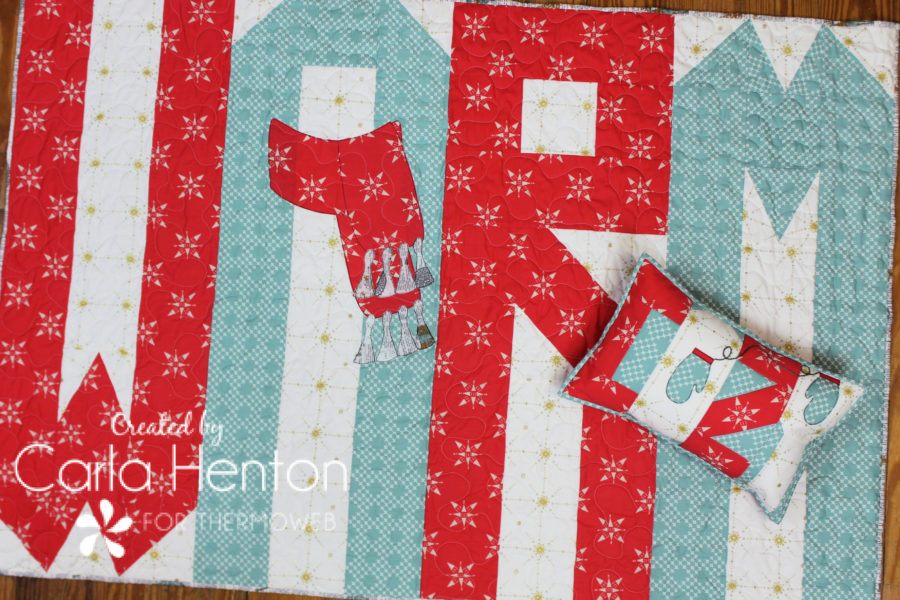
It’s time to get warm and cozy with a fun pattern for winter and the holidays using the Merry and Bright collection from Art Gallery Fabrics. When it’s cold outside, make it “warm” inside by spelling it out with a quilt. Play with patchwork letters then jazz the quilt up with a fun HeatnBond applique scarf. This “warm” quilt makes a great gift too.
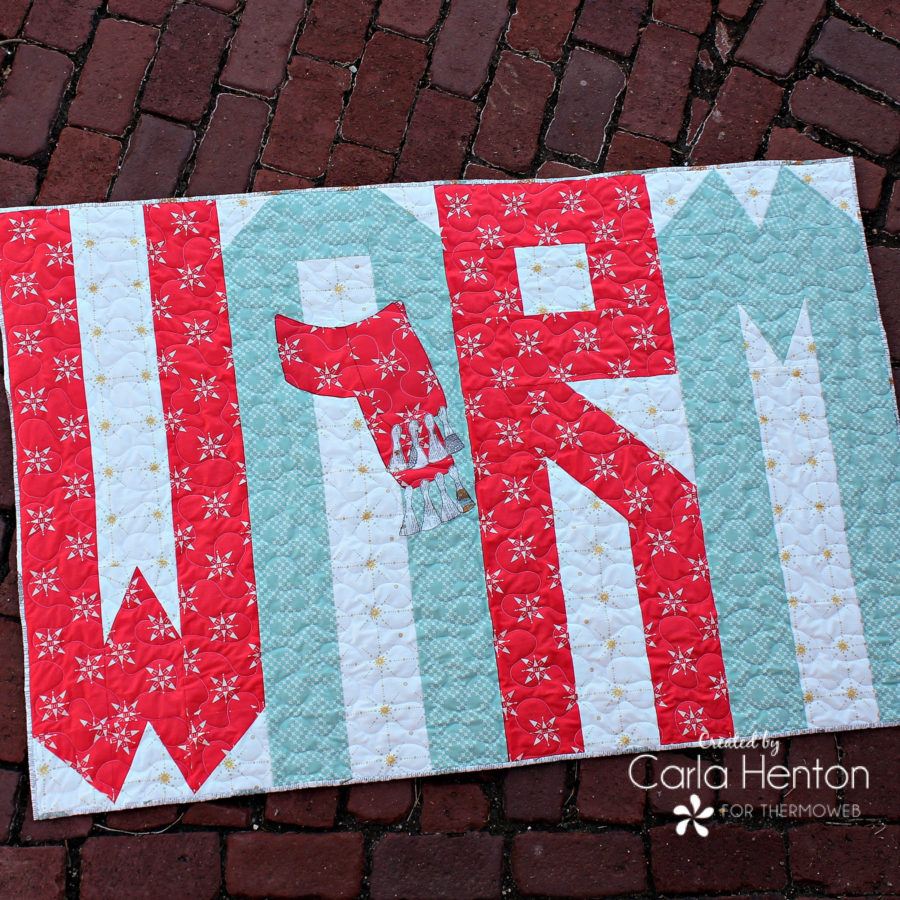
Hi everyone, it’s Carla from Creatin’ in the Sticks and I’m here to share the second of my Warm and Cozy patterns using HeatnBond and Art Gallery Fabrics’ Merry and Bright Collective. This warm letter quilt is so fun to make and the HeatnBond applique scarf gives this quilt a whimsy effect. If you missed my “cozy” pillow cover, click HERE to download the free pattern.
To make this quilt be sure to download the free PDF pattern. It has all the details and templates to help you make this Warm Letter Quilt.
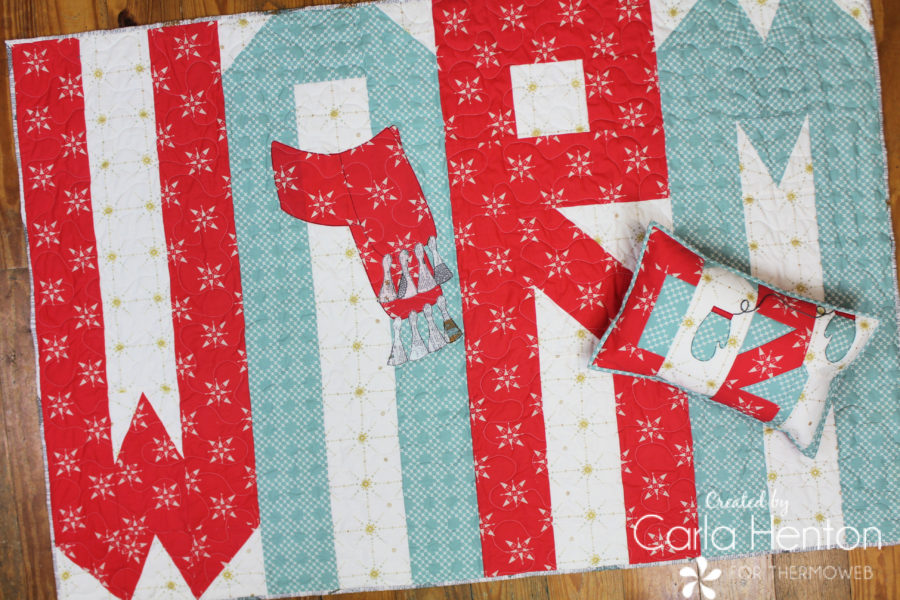
Warm and Cozy Quilt
by Carla at Creatin’ in the Sticks
Unfinished Size: 40 ½” X 60 ½” Finished Size: 40” X 60”
Please read through all instructions before starting.
All seams are stitched at ¼” unless otherwise stated.
Supplies:
Print the FREE PDF pattern – Warm & Cozy Quilt with HeatNBond by Creatin in the Sticks
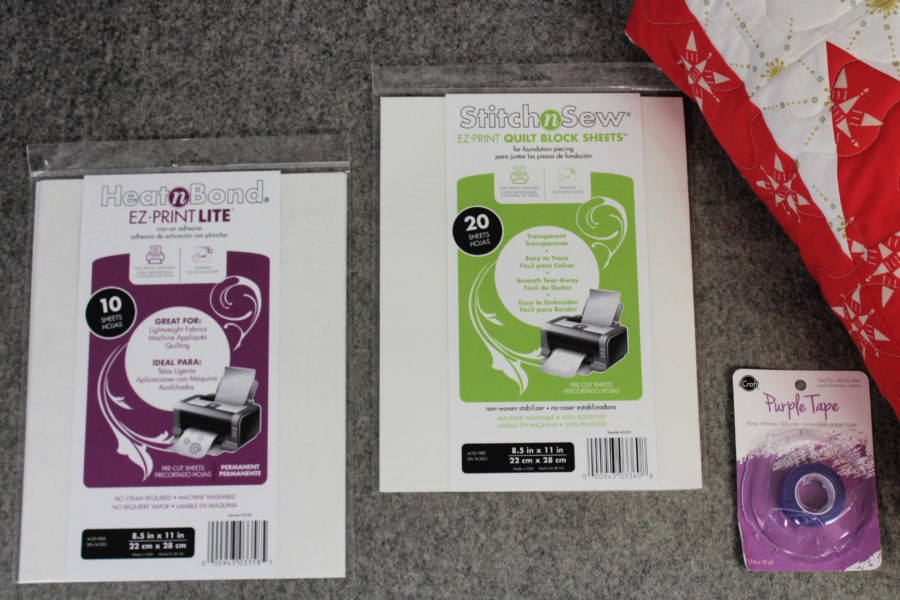
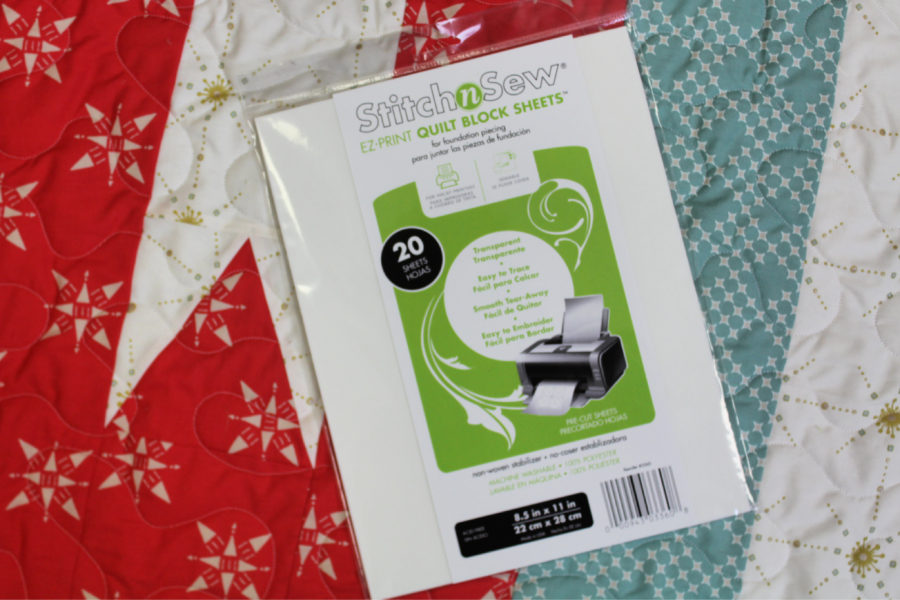
StitchnSew EZ Print Quilt Block Sheets – 4 sheets
HeatnBond EZ Print Lite iron-on adhesive – 4 sheets
Fabric: Art Gallery Fabrics “Merry & Bright” collective by AGF Studio
1 5/8 yards of white: “From Within Sparkler”
1 1/8 yards of teal: “Pixie Dust Spark”
1 1/8 yards of red: “Compassion Ruby”
1 7/8 yards of backing fabric and ¼ yard of binding fabric
Other Supplies: Aurifil thread – 50 wt. (#2692), inkjet printer, iron surface, iron – I love my Oliso Pro, rotary cutter and ruler, 44” x 64” batting, and basic sewing supplies.
Fabric cutting instructions:
(it is helpful to label pieces)
From the white cotton fabric:
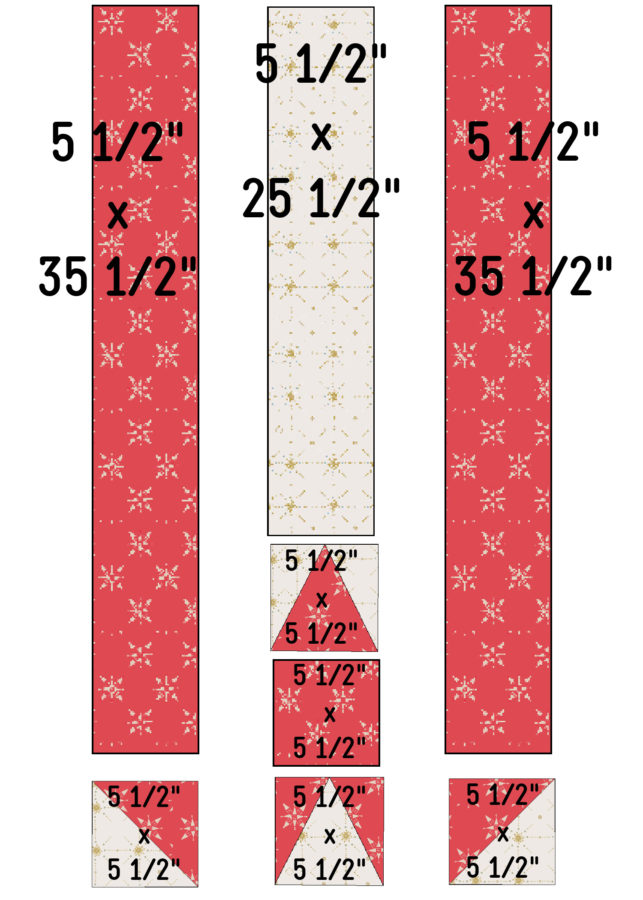
4 squares 6” for the letters W and M
2 squares 7” for the letters W and M – sub-cut 2 squares into 4 triangles on the diagonal
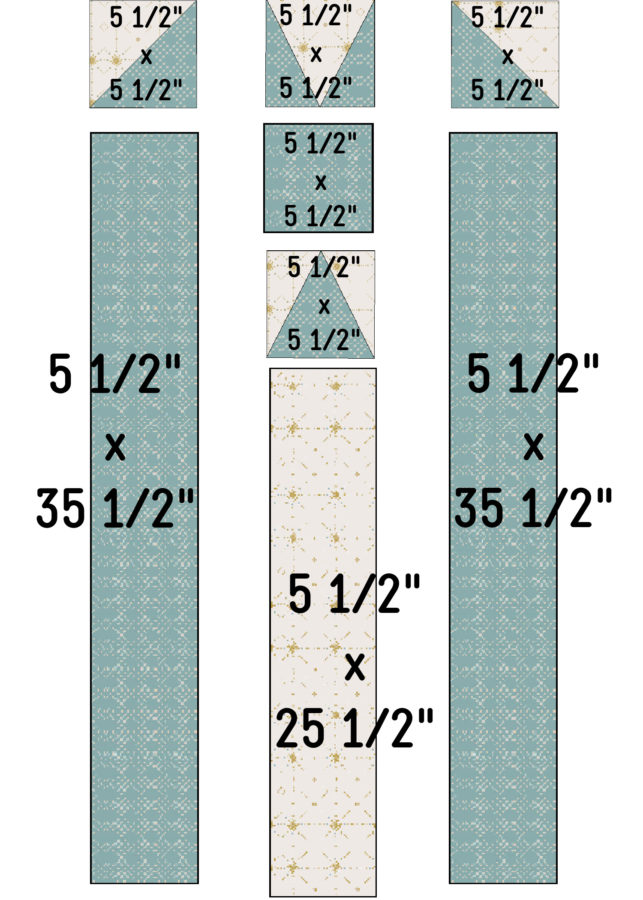
2 strips 5 ½” x 25 ½” for the letters W and M
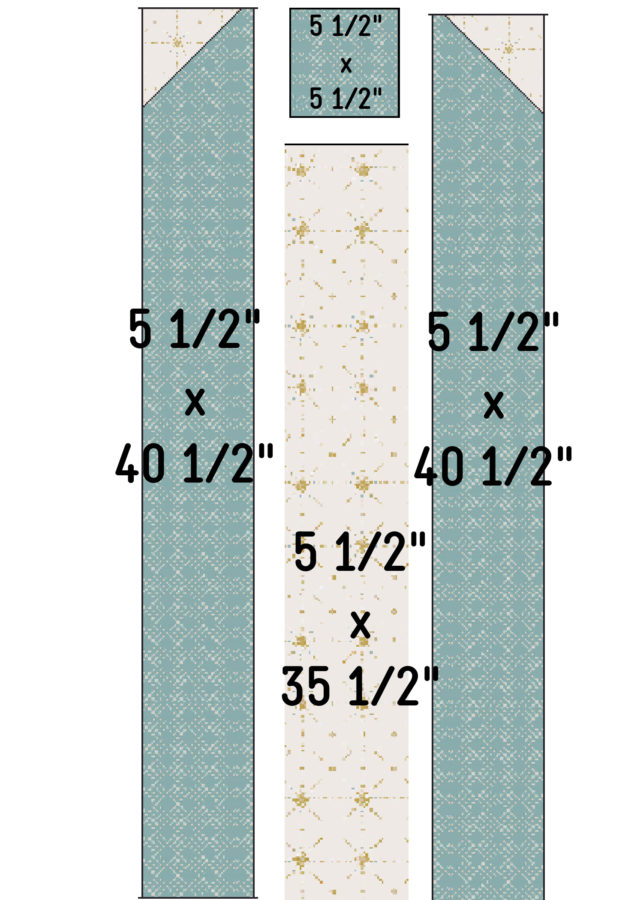
2 squares 4 ½” for the letter A
1 strip 5 ½” x 35 ½” for the letter A
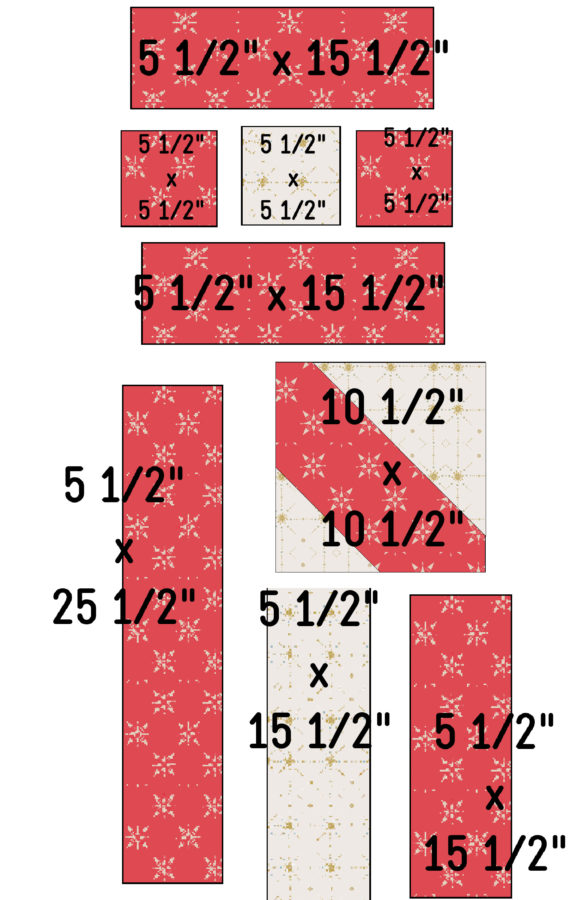
2 squares 5 ½” for the letter R
1 square 8 ½” for the letter R
1 strip 5 ½” x 15 ½” for the letter R
Cut from the teal cotton fabric:
2 squares 6” for the letter M
1 square 7” for the letter M – sub-cut into 2 triangles on the diagonal
1 square 5 ½” for the letter M
2 strips 5 ½” x 35 ½” for the letter M
1 square 5 ½” for the letter A
2 strips 5 ½” x 40 ½” for the letter A
From the red cotton fabric:
2 squares 6” for the letter W
1 square 7” for the letter W – sub-cut into 2 triangles on the diagonal
1 square 5 ½” for the letter W
2 strips 5 ½” x 35 ½” for the letter W
2 squares 5 ½” for the letter R
1 square 10 ½” for the letter R
1 strip 5 ½” x 25 ½” for the letter R
3 strips 5 ½” x 15 ½” for the letter R
Scarf appliques – instructions for cutting below
Warm Letter Quilt Instructions:
Step 1: Prepare 4 Foundation Pieced Triangles for the letters W and M
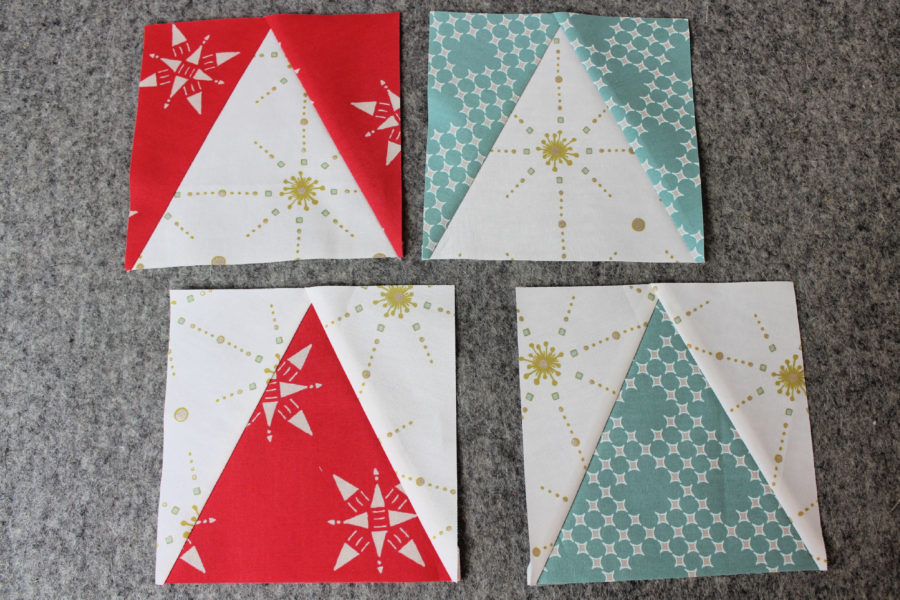
Print the foundation triangle pattern on 4 StitchnSew EZ Print Quilt Block Sheets.
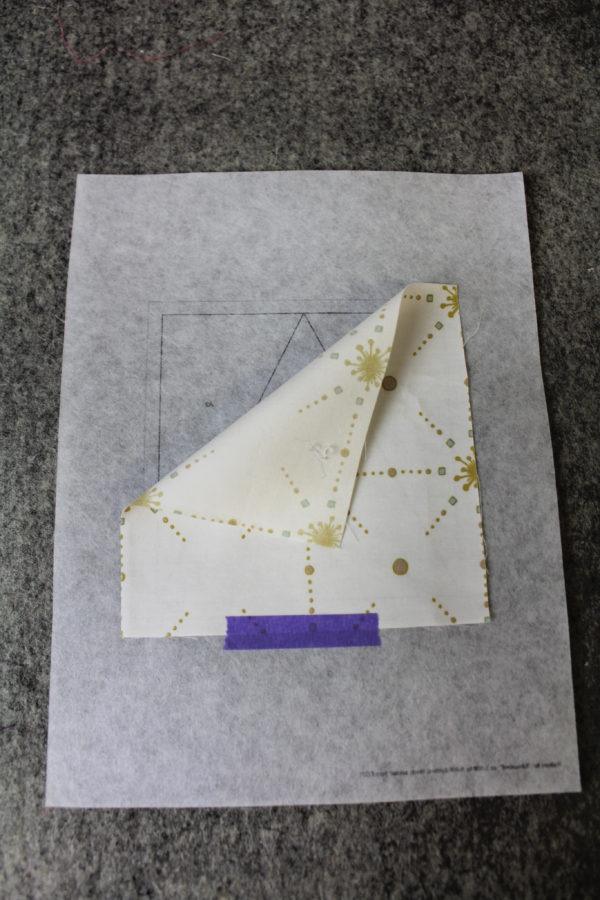
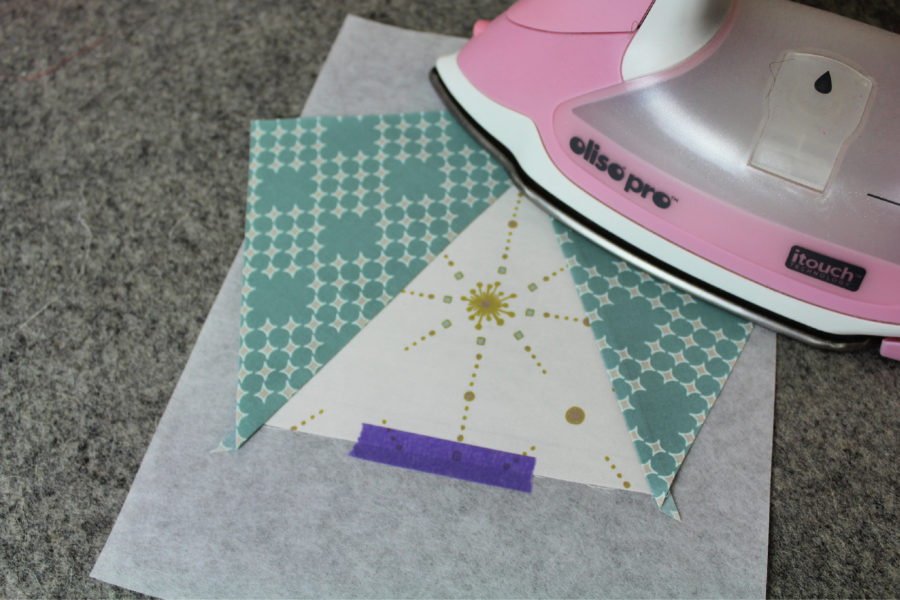
Step 2: Prepare 4 Half Square Triangles for Blocks W and M
The details are in the free printed pattern to make half-square triangles.
Step 3: Construct the Letter W Quilt Block
Step 4: Construct the Letter M Quilt Block
Step 5: Construct the Letter R Quilt Block
Step 6: Construct the letter A Quilt Block
Step 7: HeatnBond Lite Scarf
Applique the scarf onto quilt block A. Print the templates (already reversed for you) with 4 HeatnBond EZ Print Lite sheets following the package instructions. No tracing! The reversed applique pieces are on the last pages of the pattern. Fuse the HeatnBond EZ Print to the wrong side of the scarf fabrics.
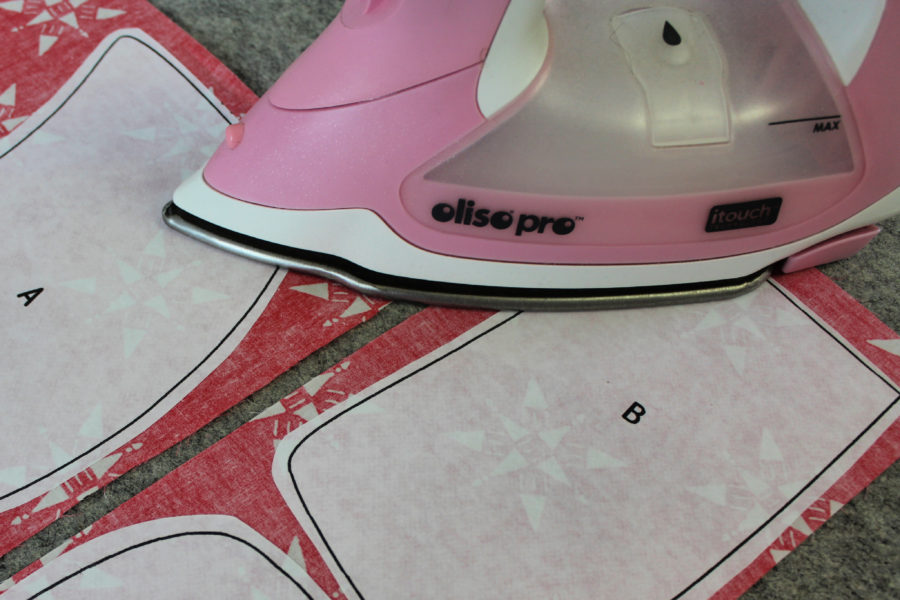
Cut out the templates, peel off the backing paper, place the pieces on the letter A using the key as a guide, and bond the pieces following the package instructions.
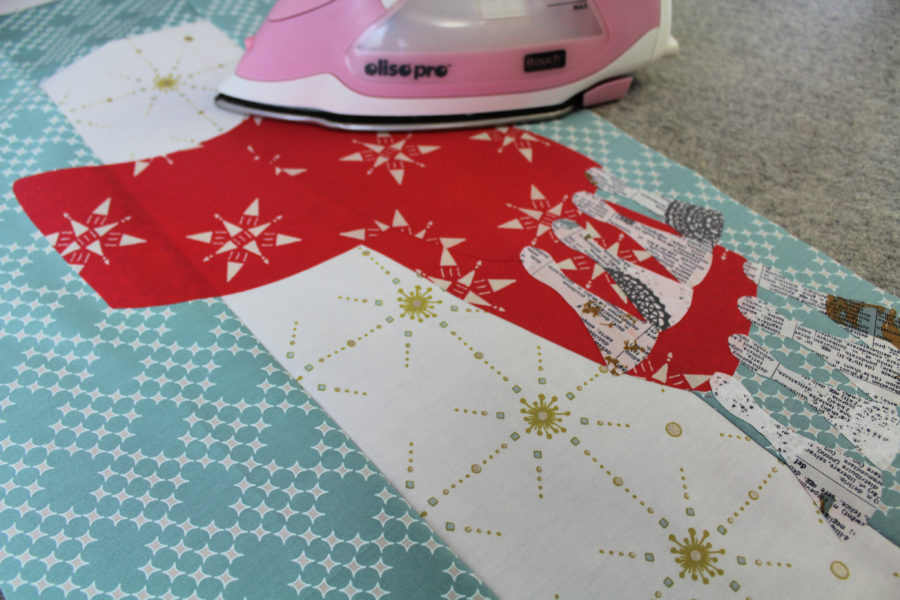
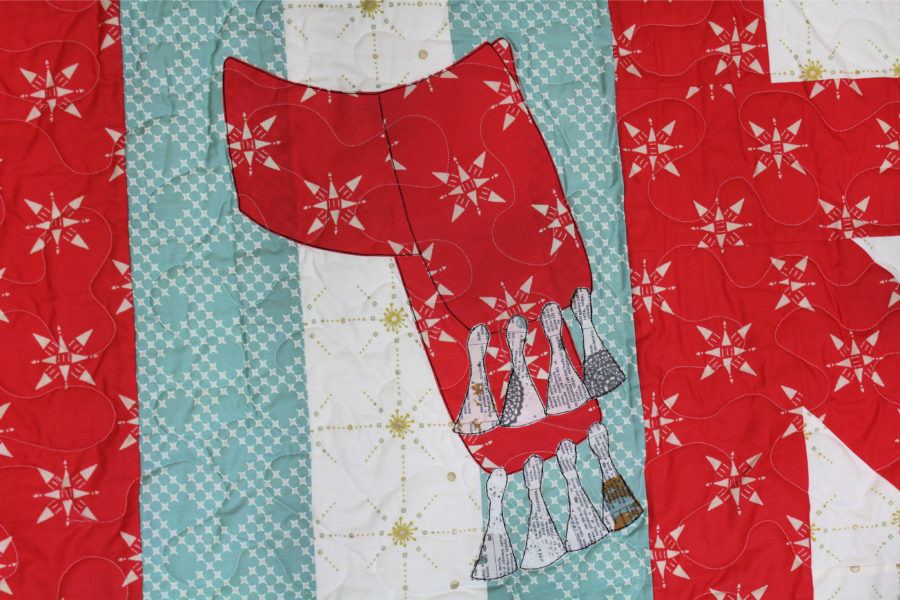
Stitch around each applique piece twice with a straight stitch in Aurifil 50 wt. thread (#2692).
Step 8: Construct and Finish
Stitch the letter quilt blocks right sides together to form the word, “warm”, with ¼” seams to form the quilt top. The quilt top should measure 40 ½” x 60 ½”. Using SpraynBond Basting Adhesive, sandwich the batting between the backing fabric and the “warm” quilt top following the package instructions. Quilt as desired. Finally, add the binding with a preferred method.
Have a warm and cozy Christmas,
Carla

Sue
December 18, 2020 at 5:24 pm (4 years ago)Wonderful & beautiful!