


 Somewhere buried in a drawer or closet is someone’s treasured t-shirt. It might be in great condition or it’s worn a bit, but it just can’t be discarded because of the memories attached to it. I know I have a few of those stashed away!
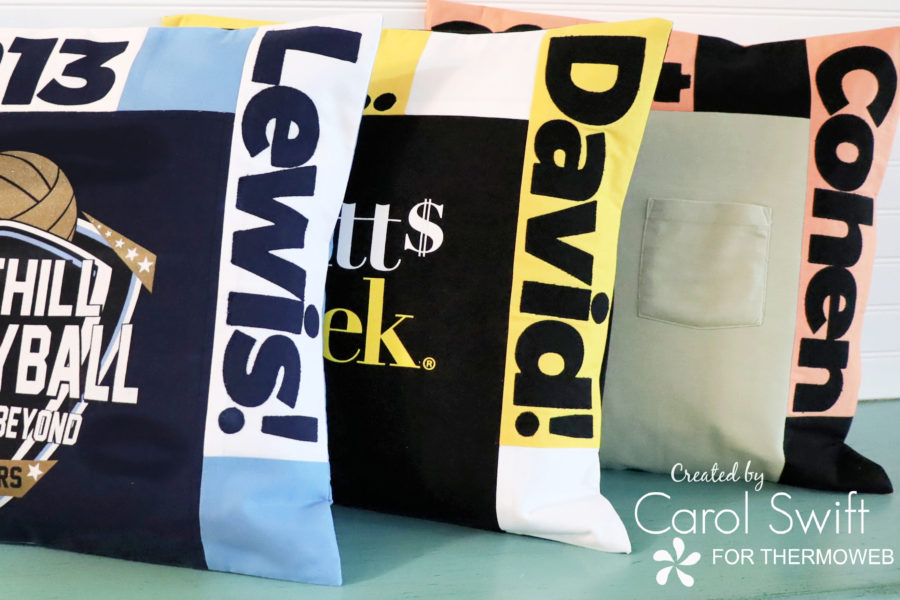
T-Shirt Pillows with HeatnBond Lite Iron-On Adhesive
Maybe you don’t have enough t-shirts to make a memory quilt, but how about a pillow! EZ-Tee Stabilizer makes it easy to sew t-shirt fabric into a memory pillow for a gift or for yourself.
T-shirt fabric is stretchy, so before sewing it into a pillow or quilt, it needs to be stabilized. EZ-Tee Stabilizer keeps the t-shirts from stretching out of shape without making them stiff. The stabilizer comes in two different sizes and in black and white.
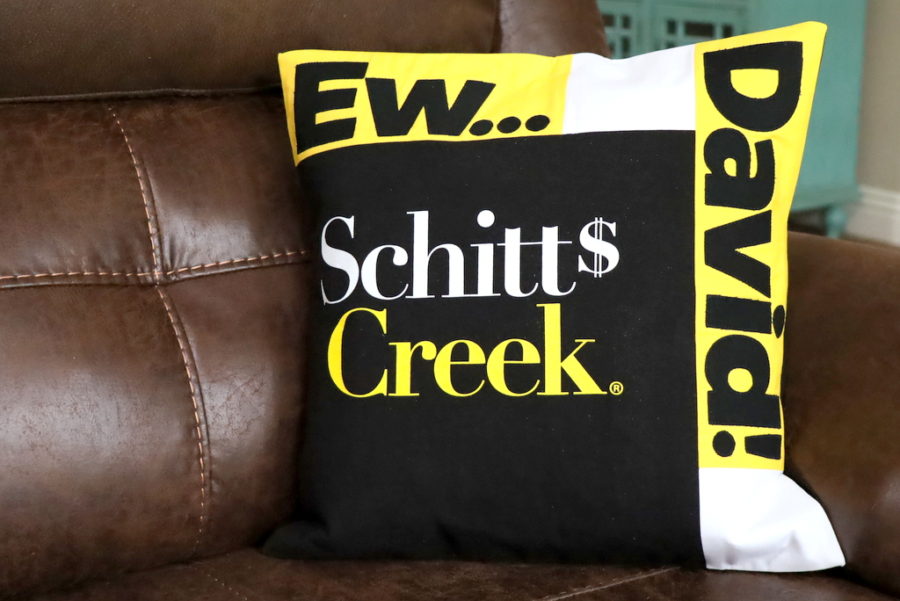
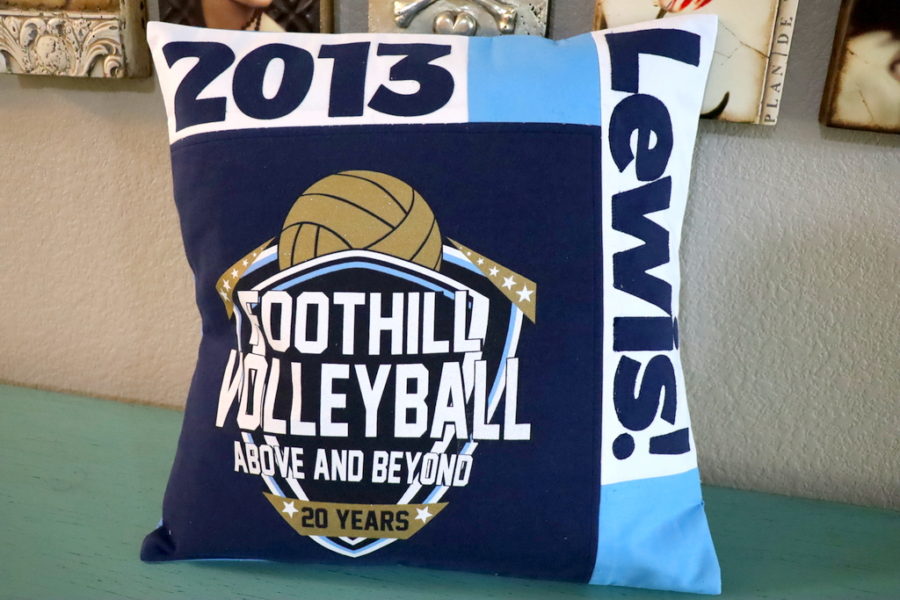
Crafter’s Edge die-cutting letters, numbers, and punctuation marks were used to add some personalized names and dates to these pillows. The dies make cutting precise and quick!

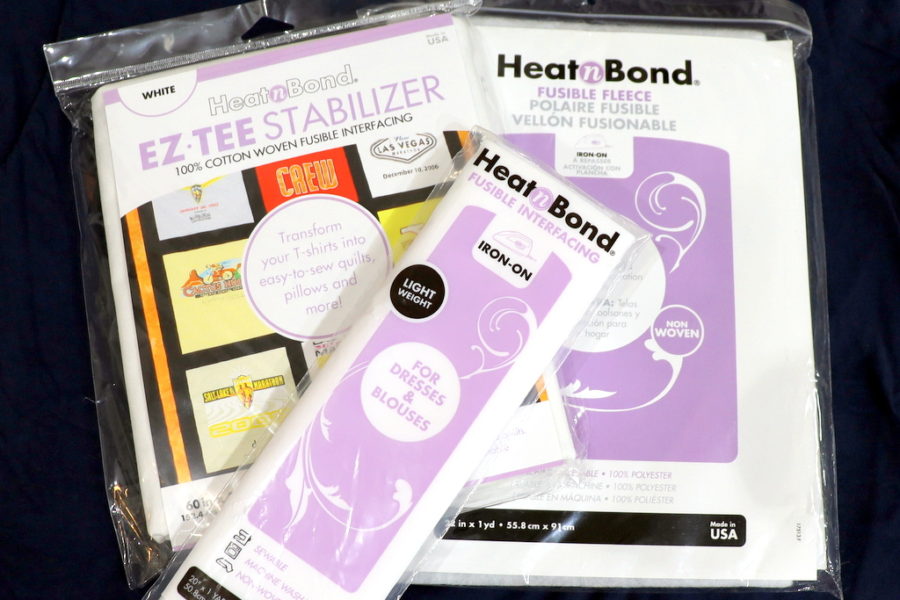
SUPPLIES:
EZ-Tee Stabilizer
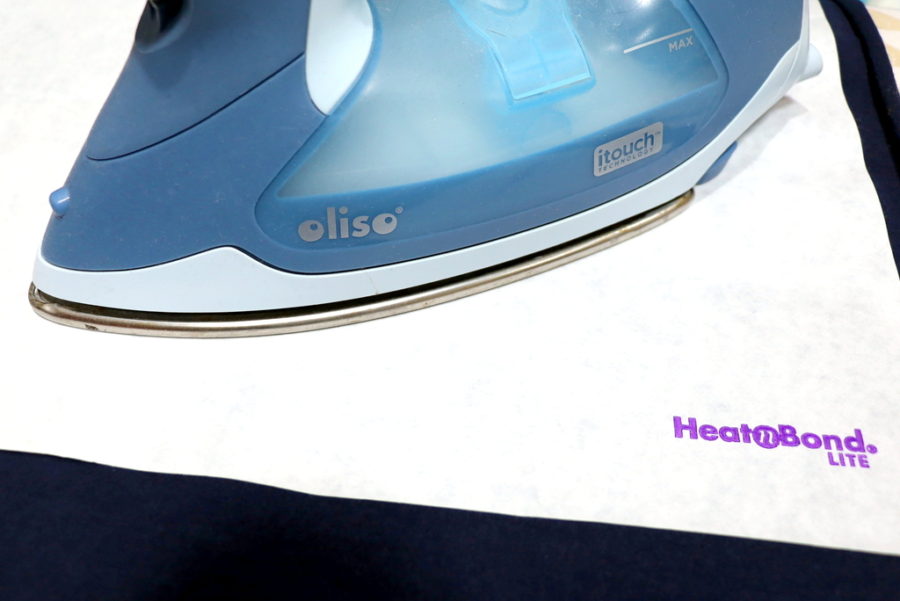
Heat n Bond Lite Iron-on Adhesive
Heat n Bond High Loft Fusible Fleece
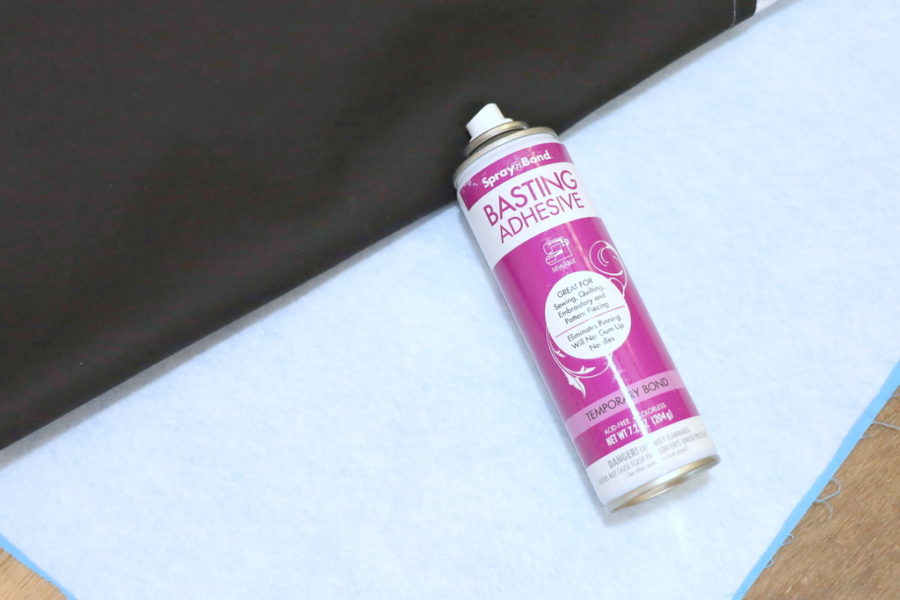
Spray n Bond Basting Adhesive (optional)
Heat n Bond Light Weight Non-Woven Interfacing
Aurifil Thread
Oliso Iron
Pins
18” x 18” preformed pillow
Crafter’s Edge Letters/Die Cutter or applique letters of your choosing
1 large or x-large t-shirt with logo
FABRIC NEEDED:
1/4 yard – Fabric A
1/4 yard – Fabric B
1/4 yard – Fabric for letters
5/8 yard – Fabric Lining
5/8 yard – Pillow Back

CUTTING INSTRUCTIONS:
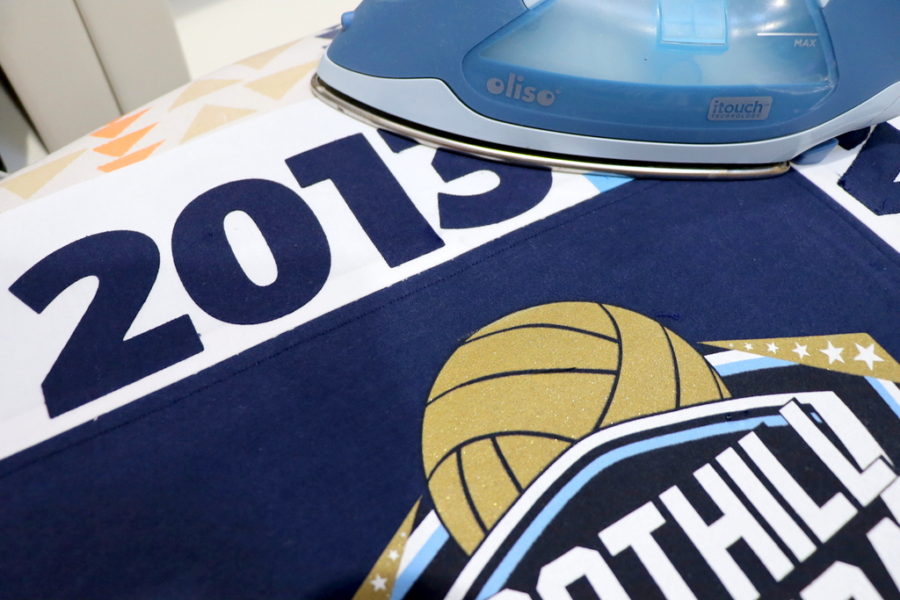
Cut 1 – 16” x 16” square fussy cut t-shirt logo – T-shirt Center*
Cut 1 – 16” x 16” EZ-Tee Stabilizer – Center Block
Cut 1 – 5” x 11” strip, Fabric A, top border
Cut 1 – 5” x 15” strip, Fabric A, side border
Cut 2 – 5” x 5” square, Fabric B, top and side borders
Cut 1 – 19” x 19” square from fabric – lining
Cut 1 – 19” x 19” square – Heat n Bond High Loft Fusible Fleece
Cut 2 – 13” x 19” rectangles from fabric – Pillow Back
*Fussy cutting is the process of cutting fabric so that a specific area of the fabric design is selected.
SEWING INSTRUCTIONS: Sew seams at 1/2” width and avoid logo when ironing!
Step 1: Cut the t-shirt open on both sides and then cut across the top just below the neckline.
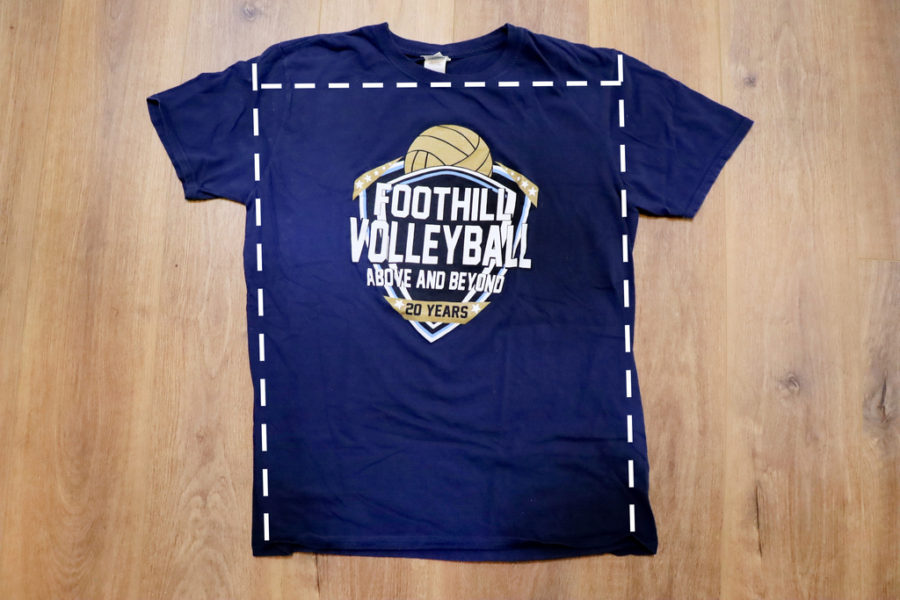
Step 2: Fussy cut the t-shirt logo into a 16” x 16” square (it will be trimmed to 15” x 15” later). Follow package directions to iron 16” x 16” EZ-Tee Stabilizer to back of fussy cut t-shirt logo square. Let cool. Trim to 15” x 15” making sure to center logo.
 Step 3: With right sides together, sew 5” x 11” Fabric A to left of a 5” x 5” Fabric B square. Press seams towards dark fabric. With right sides together, sew strip to top of T-shirt Center. Press seam towards border.
Step 4: With right sides together, sew 5” x 15” Fabric A to left of a 5” x 5” Fabric B square. Press seams towards the dark fabric. With right sides together, sew a strip to the side of T-shirt Center. Press seam towards border.
Step 5: Letter Applique – Iron Heat n Bond Lite Iron-on Adhesive to wrong side of letter fabric following package directions; let cool.
The Oliso iron is amazing and awesome to use! There are so many colors and sizes to choose from.
Step 6: Following Crafter’s Edge instructions, place paper side of adhesive facing up on platform. Cover as directed before running through machine. Run die and fabric through machine.
 Step 7: Peel off paper liner from the backs of applique pieces. Place applique, adhesive side down, on right side of pillow borders. Press according to package directions until entire piece is bonded. Let cool. Sew around edges of applique using a straight, zig-zag, or blanket stitch. *Be careful when ironing NOT to touch the logos!
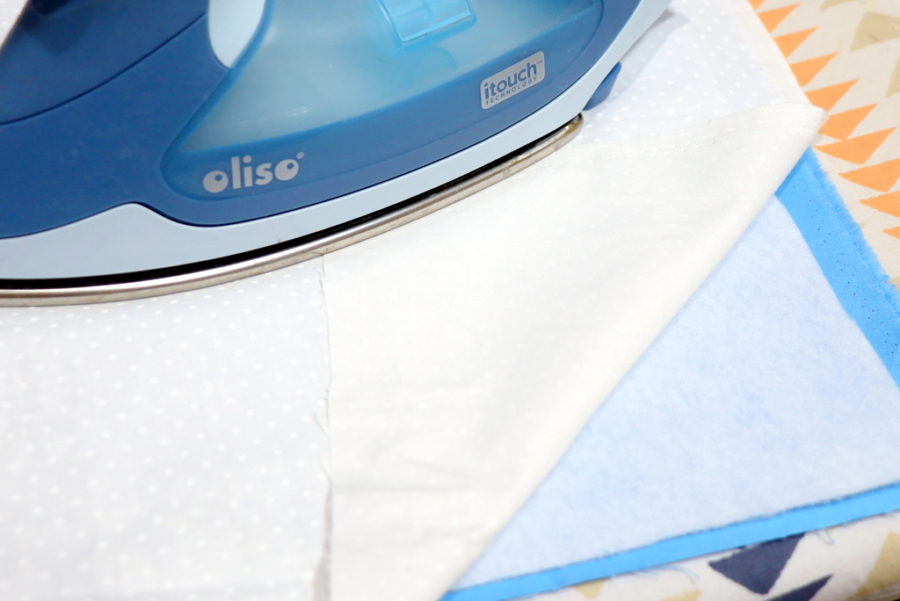
 Step 8: Using a pressing cloth, iron Heat n Bond High Loft Fusible Fleece to wrong side of 19” x 19” pillow lining following package directions.
 Step 9: Place wrong sides of pillow front and lining together. Pin in place or use Spray n Bond Basting Adhesive to hold the layers together. Quilt layers together if desired. Trim layers to 19” x 19” to square up if needed.
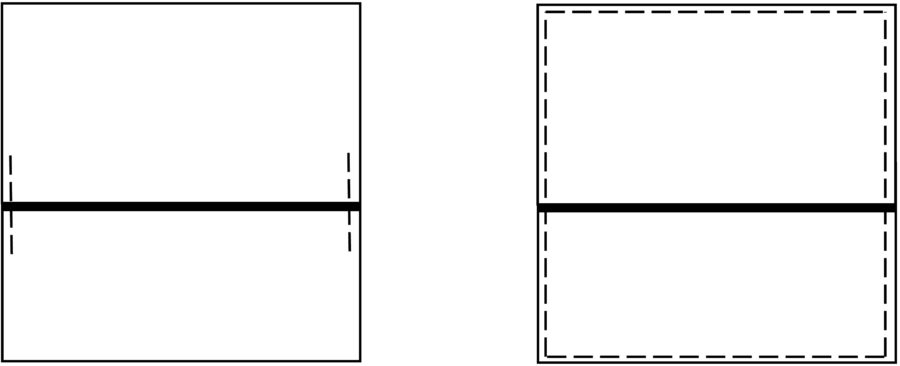
Step 10: Following package directions, iron Heat n Bond Light Weight Non-Woven Interfacing to wrong side of pillow back. Fold under 1/4” on one long side of each 13” x 19”. Press. Fold over again 1/4” and press. Topstitch close to the edge of the fold.
Step 11: Place pillow front, right side up, on flat surface. Place the pillow back sections right sides down, hemmed edge in the middle, and overlapping on the pillow front. Pin around all edges. Sew 1/2” around all edges, sewing twice over the overlapped edges to reinforce them. Clip corners. Turn inside out.
Step 12: Place 18” x 18” pillow form inside through back opening.
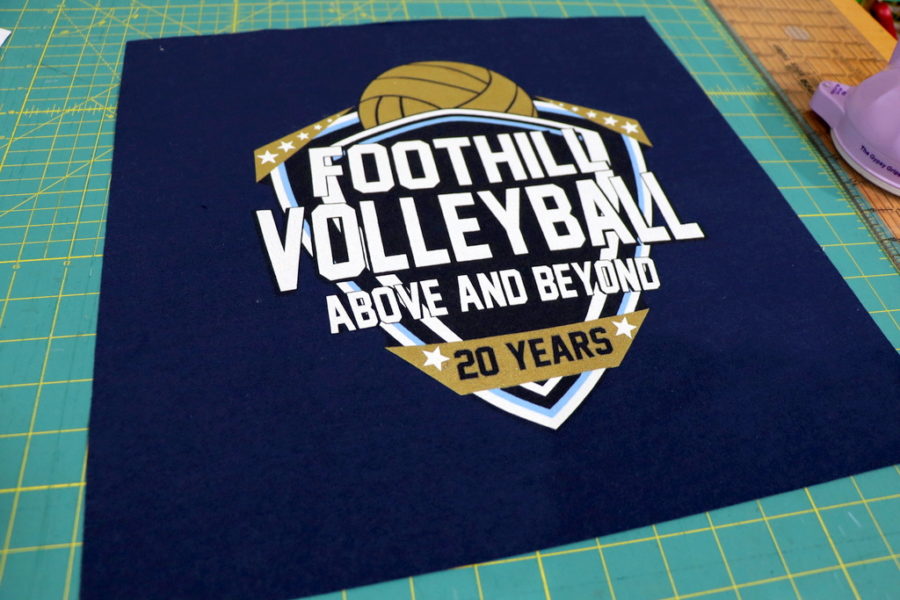
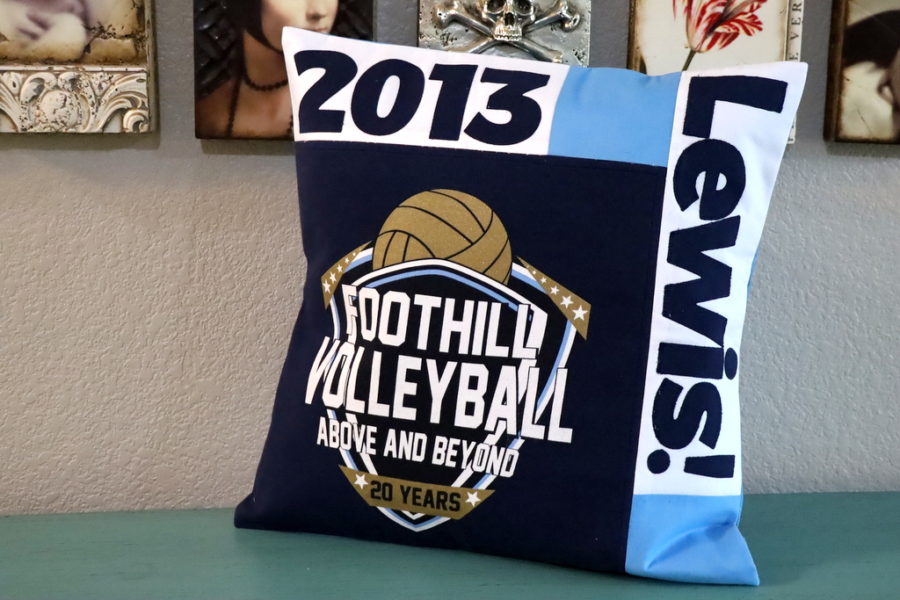
For the sports fan, their favorite t-shirt with a logo makes a great gift!
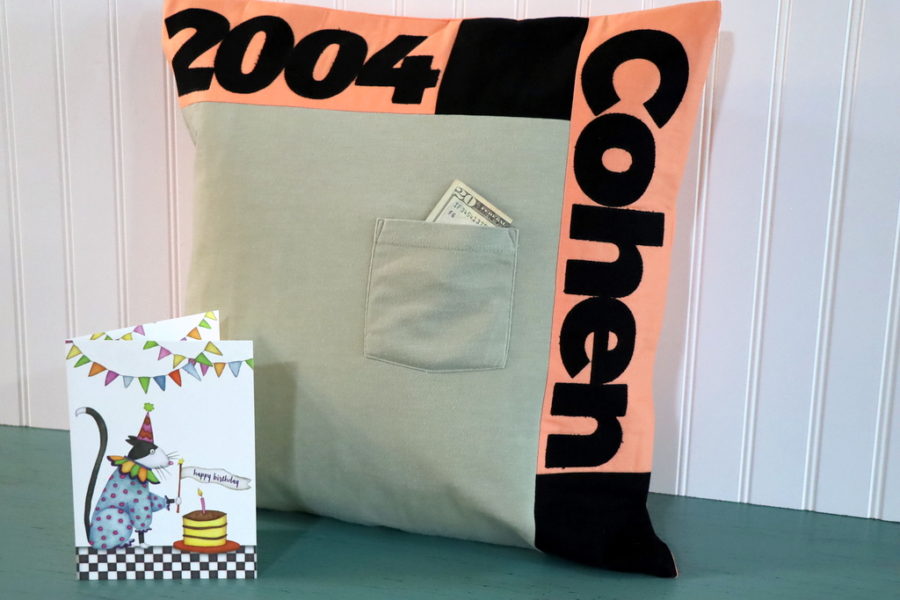
Taking a much-loved t-shirt and making it into a birthday gift with money or a gift card tucked in the pocket would definitely make anyone smile!
Does someone you know have a favorite television or movie on a t-shirt? This one would bring a laugh to anyone who knows the show.
The pillow can be made without lettering, but it is fun to add a personal touch or two! A t-shirt pillow is a fun way to save a memory and show love.
HeatnBond
HeatnBond always plays a key role in our fabric projects. From our HeatnBond Fusible Adhesive to our printable EZ Print Sheets to our Interfacing and Fleece! Enter to win a collection of our HeatnBond Lite plus tape, HeatnBond Fusible Fleece, HeatnBond EZ Print Sheets, and our NEW EZ Tee Stabilizer in white! If you’re not familiar with it…it’s not only perfect for today’s upcycle project but also for all your t-shirt quilting! Transform your T-shirts into easy-to-sew quilts, pillows, and more! Lightweight, 100% cotton woven fusible interfacing adds just enough stability to knit T-shirts, sweatshirts, and jerseys to prevent curling and stretching without adding bulk. EZ -TEE keeps quilts as comfy as the shirts used to make them. This prize is worth $45!