


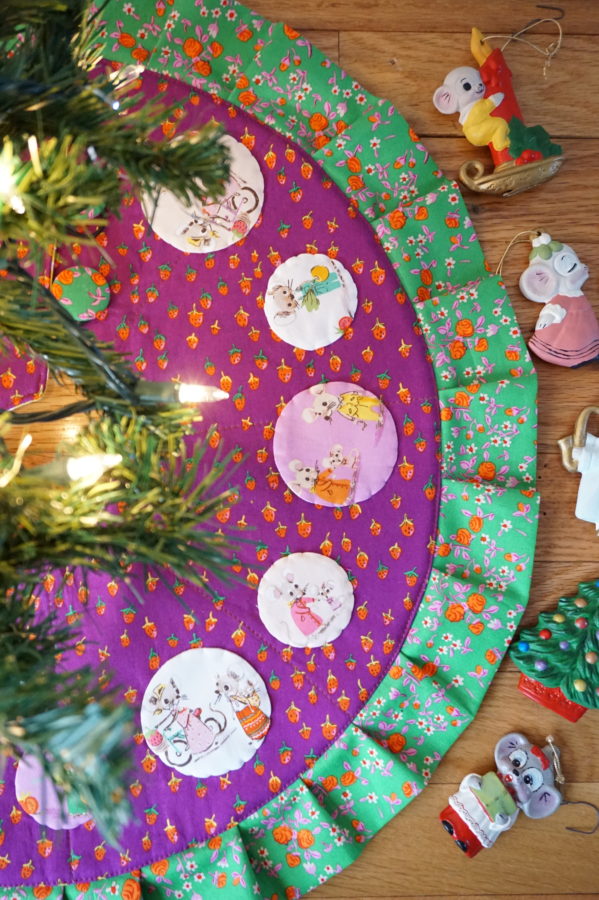
Hello! It’s Stephanie from Sissy Belle Sews back to share with you a quick and easy Christmas project! I have been not-so-patiently waiting to put up my Christmas decorations this year. I am hosting Thanksgiving at my house, and I didn’t want to short-change the occasion by having my Christmas things out yet. So, you can imagine my excitement when I finished this little tree skirt and had an excuse to dig out one of my little Christmas trees today! After all, I couldn’t take a picture of a tree skirt without including a tree! So, even though it’s not much, this little tree and these little lights made both me and my boys just a little bit giddy today. And I’m sure you’re curious about whether or not I’m going to put it back until after Thanksgiving. And the answer is no. It’s here to stay until the end of the year!
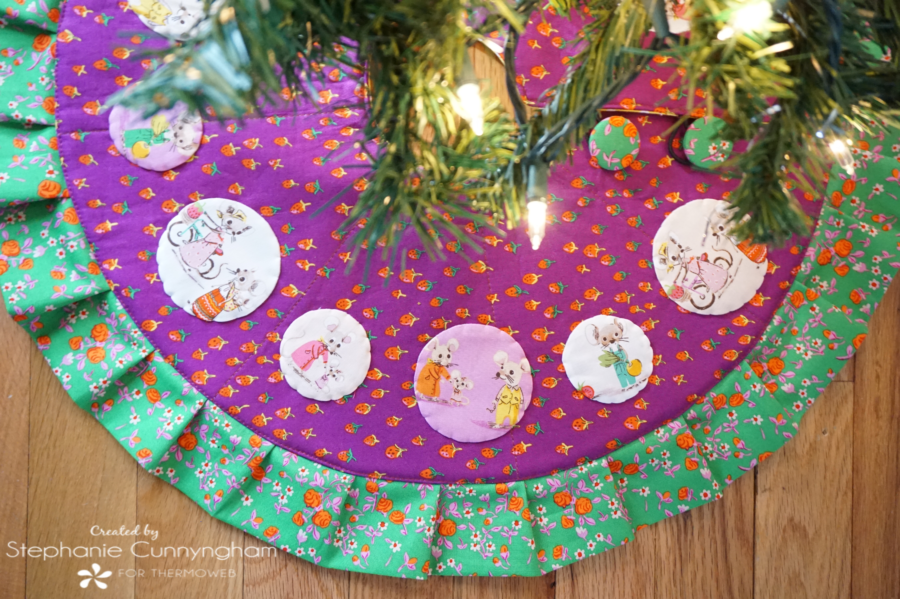
Spotted Christmas Tree Skirt
If you are looking for a little project to get you in the mood and to quench that craving to have just a little Christmas around early, follow along and I’ll tell you how you can make one of these cute mini tree skirts too!
Supplies Needed
- A 20″ square of fabric for the main tree skirt
- 1/4 yard of fabric for the ruffle (not a fat quarter)
- A fat quarter for the back of the tree skirt
- Scraps of fabric for the spots
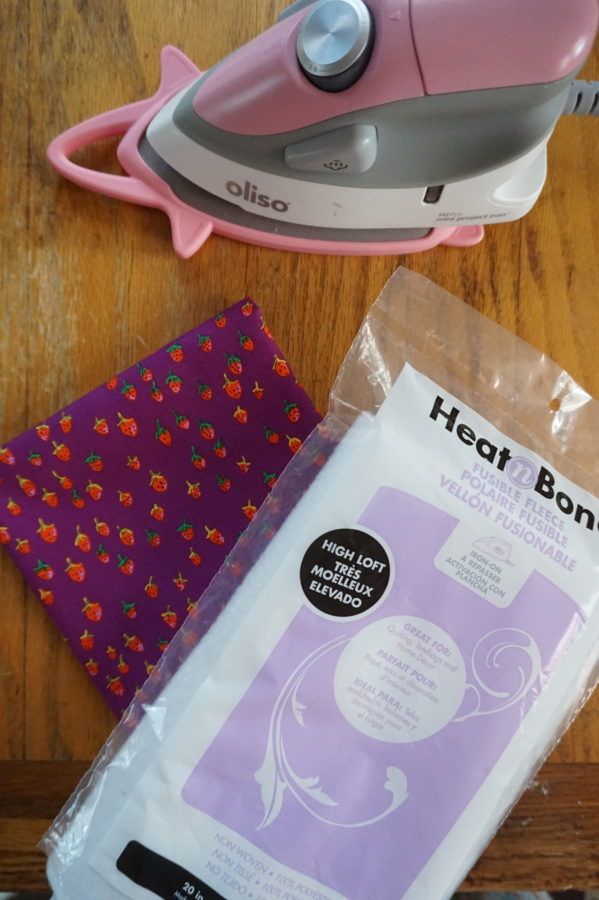
- 1 package of HeatnBond Fusible Fleece
- 1 package of HeatnBond Fusible Interfacing, Medium Weight
- 2 buttons
- 2 hair ties
- Circle templates, shapes, or fabric cutting machine such as the Crafter’s Edge Crossover II
Sewing Instructions

- Cut circle shapes from the fabric scraps AND the interfacing to applique on the tree skirt. The size of the circle is up to you. If you do not have a fabric die cutting machine, trace a circular object or use a compass circle cutter to get your shapes. I used two different sized circles, a 3″ and a 2.5″. These sizes include the seam allowance. I cut six of the 3″ circles and five of the 2.5″. You will need one circle of interfacing for each circle of fabric you cut.
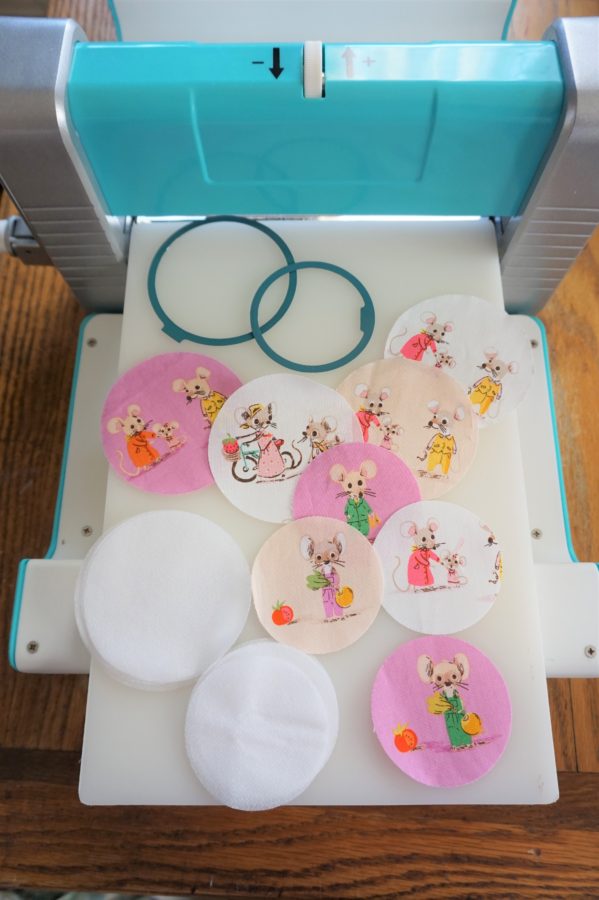
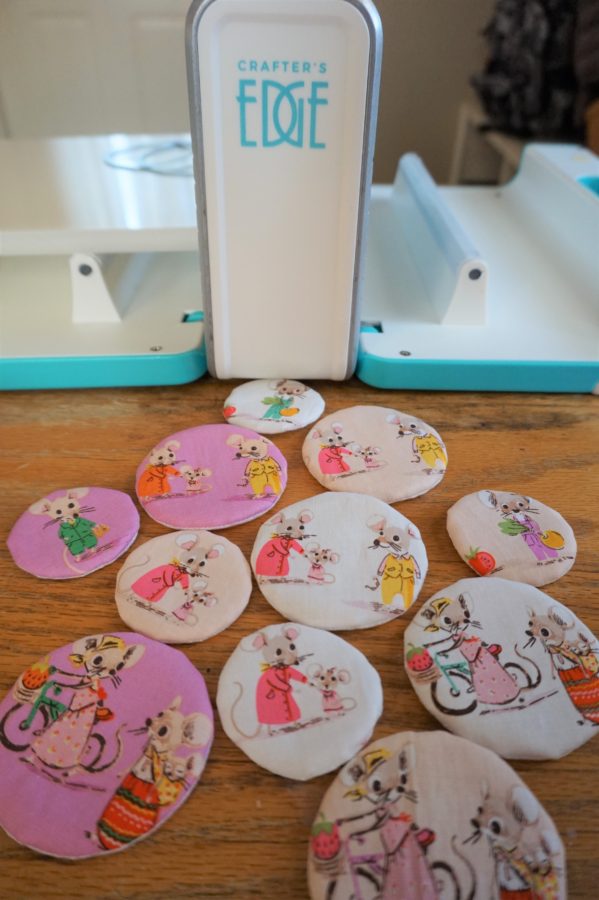
- With the glue side of the interfacing facing the right side of the fabric, stitch all the way around each circle using a 1/4″ seam allowance. Trim seam allowance close to the seam. Cut a small slit in the interfacing of each circle and turn circle right side out, being careful not to tear the interfacing close to the seam. Do not press. Set aside for not.
- Cut the fusible fleece into a 20″ square. Fuse to the back of the main tree skirt fabric following the manufacturer’s instructions.
- Mark the center of the square. Quilt the square like you would cut a pizza.

- Place the end of a ruler on the center point of the square. Measure 9″ and make a mark. Repeat this process all the way around the square. Using a fabric-safe pen, drawn a line to connect the marks to result in a circle shape. Cut out the circle along this drawn line.
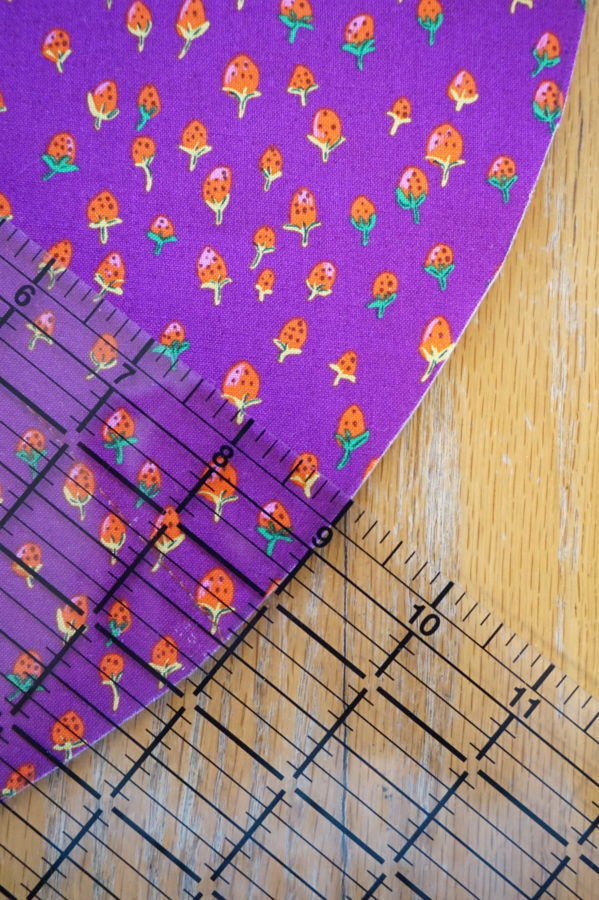
- Cut along one of the quilted lines until you get to the center of the skirt, then cut an approximately 4.5″ circle in the middle of the tree skirt. The dark lines in the following diagram show the cutting instructions.

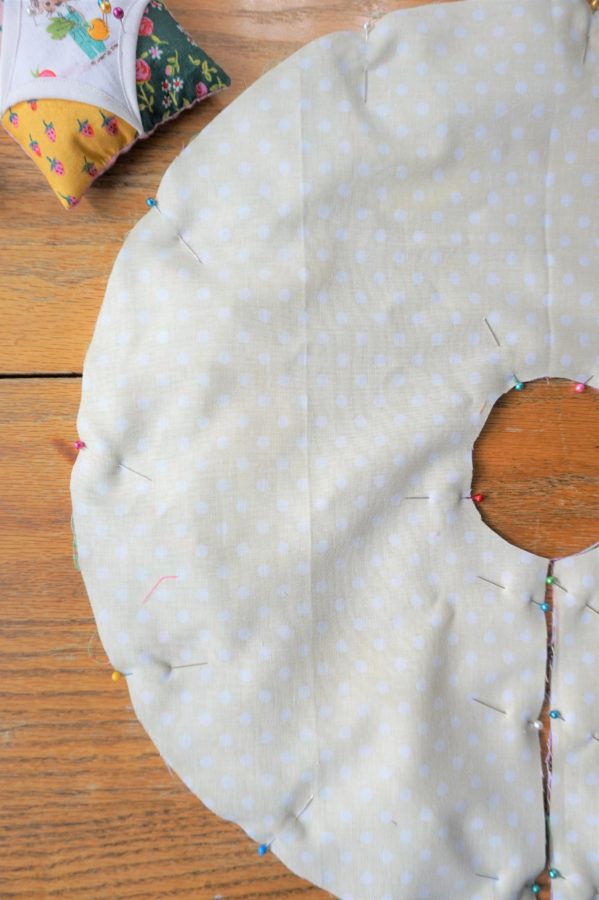
- Using the cut tree skirt top as a pattern, cut the tree skirt backing to the same size as the tree skirt top. Set the backing aside for now.
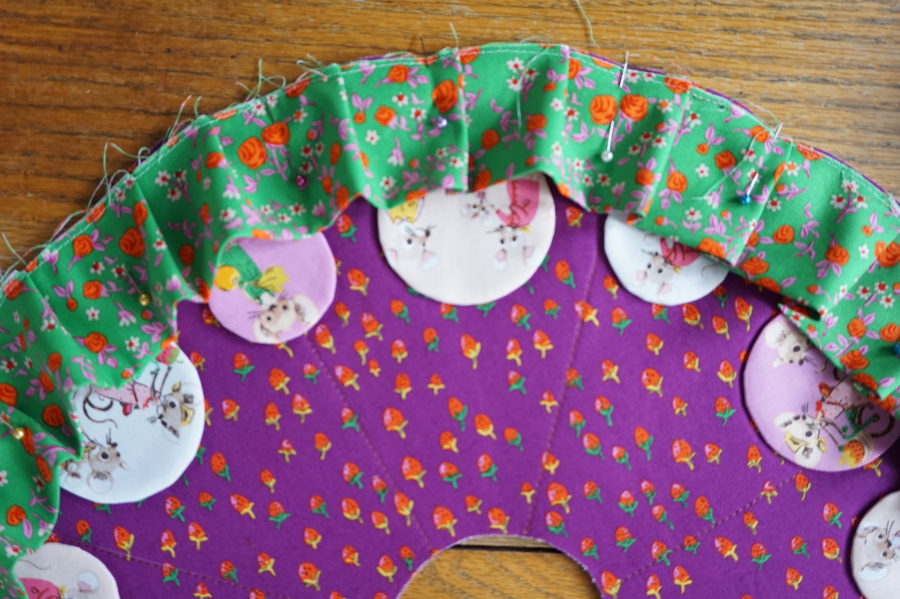
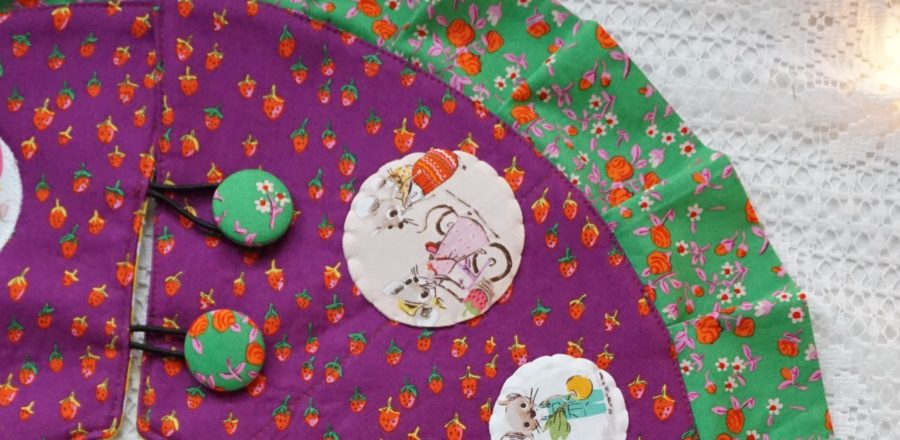
- Fuse your circle shapes to your tree skirt as desired. I sewed all of mine in a row, alternating the larger and smaller sizes. You could also place them randomly over the skirt as well! Do not place them too close to the cut line as this is where the buttons will go.
- Secure the circle shapes by hand stitching or using the applique stitch on your sewing machine. I hand-stitched mine to help them keep that “puffy” look they have when you turned them right side out.
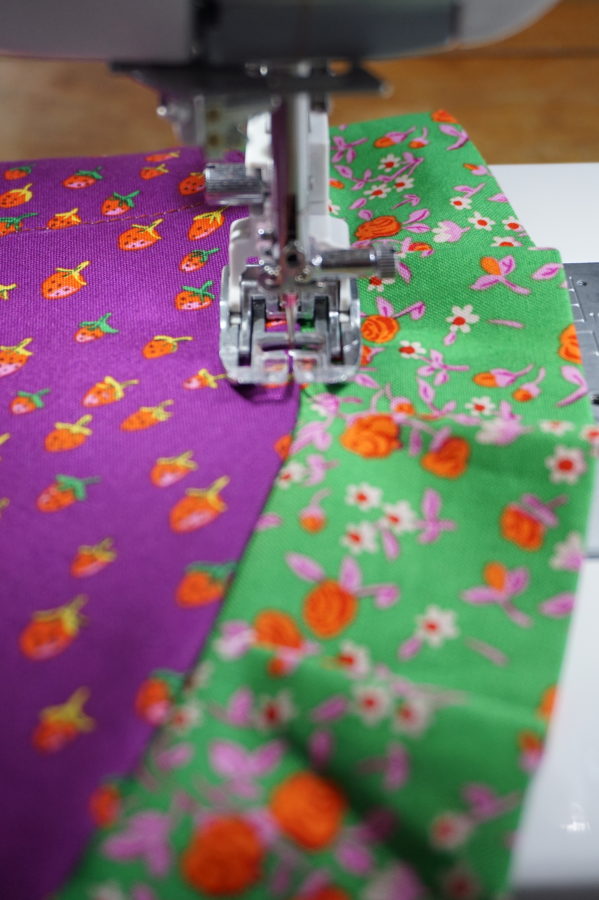
- To make the ruffle, cut the 1/4 yard of ruffle fabric into two 4.5″ x WOF strips. Sew the strips together along one short edge to make one long strip. Fold this strip in half, wrong sides together and press. Turn under the two short edges 1/4″ each and stitch close to the edge to finish these edges. Gather or pleat your strip to give it a little fullness or ruffle. I chose to pleat mine every 2″. The thought of hand-gathering that long of a strip was a little too intimidating for me.
- NOTE: Pom-poms or ric rack would also be great to use here!
- Once the ruffle is finished, pin it to the right side of the tree skirt making sure ends of the ruffle are 1/4″ away from the straight edges of the tree skirt. Baste in place.
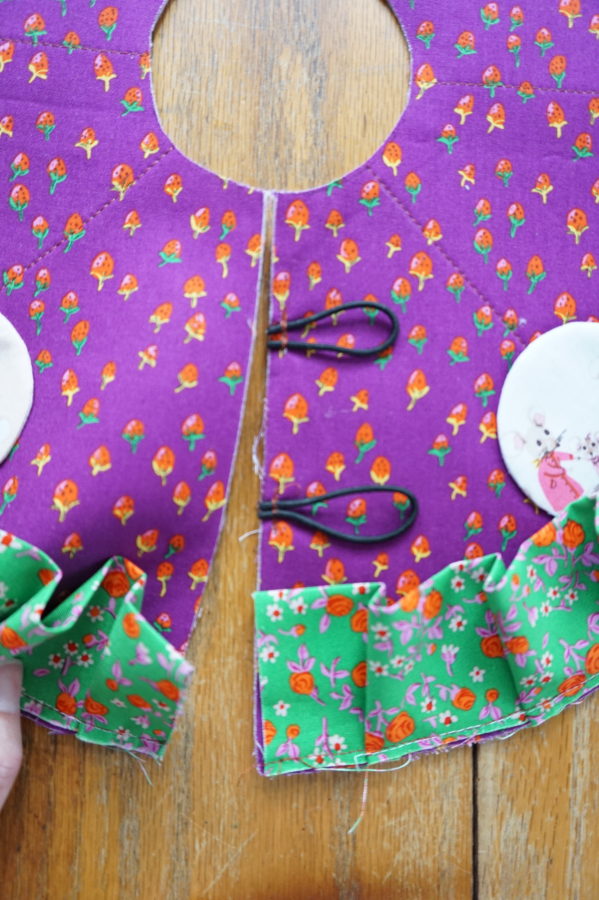
- Stitch the hair ties to the straight cut edge of the front of the tree skirt. These will be used to keep the skirt closed after the buttons are sewn on.
- Pin the tree skirt backing to the tree skirt, right sides together. Starting on the straight edge without the hair ties, stitch all the way around the skirt, leaving a 4″ opening along the straight edge you started with.
- Turn the tree skirt right side out through the opening. Turn the opening in 1/4″ and topstitch all the way around the skirt.
- Sew buttons on the straight edge of the tree skirt that does not have the ties.
- Wrap your little skirt around a little tree and sit back and enjoy what you created!!

Thanks for sewing along with me! Follow me on Instagram for more quilty inspiration!
Happy Sewing!
-Stephanie-