Paper rolling is such a versatile technique and it’s a great way to make all sorts of paper craft projects with your scraps. Summer usually means that I receive little bouquets of wild flowers every few days as the kids spend so much of their time outside.
I often keep these heartfelt gifts in a small vase on our outdoor dining table and thought this paper covered “vase” would be a fun alternative to the usual. I used a recycled ribbon spool with a glass votive insert to be the vase foundation and covered the outside with colorful rolled paper. See how Therm O Web Zips™ make it a breeze to create the paper rolls and to adhere them together.
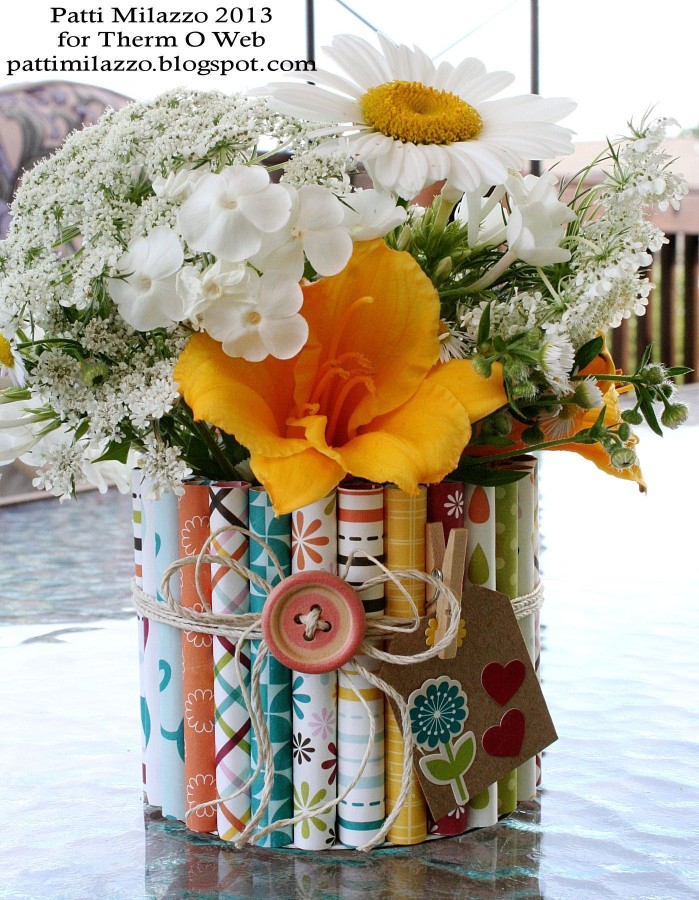 Rolled Paper Vase by Patti Milazzo
Therm O Web Supplies:
Therm O Web Zips™ – Ultra Thin Clear Adhesive Lines
Therm O Web Zips™ – Craft Clear Adhesive Lines
Therm O Web Sticky Strip Runner
Therm O Web Zots™ – Medium
Other Supplies:
Echo Park – A Walk in the Park pattern paper and stickers
American Crafts – Button (Dear Lizzy)
Recycled/repurposed 1 ½” wide ribbon spool, a pencil or other tool to roll the paper, glass votive, natural hemp, white acrylic paint
Instructions:
Any container can be used (cans, jars, etc.), but for this project a 1 ½” wide ribbon spool was recycled to be the foundation . First, remove the paper/cardboard circle on one side. Basecoat the remaining spool with white acrylic paint – no need to be perfect since the rolls will cover most of what’s visible on the outside. Cut a circle from cardstock and use a Therm O Web Adhesive Runner to adhere the cardstock circle to the bottom of the spool.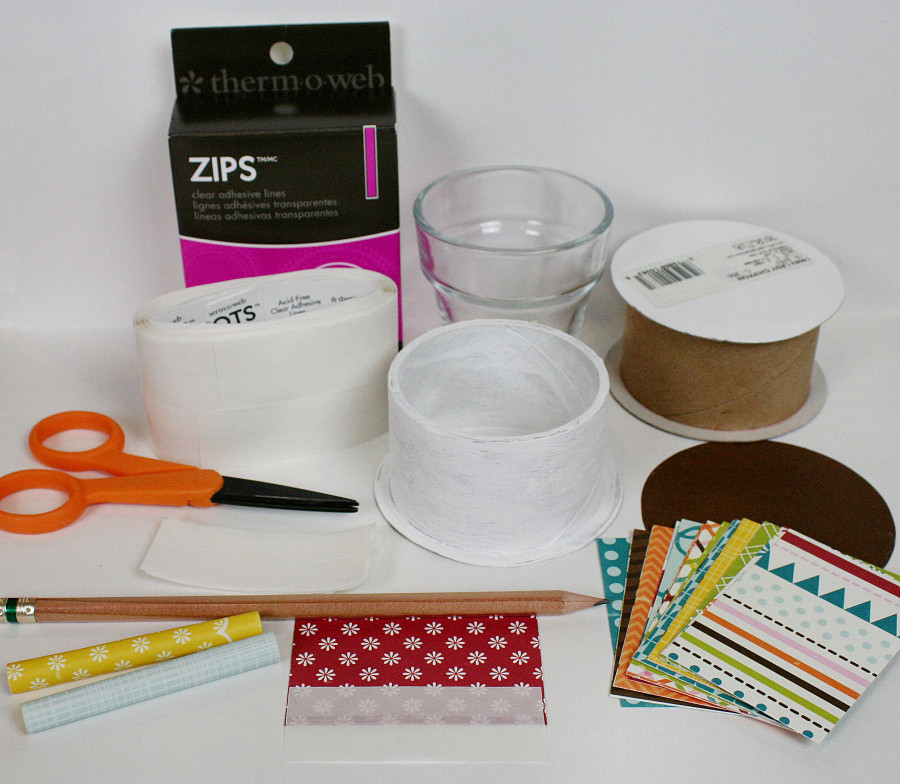 While the paint dries, cut the pattern paper to be rolled – 2” wide x 2 ¾” high (or the height needed for the foundation container you are using). For this 3” diameter spool, 29 pieces were needed.
Next, cut 29 – 2 ¾” long strips of Therm O Web Ultra Thin Zips™.
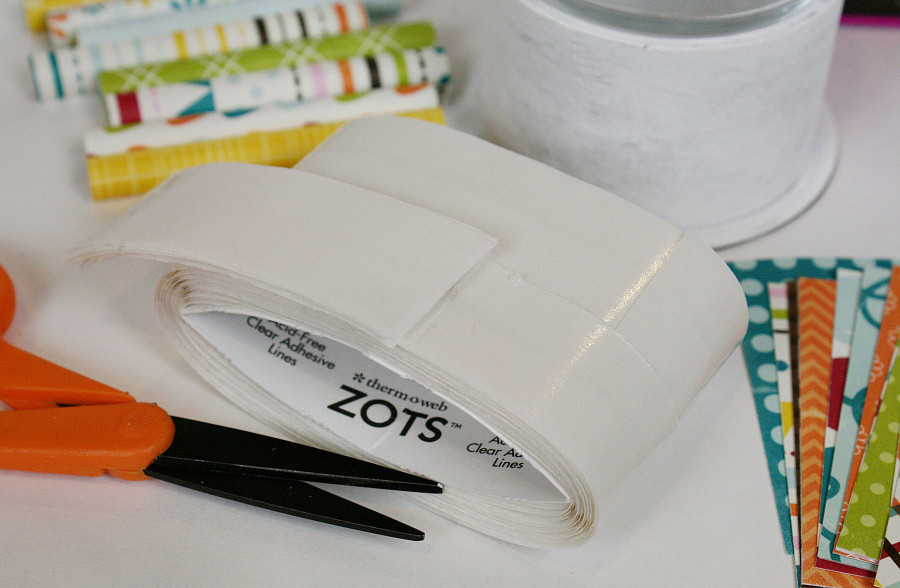 TIPS: Use non-stick scissors, if possible. And for quick measuring, lay each piece that you cut onto the roll in order to cut the next strip. This keeps the non-stick layers together and in a convenient pile for later.
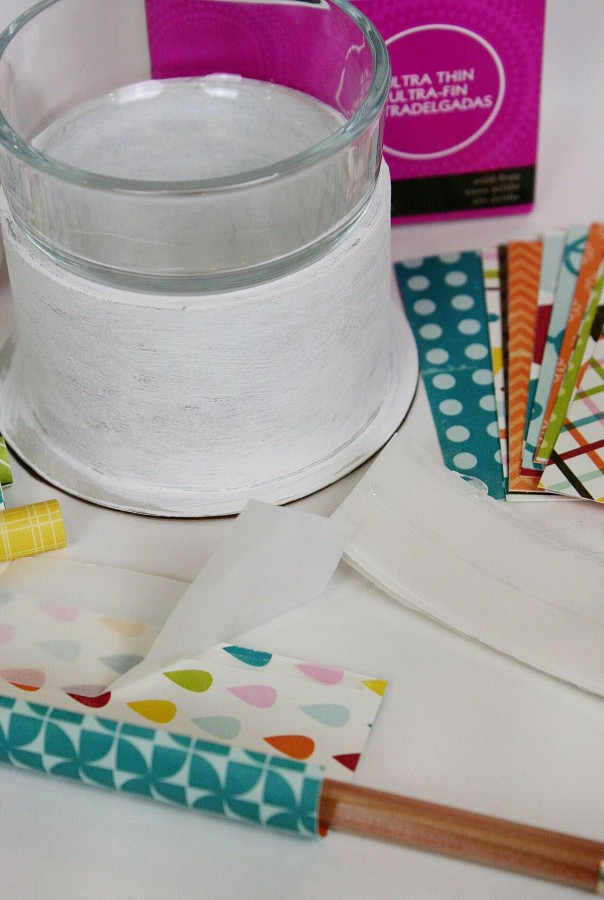 To roll each paper, apply a Zip™ Ultra Thin Strip to one side – the ultra thin layer helps keep the rolls uniform in shape. Press across the paper with your finger and then remove the paper backing. Next, begin rolling the paper from the opposite end with a pencil or other tool. Once completely rolled, press firmly and slide the paper from the pencil.
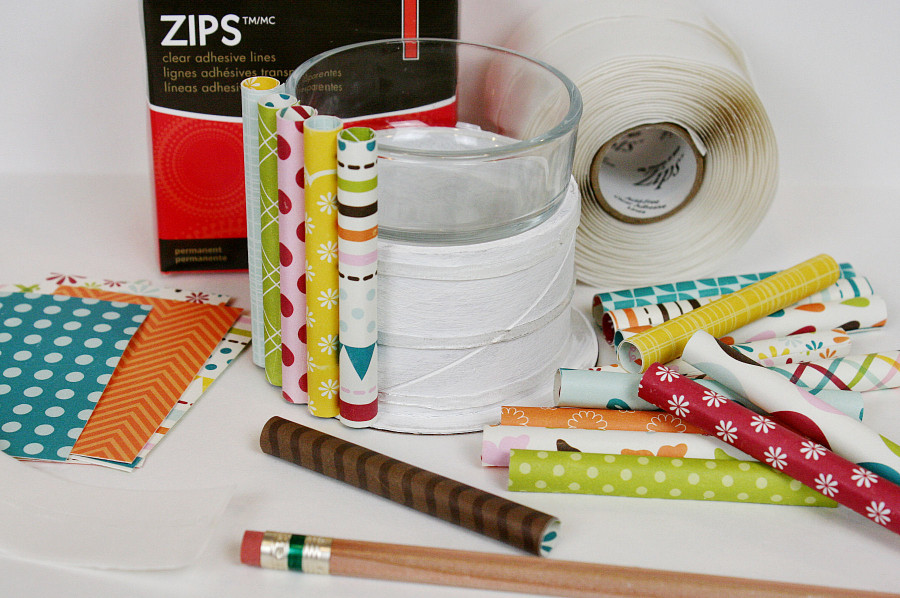 After all the paper is rolled, apply 2-3 strips of Therm O Web Craft Zips™ around the ribbon spool. Then place each paper roll against the spool (paper edge facing in or to the side) and apply pressure. Work your way around and apply rolls until all the space is filled. The solid Craft Zips lines make it easy to place the rolls easily and quickly.
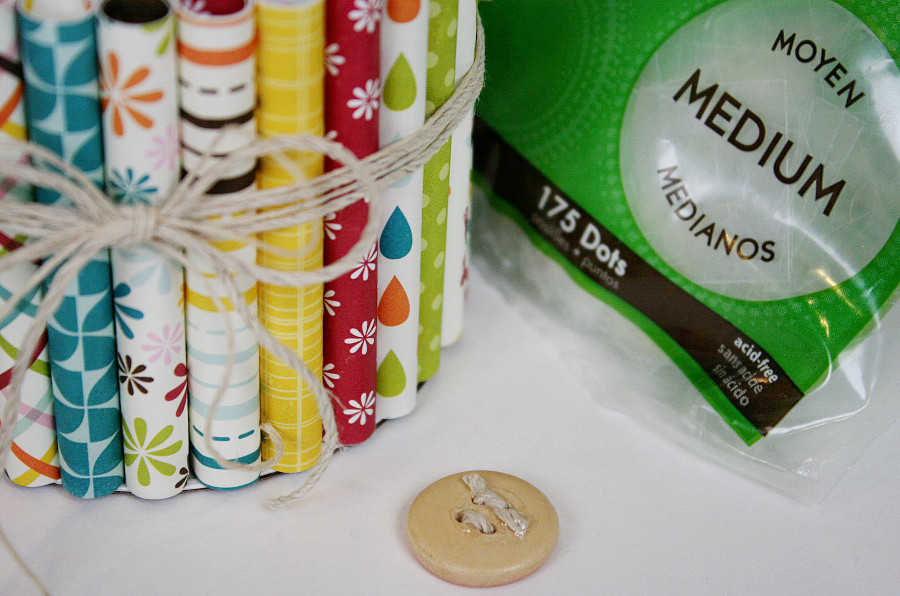 Once all the rolls are in place, cut hemp or ribbon to wrap around the outside and tie a bow. Attach a decorative button to the center of the bow with a Therm O Web Zot. Create a tag or other accents to further embellish and complete the project.
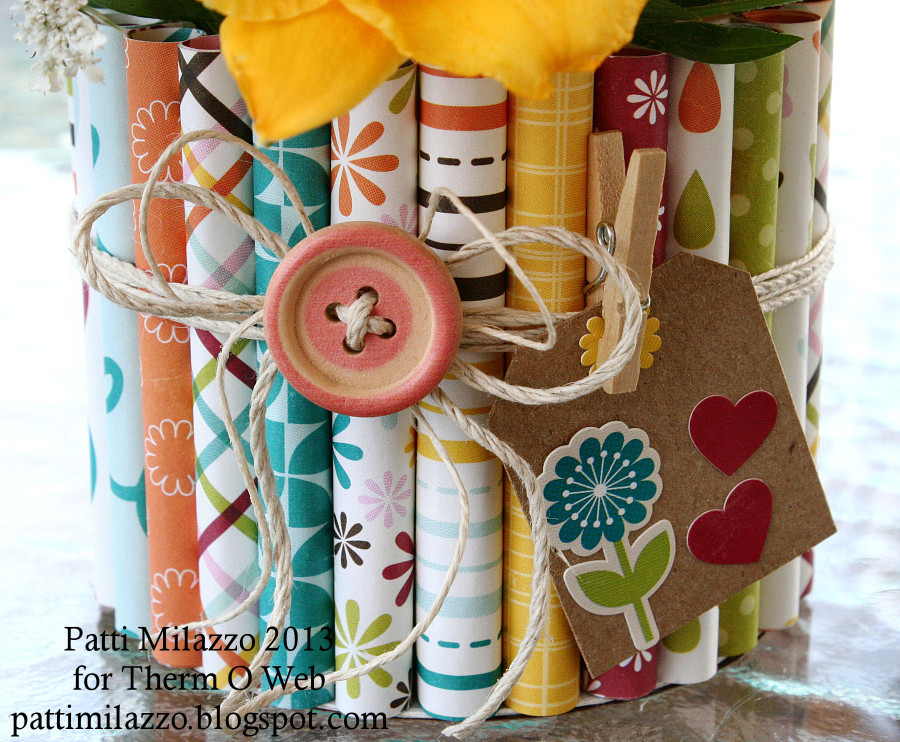
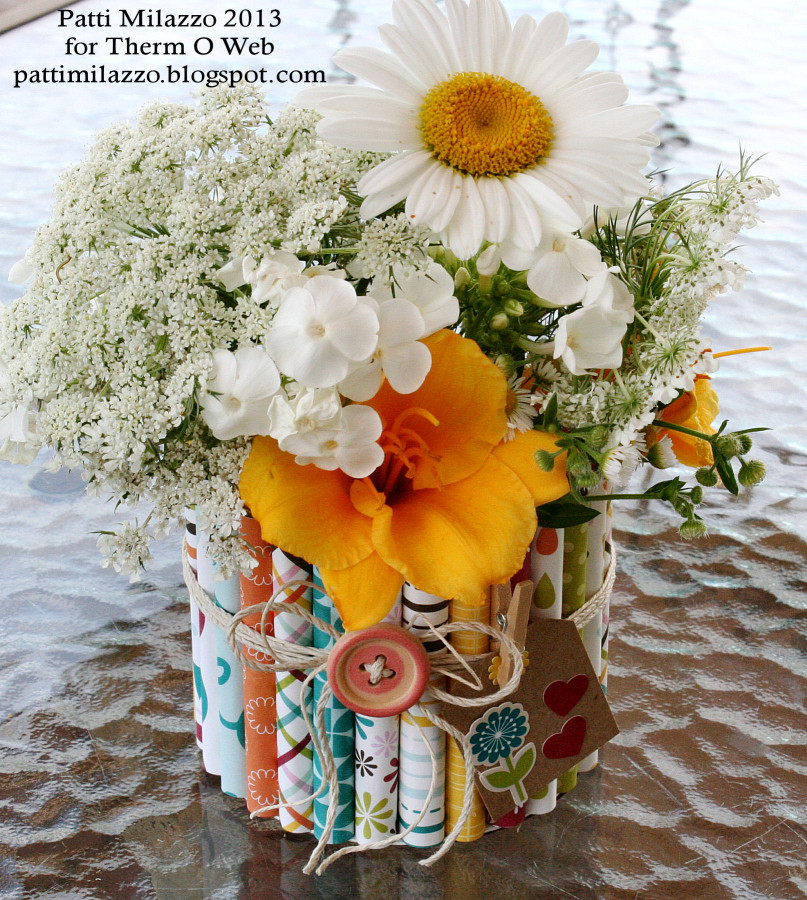
I hope you’ve enjoyed this little project and give it a whirl yourself. You can embellish containers for party decor and more. And this can be an ideal kids craft as well. Think of all the creative ways you can recycle and repurpose household items by simply covering them with rolled paper using Therm O Web Zips™! The possibilities are endless!
~Patti


Katrina
July 29, 2013 at 9:41 pm (11 years ago)I love, love, love this idea!