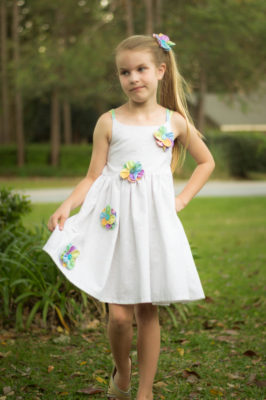
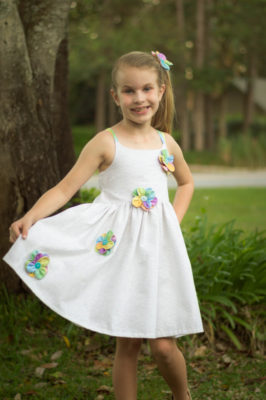
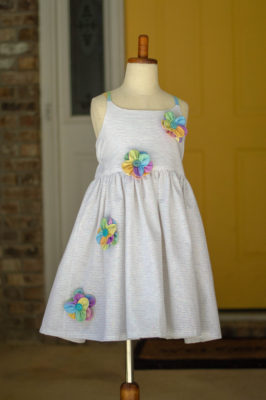
Happy Friday!! Have y’all been following along with all of the fun Rainbow themed projects this month? Becca here from Sunflower Seams and I currently have a rainbow obsessed seven-year-old. I’m sure you can imagine her excitement when I told her I was planning to make a rainbow sundress for her. She immediately searched my stash for ALL THE RAINBOW fabrics she could find (the white fabric even has sparkly rainbow thread throughout it). Today I will be sharing how to make these fun fabric flowers.
Download the FREE pattern below and let’s get started…
Fabric Rainbow Flowers
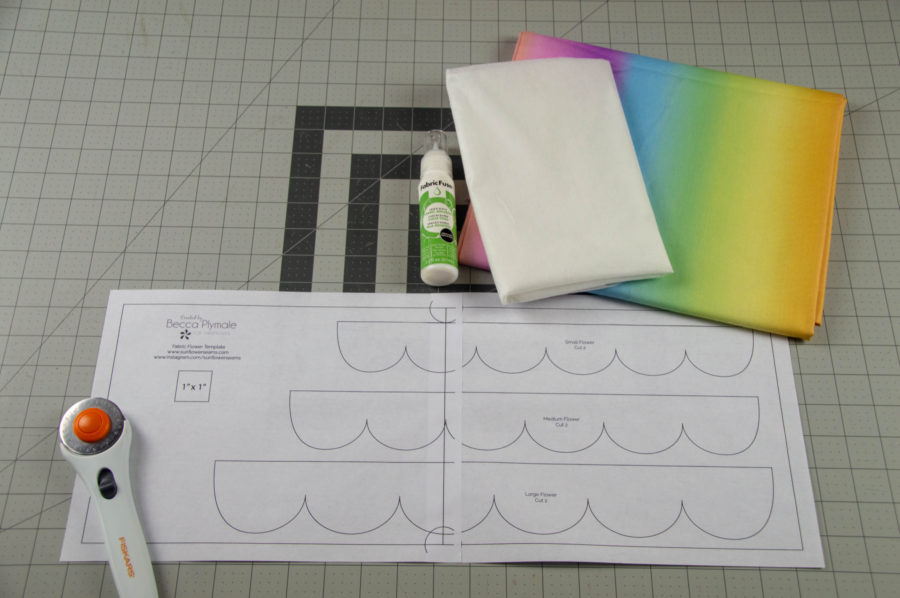
Supplies Needed:
HeatNBond Fusible Lite Interfacing
iCraft Fabric Fuse Liquid Adhesive
1/2 yard of Rainbow Fabric (the fabric I used is no longer available but there are so many cute ones to choose from)
4-5 Buttons
Coordinating Aurifil Thread
Hot Glue Gun
Elastic Hair Tie
Simple Life Patterns Bella Dress
Fabric Rainbow Flowers Instructions
Seam Allowance is 1/4″
Step One: Print the FREE Fabric Flower Template. Tape or glue your pattern pieces together. The pages will overlap exactly 1″. Choose between the small flower or larger flower and cut out your pattern piece.
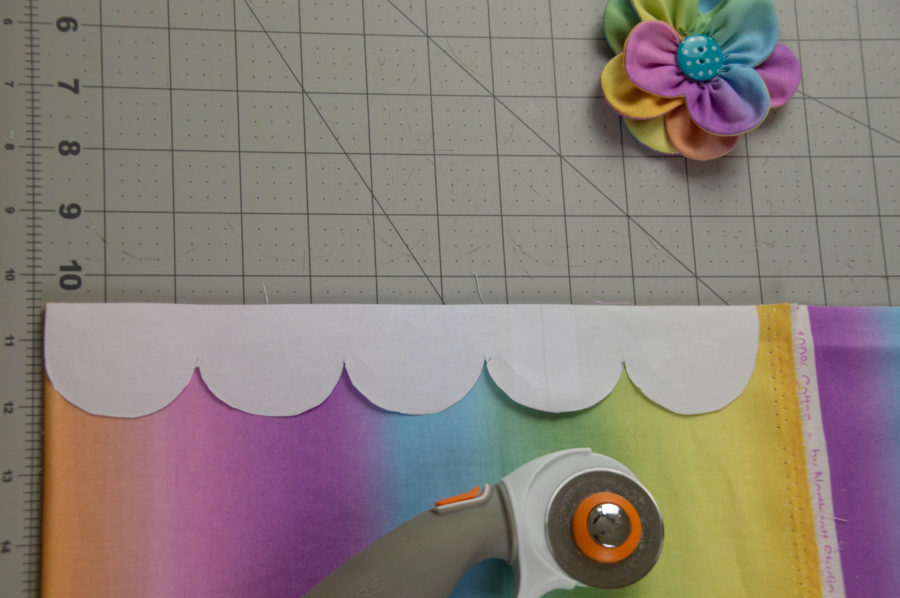
Step Two: Cut your fabric. Place the pattern piece on top of your fabric and cut 2 on the fold. Repeat this step with your interfacing and cut one on the fold.
Step Three: Using a heat source attach the interfacing to the wrong side of your fabric per instruction.
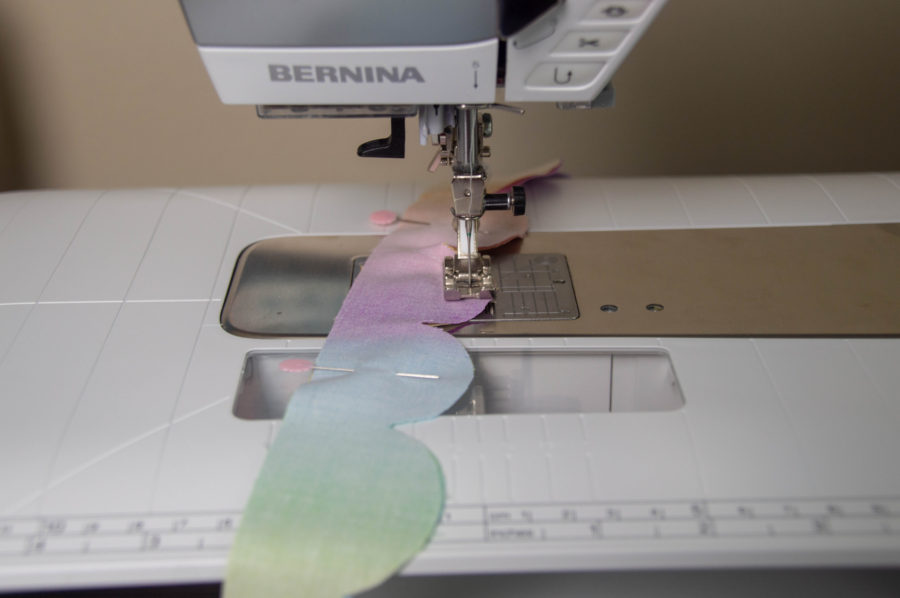
Step Four: Place one fabric piece on top of the other, right sides together. Using 1/4″ seam allowance, sew along the curved edges. Carefully clip your curves, making sure you don’t clip any stitches.
NOTE: Sewing around a curve is easier with a shorter stitch length. When you get to each point of the curve, use the hand wheel to sink the needle down into the fabric, then lift your presser foot and pivot the fabric to begin your next curve.
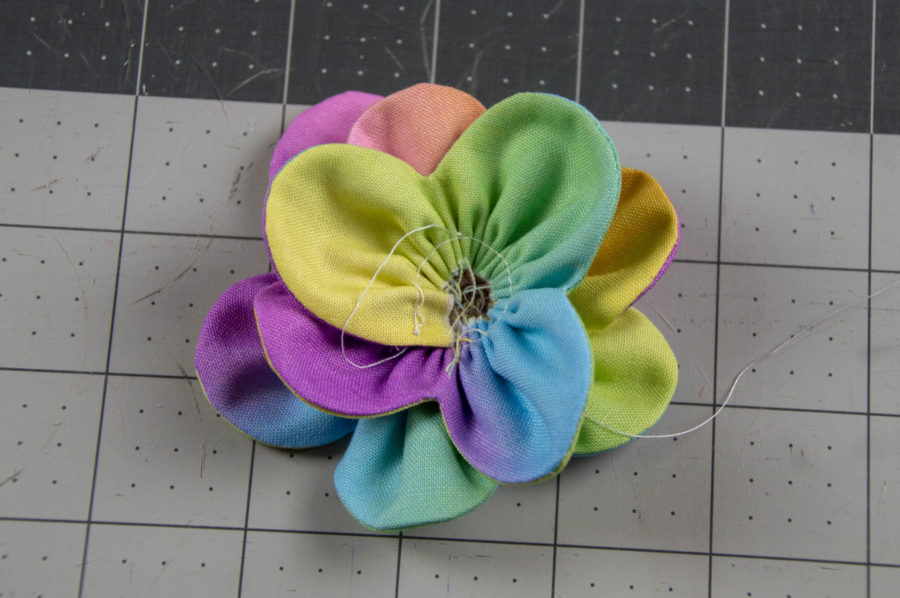
Step Five: Stitch a gathering stitch 1/4″ away from the raw edge. Gather the fabric until it makes a spiral. Position your petals as desired. Place a small amount of fabric fuse between petal layers.
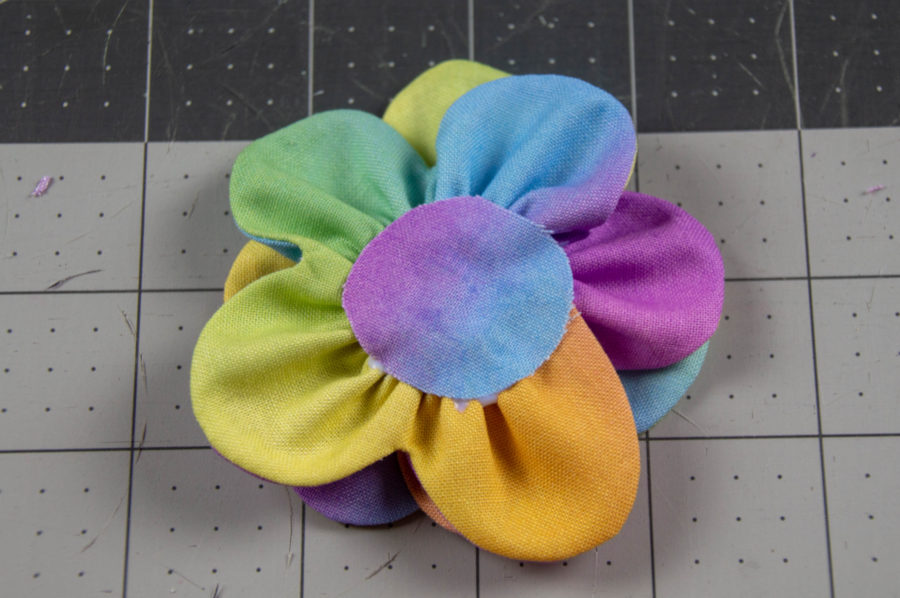
Step Six: Cut out a small circle, just large enough to cover the raw edges. Place a small amount of fabric fuse to the wrong side of the circle and place on the back of your flower. Let dry.
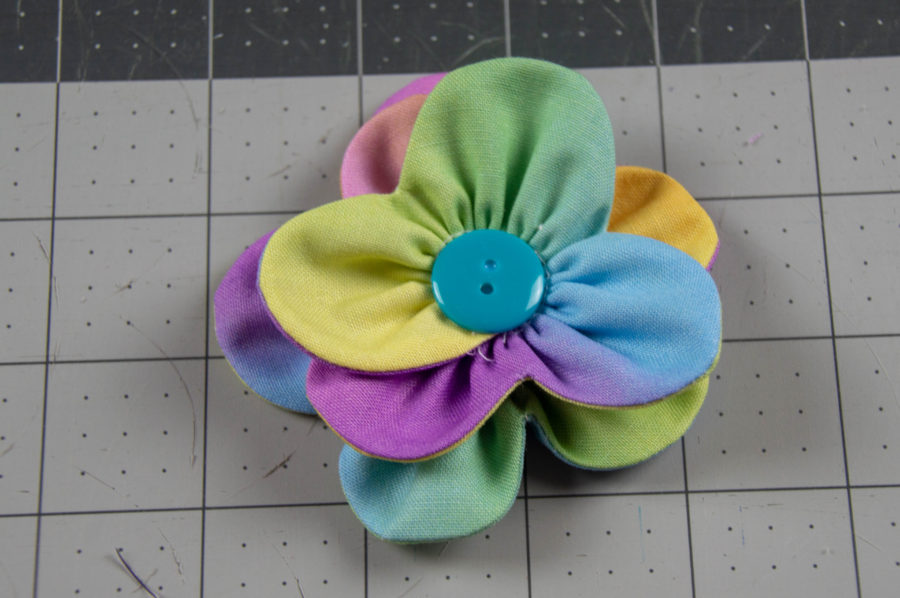
Step Seven: Place a small about of fabric fuse to the backside of your button and attach it to the front center of your flower. Let dry.
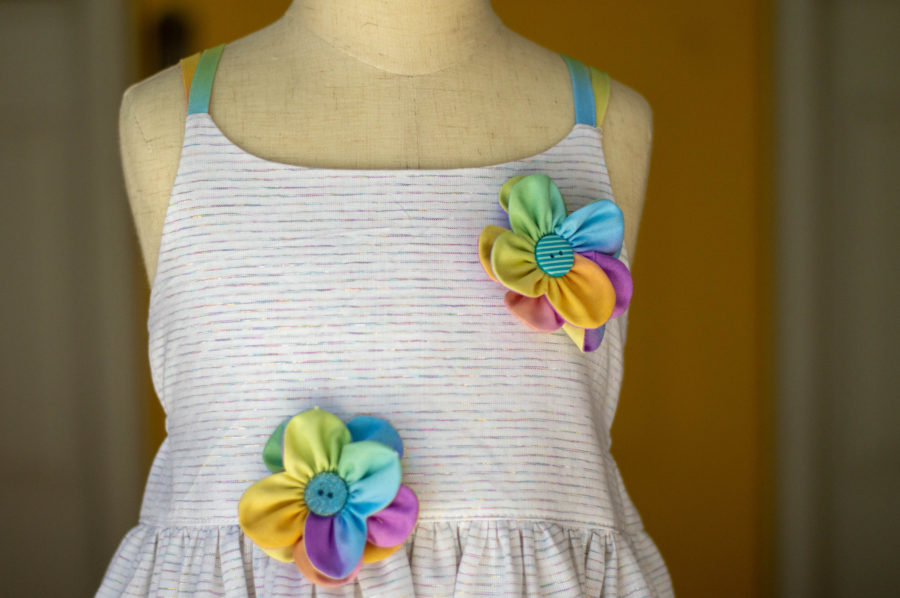
Step Eight: Place your fabric flowers on the dress as desired and pin. Once the flowers are where you want them to be, attach the flower by using your button foot or hand sewing the button in place.
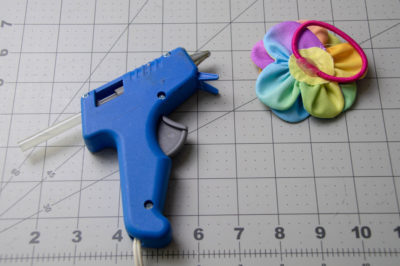
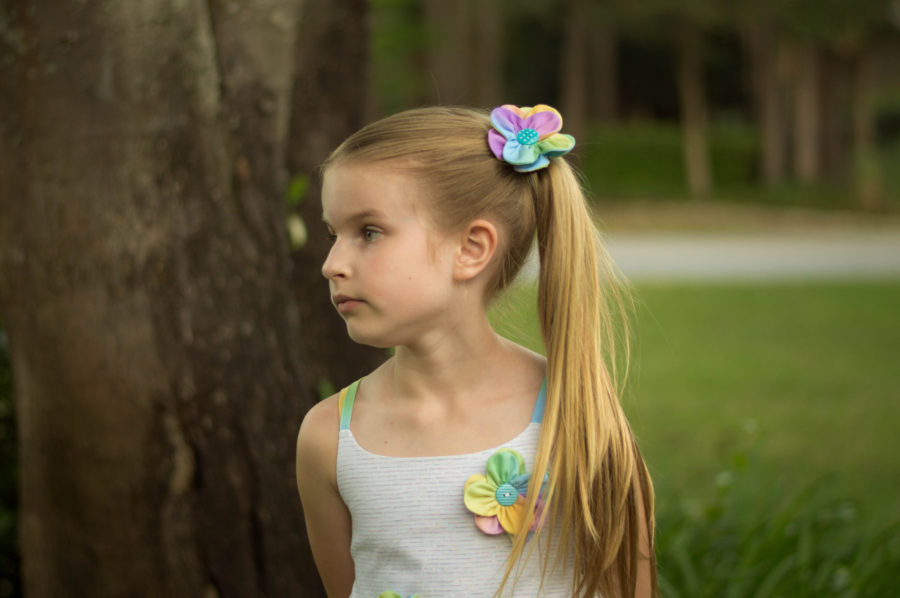
Another fun way to use these fabric flowers is as a hair bow. Attach the flower to an elastic hair tie by placing a small amount of hot glue to the back of the flower. Press hair tie into the hot glue and let dry.
These fabric flowers can be used for so many different projects, your possibilities are endless!! I really hope you’ve enjoyed this tutorial. I’d love to see your Fabric Flower Creations..use hashtag #TOWFabricFlower when posting on social media so we all can see!
Happy Sewing!
xoxo, Becca