


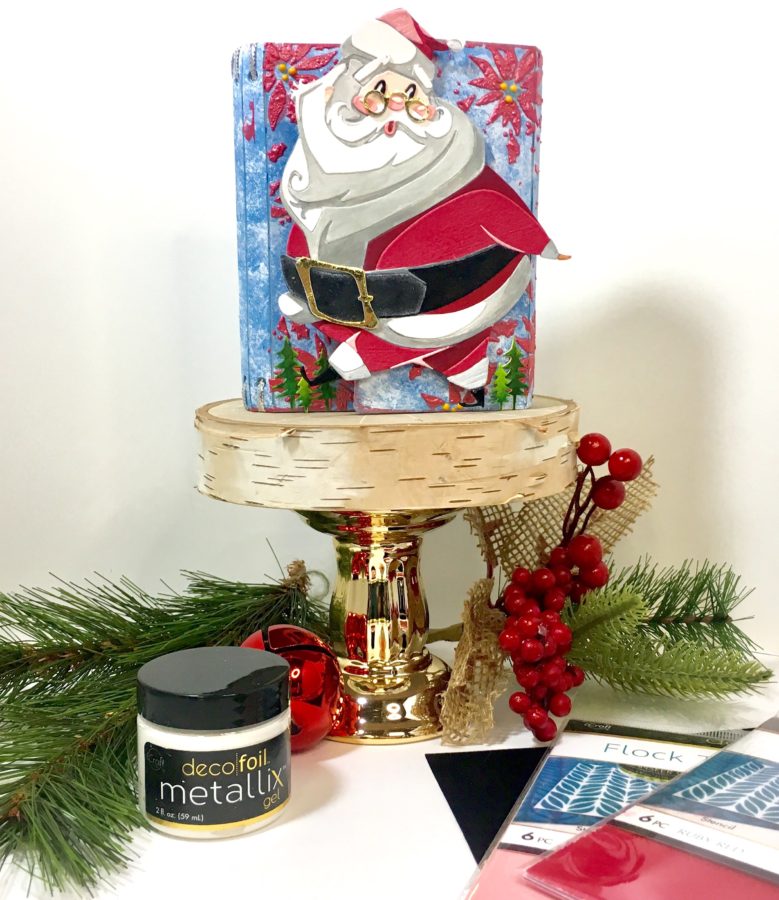
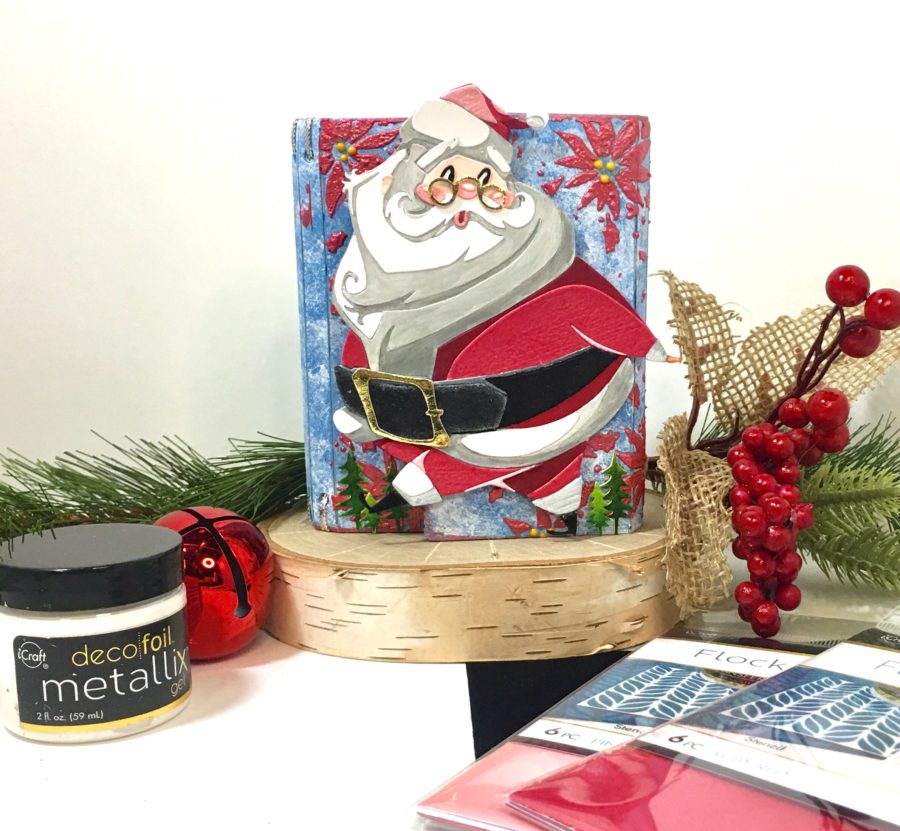
Hello friends. With Christmas lurking around the corner, I am here to share a Santa wrapped journal that can be used as a December Daily, Christmas Mini Album or simply a holiday journal. As much as I love Halloween crafting, I think Christmas Crafting is my favorite. This project uses Eileen Hull’s Wrapped Journal die, Tim Holtz’s Jolly St. Nick Die and a bevy of Therm o Web products to complete this festive Santa.
Santa Journal
Journal Supplies:
Deco Foil Flock Transfer Sheets – Ruby Red, Pink Carnation and Black
Deco Foil Transfer Foil 25′ – Gold
iCraft UltraBond Liquid Adhesive
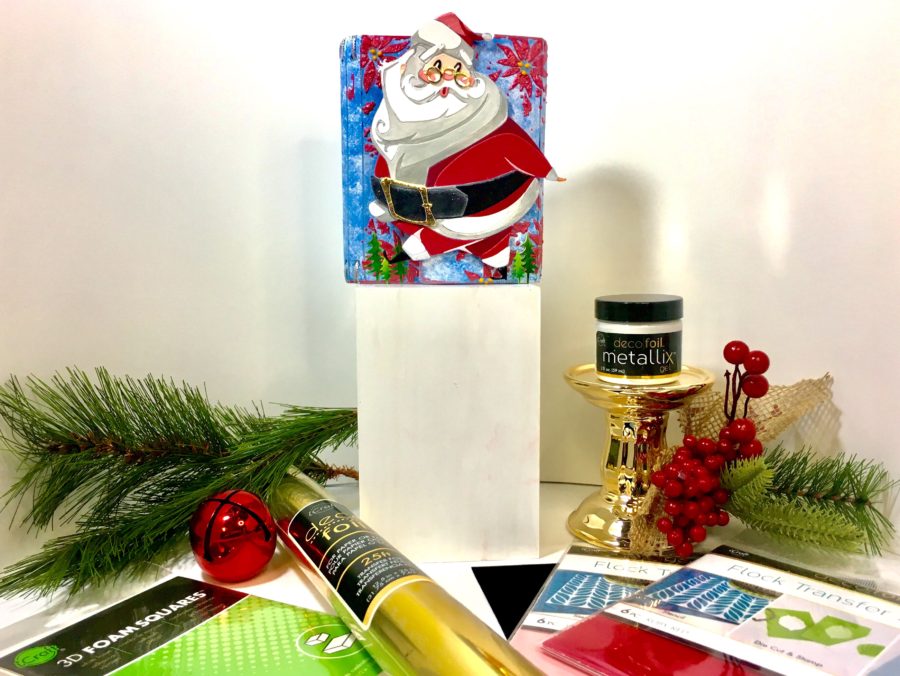
Other Supplies: Eileen Hull Wrap Journal Die, mat board, paints, cardstock, markers, stencil, spatula, twine, Distress Re-inker, and Nuvo Drops or puff paint.
Santa Journal Tutorial
STEP ONE:
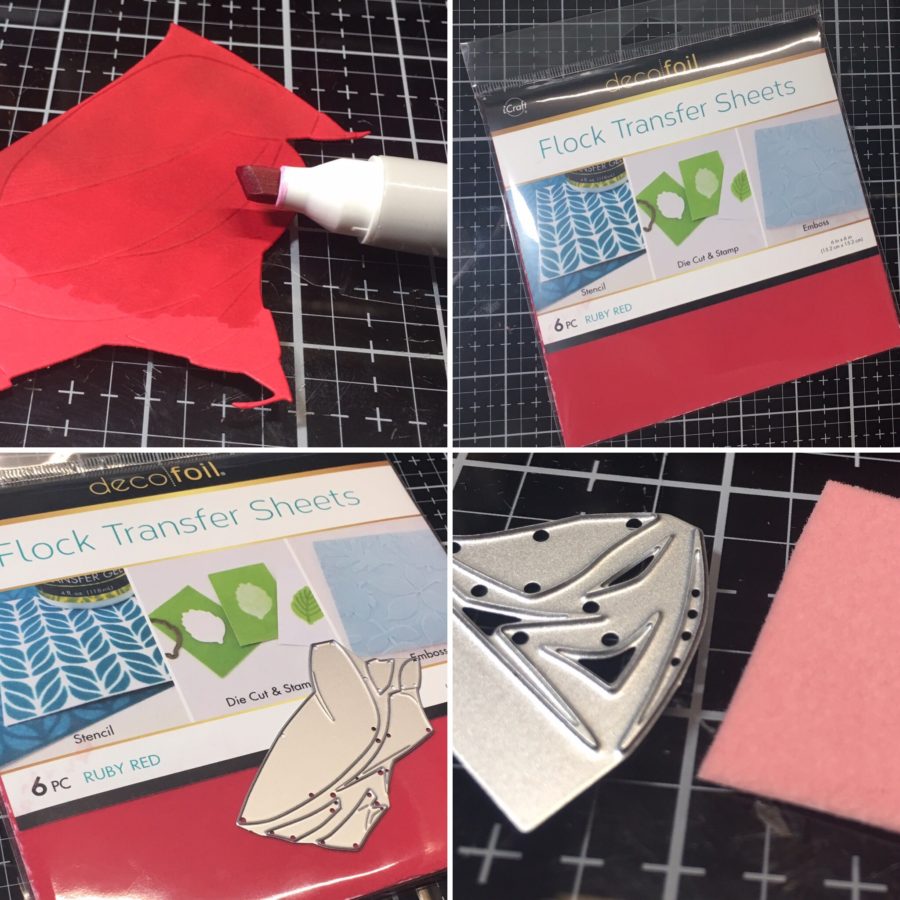
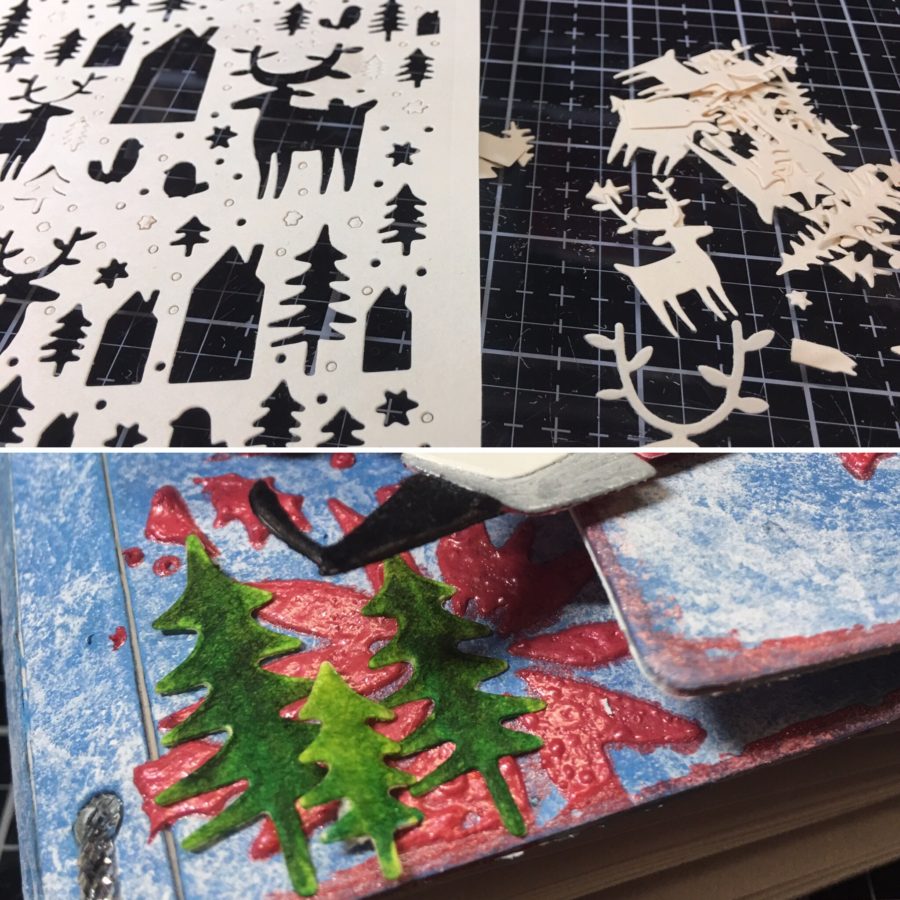
Die-cut the Jolly St. Nick as follows:
- Dark red pieces from dark red cardstock (I didn’t have a dark red so I used an alcohol marker and colored it darker); the medium red from Ruby Red Flock Transfer Sheets and the light red from Pink Carnation Flock Transfer Sheets.
- Black from Black Flock Transfer Sheets.
- Flesh from white cardstock and use alcohol markers to color to desired shade.
- Dark gray, light gray and white from white cardstock. Use alcohol markers to color the gray shades.
- Gold (see STEP TWO).
Assemble the die-cut according to package instructions.
Hint: If using liquid adhesive to adhere the die-cut pieces of Flock Transfer Sheets, use very sparingly or it will seep through and buckle.
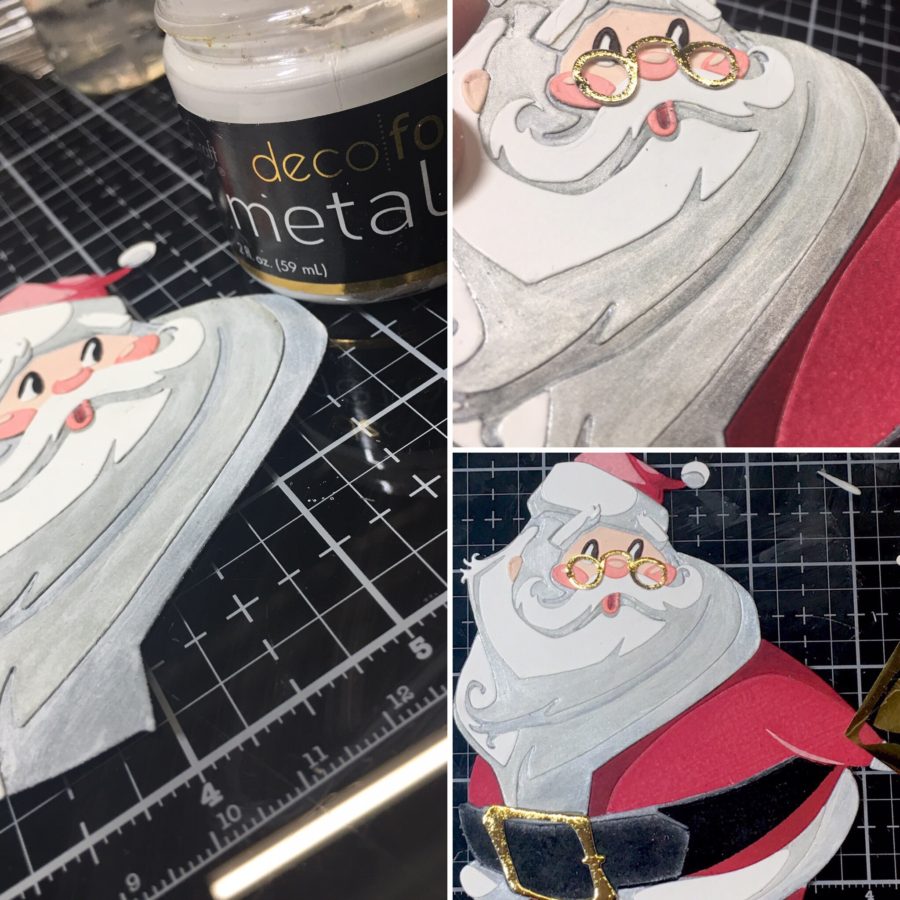
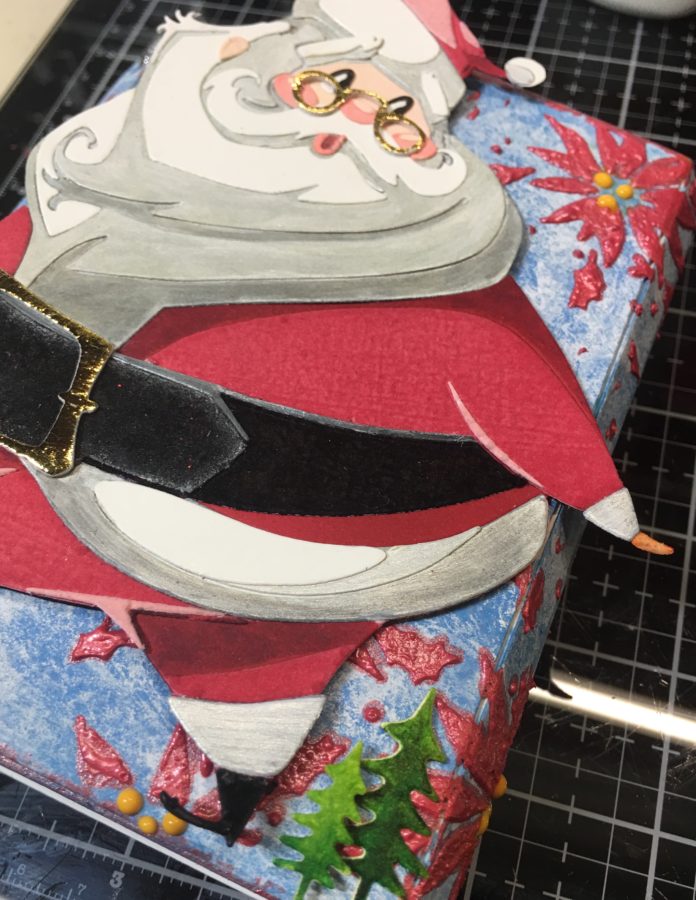
STEP TWO:
Die-cut the gold pieces from Adhesive Foam Sheet and remove the top release paper. Press Gold Foil Transfer Sheets (dull side down) onto the sticky die-cut. When you peel away the Transfer Sheet you will be left with a gold buckle and gold spectacles.
Hint: If the foil does not completely transfer, continue to press a clean part of the foil against the sticky areas and it will transfer.

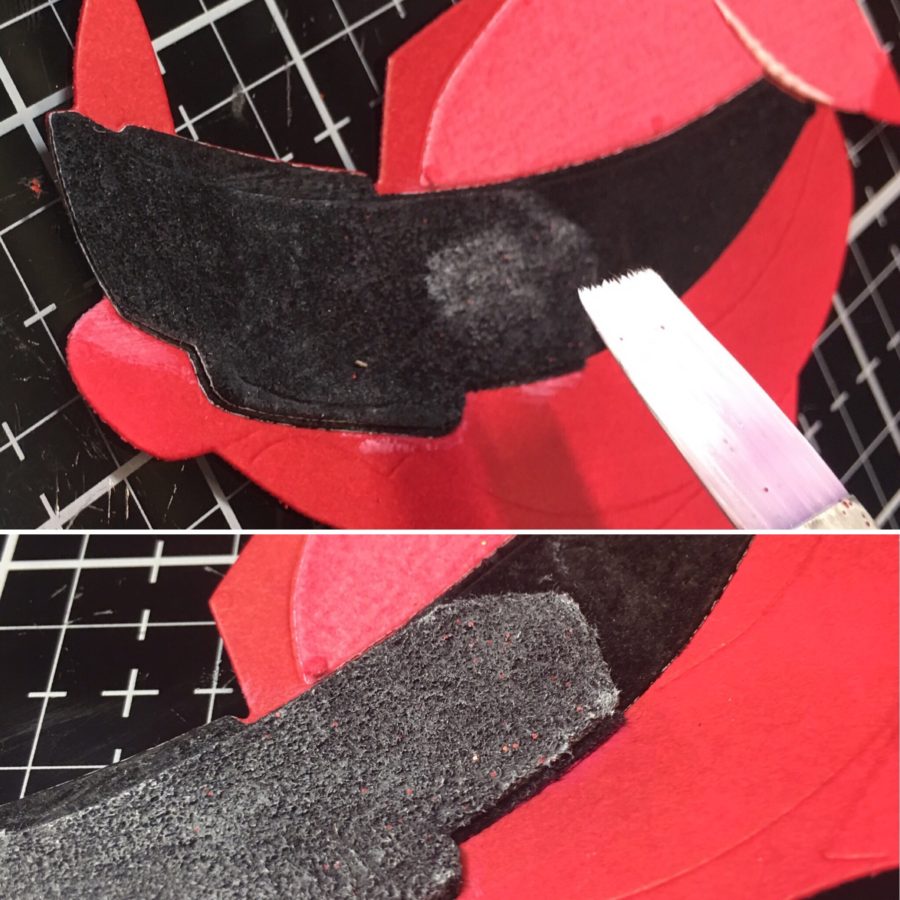
STEP THREE:
To create a highlight on the top area of the belt, mix a bit of white paint with water and dab it onto the flock resulting in a lighter shade of black flock.
Hint: It’s much easier to do this step before assembling . . . which I did not.
STEP FOUR:
To mute the gray tones of the white shadowed areas, paint a thin layer of White Pearl Metallix over both shades of gray, resulting in a beautiful shimmer. If you look closely at the top right photo, you can see both the shimmer on the gray and the fuzzy flocked red.
Hint: This step can be completed before assembly as well, but because this die-cut has so many small pieces, I painted Metallix over both shades together once assembled.
STEP FIVE:
Die-cut the Wrap Journal from chipboard. Paint the journal using several shades of blue and finish by sponging some watered down white over the blue, creating a layered background for your Santa.
Hint: I added some Distress Spray and Lindy’s Spray and allowed to dry before adding the white.

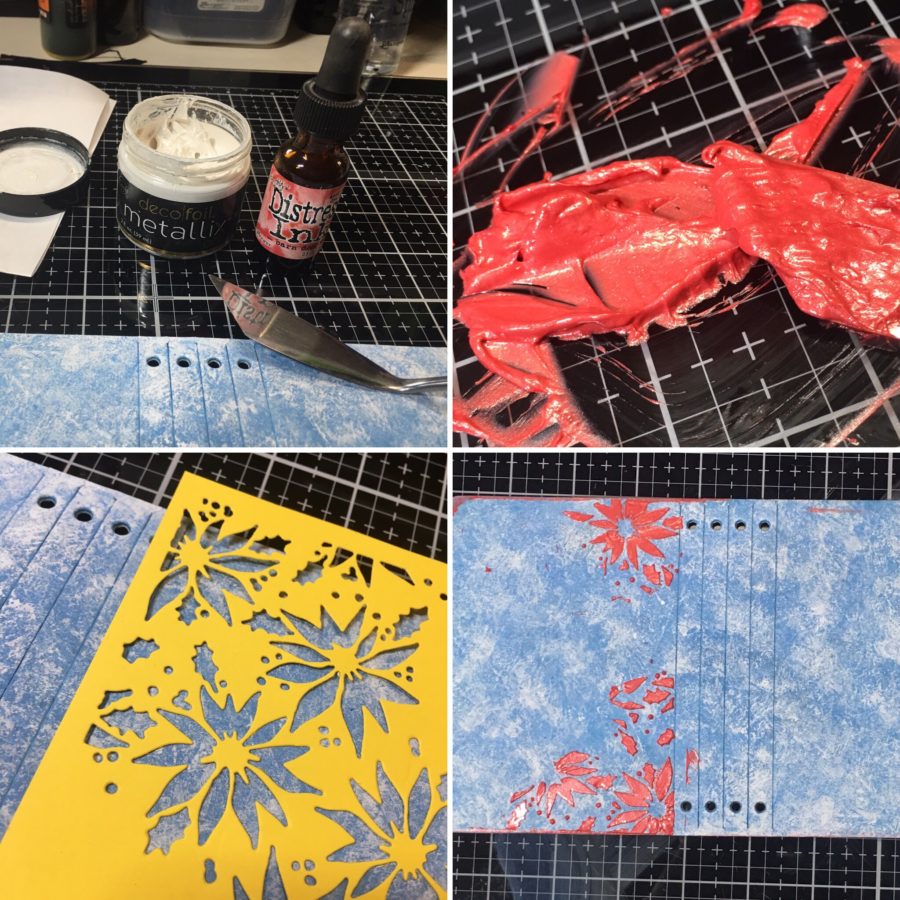
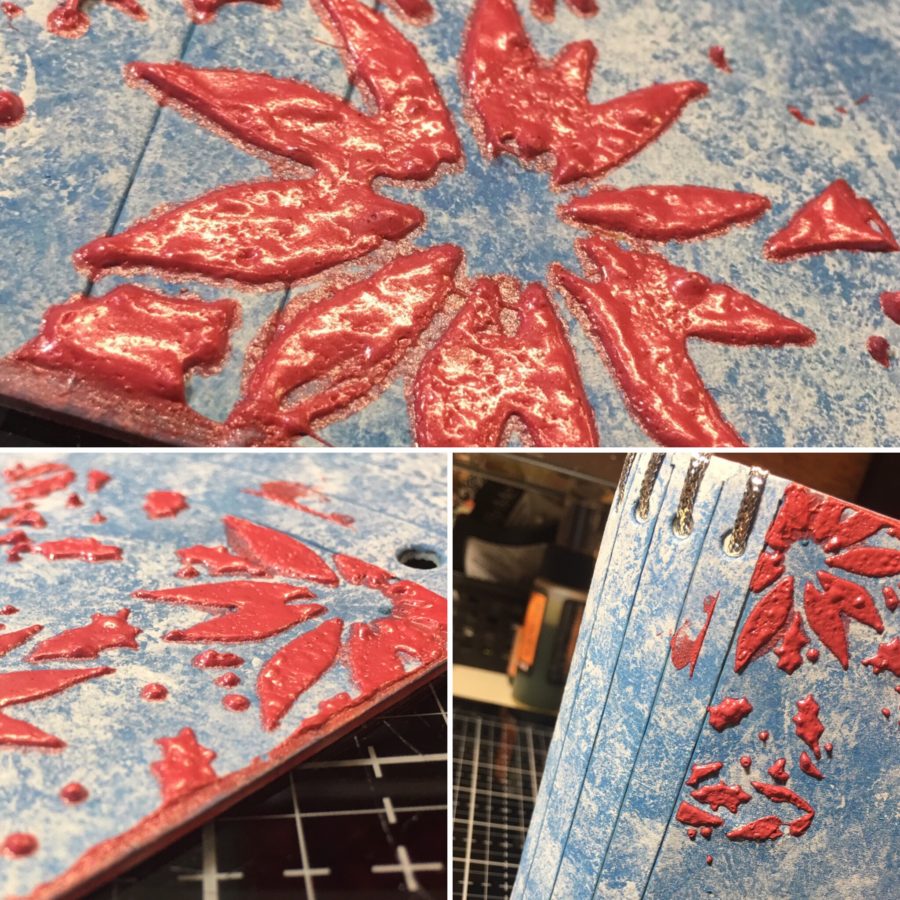
STEP SIX:
Using your pigment of choice (I used Distress re-inker in Barn Door Red), tint a small amount of White Pearl Metallix. Using ink instead of paint allows the Metallix to retain more of it’s shimmer.
Stencil the red tinted Metallix over the areas of the journal cover that will be seen when closed. If you do not have a stencil, you can create one using dies as pictured below.
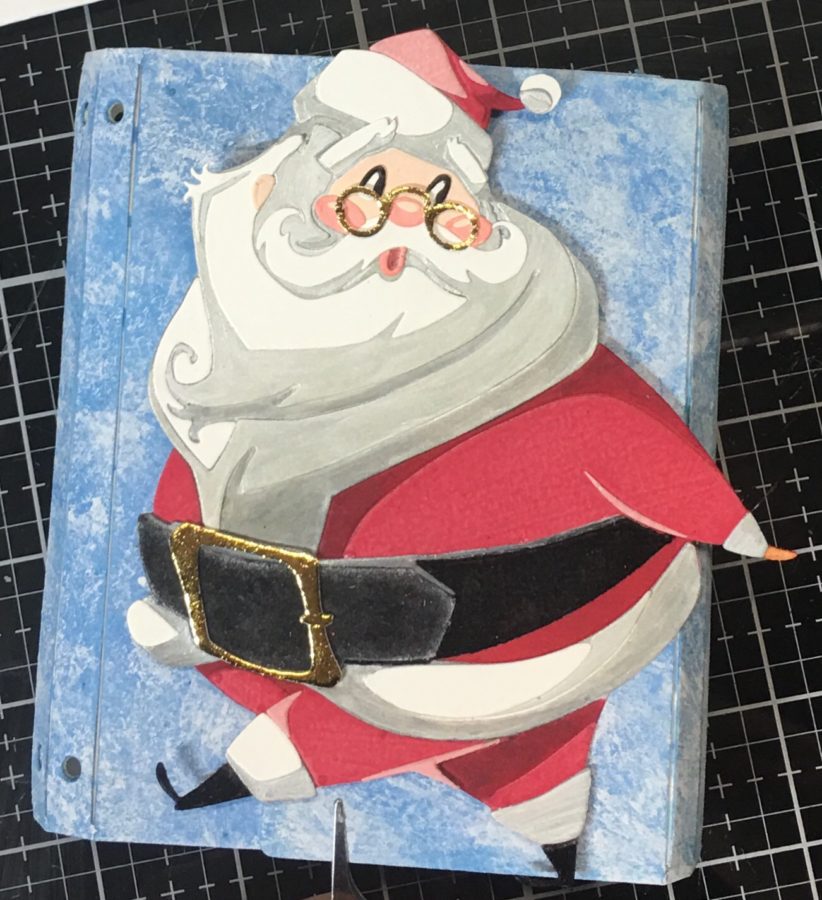
Once your stenciled areas have dried, adhere the right side of the Santa to the journal cover using Ultra Bond Liquid Adhesive.
Hint: Close the journal and place your Santa die-cut on top to see what areas will be visible before stenciling.
STEP SEVEN:
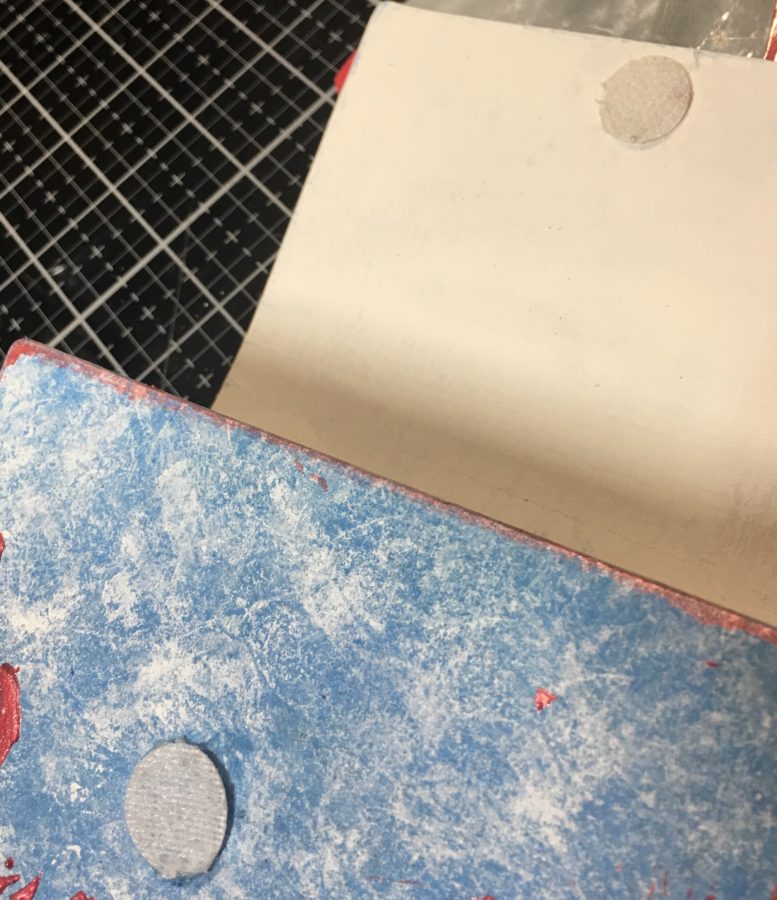
Finish off the journal cover by adding some die-cut trees and flower centers. Use 3D Foam Squares to add dimension to the trees.
STEP EIGHT:
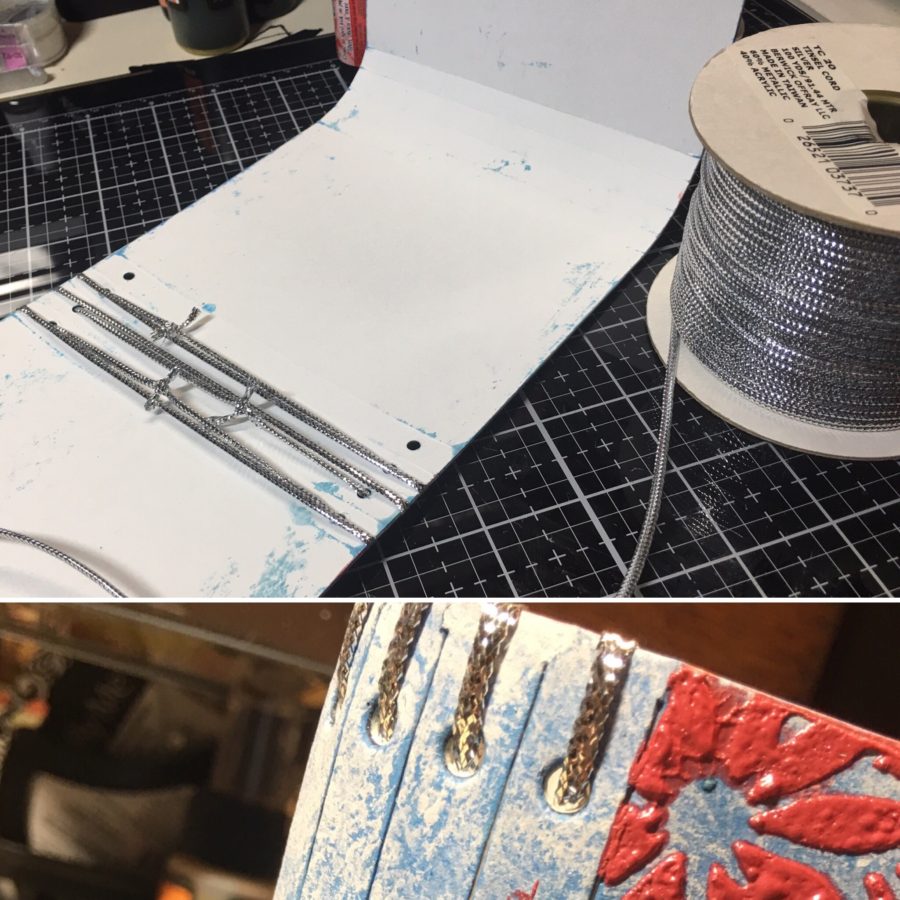
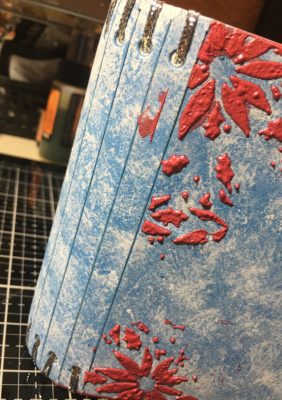
Add elastic or twine to the journal spine and slide journal signatures inside.
Hint: The way I threaded the spine creates a double twine holder for each signature; however, slide the signature through only the smooth one and over the knot. This hides the knot under the signature and gives you a cleaner spine than if you run the twine the full length of the outside spine.
STEP NINE:
Add a closure (I used velcro).
Your finished journal will be make the perfect mini album or December daily for the holidays. This same idea would work with a large ornament or reindeer on the front as well. The possibilities are endless.
Thanks allowing me to share my project with you; I hope you found some inspiration to take away.
Wendy
Anita Holte
October 14, 2019 at 6:57 pm (5 years ago)Amazing❤️