


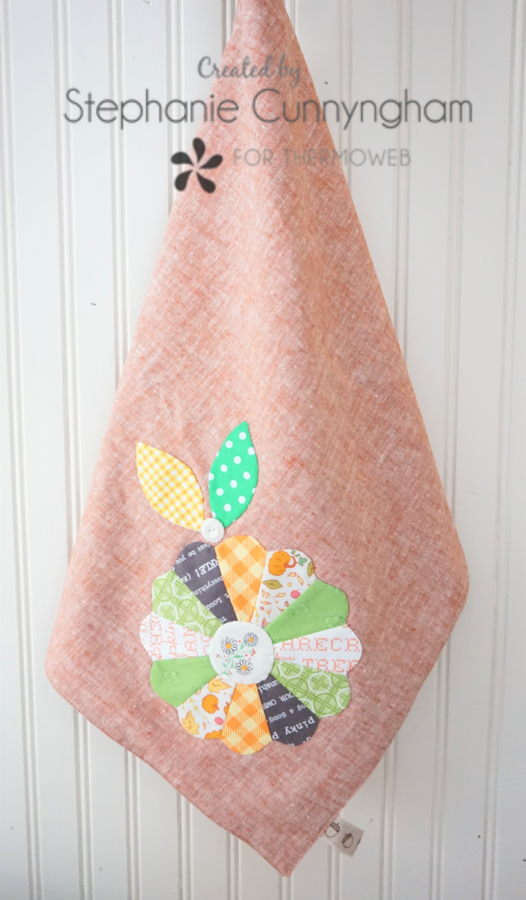
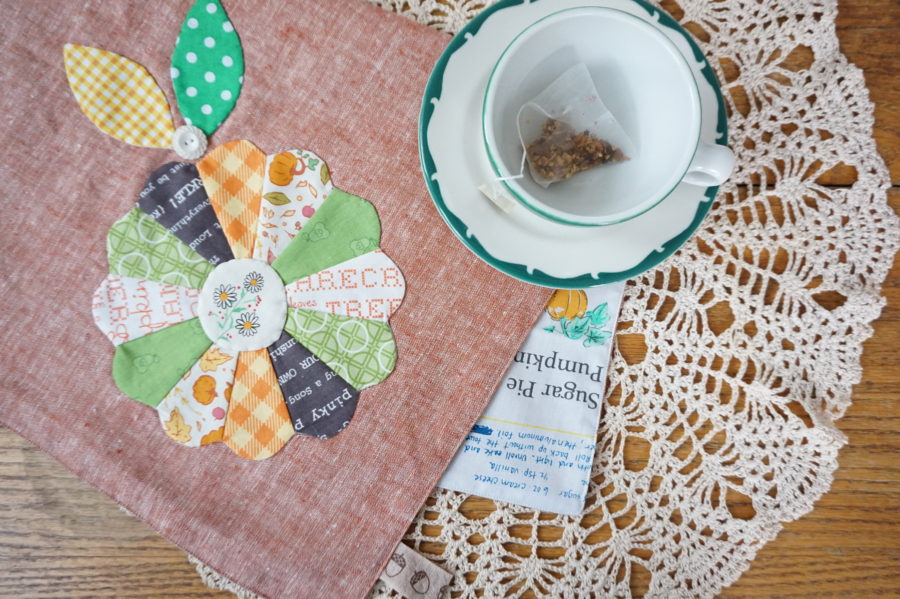
There is no doubt that fall has arrived in Indiana. The leaves around our old farmhouse have mostly all fallen off of the trees and blown away. The days are shorter, and the temperatures are cooler. After our busy days at school and work, we can’t wait to get home to sit on our front porch with a hot drink, enjoying each other’s company and the beauty around us. For me, nothing is more relaxing than sipping on a cup of hot tea while sitting on my porch swing. So, to celebrate fall and to go with my nightly cup, I created this little tea towel, and I’m sharing how I made it with you!
Supplies Needed
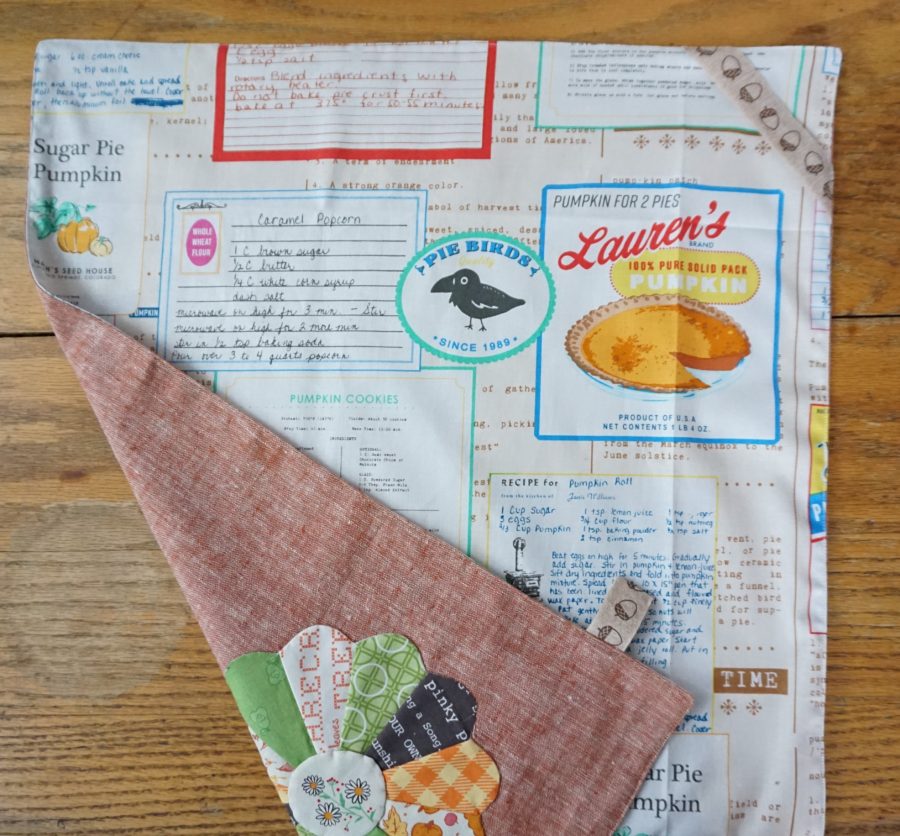
- Two 18″ x 21″ pieces of fabric, one for the front of the towel and one for the back.
- I used linen for the front and quilting cotton for the back of mine.
- Scraps or small pieces of fabric for the Dresden flower and leaves
- A vintage button, if desired
- Twill tape or ribbon to make the tab for hanging your towel
- 1 package of HeatnBond Lite Fusible Interfacing
- Dresden Tea Towel Templates
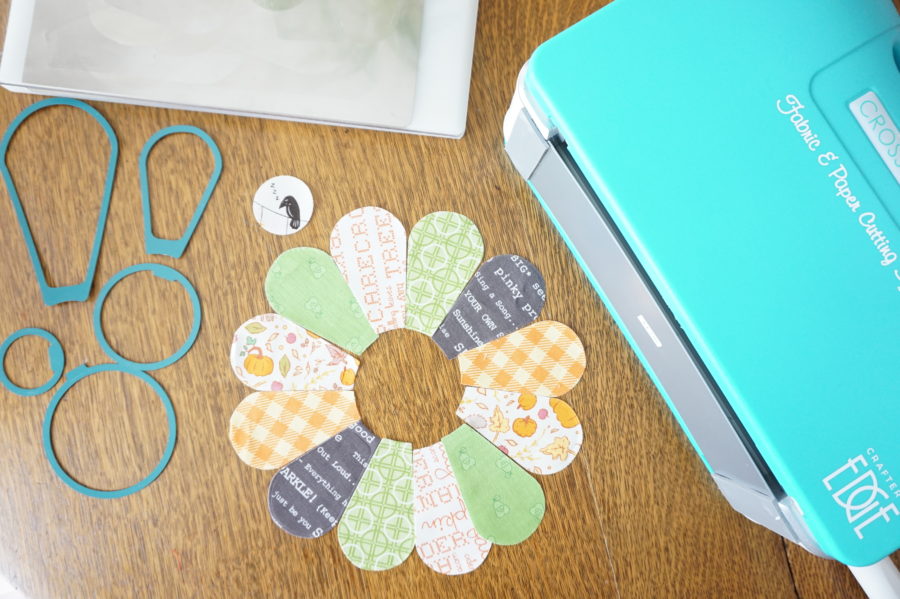
- I used my Crafter’s Edge fabric cutting machine with the rounded Dresden cutting dies
- OR you can print out the templates from the PDF by following the link above!
Sewing Instructions
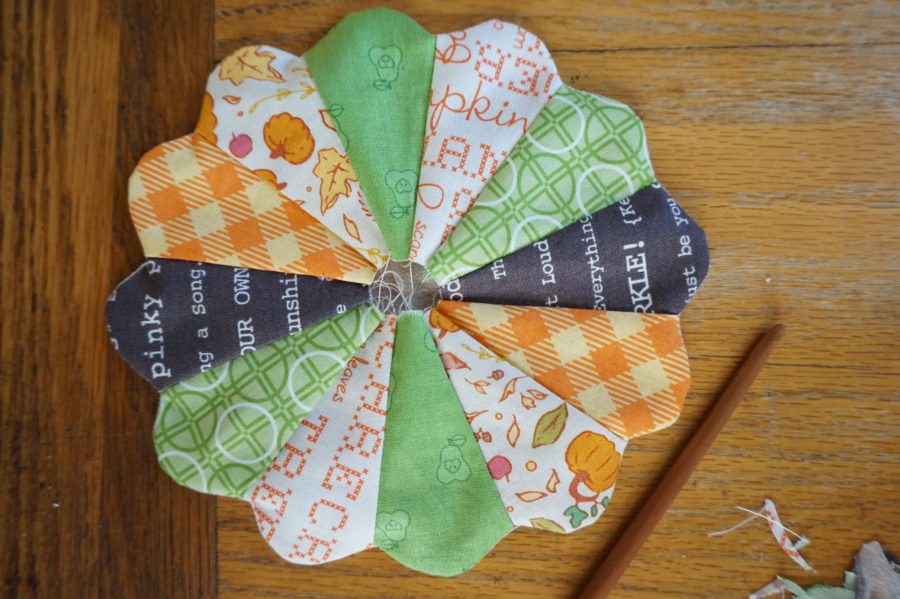
- Cut 12 Dresden blades, two leaves, and one circle from the fabric scraps using templates provided or cutting machine.
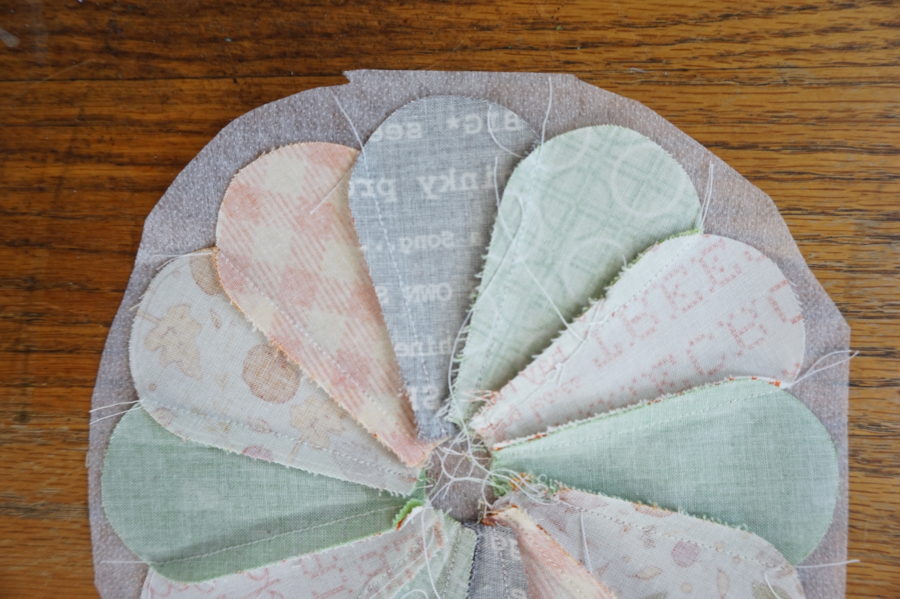
- Sew Dresden blades together using a 1/4″ seam allowance and press seams in one direction.

- Cut a circle of HeatnBond Lite slightly larger than the sewn Dresden flower. Place the right side of the flower on the bumpy side of the interfacing, and sew around the outer edges with a 1/4″ seam allowance.
- Trim close to the edge of the seam and clip the corners where the blades meet.
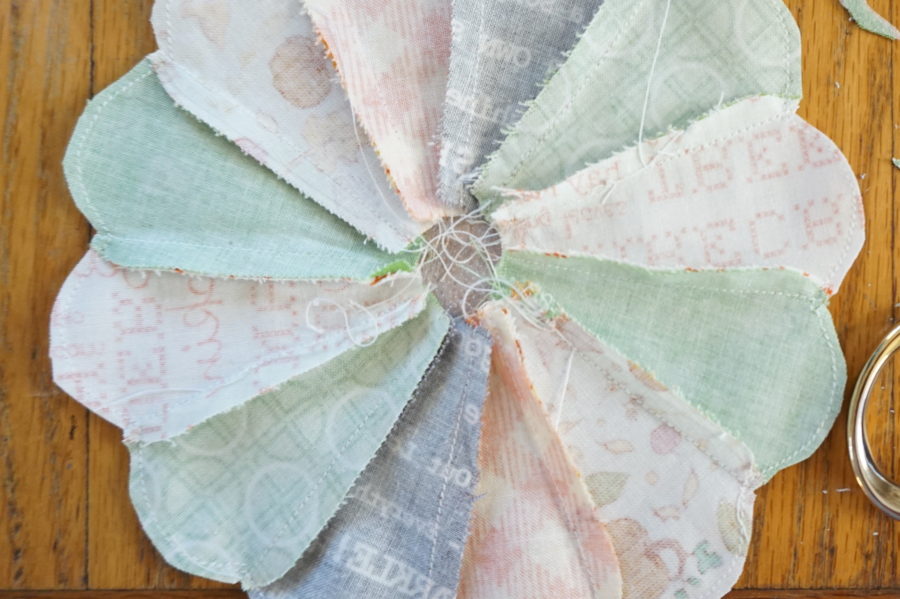
- Cut a small opening in the center of the interfacing and turn the Dresden flower right side out. Use a blunt turning tool to gently press out the curves, making sure to not tear the interfacing close to the seam.
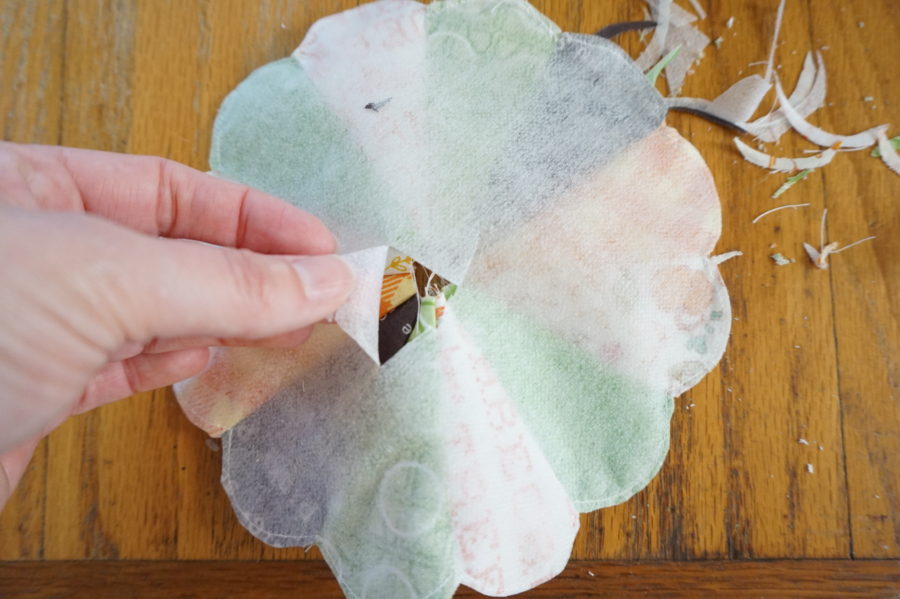
- Repeat this process for the leaf shapes and the circle that will be the center of the Dresden flower.
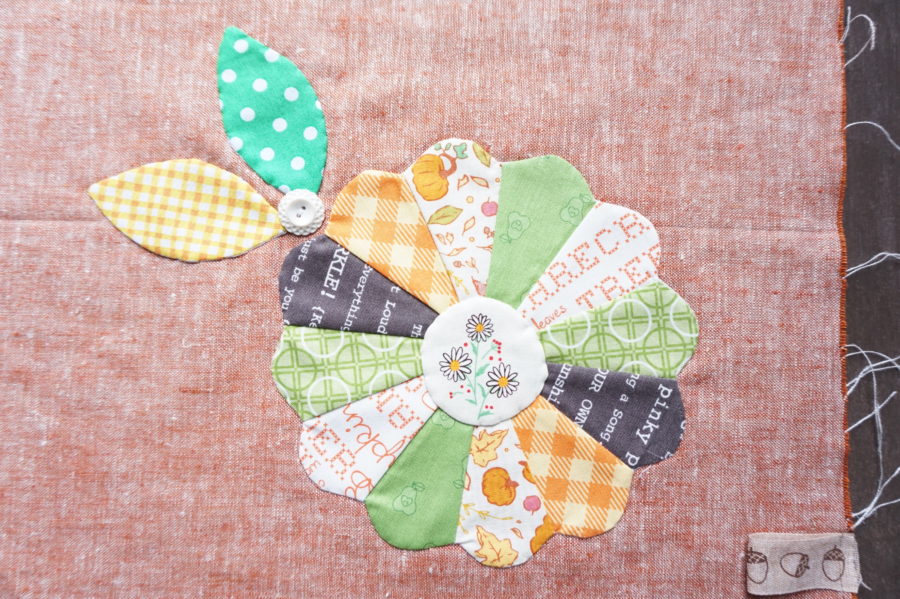
- Fuse flower to the bottom right corner of the tea towel front. Fuse the circle and leaves in place next. Stitch around the edge of the appliqued shapes by hand or with your machine. I used an invisible stitch and sewed mine on by hand. If desired, add a button where the leaves meet. I also cut a 3″ piece from my ribbon and stitched in on the side of the towel front to make a decorative tag when the towel is turned right side out.
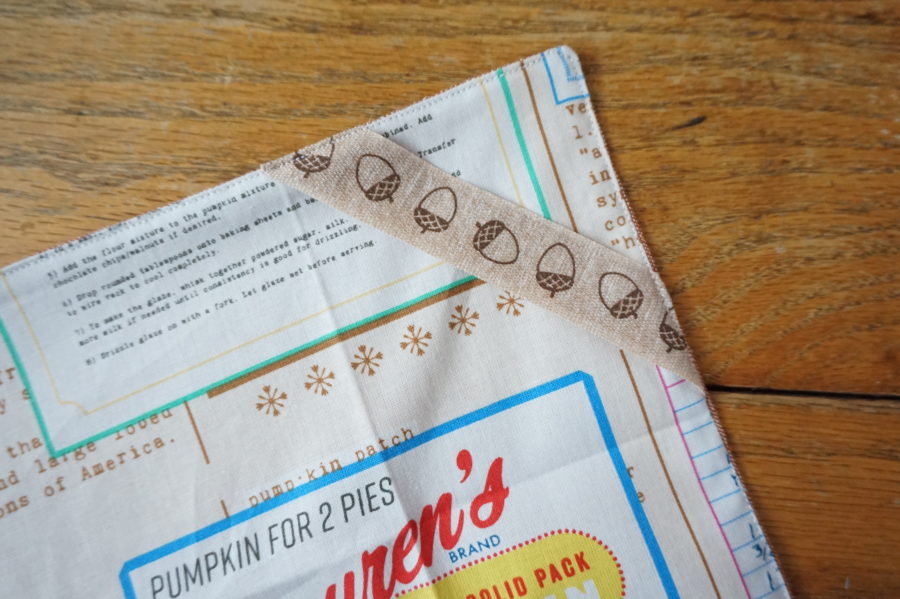
- Cut a 5″ piece of ribbon and sew it diagonally across the upper right corner of the tea towel back fabric. Place towel front and back right sides together and sew around all edges, leaving a 5″ opening along the bottom for turning. Turn towel right side out through the opening, press the open seam, and top-stitch around the entire perimeter of the towel close to the edge.
- Give your towel a good pressing, and you’re done!
These are so easy and fun to make. They would make great gifts as well. I see lots more of these in my future!
I hope you enjoyed this tutorial! See you again soon!
Stephanie
[…] Here’s a link to the First Towel Tutorial […]