


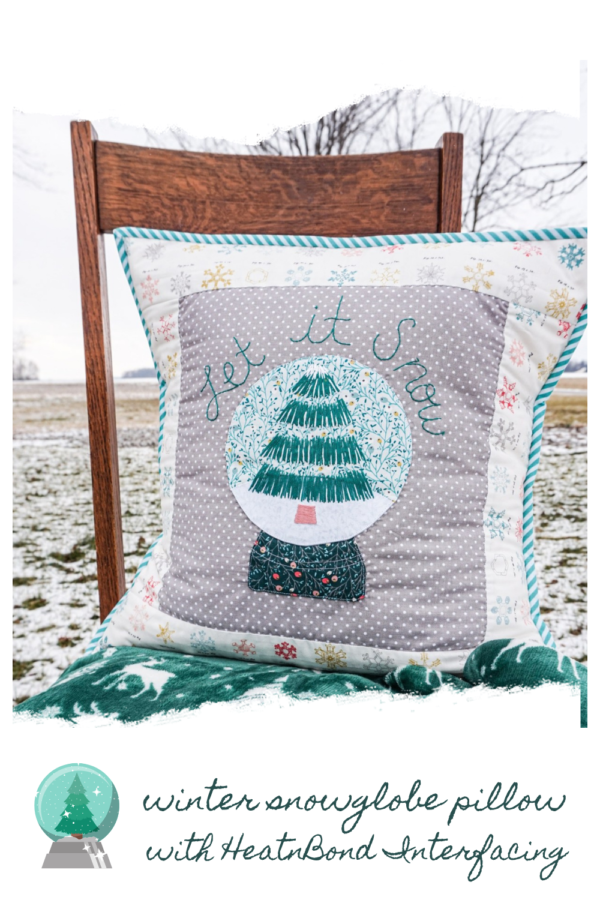
When Christmas is over, there is a little bit of sadness at the lack of festive decorations in our house. Some people jump right into Valentine’s Day decor, but this year I just wasn’t ready for that. I wanted to still celebrate winter, the evergreen trees, the snow, and the quiet coziness of it all. So, I created a winter pillow to take the place of my Christmas ones, and I’m so happy I did!
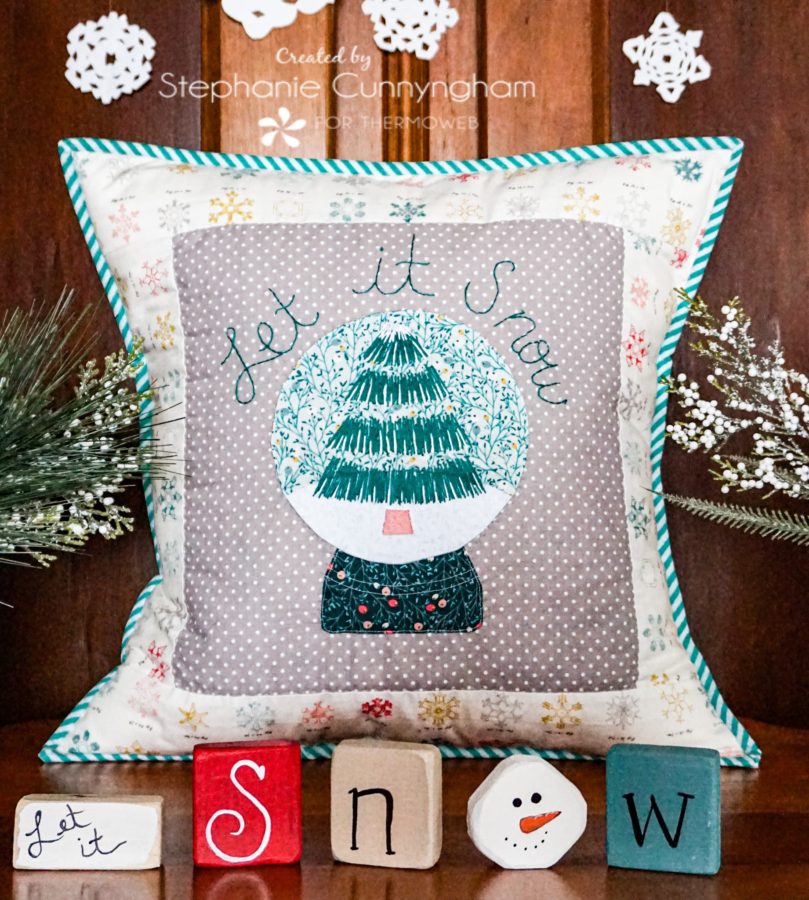
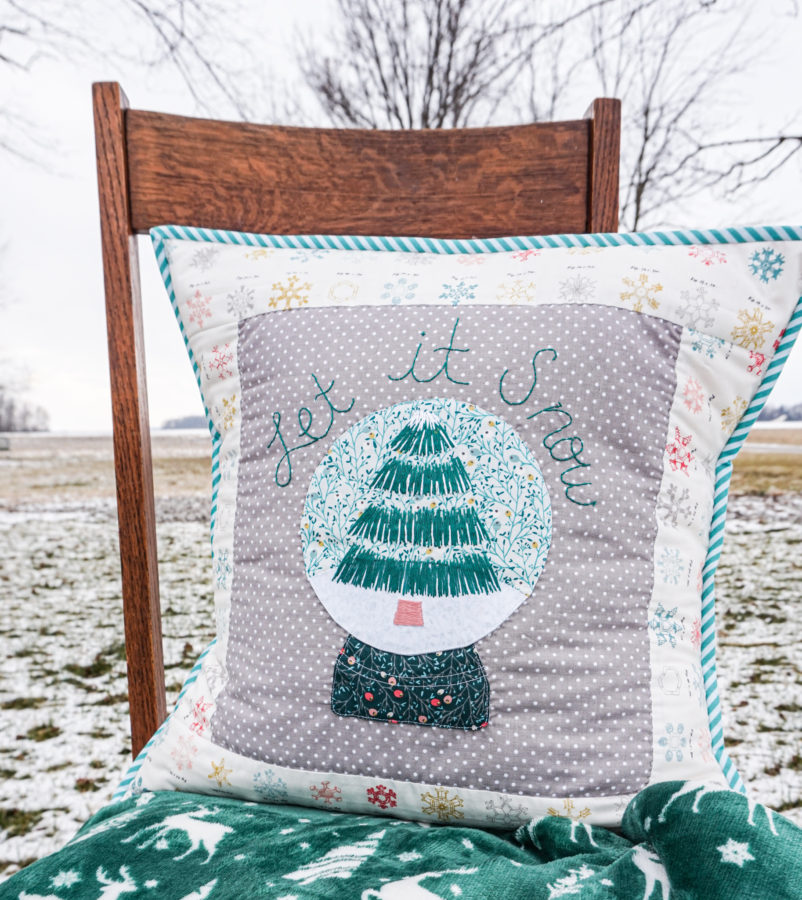
Winter Snowglobe Pillow with HeatnBond
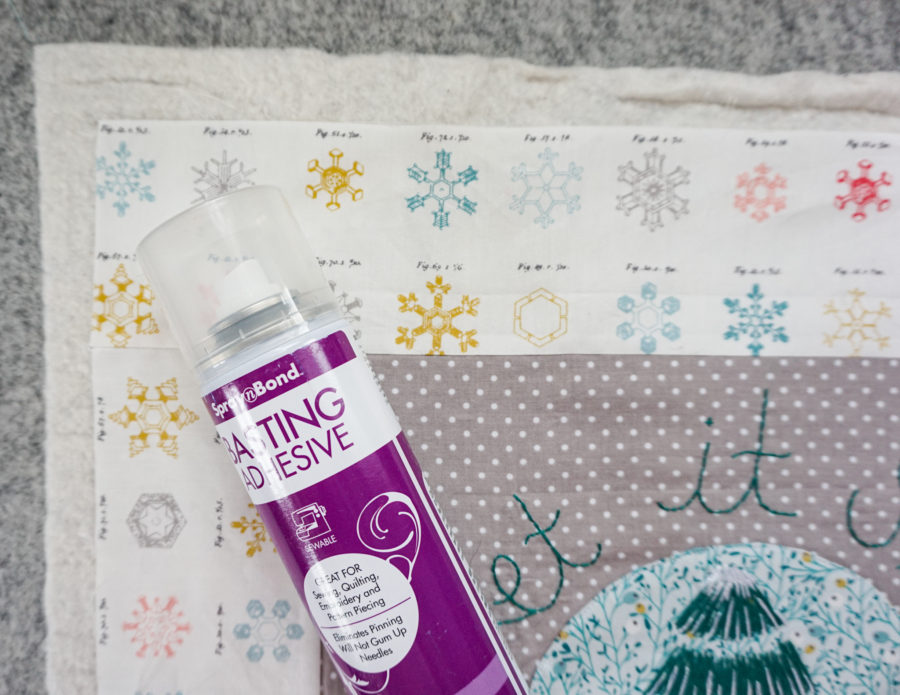
Lots of hand-stitched details make this a great project for working on while snuggled under a cozy blanket next to the fire. And the snow-globe element adds a little bit of unexpected fun. I used my favorite ThermOWeb products, the Heat n Bond light Fusible Interfacing and the Spray n Bond basting spray, to get the job done. If you want to make one too, keep reading, and I’ll tell you how!
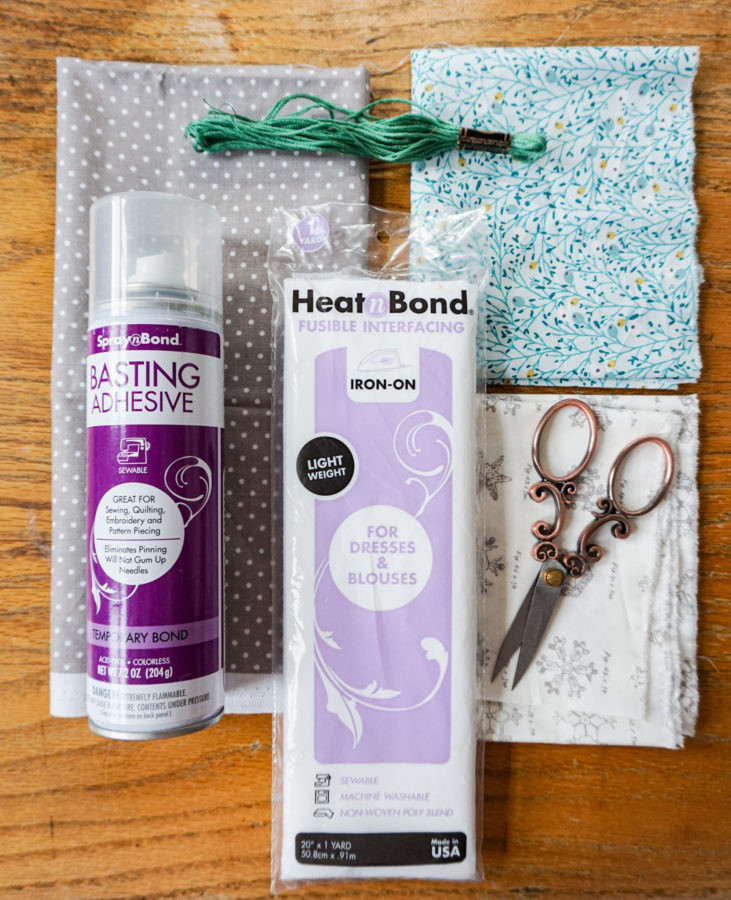
Supplies Needed
- 12.5″ square of background fabric
- 8″ square of fabric for the snowglobe background
- 4″ x 6″ rectangle of fabric for the snowglobe base
- 4″ x 8″ piece of white fabric for the snow in the snowglobe
- Two 3.5″ x 12.5″ and two 3.5″ x 18.5″ strips of border fabric
- Two 2.25″ x WOF strips of fabric for binding, sewn together to make one binding strip
- Two 13″ x 18.5″ pieces of fabric for the pillow back
- 19″ square of batting
- 20″ square of pillow lining fabric
- Green and white embroidery floss
- 1 package of HeatnBond Light Fusible Interfacing
- Compass to make a 6.5″ circle (or a 6.5″ circular object to trace)
- Snowglobe Templates
Sewing Instructions
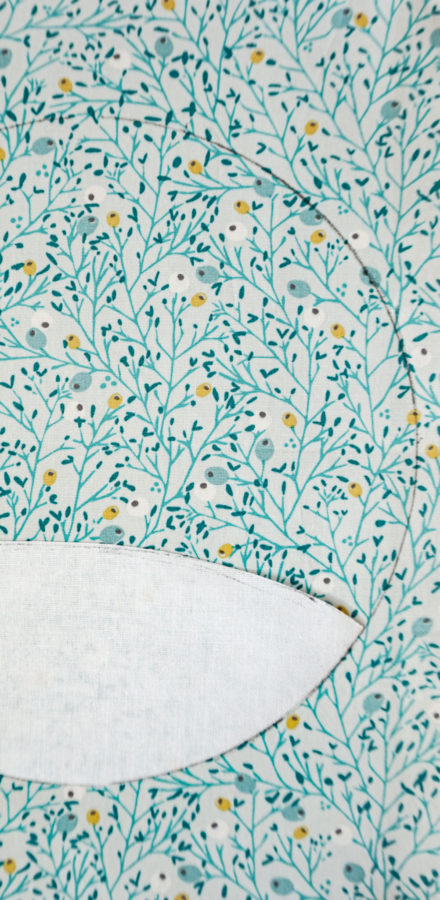
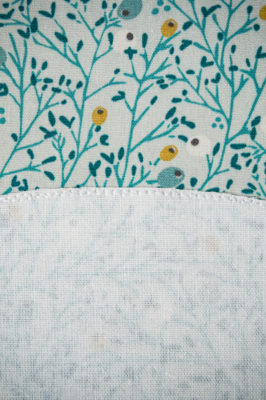
- Draw a 6.5″ circle on the snowglobe fabric
- Using the pattern provided, trace the snow template onto the white fabric and cut out. Place the snow on the bottom of the circle drawn on the snowglobe fabric and stitch in place.
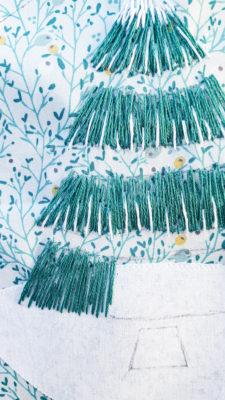
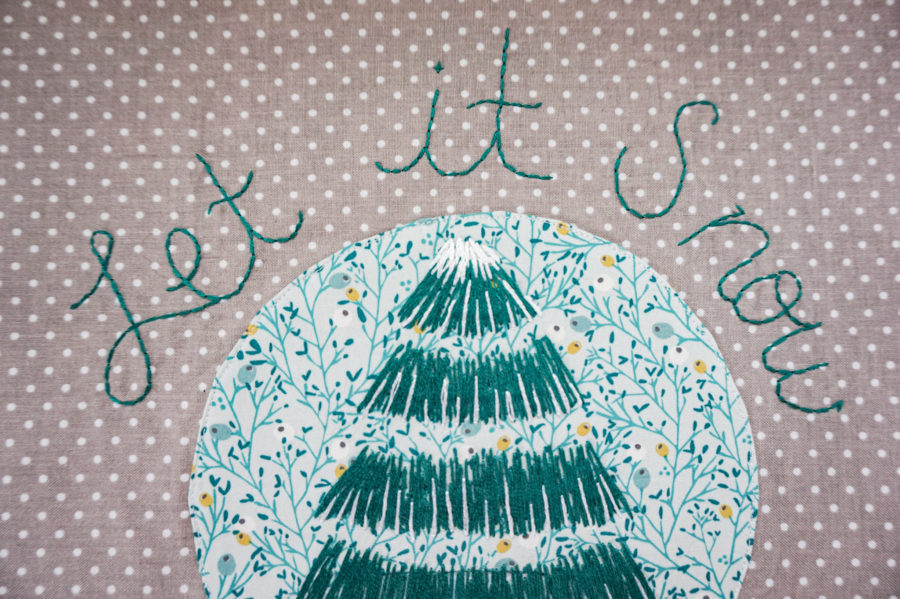
- Trace the evergreen template on the FRONT of the snowglobe, centering the tree in the circle.
- Using 4 strands of floss, fill in the evergreen tree template with green thread. Add some white thread if desired for a snowy detail.
- Once your tree is all filled in, cut out the circle. Cut a piece of HeatnBond light the same size.
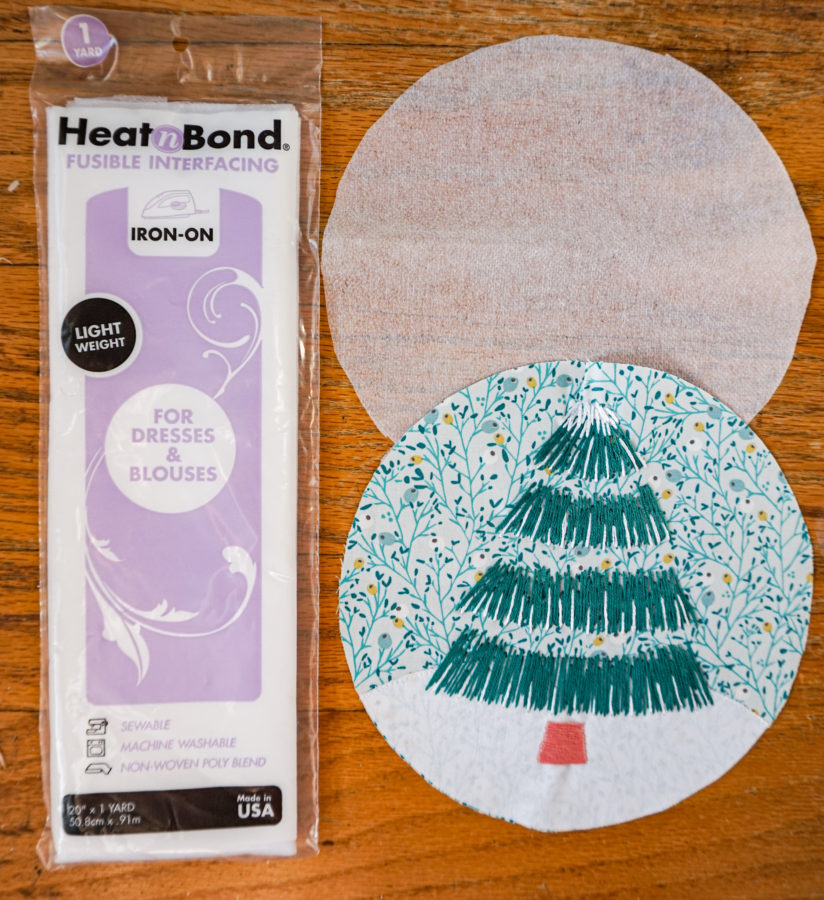
- Place the right side of the fabric on the bumpy side of the interfacing, and stitch all the way around. Cut a small opening in the center of the interfacing and turn the circle right side out.
- Trace the snowglobe base on the 4″ x 6″ scrap piece of fabric and cut out. Cut out a piece of interfacing the same size. Cut a small opening in the center of the interfacing and turn the snowglobe base right side out.
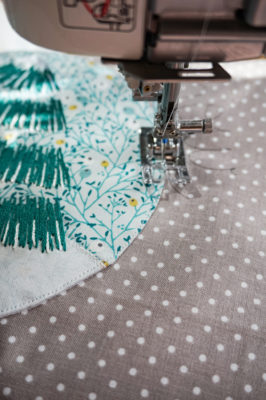
- Arrange the snowglobe circle and the base on the 12.5″ background square and press. The circle of the snowglobe should overlap the top of the base slightly. The interfacing will melt, holding your pieces in place. Stitch all around the snowglobe and base to secure.
- Sew the border pieces on to the 12.5″ square and press toward the border.
- Add some fun embroidery if desired.
- Place the pillow lining fabric face down, then place the batting square and the pillow front on top. Using the SpraynBond basting spray, baste in place. Quilt as desired. Trim to 18.5″ square.
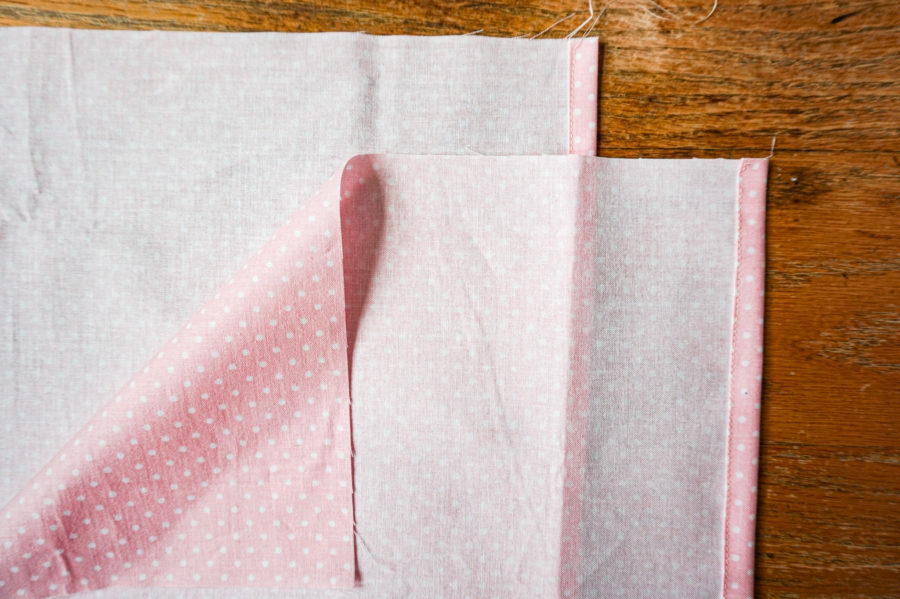
- To make the pillow back, turn one of the 18.5″ sides of the pillow down 1/4″ and press. Press down 1/4″ again, press, and top-stitch. Do this to both pieces of the pillow back.
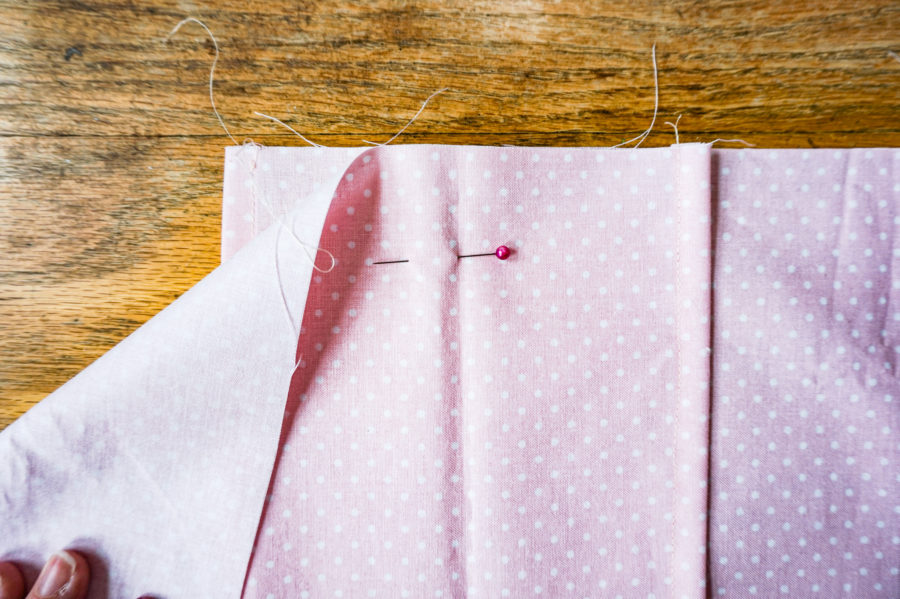
- Overlap the pillow back pieces to make an 18.5″ square. Baste in place where the two pieces overlap.
- Place the pillow back face down. Place the pillow front face up on top of it. Pin in place. Sew on the binding using your favorite method.
- Enjoy your new winter pillow!
[…] 58 more days of winter, which means there’s still plenty of time to sew up this decorative snow globe pillow. Looking for something just to spruce up your living space instead? Learn how to insert an […]