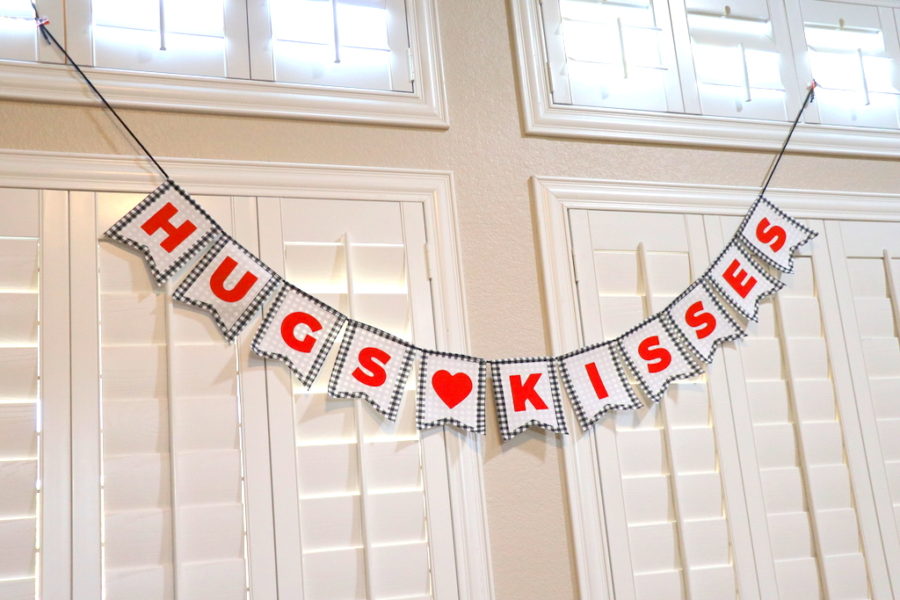
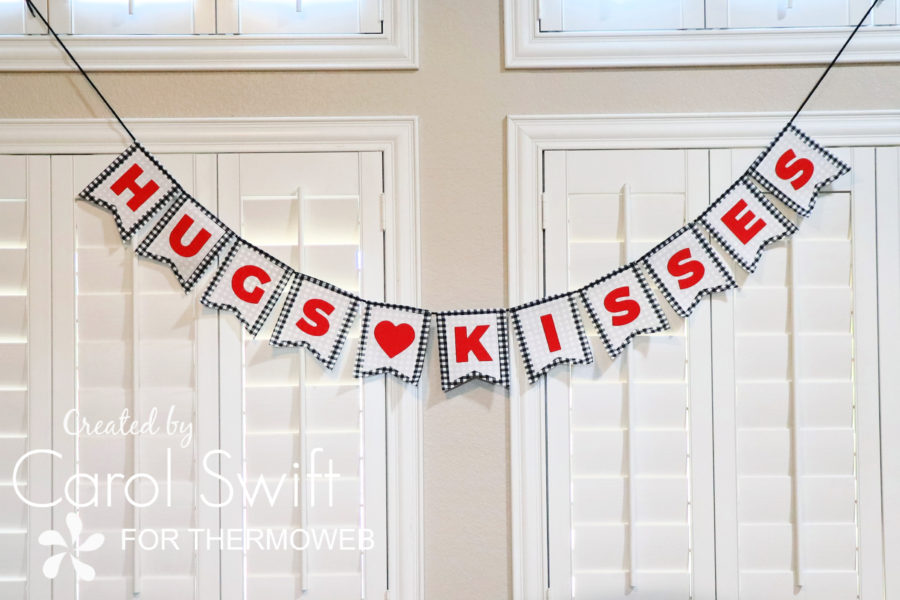
It is almost February which means…Valentine’s Day! I’m Carol from Just Let Me Quilt and I love all the sweetness that comes from that day, especially the hugs, kisses, and chocolate, of course. Hanging up a banner to celebrate and remind others of the holiday is a good way to start the month.
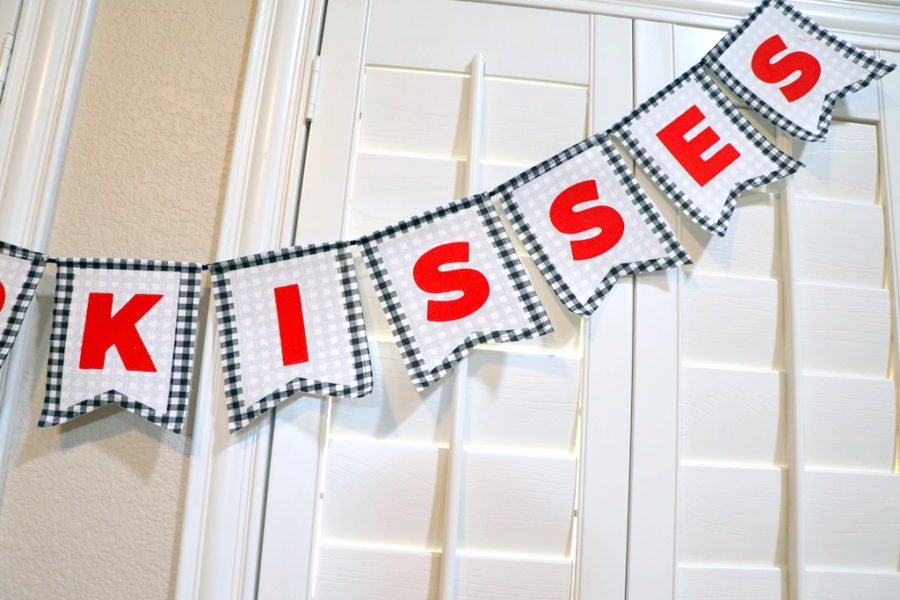
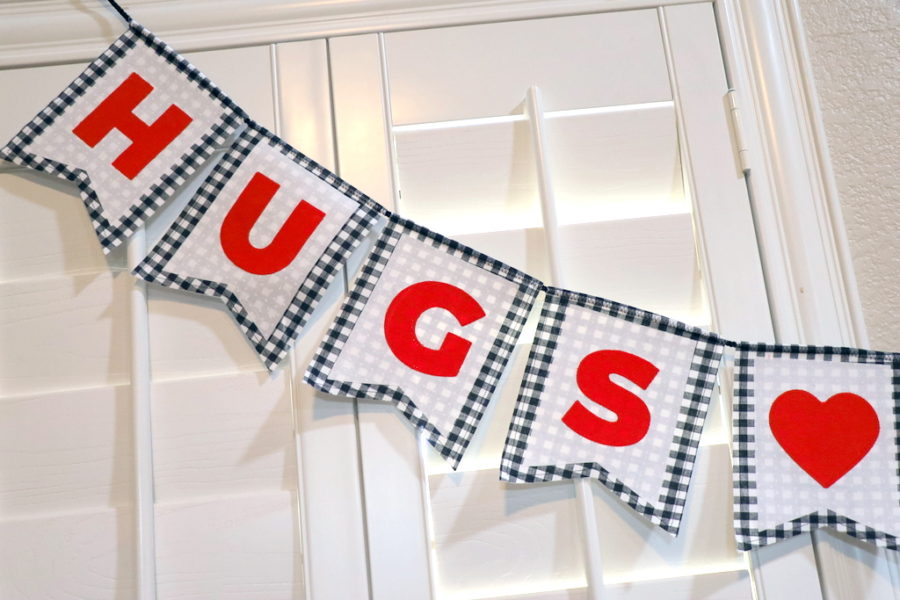
Hugs & Kisses Fabric Applique Valentine Banner
The Valentine banner is so easy to make when using the Crafter’s Edge Crossover II and fabric dies. There is no tracing or scissors needed!
What you’ll need:
Heat n Bond Lite, Iron-on Adhesive
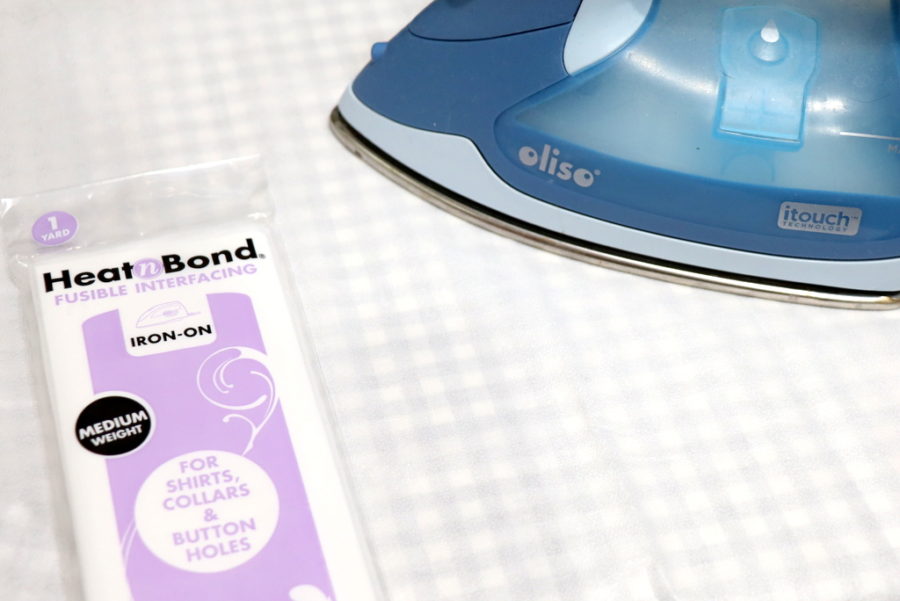
Heat n Bond Medium Weight Interfacing
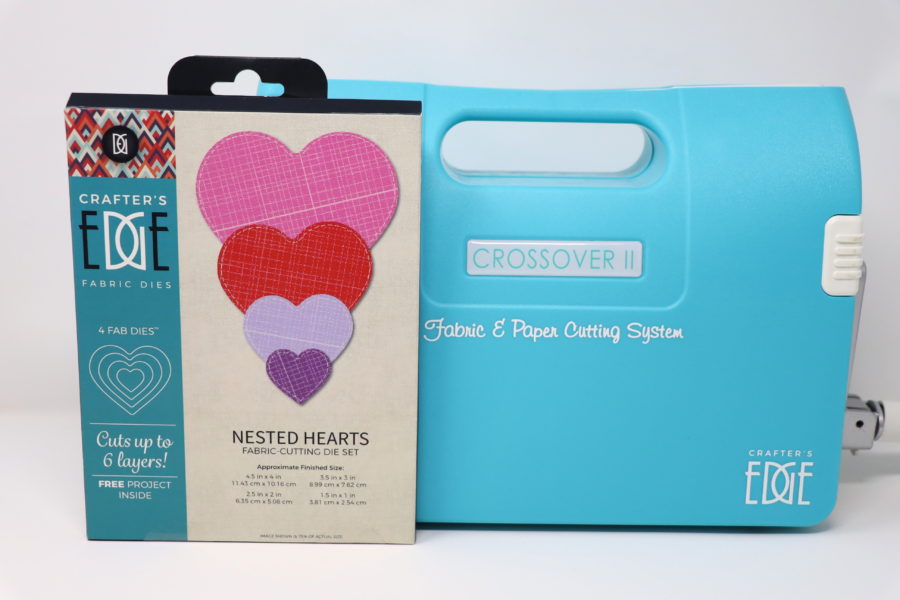
Crafter’s Edge Crossover II
Crafter’s Edge Flag Pennant die
Crafter’s Edge Nested Hearts
Crafter’s Edge Letters to spell “Hugs” and “Kisses”
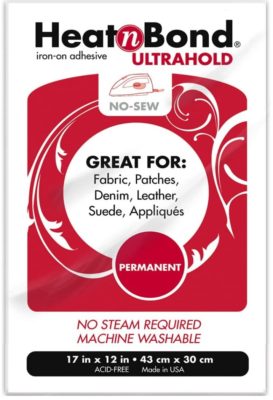
Optional: Heat n Bond Ultrahold Adhesive, No-Sew
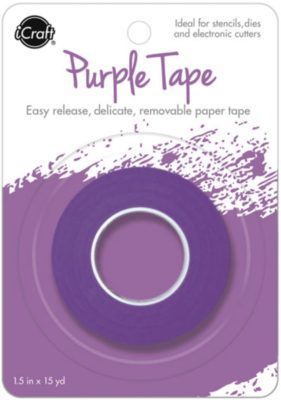
Optional: iCraft Removable Purple Tape
Thread
Oliso Iron
3 yards of cord/rope
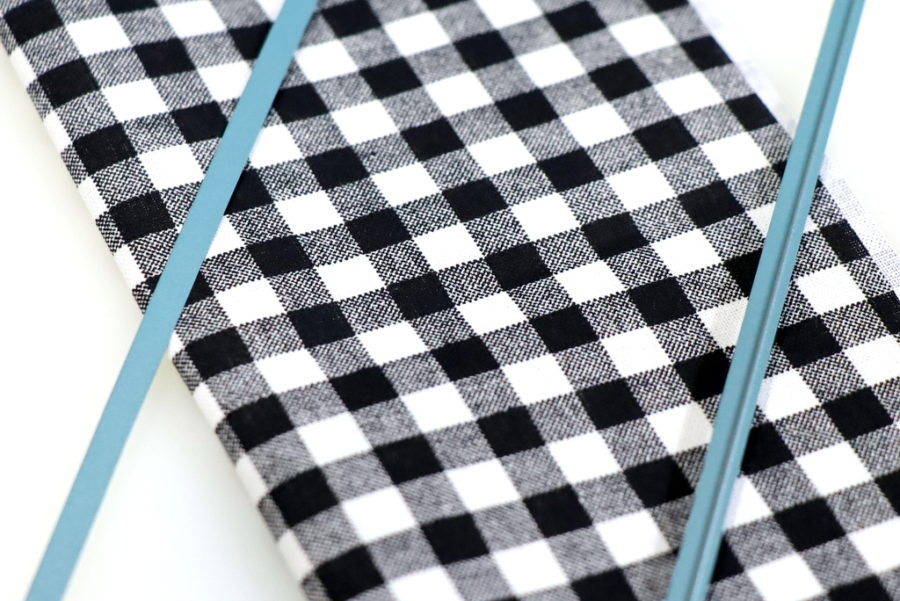
3/8 yard black check fabric
3/8 yard white fabric
1/8 yard red fabric
Optional: If you don’t want to sew around the applique or edges, Heat n Bond Ultrahold Adhesive, No-Sew is a great product to use to assemble the banner. Just iron the applique pieces in the same way you would if using Heat n Bond Lite, but the only sewing you will need to do is to sew the cord/rope in place.
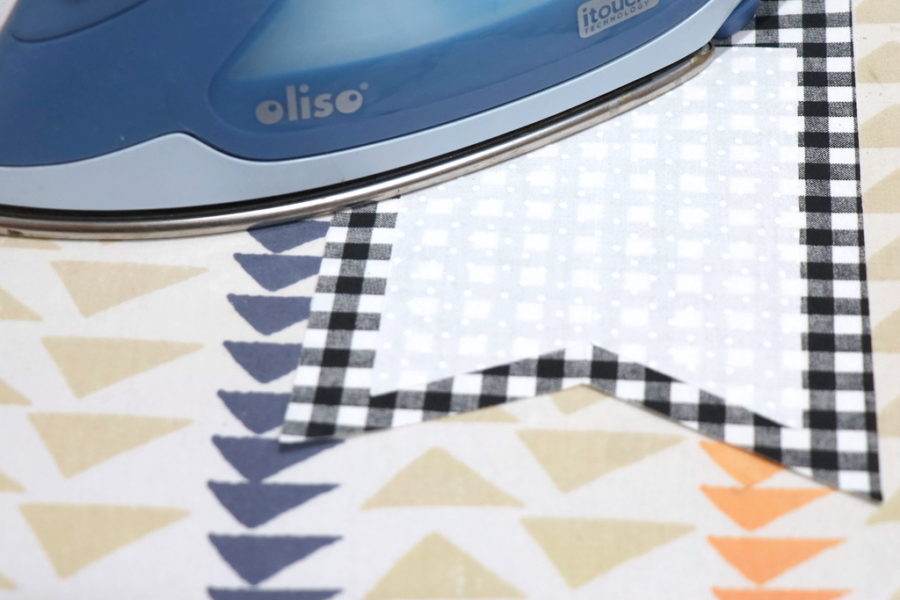
To get started on making the Hugs and Kisses banner, iron Heat n Bond Medium Weight Interfacing to the wrong side of the black checked fabric following the package directions. Cut fabric into 8” x 11” rectangles to make it easier to run through the Crossover II machine. The Oliso iron is a fabulous product to have in your sewing room!
The Crafter’s Edge dies have cutting edges that aren’t sharp, but when run through the machine they can cut up to six layers of fabric.
The Crafter’s Edge Flag Pennant die comes in two sizes that can be layered or used alone. It has one edge that doesn’t cut, three that do. The non-cutting edge is placed on the fold.
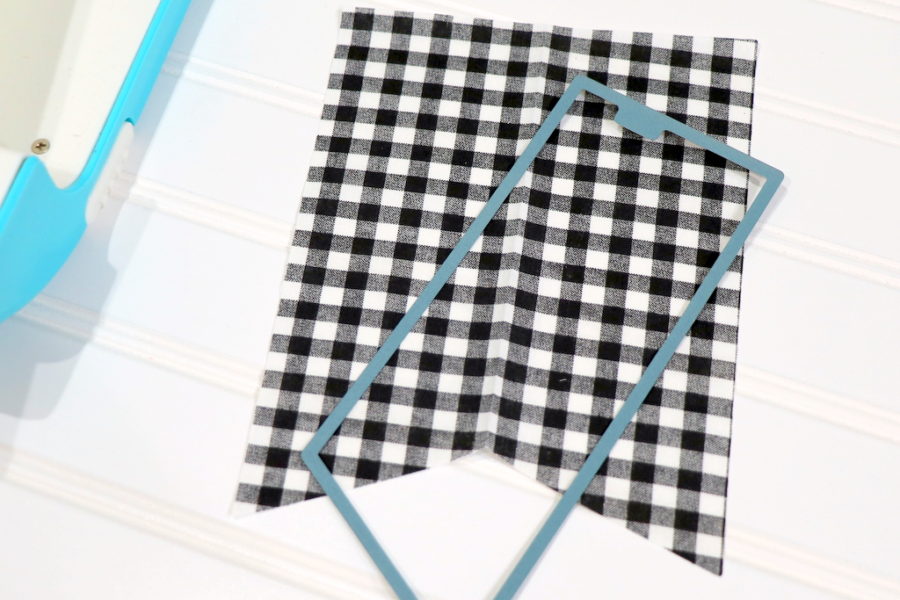
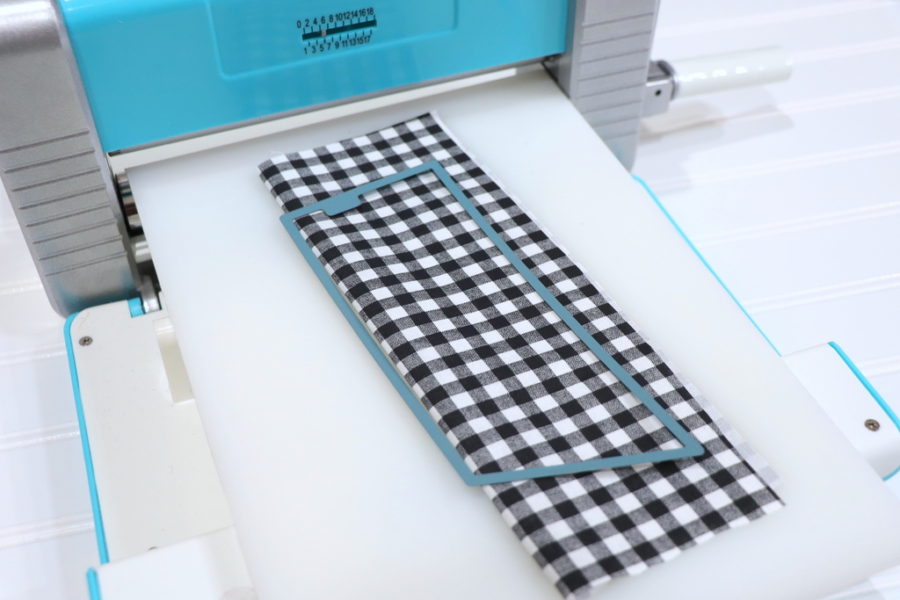 Fold black checked fabric in half and place the non-cutting edge of flag pennant die on fold. Run through the machine following the manufacturer’s directions. Repeat to make 11 large pennants.
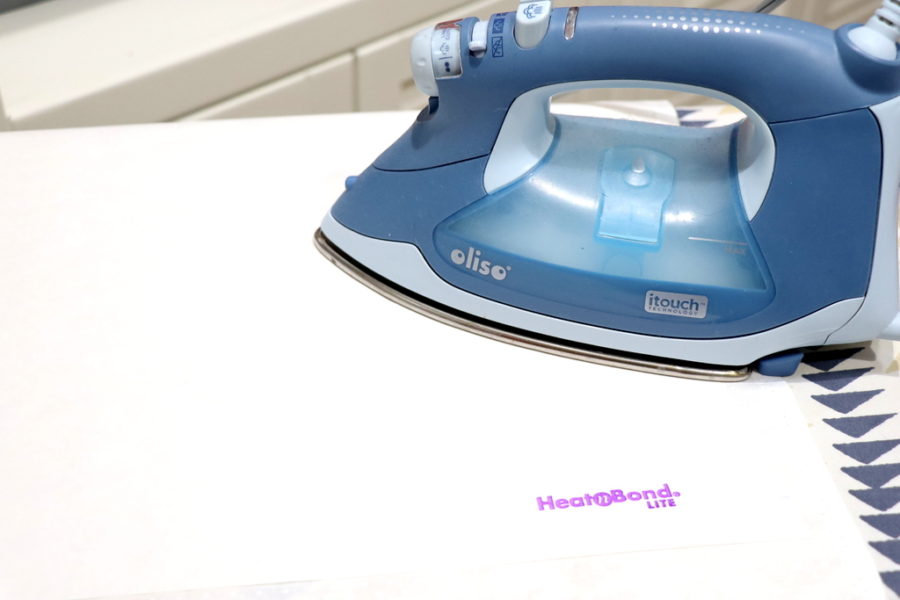
 Prepare the fabric for the small flag pennant using Heat n Bond Lite, Iron-on Adhesive. Iron adhesive to the wrong side of white fabric following package directions.
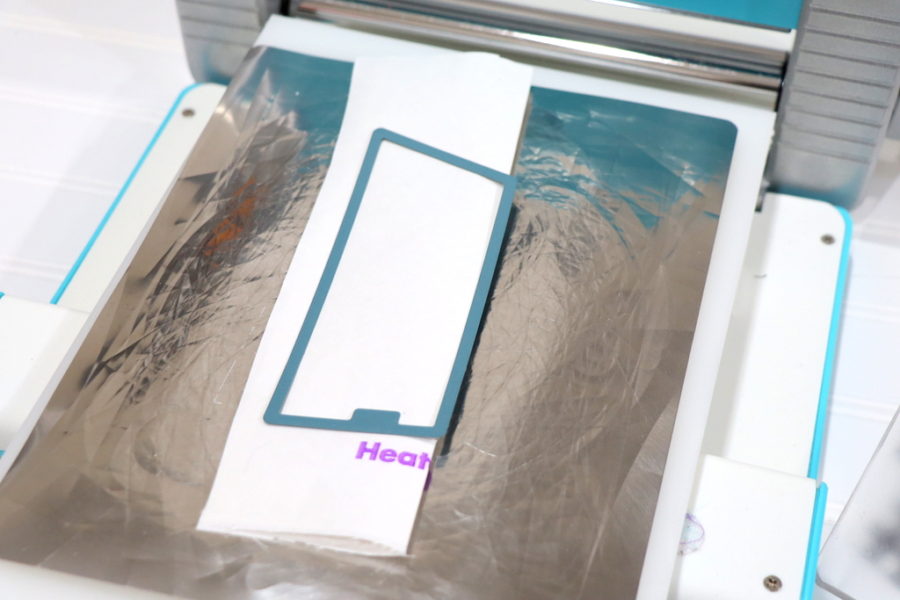
 Fold white fabric with iron-on adhesive in half. Place the non-cutting edge of small pennant die on fold. Run through the Crossover II machine to cut the die. Repeat to make 11 small white pennants.
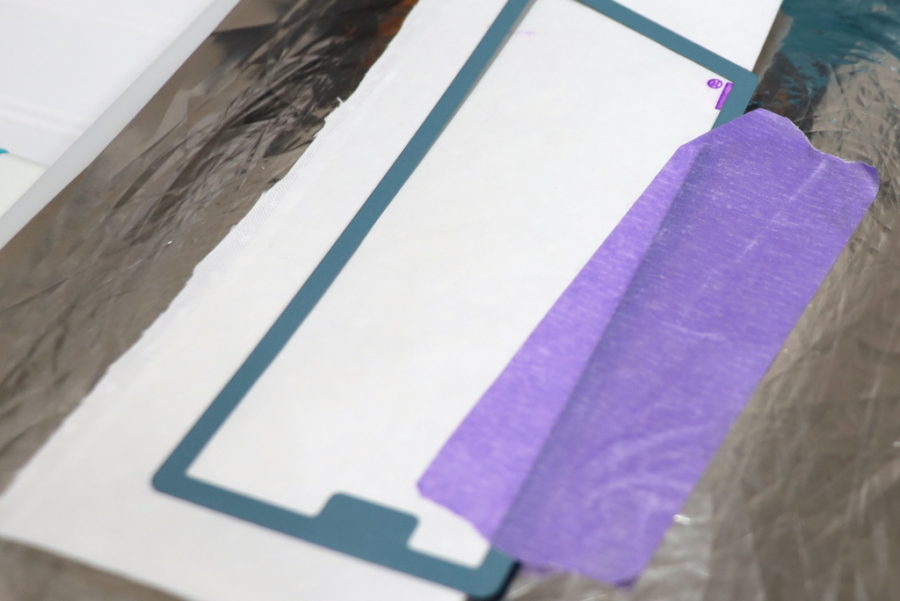
Tip: If you have trouble keeping the die on the fold, using iCraft Removable Purple Tape helps to keep it in place. Being purple makes it a pretty way to hold it there!
Peel off paper liner from the backs of small flag pennants. Place small flag pennant, adhesive side down, on right side of large flag pennants about 1” from the top. Press according to package directions until entire piece is bonded. Let cool.
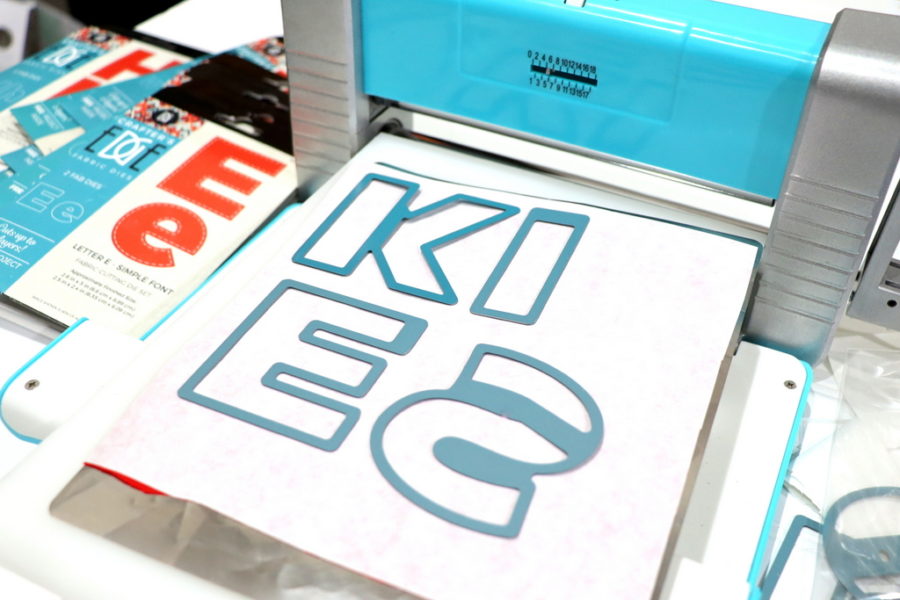
 Prepare the red fabric for the letters and heart using Heat n Bond Lite, Iron-on Adhesive by ironing to wrong side of fabric; follow package directions. With paper side up, run letters and heart through the Crossover II machine to cut the die. Having the paper side up will ensure the letters are facing the right direction.
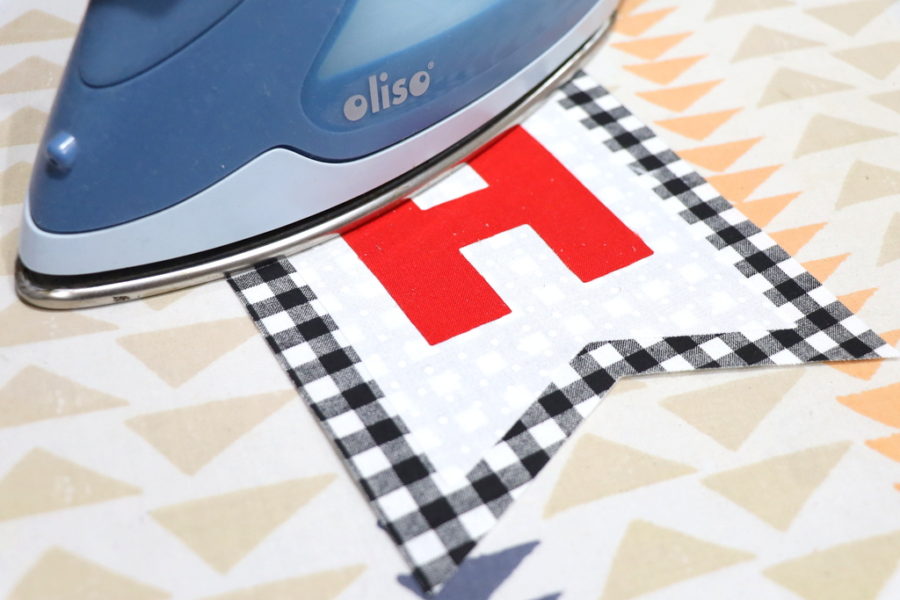
Center each letter and heart on right side of small white flag pennants, adhesive side down. Press according to package directions until entire piece is bonded. Let cool.
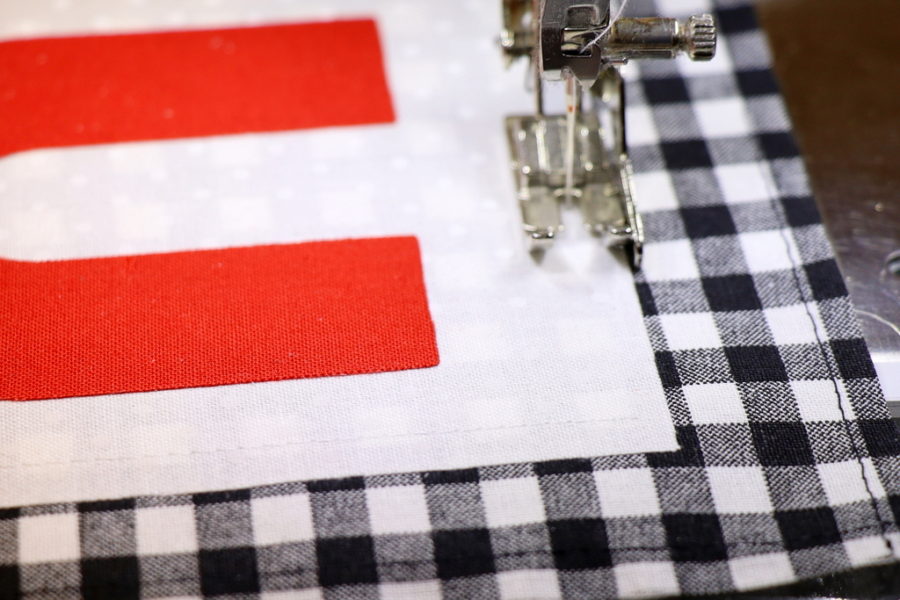
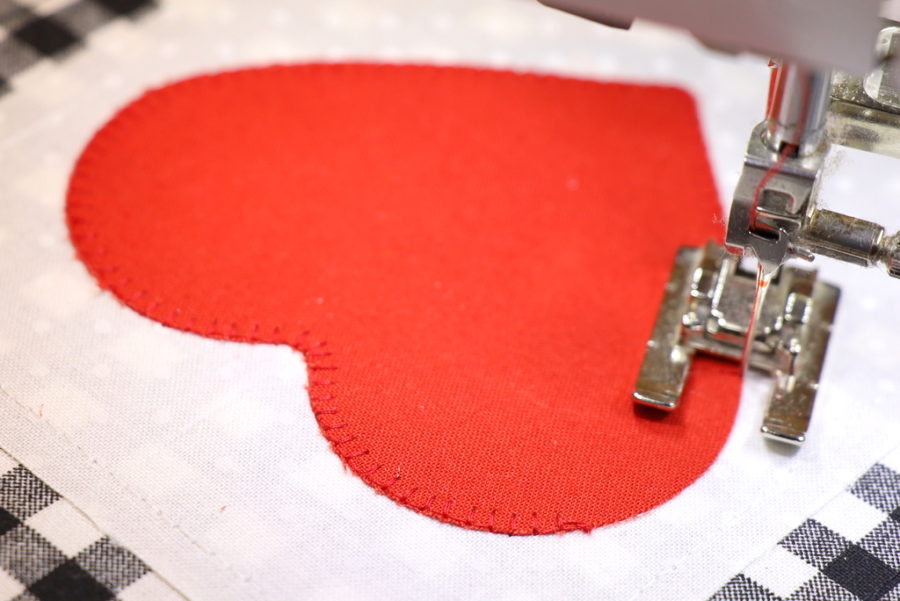
Sew around edges of both pennants and applique using a straight, zig-zag, or blanket stitch. DO NOT SEW AROUND APPLIQUE DESIGNS IF USING HEAT N BOND ULTRAHOLD ADHESIVE!
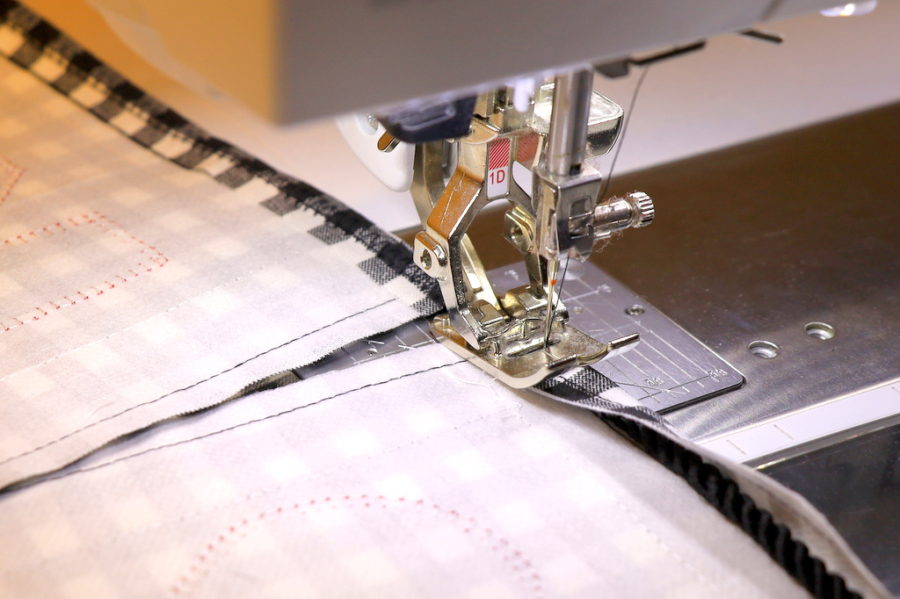
Fold fabric 1/2″ down on wrong side and top of black checked pennants; press. Slide cord/rope under fold on pennant.
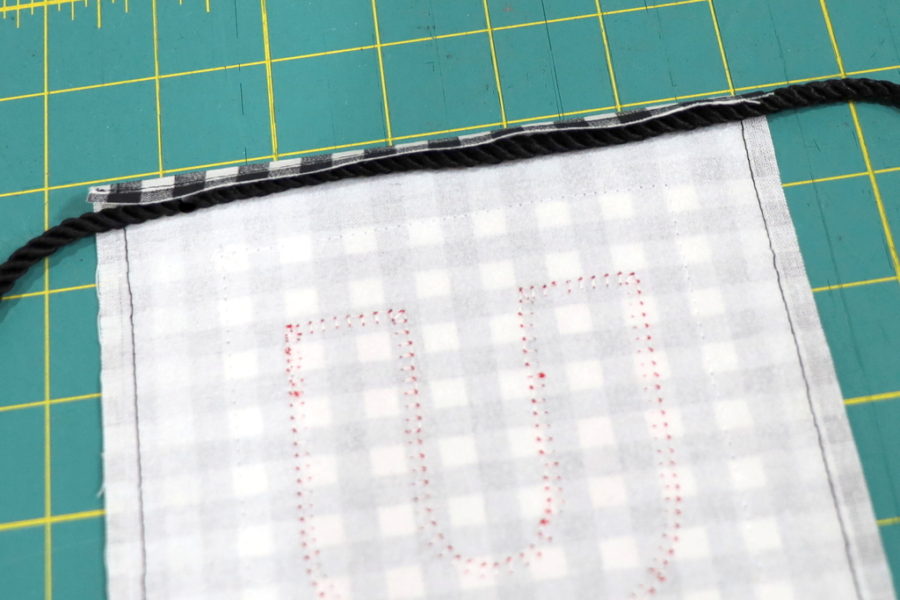 Using a zig-zag stitch, sew cord/rope in place. Repeat with remaining pennants placing them a 1/4″ to 1/2” apart.
That is it…you are done! Time to hang it up and share the love.