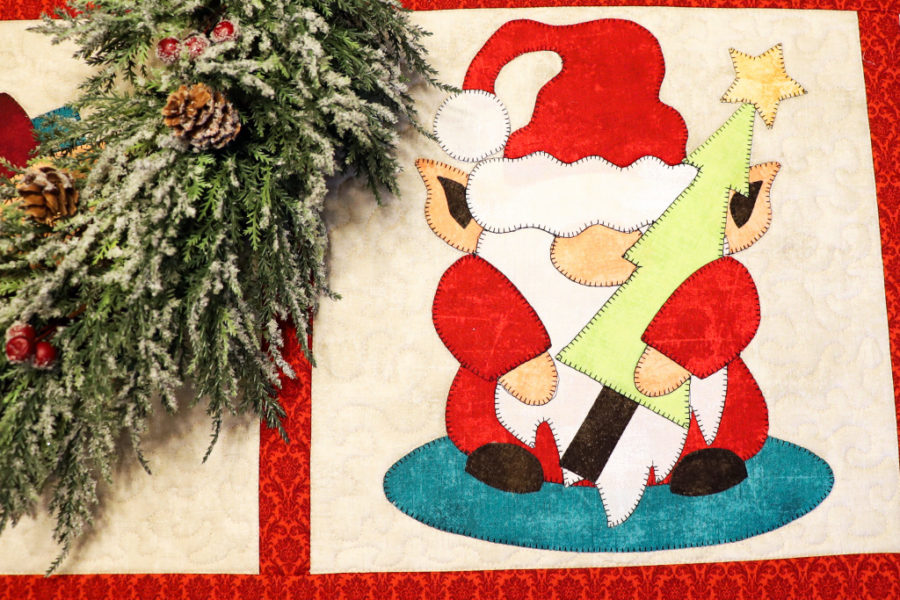
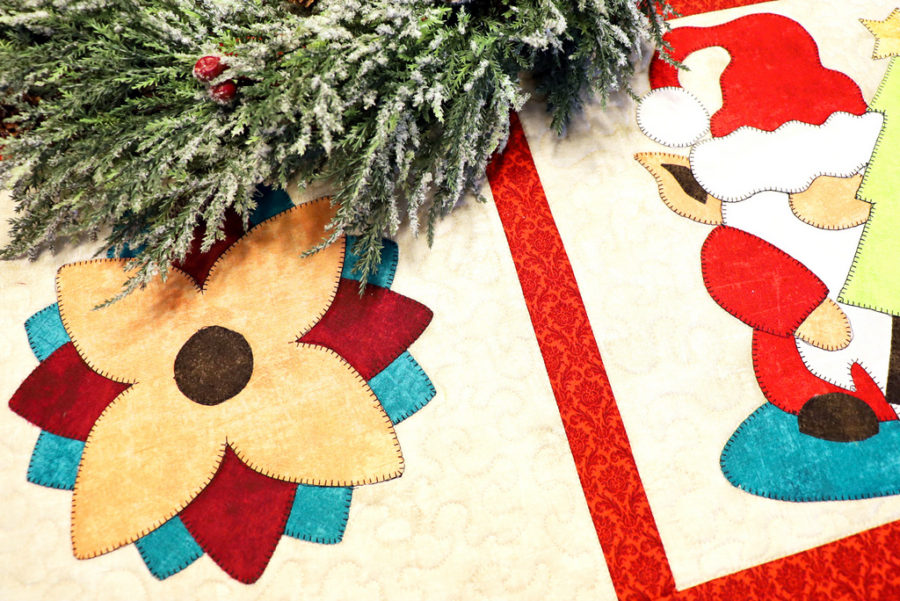
There is something about gnomes that bring a smile to my face. Maybe it is their squatty bodies, cute hats, or fluffy beards…whatever it is I love them! I’m Carol from Just Let Me Quilt and I have a fun and free gnome table runner project for you to make.
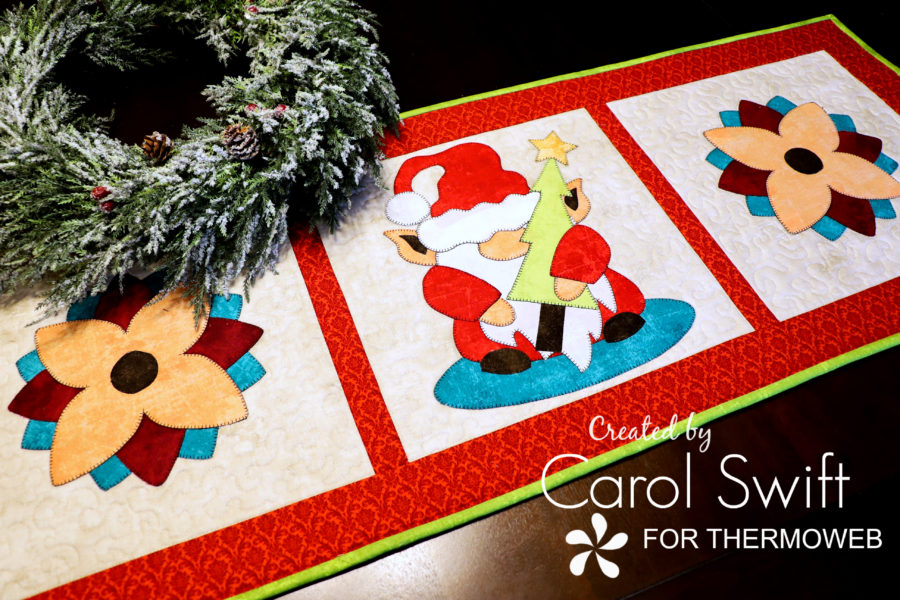
“It’s A Gnome Christmas” table runner is easy to make and will brighten your holiday table. It measures 16″ x 42″ and the gnome sits in the middle of two poinsettias while showing off his new Christmas tree.
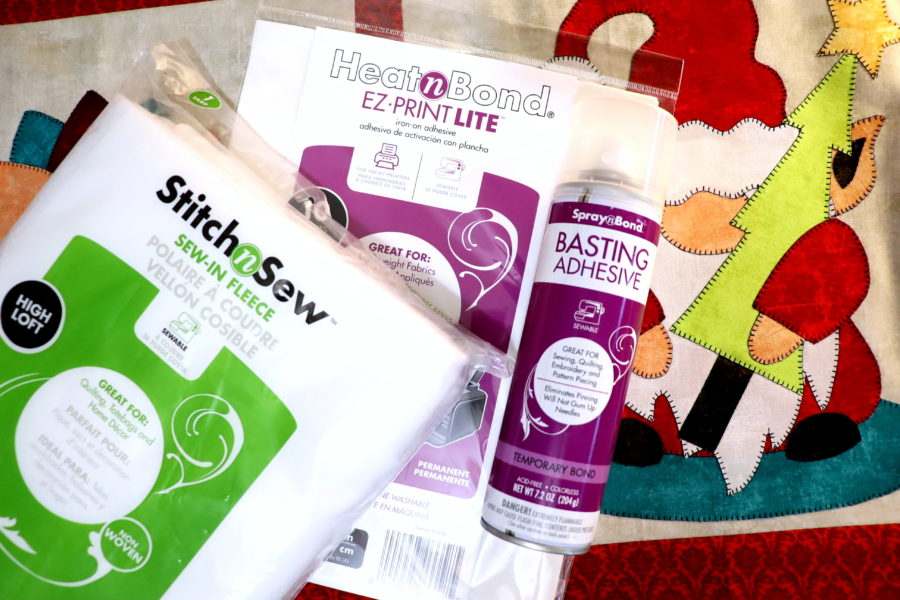
Here’s what was used to make “It’s A Gnome Christmas”:
Heat n Bond Lite EZ Print Sheets
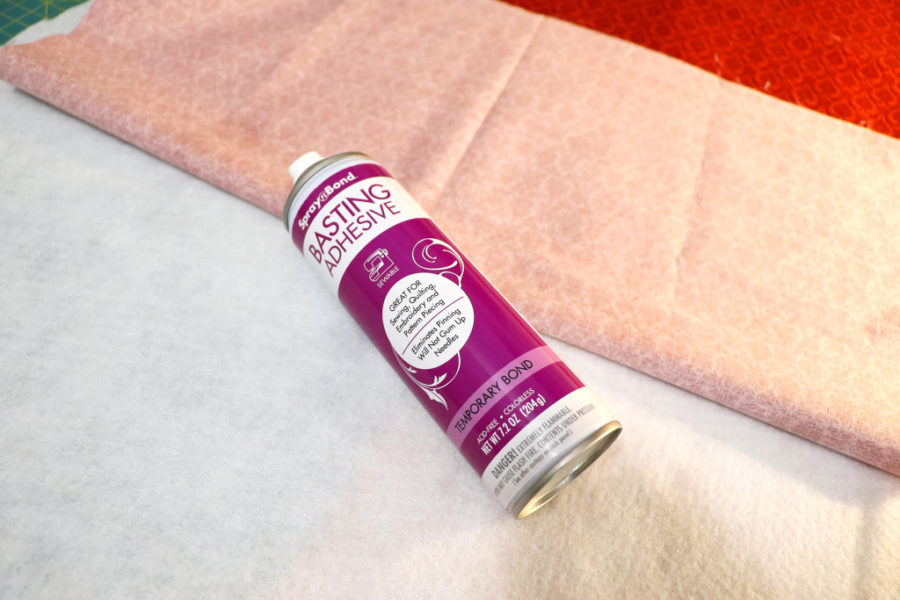
Spray n Bond Basting Adhesive
Stitch n Sew High Loft Fleece
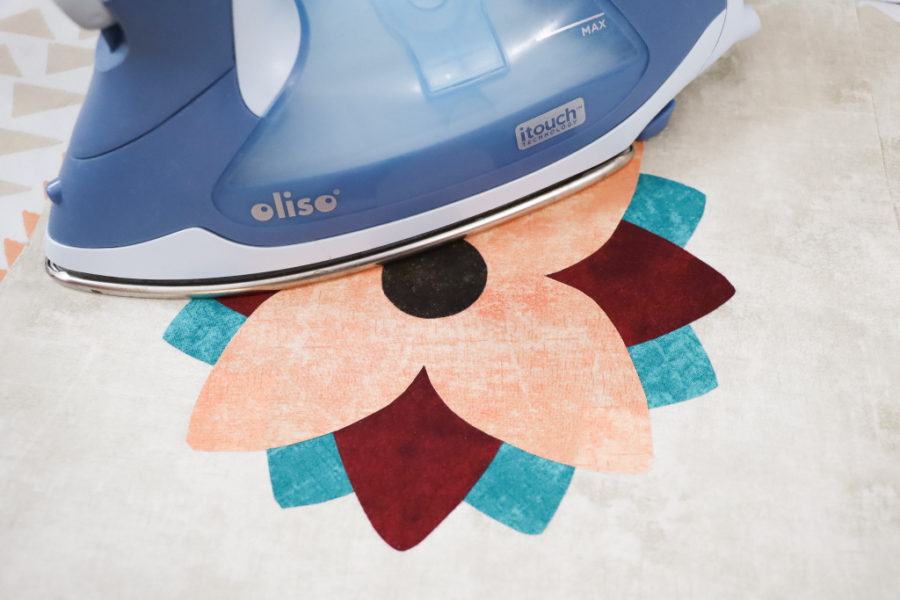
Oliso Iron
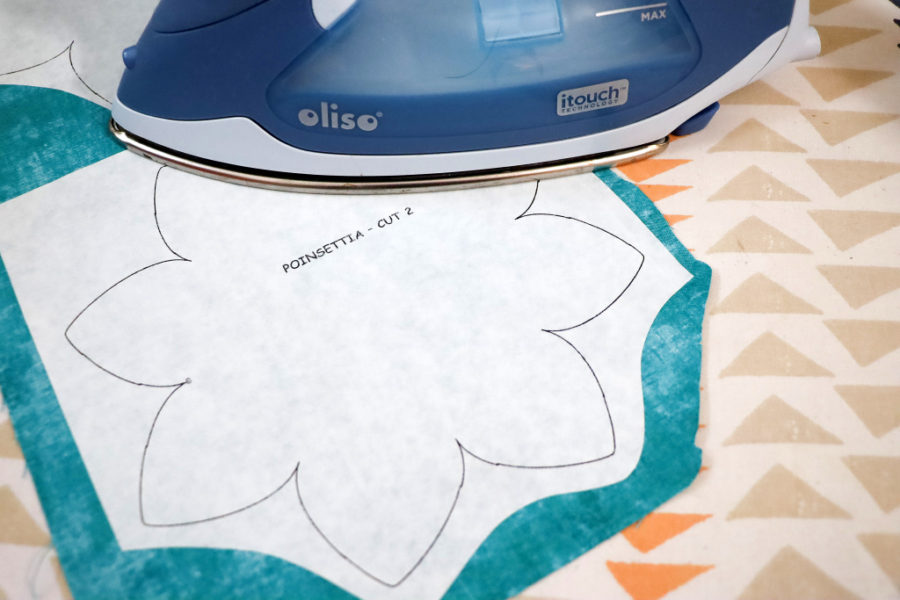
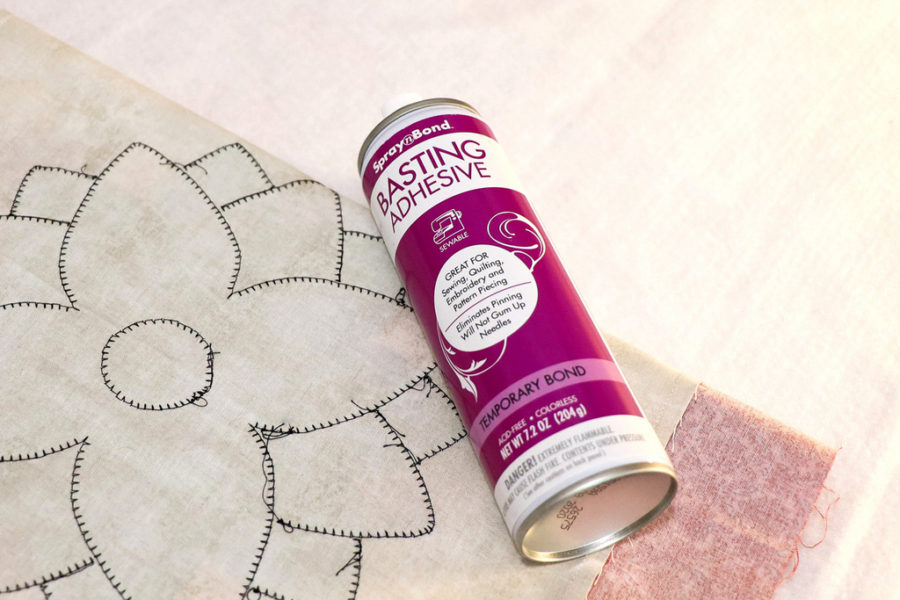
Step 1: Prepare the applique patterns using Heat n Bond Lite EZ Print Sheets; follow package directions. You will love how easy it is to run the sheets through your inkjet printer!

Step 2: Iron adhesive pieces to the wrong side of fabrics following package directions.
Step 3: Cut out applique pieces. Peel off paper liner from the backs of applique pieces…it’s really easy! Place applique, adhesive side down, on right side of 12 ½” x 12 ½” squares. Press according to package directions until the entire piece is bonded. Let cool.
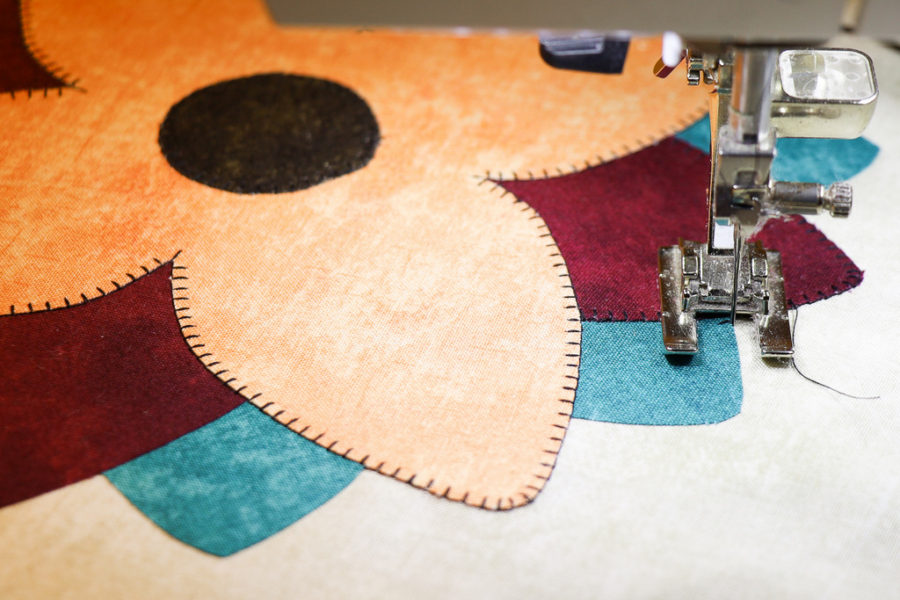
Step 4: Sew around edges using a straight, zig-zag, or blanket stitch.
Applique Tip: When putting together your applique pieces, lay them out first before ironing to your fabric. Make sure they slightly overlap if indicated in the keys. A heatproof sheet is a great tool for assembling the pieces. Lay them out on the sheet and lightly press them in place (don’t do it for too long.) Let cool. Carefully peel off the applique from the sheet and lay it on the right side of your fabric. Press in place.
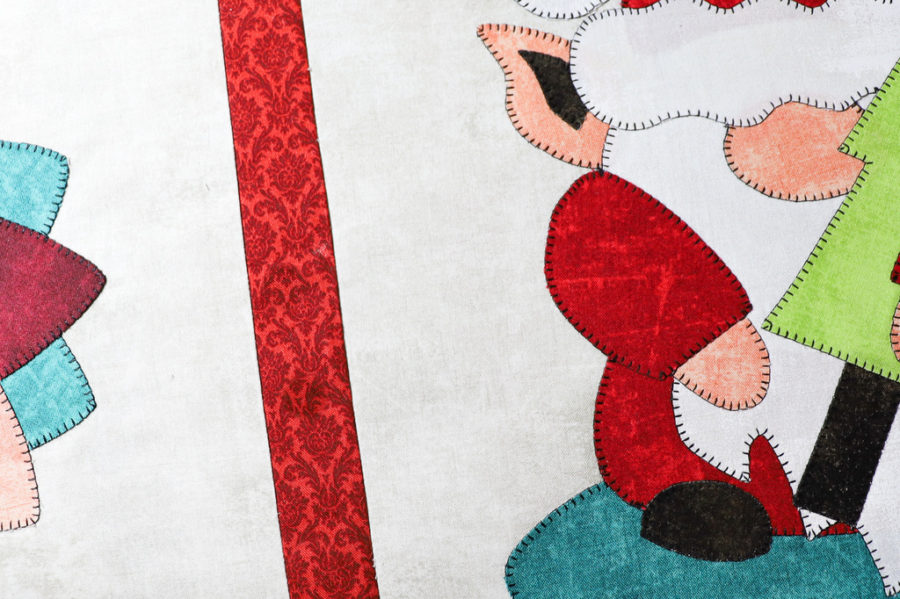
Step 5: Sashings – With right sides together, sew 1 ½” x 12 ½” strips between prepared applique blocks. Press seams to sides.
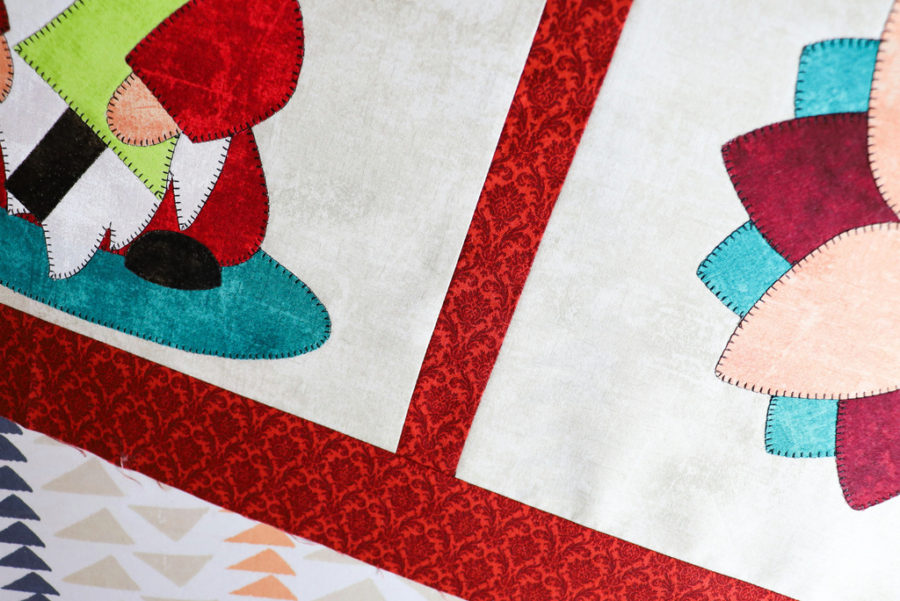
Step 6: Border – With right sides together, sew 2 ½” x 12 ½” strips to the left and right of applique blocks. Press seams to sides. With right sides together, sew 2 ½” x 42 ½” strips to top and bottom of applique blocks. Press seams down.
Step 7: Table runner assembly – Protect the area where you will be working by placing an old sheet of paper under and around the area you’ll be spraying. Place the Stitch n Sew High Loft Fleece on your working surface.
Using Spray n Bond Basting Adhesive, spray a few inches across the top portion of Stitch n Sew High Loft Fleece from one edge to the other. Place the wrong side of the runner backing face down over the sprayed surface of fleece. Smooth fabric to ensure it adheres to the sprayed fabric. Continue this method of spraying and smoothing just a few inches at a time until you reach the bottom of the runner back. Check for creases or folds.
Turn over to have Stitch n Sew High Loft Fleece facing up. Lay runner front, wrong side down, on Stitch n Sew High Loft Fleece using the same spray and smooth method as the backing. Trim edges and square-up quilt.
Quilt and add binding using your favorite method.
You can find the “It’s A Gnome Christmas” table runner PDF pattern HERE.