


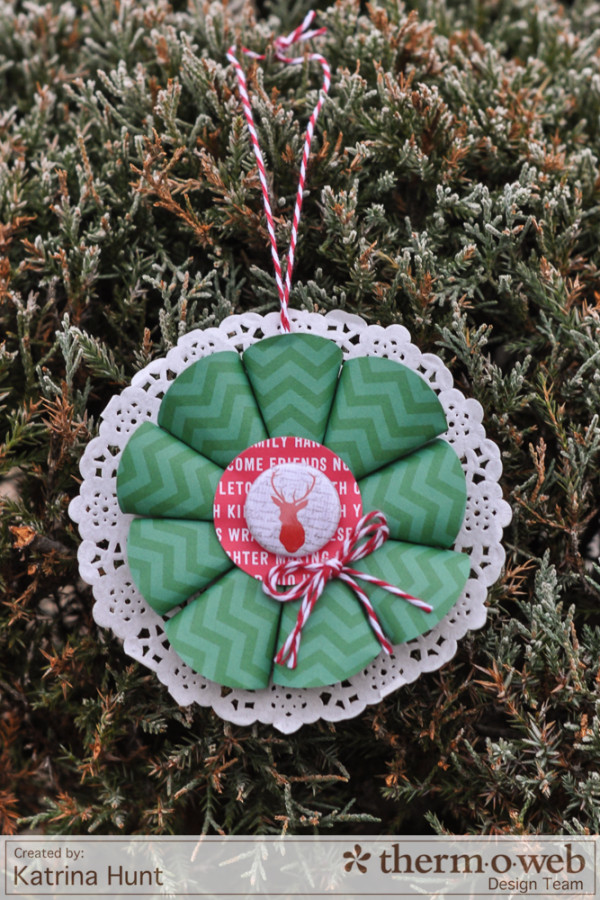
It’s Katrina from Paper, Scissors and Glue today on the blog. I have a couple of paper ornaments ideas for you. One is super quick and simple, the other is a little more involved, but both would be great for the kids to put together. Let’s start with the more involved one first!
Therm O Web Supplies:
Therm O Web SuperTape™ Sheets
Therm O Web Zots™-Medium
Other Supplies: Pattern Paper, Doily, Flair, Twine
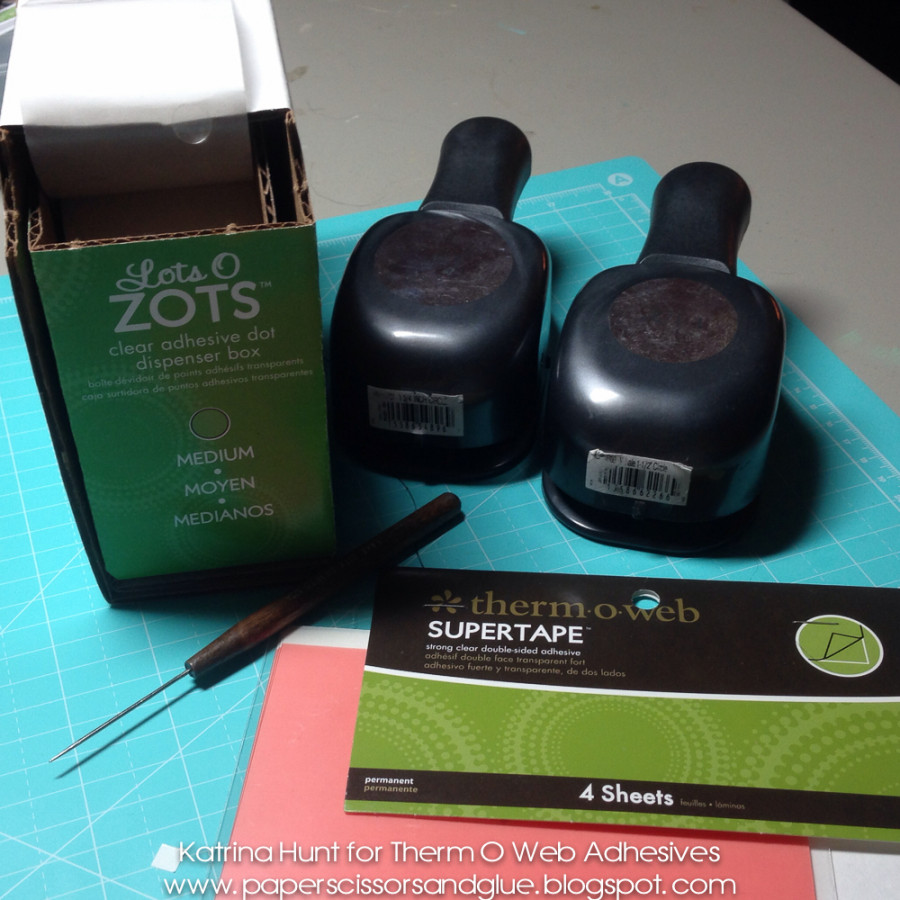
1. Start by gathering the supplies that you will work with. Zots™, 2 circle punches of different sizes (mine were 1.5 inch and 1.75 inch), SuperTape™, something to roll the punched circles around.
2. Punch a 1.5 inch circle out from the SuperTape™ and also from a piece of lightweight chipboard. A cereal box works well for this. Adhere the two circles on top of each other, leaving the red backing on until you are ready to use the circle.
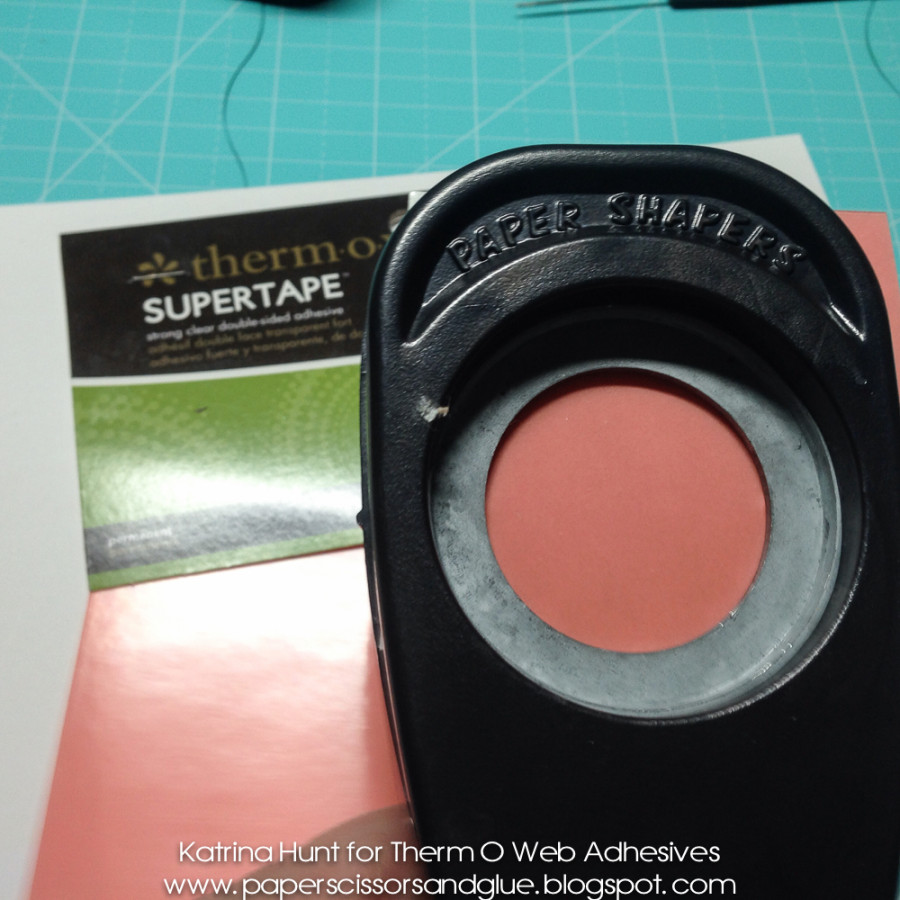
3. Punch out 1.75 inch circles out of pattern paper and roll around a pencil or round, slim object to help form a cone shape.
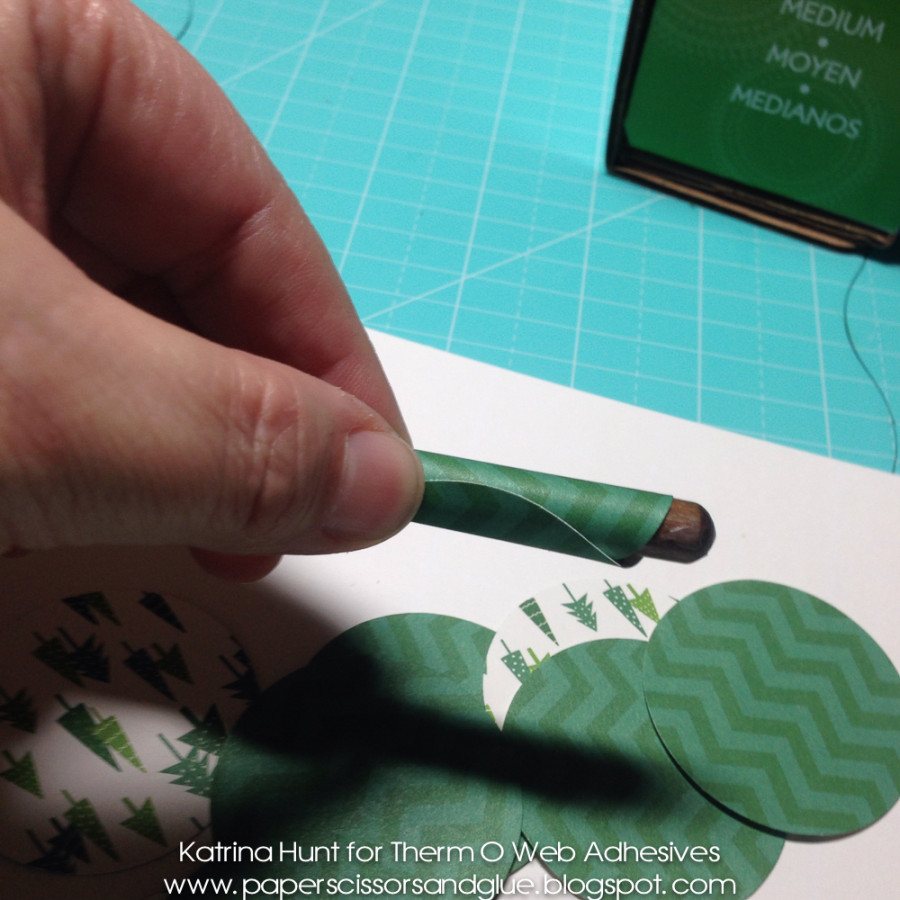
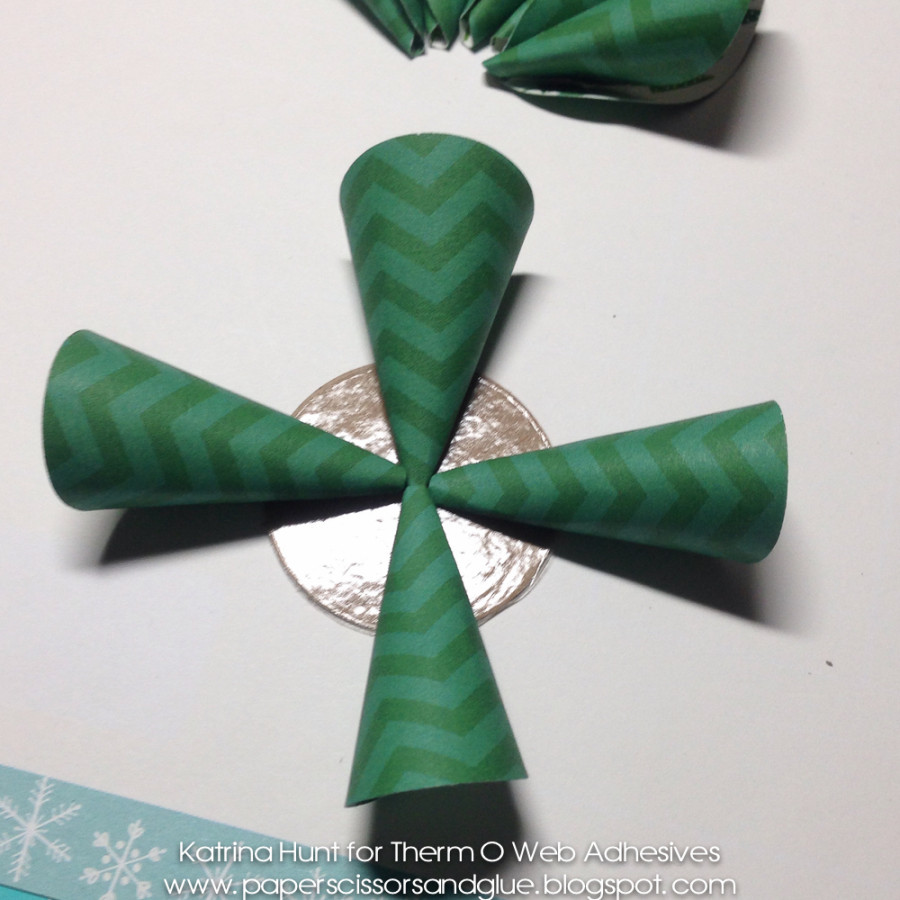
4. Roll punch circle into a cone shape and adhere overlap of edges with a Zot™ adhesive dot. Repeat for remainder of punched circles. NOTE: The Zots box worked great for this, because they are easy to grab from the dispenser.

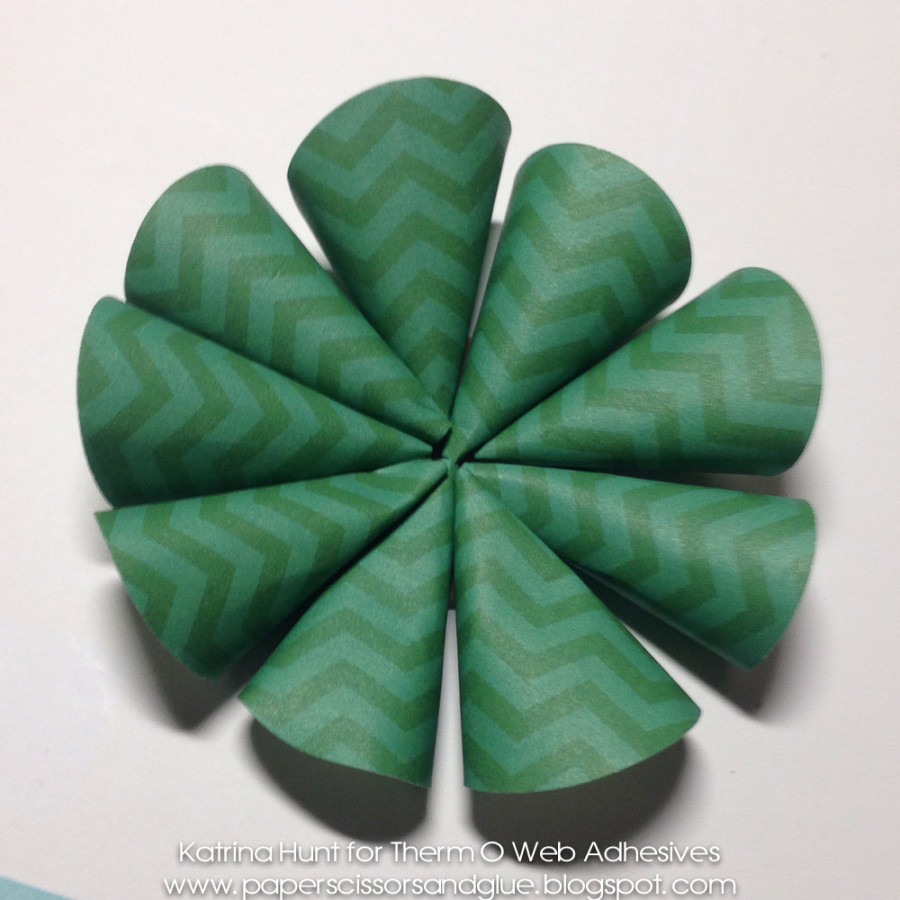
5. Remove the red backing of the SuperTape™ from your punched chipboard circle that you completed above. Start adhering your cones around the circle by placing one on each side and then work the rest of them in-between the ones you placed first. This will help keep things even.
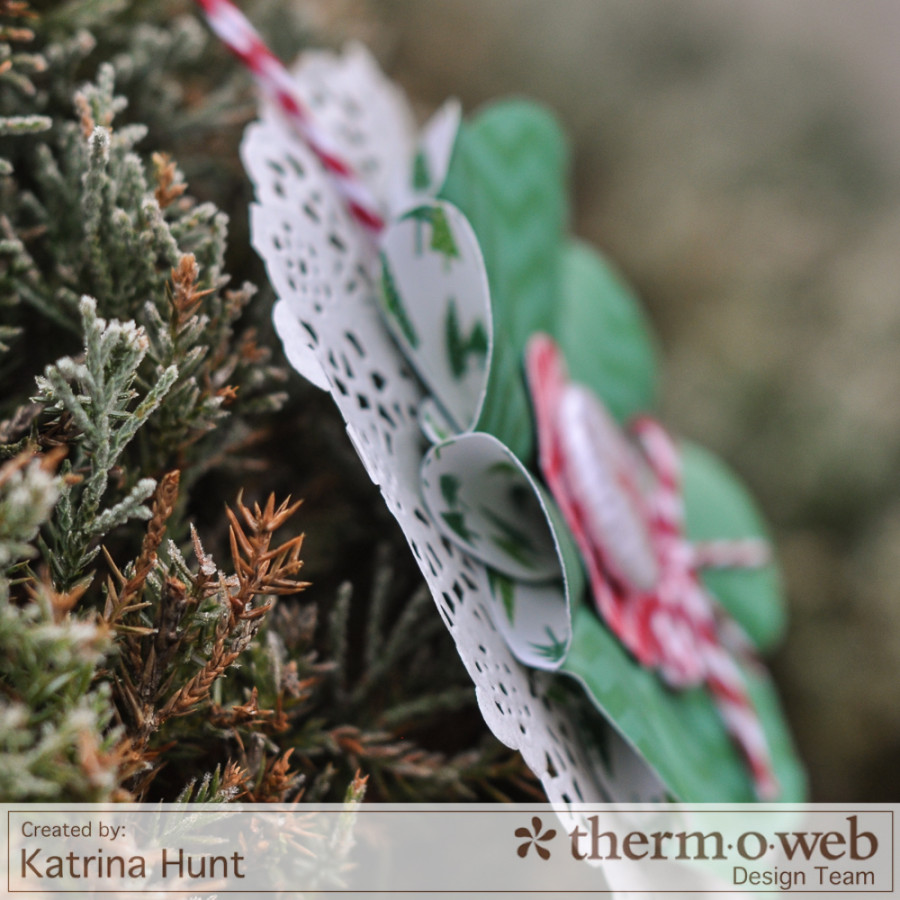
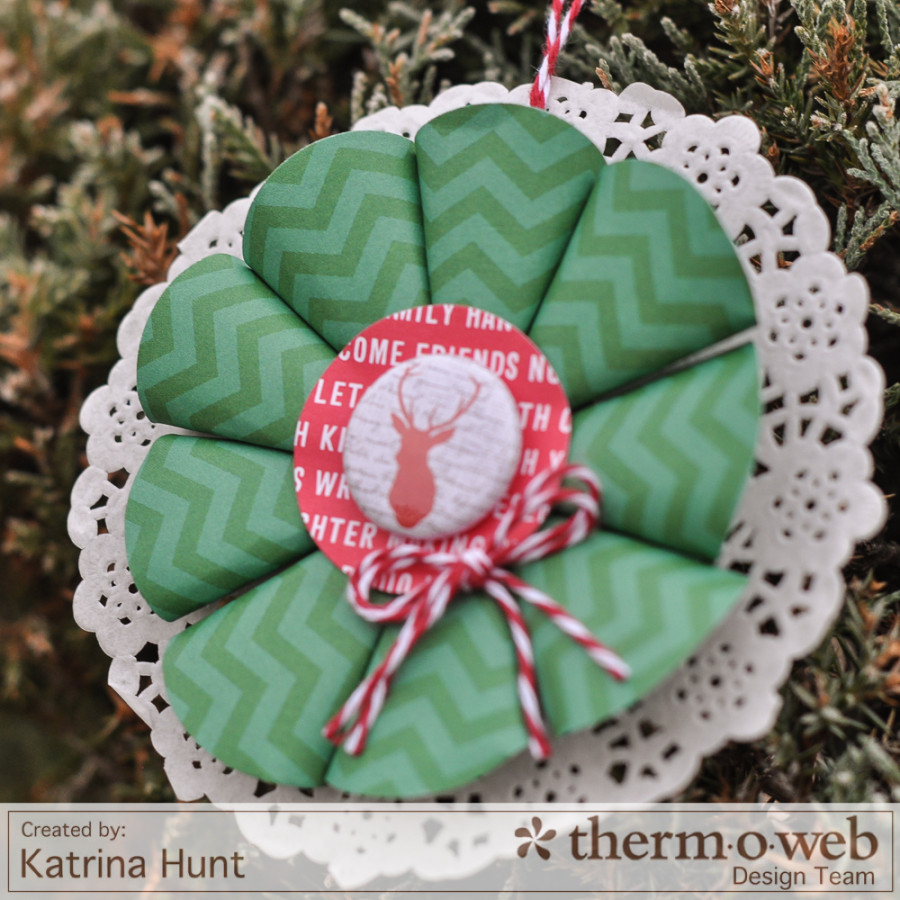
6. Adhere doily to the back along with something to hang it with. Decorate front as you wish.
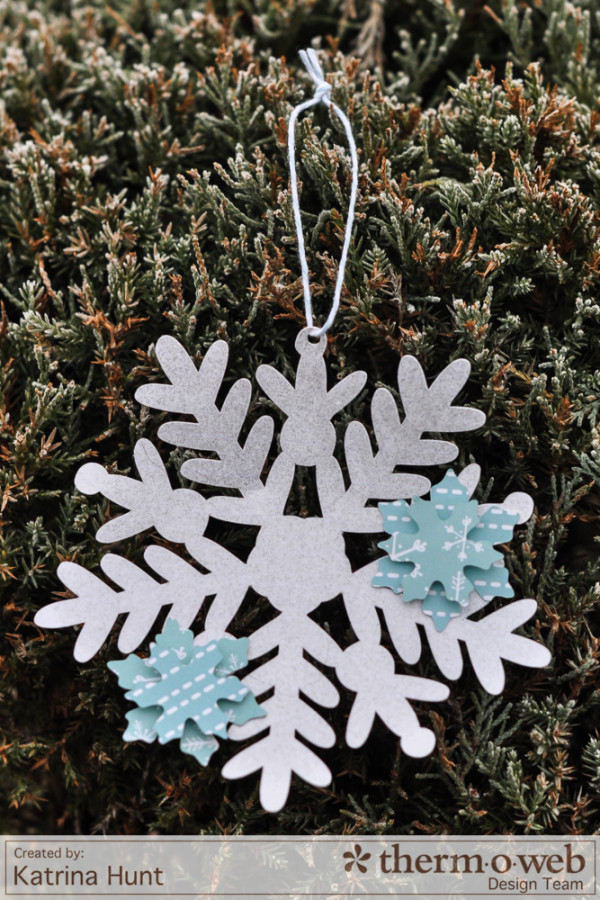
This next ornament would be fun for the little ones to put together. All you need are some precut snowflakes, some Glitter Dust™ Spray, and then some 3D Foam Squares and they are set!
Therm O Web Supplies:
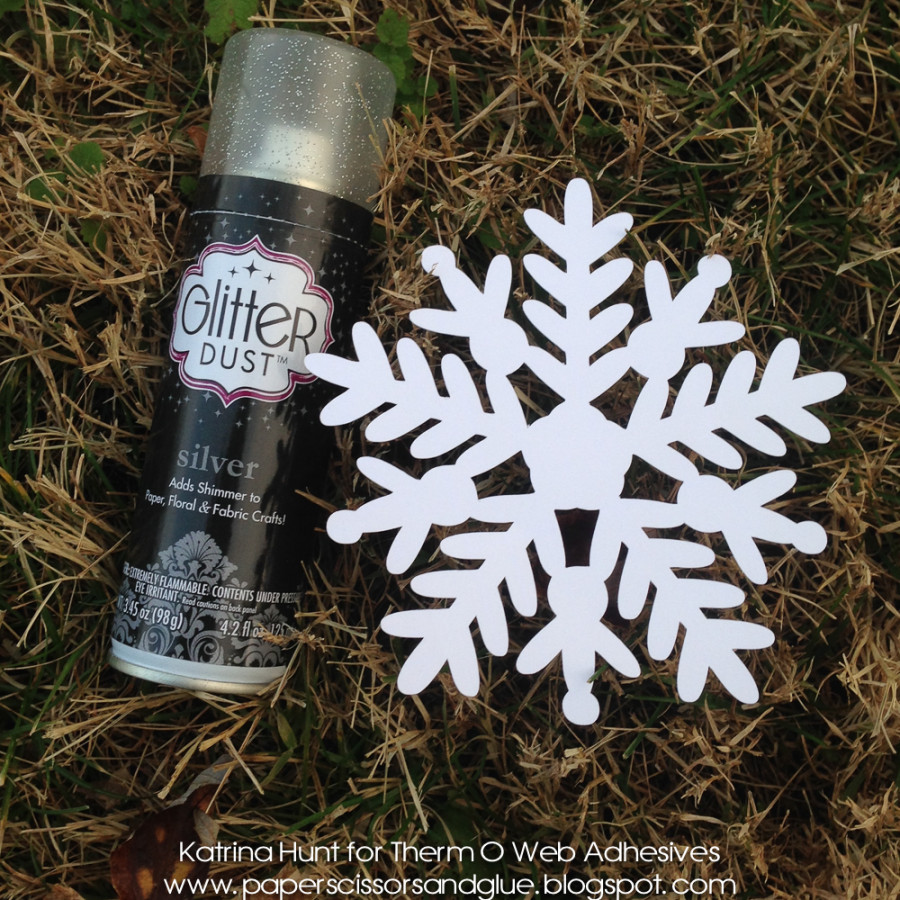
Therm O Web Glitter Dust™ Spray-Silver
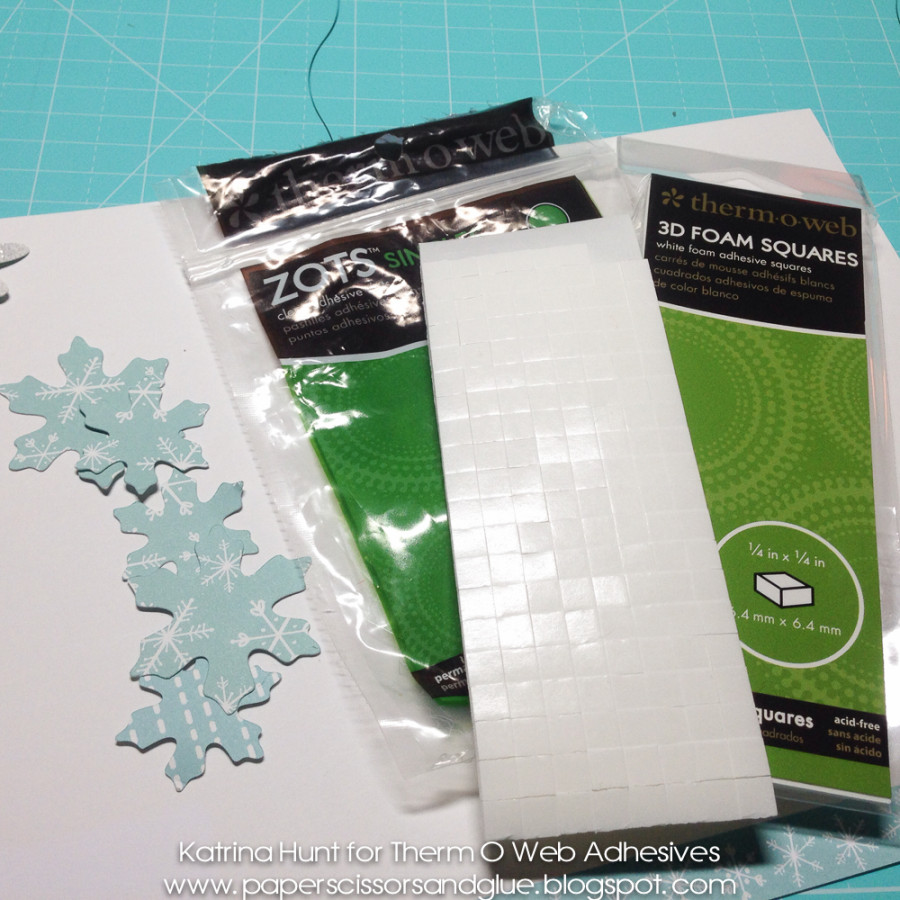
Therm O Web 3D Foam Squares-1/4 inch
Therm O Web Zots™-Medium
Other Supplies-Pattern Paper, Die Cutting Machine or Punches
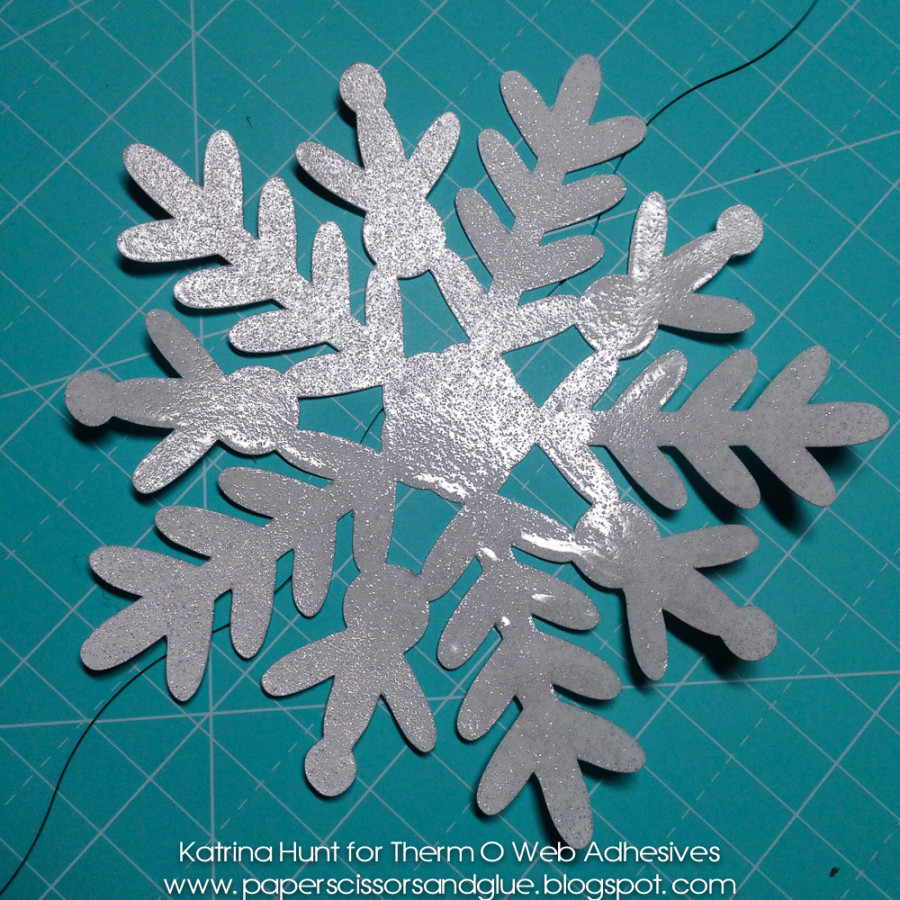
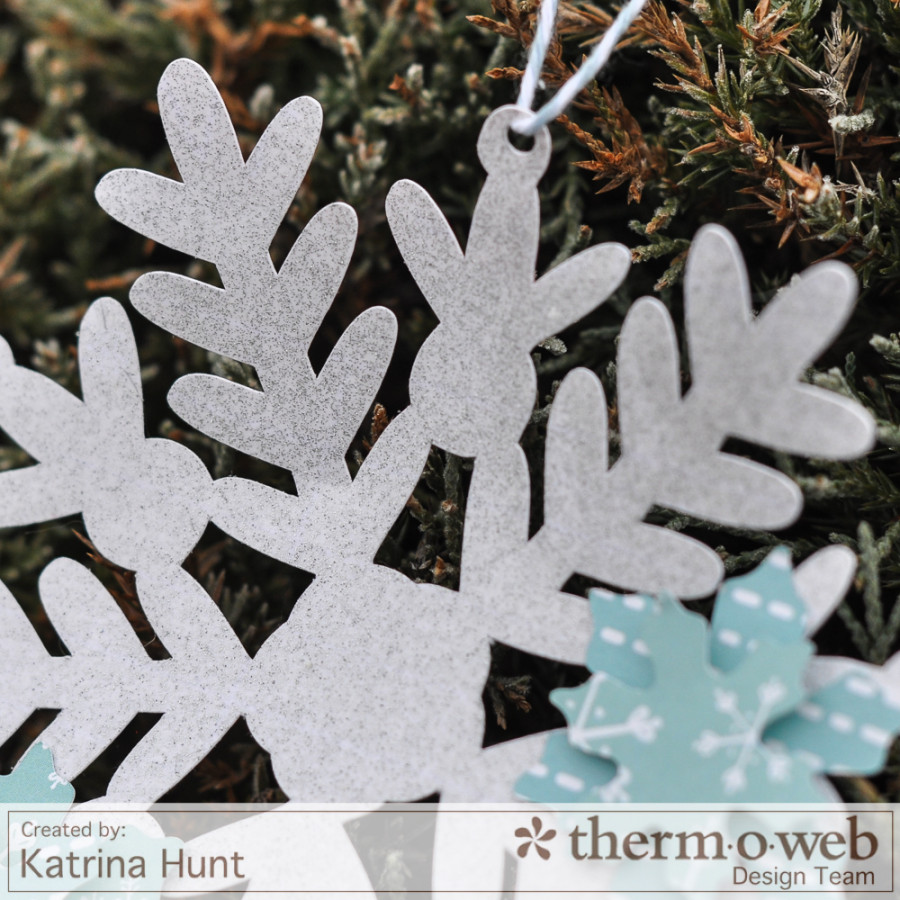
1. Start with a die cut snowflake from your die cutting machine. Spray with Glitter Dust™ Spray in Silver. Once sprayed, let dry. Put a good coat of the spray on the snowflake. You can see below where it’s shiny and not dry. NOTE-I do the spraying outside and do not let little ones do this! Have the snowflakes pre-sprayed for them!
2. Once snowflake is dry, then attach smaller snowflakes with Zots™ and 3D Foam Squares to embellish the snowflake. Punch a hole and add twine for a hanger.
You can see below the fine coating that the Glitter Dust™ Spray will leave. Best part- IT DOESN’T FALL OFF!!! I used Silver, but there are also Gold and Iridescent! They would all make fun ornaments!
Thanks for stopping by today! I hope everyone has a wonderful holiday season! See you next time.
Katrina Hunt