


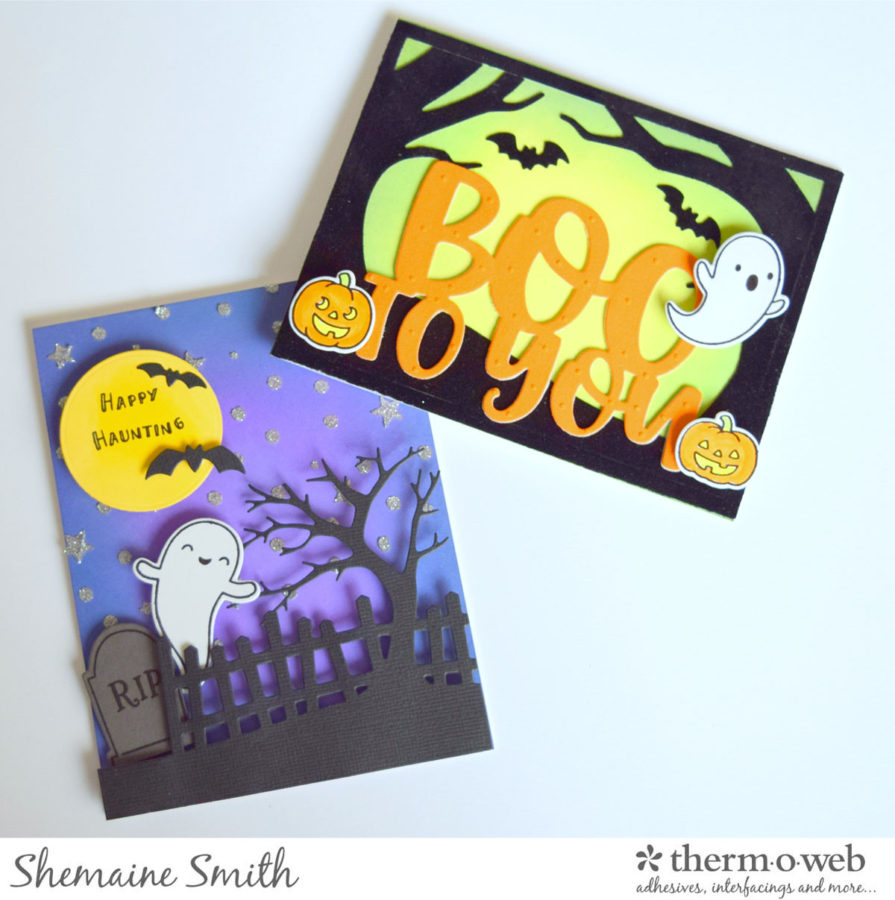
Hello Therm-O-Web friends! Shemaine here today sharing some fun Halloween cards using Glitz Glitter Gel and Deco Flock.
_________________________________________________________________________
Glitz Glitter Gel and Flocked Halloween Cards
Finished sizes of cards are A2 4 1/3 X 5 1/2

Therm-O-Web Supplies:
iCraft 3D Double-sided Adhesive Foam Squares (White), Combo Pack
Deco Foil Flock Transfer Sheets, Black Velvet
Deco Foil Flock Transfer Sheets, Orange Glow
Gina K. Designs Glitz Glitter Gel, Silver
iCraft 3D Double-sided Adhesive Foam Squares (White), Combo Pack
iCraft Removable Purple Tape Roll, 1.5 in x
iCraft Removable Pixie Spray for Stencils,
iCraft Memory Tape Runner XL (50ft)
Other product used:
Hello Bluebird Stamps and Dies
Diamond Press Dies and Die-cutting machine
Halloween Cards with Glitz and Flock
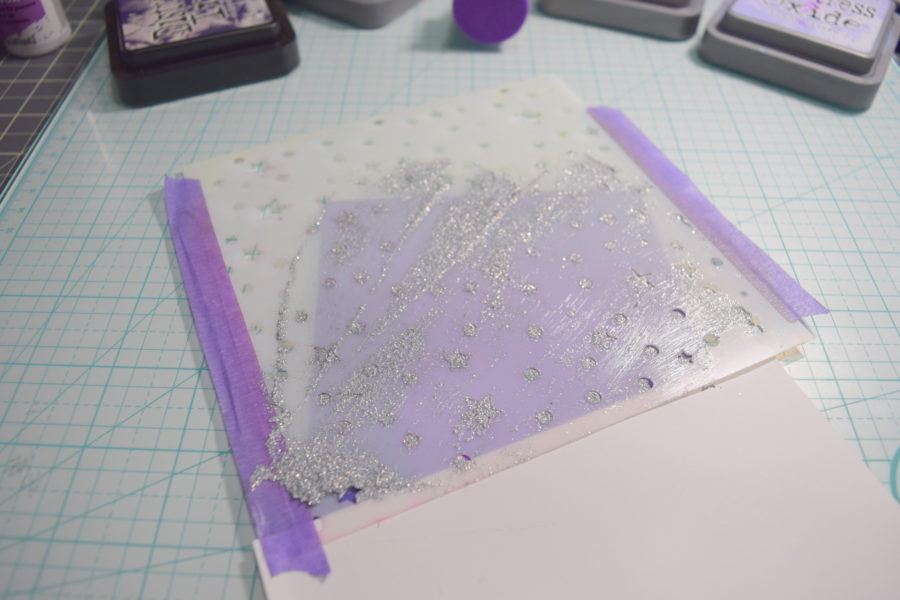
Creating backgrounds with Distress Oxide and Distress inks is so fun. I started with the lighter color in the center and worked my in with darker colors

Spray the Stencil with Pixie Spray
After I got the ink the way I liked it, I used a stencil, sprayed with Pixie Spray and then adhered it down with purple tape over the area I wanted to spread the Glitz Glitter Gel, Silver.

Apply Glitz Glitter Gel over the Stencil
I have found that a little of the Glitz Glitter Gel goes a long way so I tend to spread it on thin so I don’t waste any.
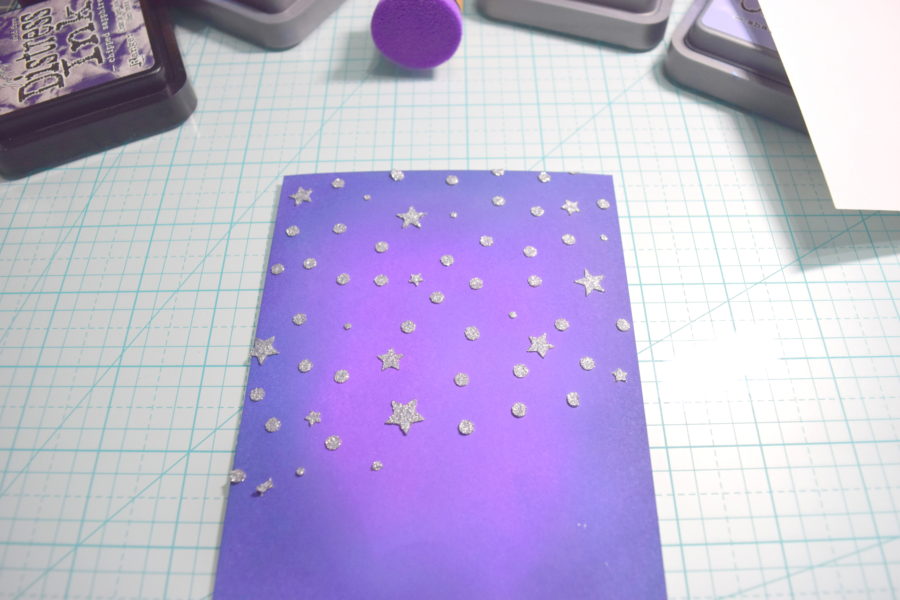
And the reveal is always the best part. A beautiful Glitz glittered starry sky.
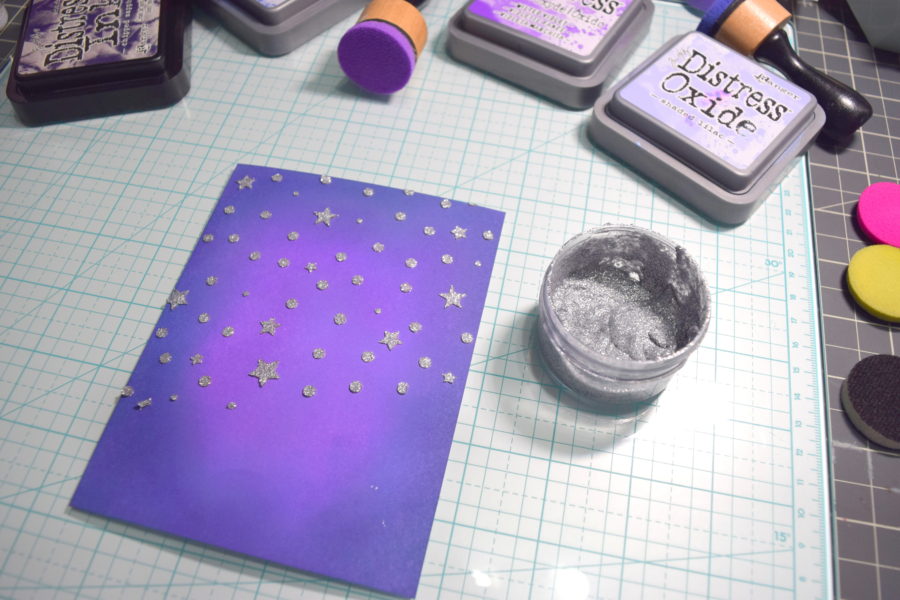
Now I set this aside to dry for about 30-45 mins.
Next, I used a fun fence and spooky tree die cut from Diamond Press to adhere to my card base using our 3D foam stickers.
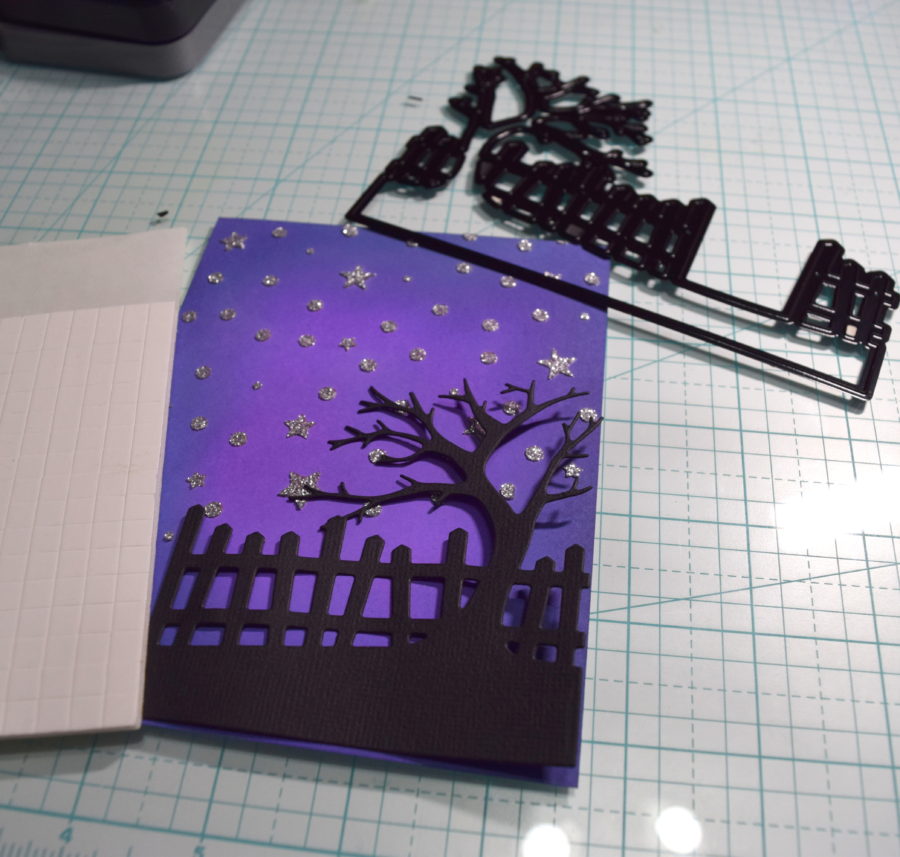
Once I’ve assembled all the die-cut pieces I’m using for the card, I used Therm-O-Web’s 3D foam squares to adhere them to my card base. I stamped the sentiment in the moon along with the gravestone and cute little ghost and die cut them too.
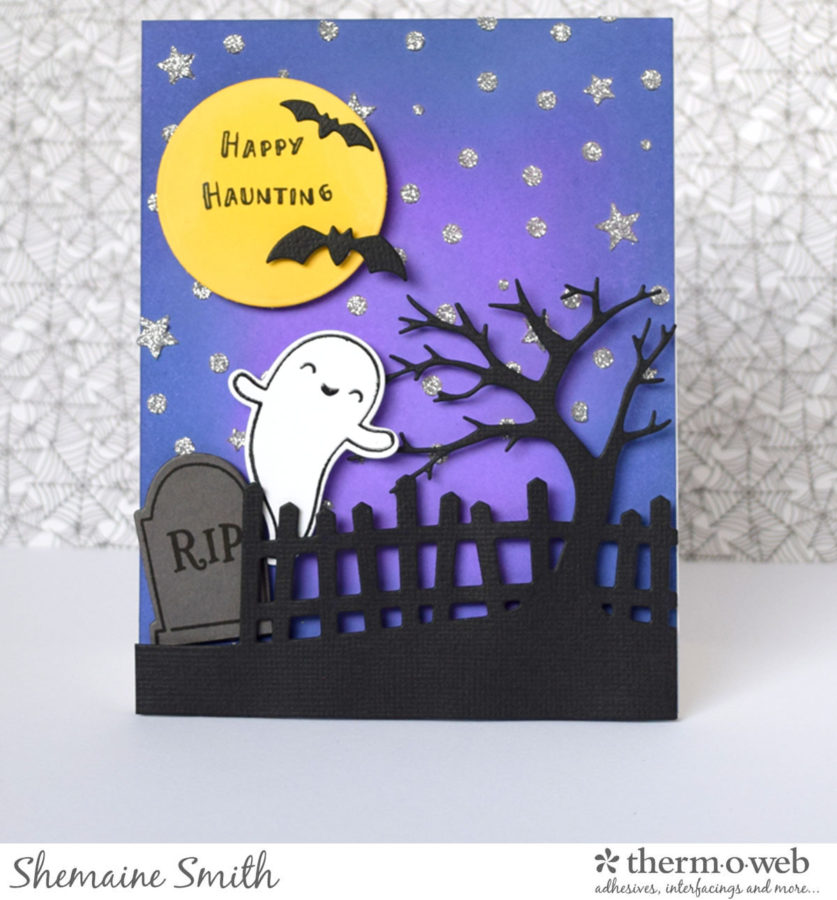
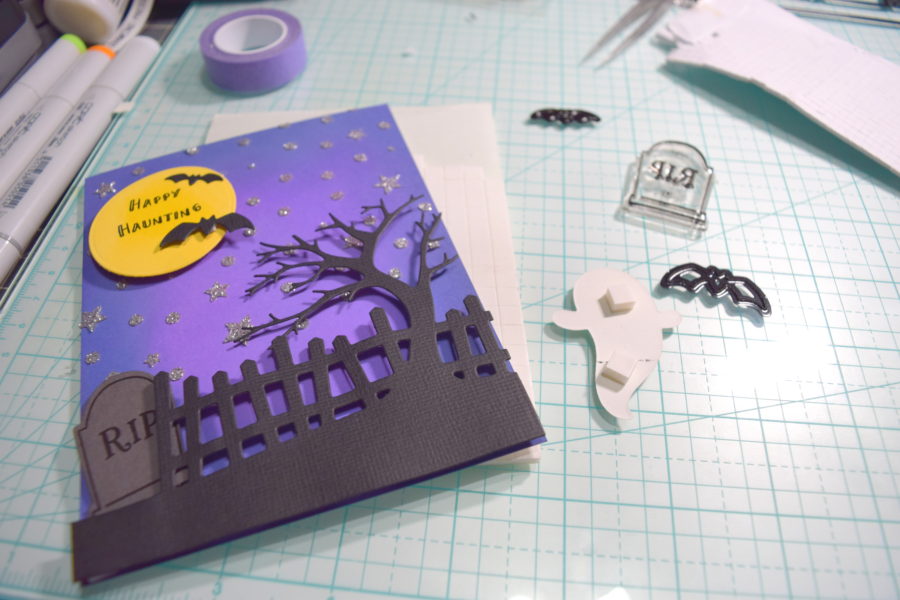 The finished card is so fun and sparkly!
For the next card, I used our fun black and orange glow colors of Deco Flock transfer sheets and Deco Foil Foam Adhesive to create my background.
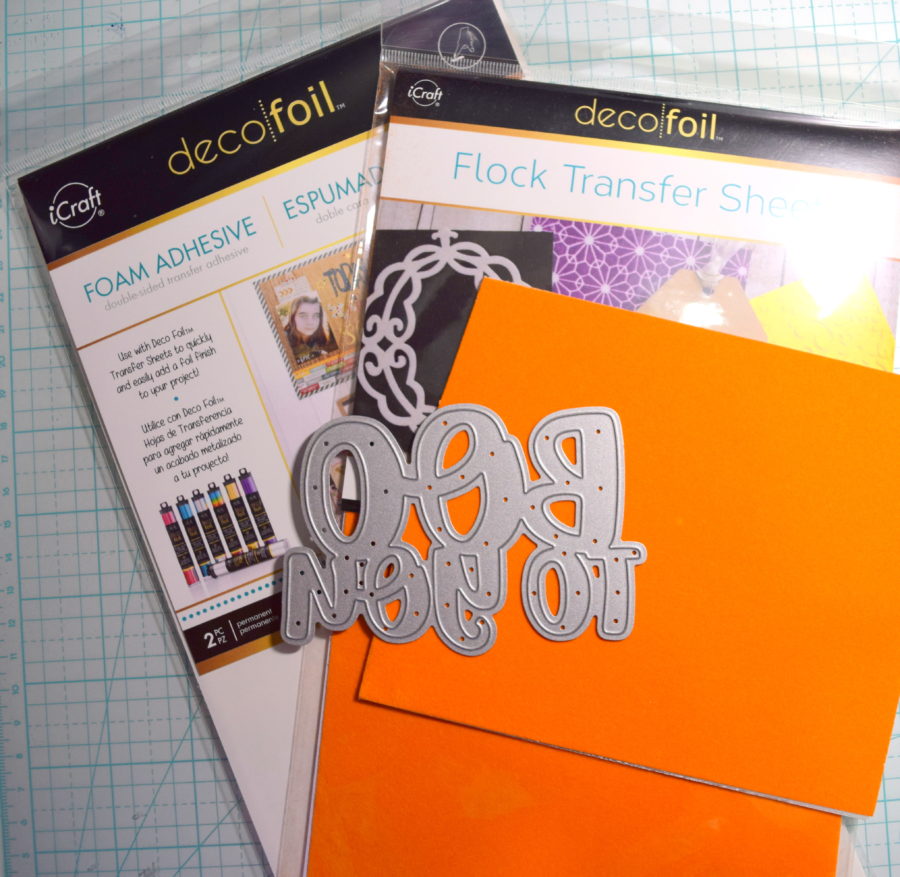
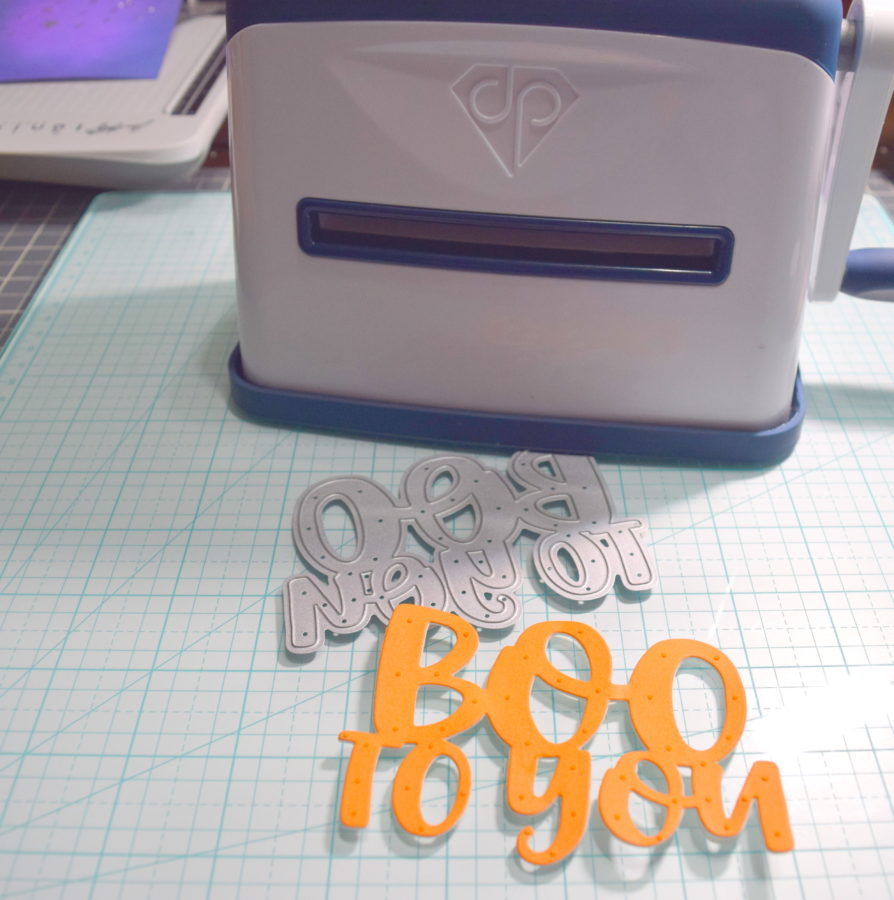
Since I wanted the sentiment to be raised off the card I used the Foam adhesive layered with the orange glow flock to cut my sentiment die using my Diamond Press Marquise machine.
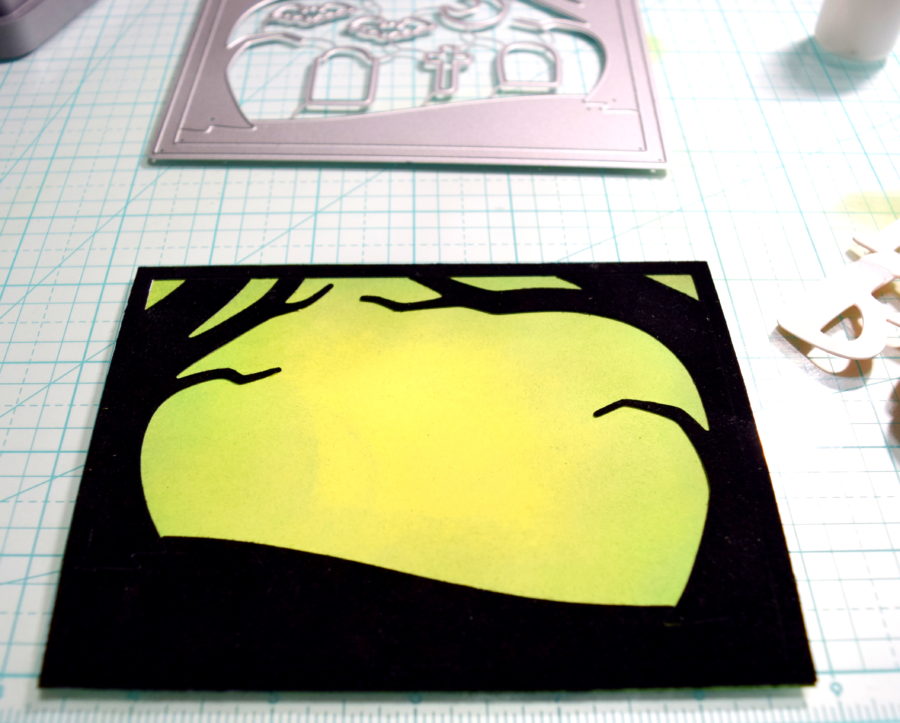
Next, using the Distress Oxide inks again, I started working on my background color.
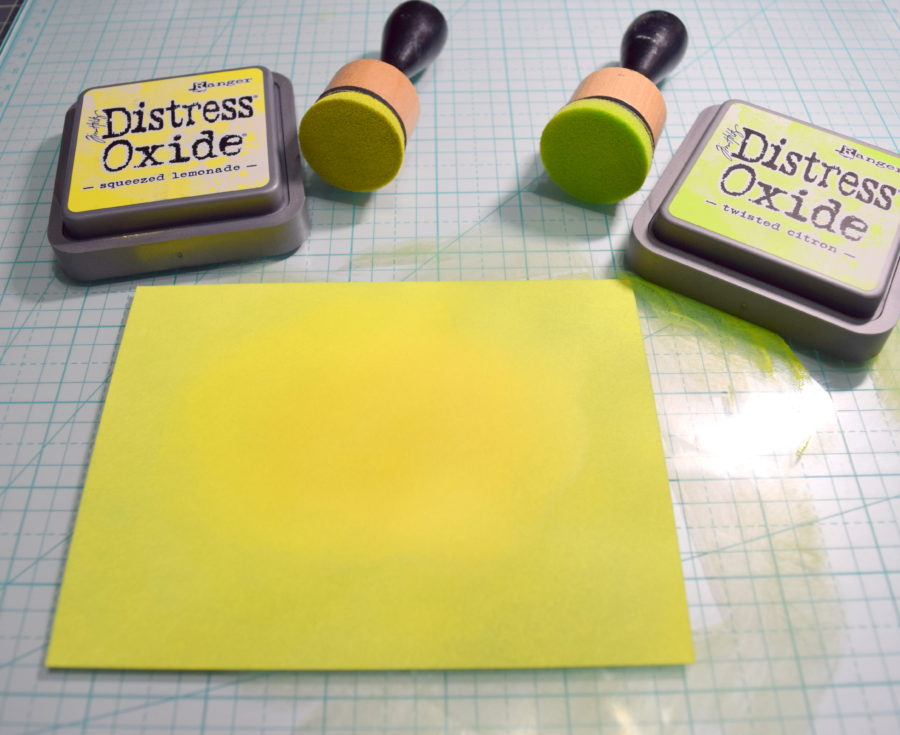
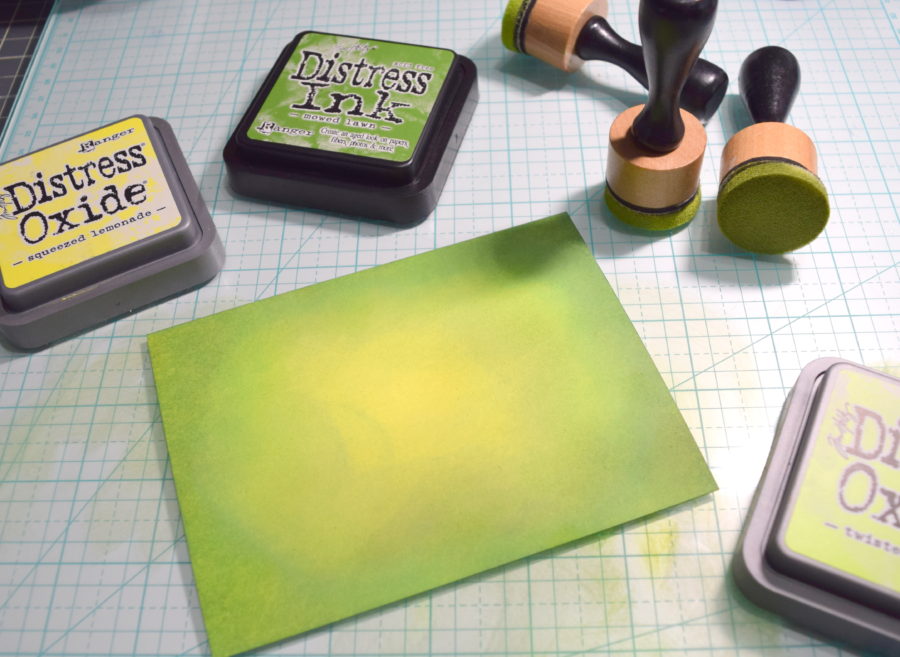
I wanted a fun yellow and green glow to be behind the flocked trees. I used the distress ink to add that bit of green I was looking for.
Diecut the Flock Sheets
Now I am ready to piece together my die cut flock pieces with the iCraft mixed media multi-purpose liquid adhesive. I added it to a fine tip bottle to dispense just the amount I need.
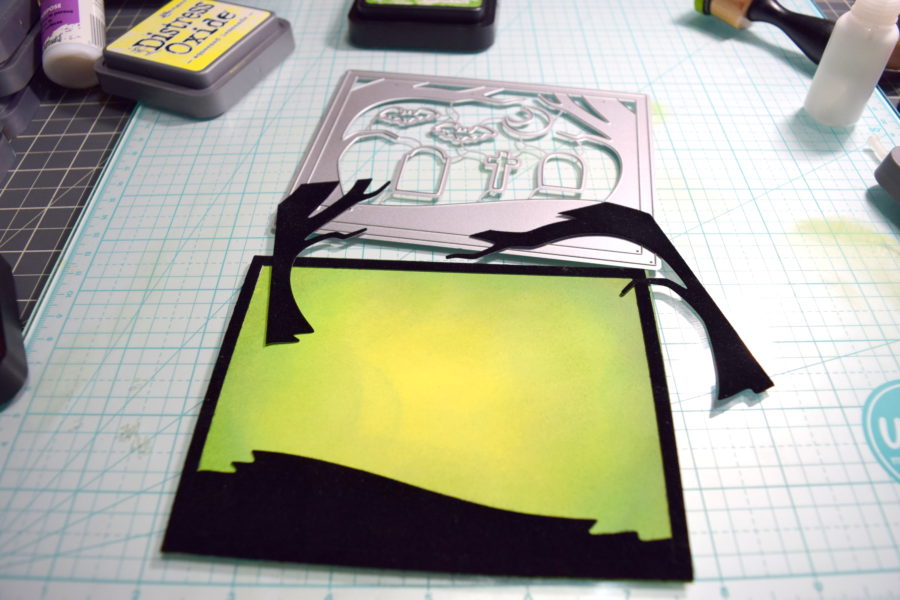
To create this background I cut a piece of the black flock with this background die from Hello Bluebird. It cuts into several pieces so I was able to use what I wanted and leave the rest for another project.
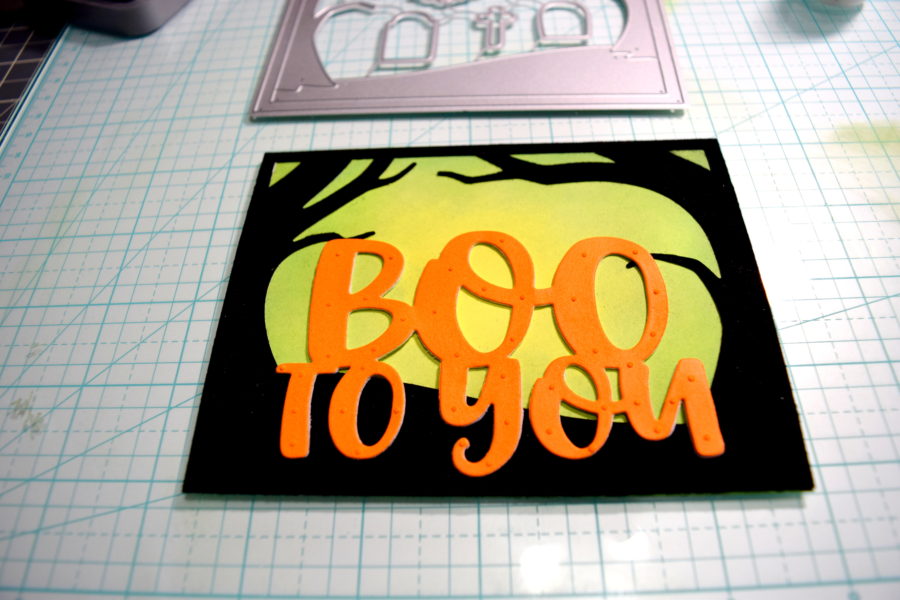
Once I’ve pieced it all together, I adhered the sentiment by peeling off the back layer of the foam adhesive and adhere it over the flocked cardstock.
Color with Copic Markers
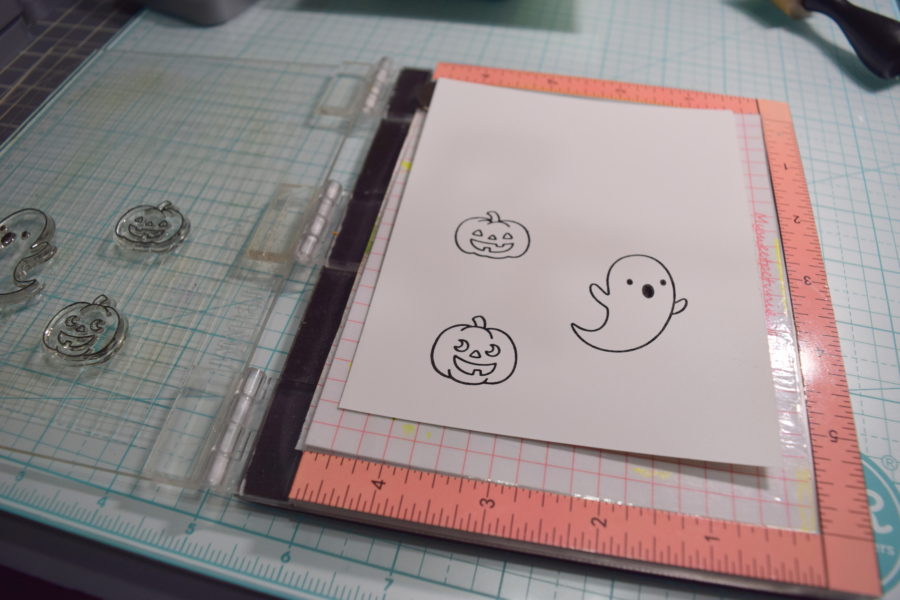
Now I am ready to stamp the images I want to use on my card with some Versafine black onyx ink and then color with Copic markers.
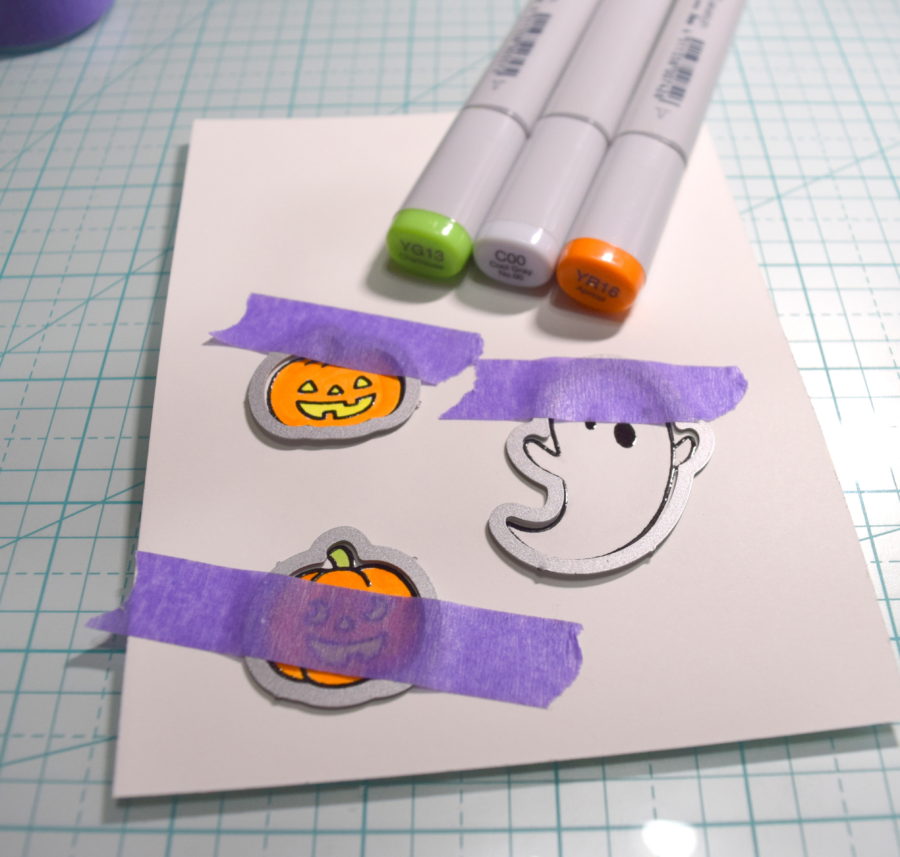
Once the images are colored, I die cut them to adhere to the card base.
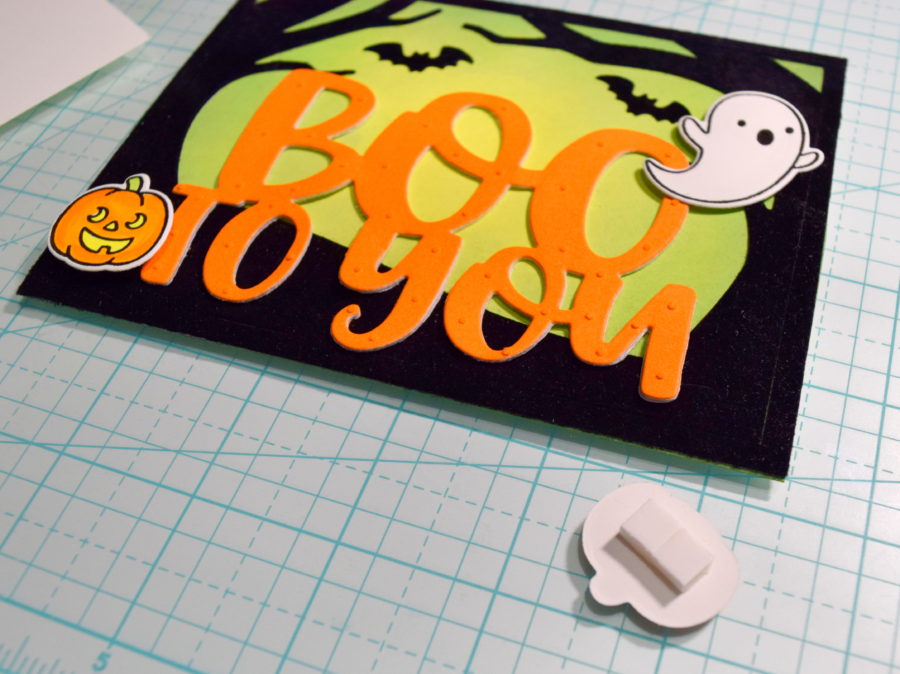
The 3D foam makes the images pop and stand out of the card. I love using these squares to add dimension to my cards.
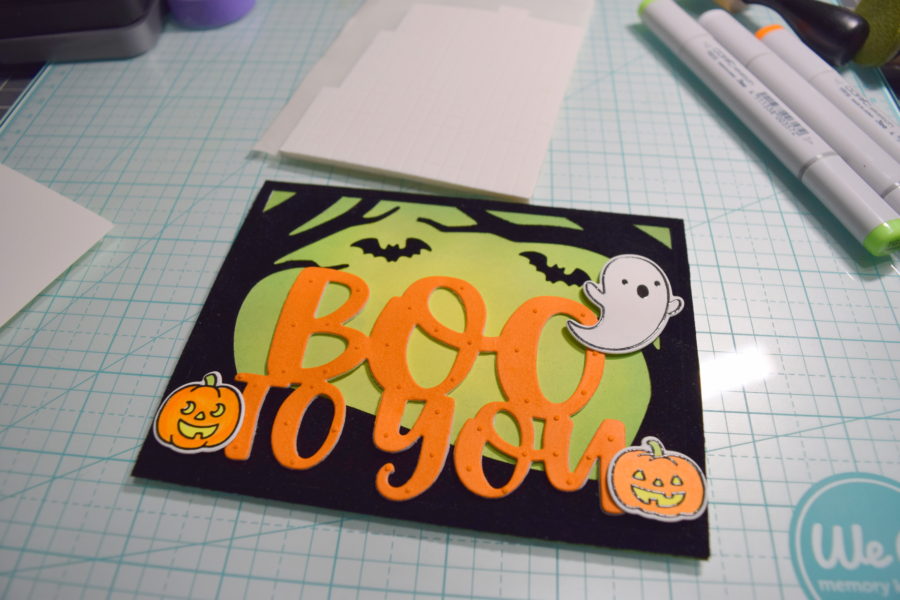
And the finished look is so fun!
All of these products from Therm-O-Web have been linked within my post today so all you need to do is click the links to find them. There’s also a 10% off your order promo code on the website with no code needed.
Thank you for stopping by today!