


Supplies:
Therm O Web Heat n’ Bond® Fusible Fleece Interfacing
Therm O Web Fabric Fuse™Glue
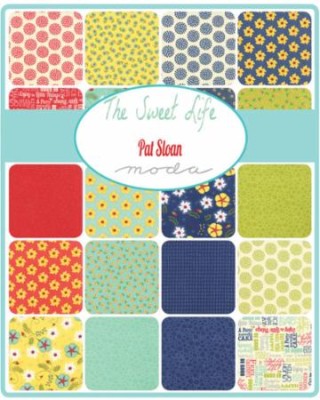
The Sweet Life fabric collection by designer Pat Sloan for Moda Fabrics
Crossroads Denim collection by Indygo Junction (Pistachio and French Vanilla)
Floss: DMC
Chalk Pastels: Stampin’Up
Polyfill Stuffing
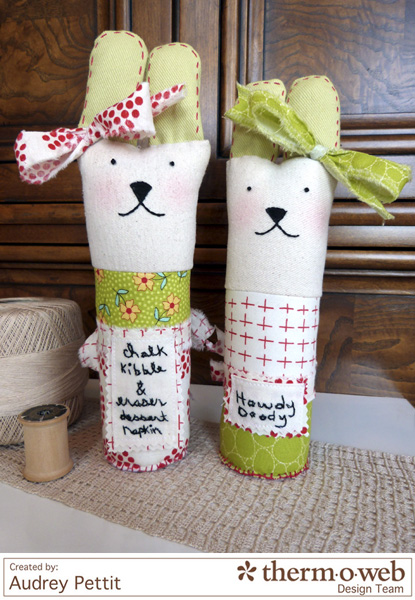
 Rag dolls are one of my favorite types of projects to make because they are fun and quirky and are super easy to make, even for beginning sewers. I call these cute little bunny dolls, “tube” bunnies, as they are basically a rolled tube of fabric, stitched closed at the top and bottom. I made my “tubes” into bunnies for the spring, but you can easily change out the shape of the ears to create any number of animals or creatures, and change out the fabric to suit any style or theme.
Here’s a few quick tips for making some “tube” critters of your own.

Gather a selection of fabrics to work with, as well as Therm O Web HeatnBond® Fusible Interfacing to give structure and stability to the finished doll. This week, we are working with a beautiful new fabric collection by Pat Sloan for Moda Fabrics called The Sweet Life. This gorgeous collection is so bright and beautiful, and works absolutely perfectly for my springtime bunny dolls.

The best part about creating rag dolls, to me, is the fact that you really don’t need a pattern to work from. Especially for these simple “tube” dolls. Simply cut a variety of fabrics into rectangular strips. They can be any size and width you chose. Just remember that the longer the strips, the wider your finished doll will be. And the only rule for this project, is make sure all your fabric strips are the same length. For my bunnies, I cut two strips of The Sweet Life fabrics for each doll body. But you can use more than that to create taller dolls, if you wish. Once you have cut all your fabrics, cut pieces of Therm O Web HeatnBond® Fusible Fleece Interfacing that are just slightly smaller than each strip of fabric. Using a wool heat setting on your iron, fuse the interfacing to the back side of each fabric strip following the manufacturer directions on the packaging.
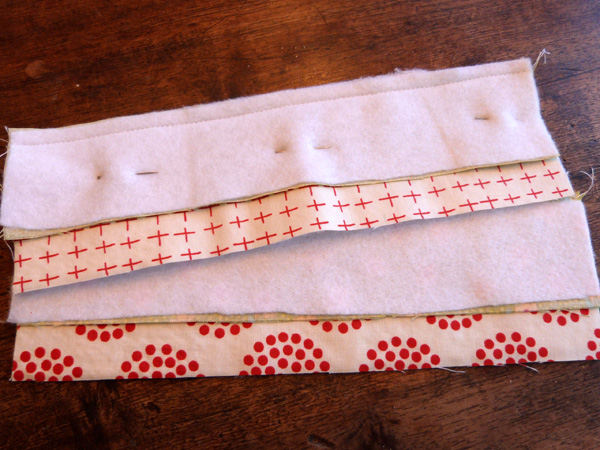
Lay the fused strips of fabric (right sides facing) with the top edges lined up, and pin in place. Stitch along the top edge using a 1/4″ seam allowance.
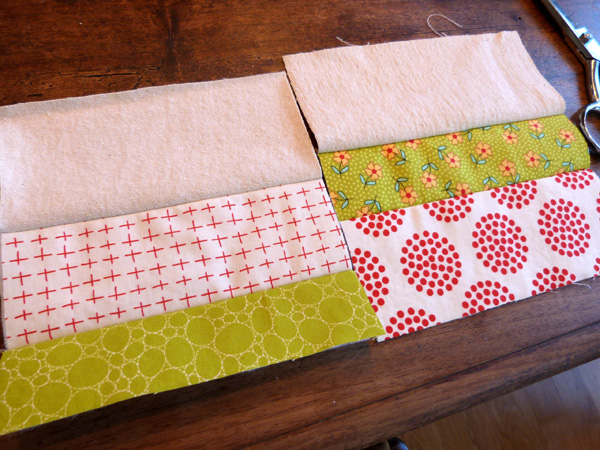
Cut strips of heavyweight neutral fabric to use for the doll’s head that are the same length as the patterned fabric strips. I used French Vanilla Crossroads Denim by Indygo Junction. Lay the denim and pieced fabric strips together (right sides facing) with the top edges lined up, and pin in place. Stitch along the top edge using a 1/4″ seam allowance.
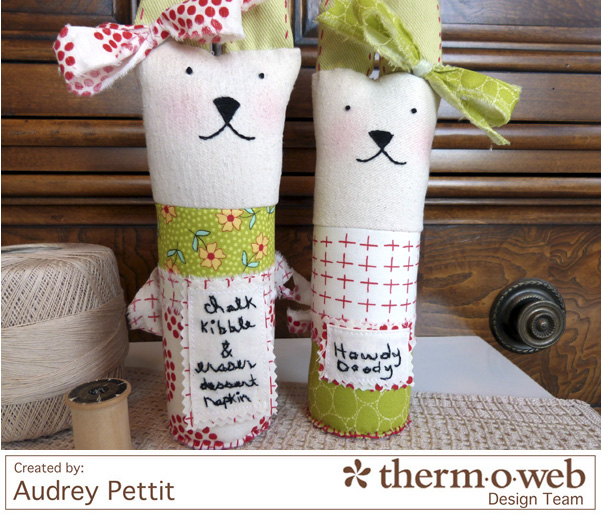
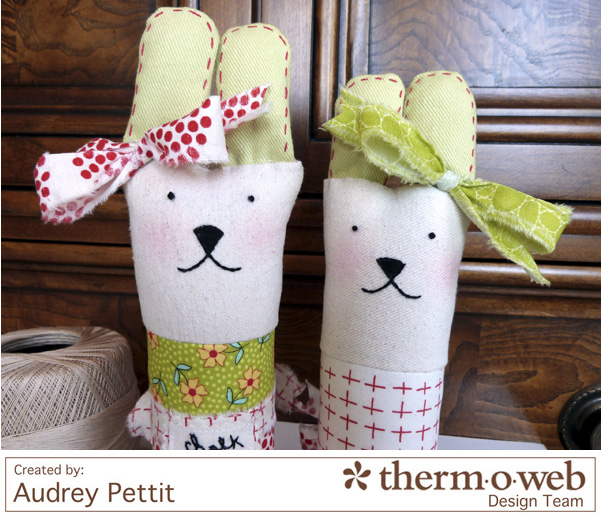 Add face details to your doll heads. I hand-stitched noses, mouths, and eyes on mine using 2-strands of black embroidery floss, then added rosy cheeks using a cotton ball and chalk pastels. Free-hand cut ears for your dolls, lay them together with right sides facing, and stitch around the edges using a 1/4″ seam allowance. Clip around the seams, making sure not to cut into the stitching, then turn the ears right side out. Add hand-stitched details, if you wish. Stuff just the tips of the ears with polyfill stuffing.
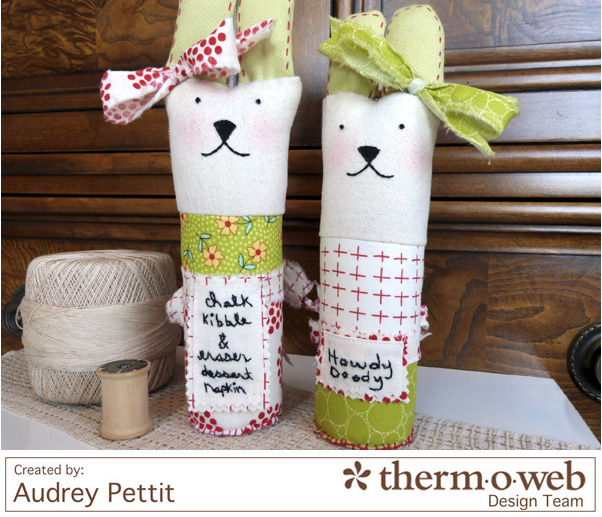
Fold doll bodies in half, with right sides facing, and stitch along the long edge, leaving the top and bottom open. Turn the tube right side out. Whip stitch the top of the head closed, inserting the ears as you stitch. Fill doll body with polyfill stuffing. Cut a circle of fabric to fit the bottom of the tube. I traced around a glass for mine. Then stitch the fabric circle onto the bottom of the doll. And finally, add fun details to your dolls, like my silly stitched aprons and torn fabric bows. Therm O Web Fabric Fuse™ Glue is perfect for holding embellishments like these in place.
Enjoy!
Join us all this week and next as we share projects using Pat Sloan’s new The Sweet Life Fabric collection from Moda Fabrics!
5 Comments on Create Some Sweet Life Spring Bunnies
1Pingbacks & Trackbacks on Create Some Sweet Life Spring Bunnies
-
[…] Create Some Sweet Life Spring Bunnies, by Audrey Pettit […]
Tracy MacDonald
April 10, 2015 at 11:18 am (9 years ago)The colors are amazing! Blue and yellow are a fave combo of mine and then you throw in a nice pop of red and orange. Wonderful! Would love these fabrics. Audrey’s homemade critters are always the best. Thanks!
Leigh Penner
April 10, 2015 at 11:41 am (9 years ago)Oh, these bunnies are so sweet! Thanks for the tutorial and the chance to win these gorgeous fabrics!
Machelle
April 15, 2015 at 7:43 am (9 years ago)Very Cute. I wouldn’t have thought to use the fusible for that. How did I not know Thermoweb had a fabric glue?!
Pati Cook
April 16, 2015 at 5:45 pm (9 years ago)Would love to make a spring purse from these fabrics. Or a runner, or something else fun.