


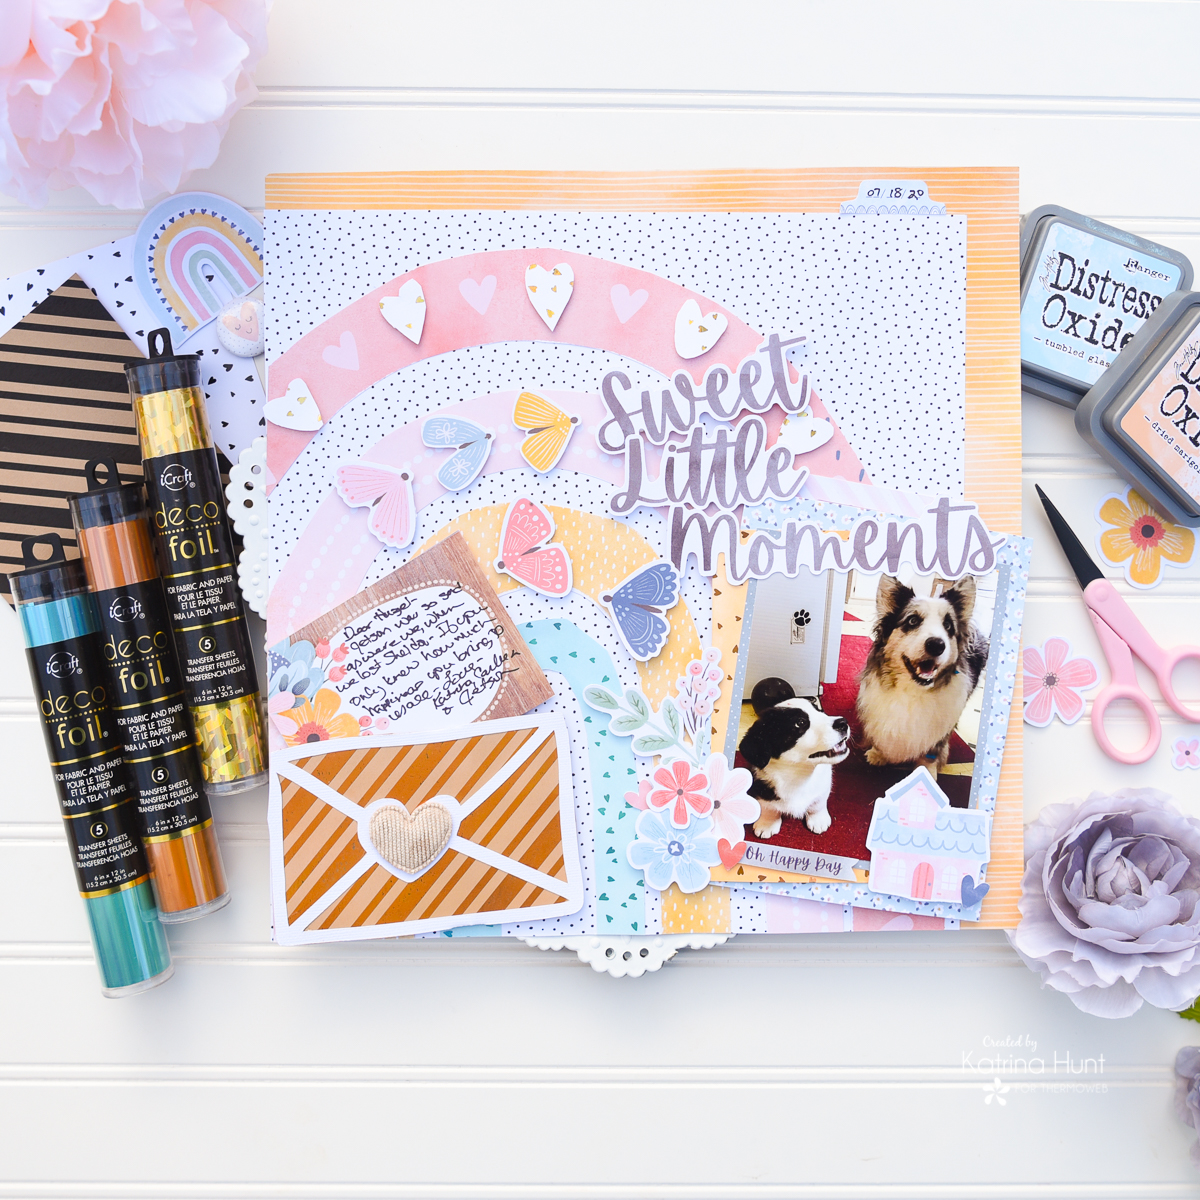
Hi there!!! Happy February! Katrina here from Paper, Scissors, Glue and Hybrid Too with a love letter layout today that I am sharing. I created some new “paper”, along with some embellishments using the new DecoFoil Toner Sheets that just came out!
Therm O Web Supplies Used:
ALL NEW TONER SHEETS RELEASE
Therm O Web Memory Runner XL
Therm O Web Memory Runner XL Refill
Therm O Web Sticky Strip Runner
Therm O Web 3D Foam Squares – Combo Pack
iCraft Deco Foil White Card Front Toner Sheets – Dainty Hearts
iCraft Deco Foil Kraft Slimline Card Front Toner Sheets – Candy Stripes
iCraft Deco Foil Transfer Sheets – Gold Shattered Glass
iCraft Deco Foil Transfer Sheets-Glass Slipper
iCraft Deco Foil Foil Transfer Sheets-Peach Princess
iCraft Easy Tear Tape 1/2 inch
iCraft Purple Tape-1/2 inch
iCraft Ultra Bond Liquid Adhesive
Gina K Designs Foam Tape – White
Other Supplies Used:
Cocoa Vanilla Studio-Daydream
Distress Oxide Ink-Dried Marigold
Distress Oxide Ink-Tumbled Glass
Cut File
Scrapbook Layout with Deco Foil Embellishments
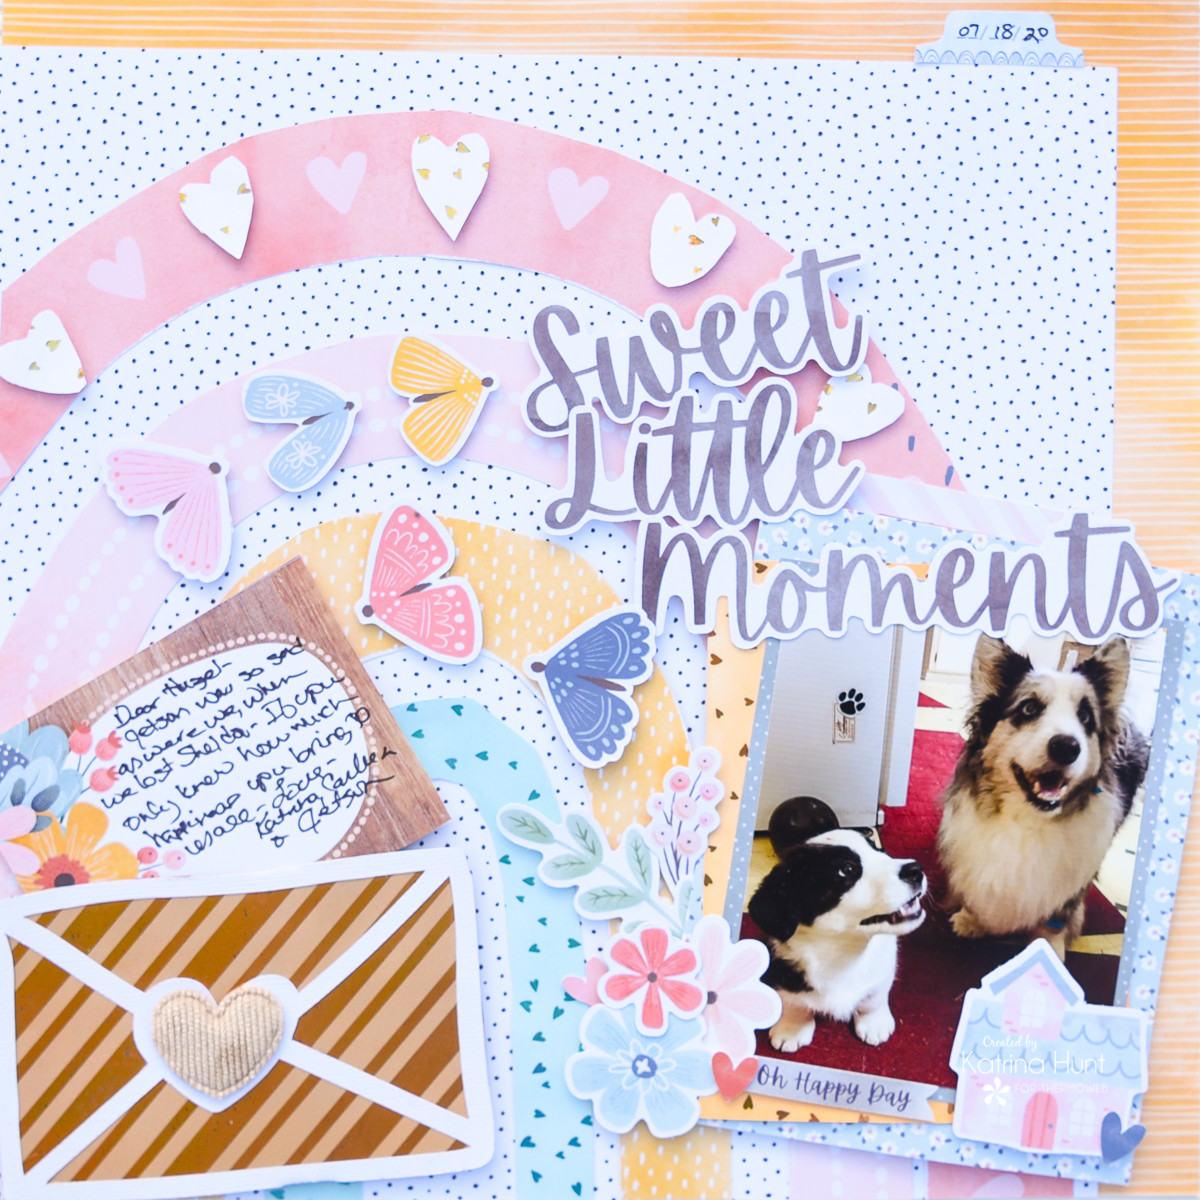
Because my theme was a love letter, I knew I wanted an envelope on my layout. I decided I wanted my journaling to stick out of the envelope and that it didn’t have to be a very long love letter!
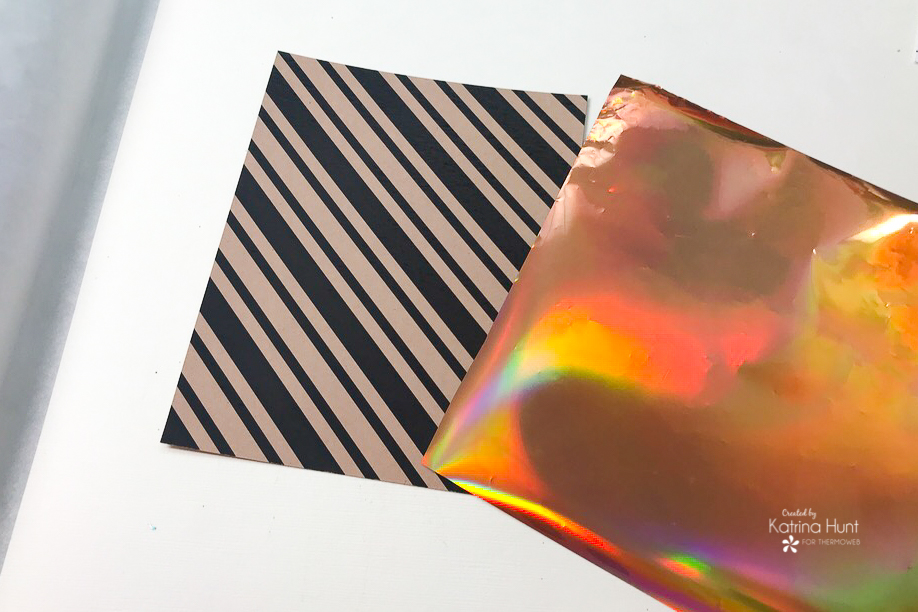
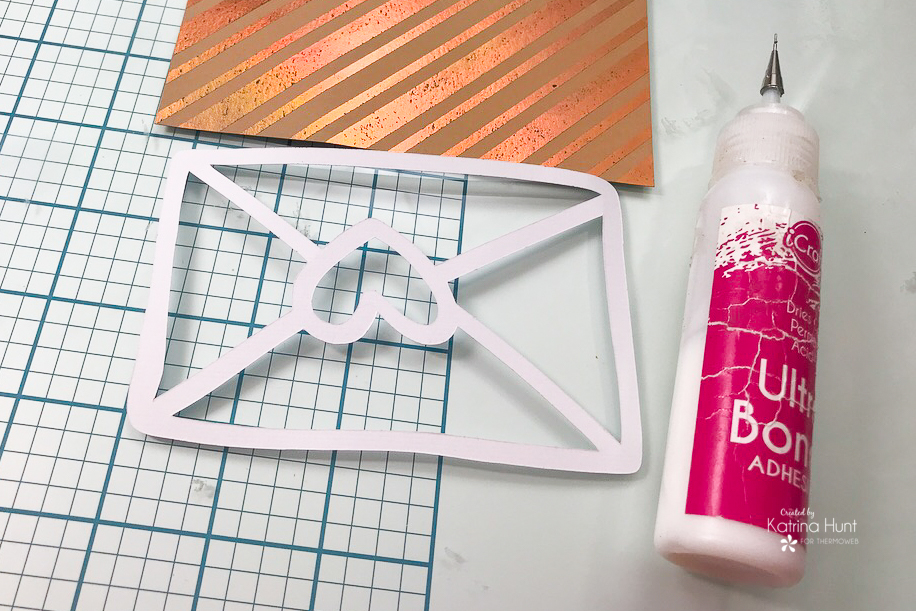
The paper collection colors are muted, so I thought a kraft toner sheet backing my envelope would be fun. I choose the Candy Stripes toner sheet because it reminded me of mail! I used the Peach Princess foil transfer sheets to foil the lines and then ink blended with Distress Oxide in Dried Marigold over it. In-person, you can see the ink blending softened the look of the kraft paper, you just cannot see it in pictures.
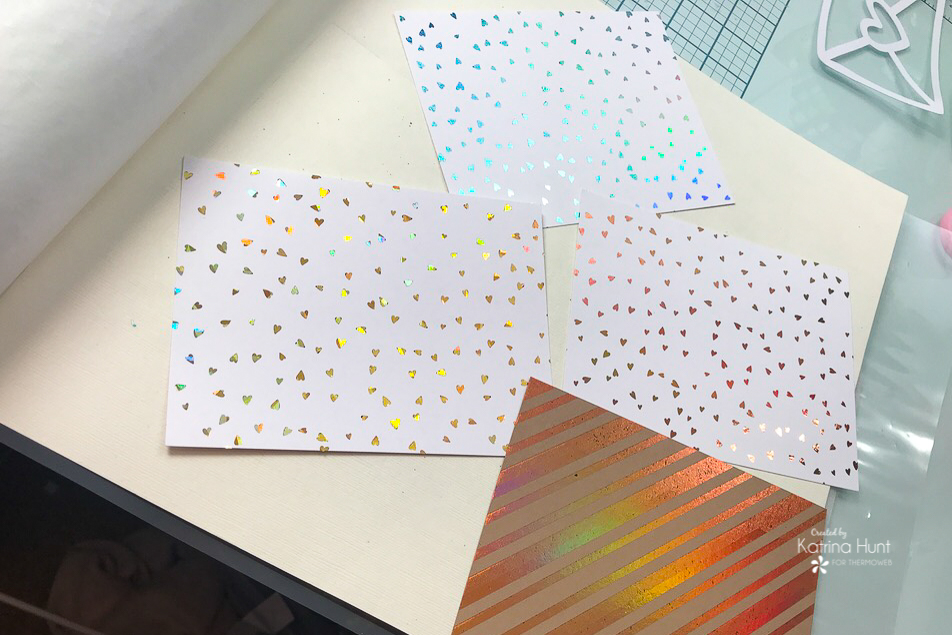
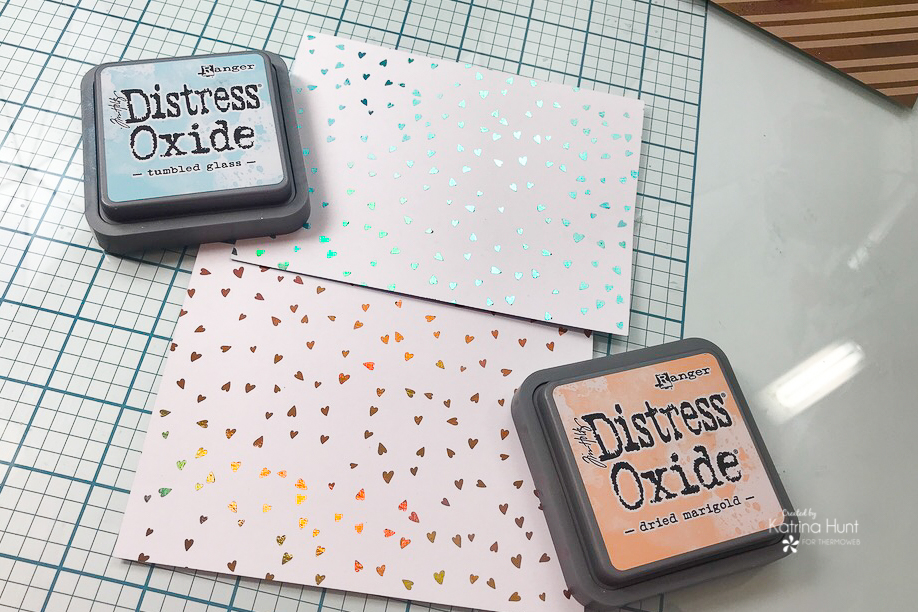
While I was foiling I foiled white card fronts of the Dainty Hearts toner sheets in the colors Glass Slipper and Gold Shattered Glass. My plan was to use them for handmade embellishments, I just wasn’t sure how at the time of foiling! Below, you can see my card fronts after I foiled them.
In order to back the envelope cut file, I used the Ultra Bond Liquid Adhesive to adhere my die cut to the toner sheet card front. After adhering, I just trimmed away the excess toner sheet.
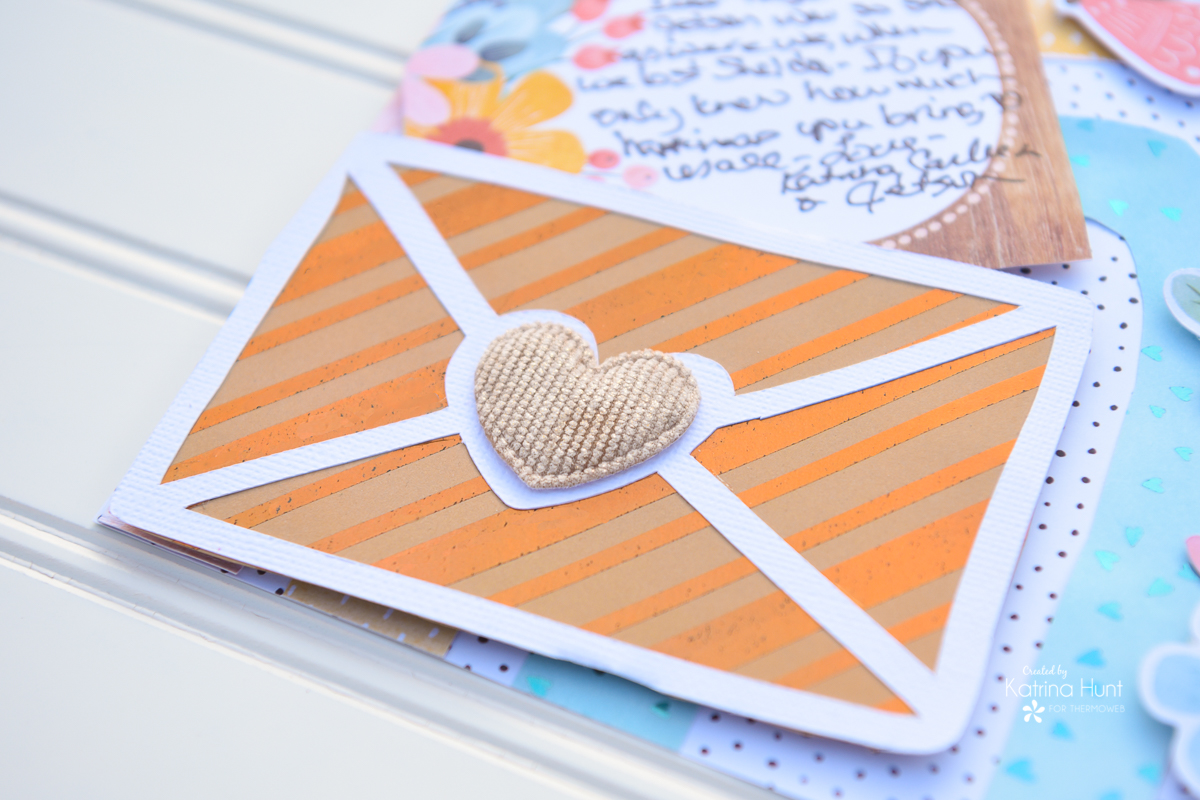
I added one of the heart embellishments in the paper collection to the center section of the envelope. How cute does that corduroy look with the kraft and foil!?!
Now, it was time to move on to the other toner sheets I had foiled and figure out how I wanted to use them. I knew for the Peach Princess foiled and Glass Slipper foiled card fronts, I wanted to ink blend on them. Next, I used the Dried Marigold oxide ink with the peach, and then I used Tumbled Glass with the Glass Slipper foiled front. I left the Gold Shattered Glass front white.
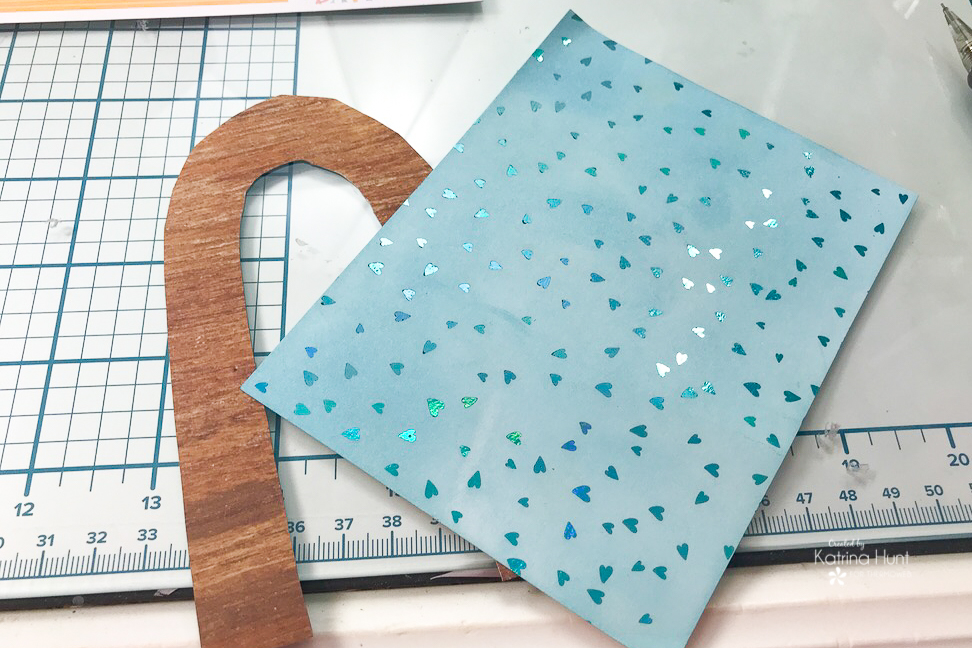
After ink blending on the Glass Slipper (blue) card front, I traced the smallest rainbow (that was actually on the pattern paper) on the card front and trimmed it out. This gave a little bit brighter rainbow with a little shine.
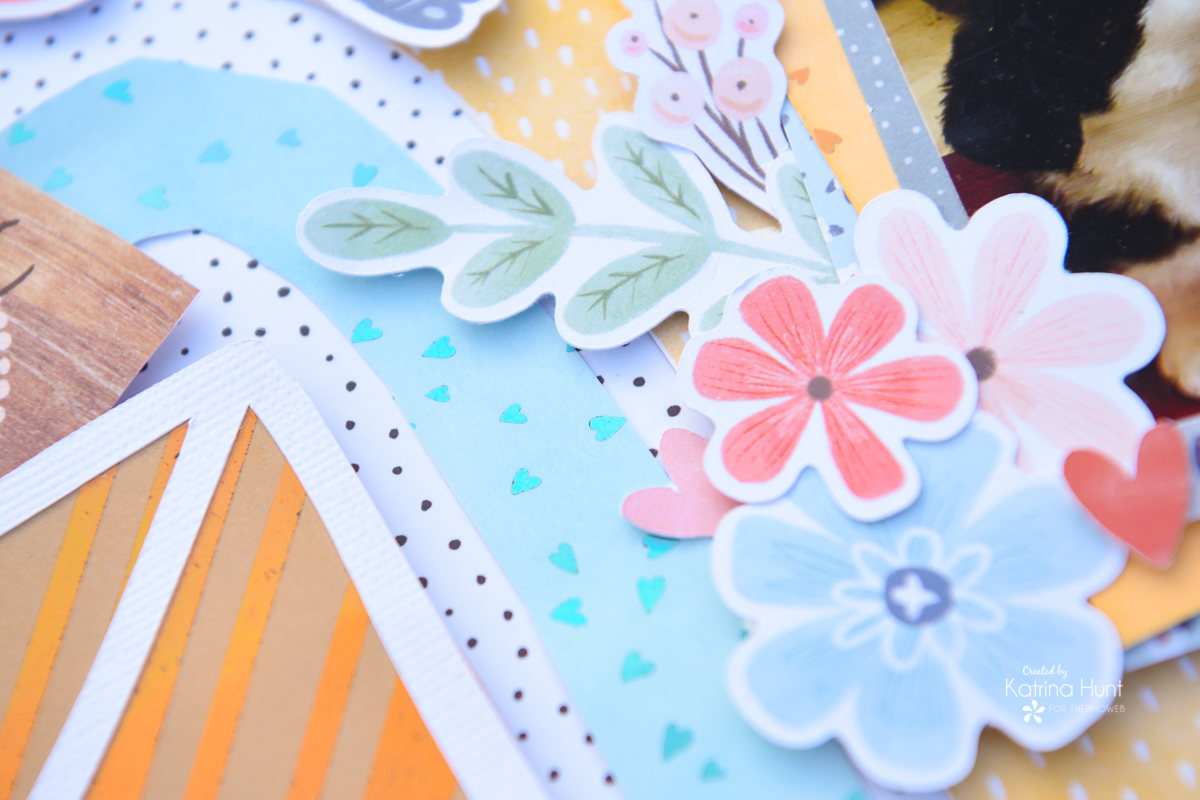
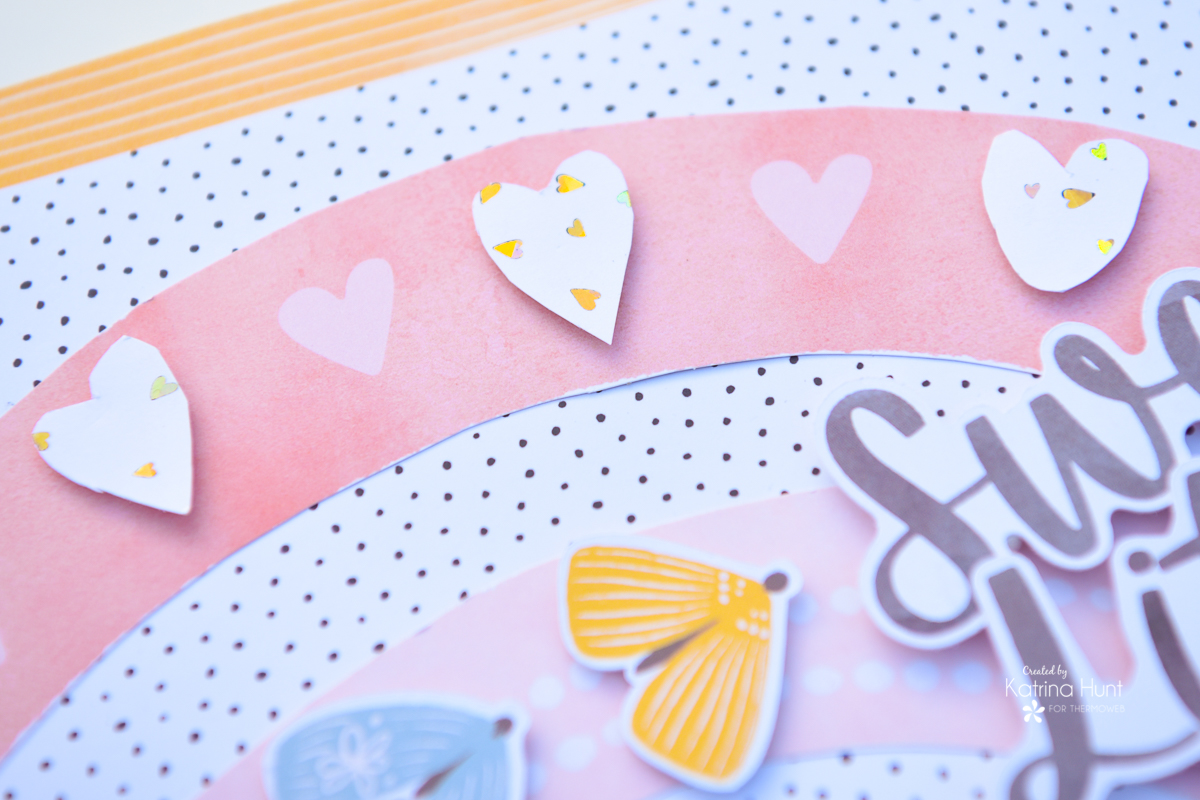
The peach Dainty Hearts sheet, I used as it was, behind my photo. For the sheet I left white foiled with gold, I hand cut hearts about the same size that was on the top part of the rainbow and adhere them with 3D Foam Squares.
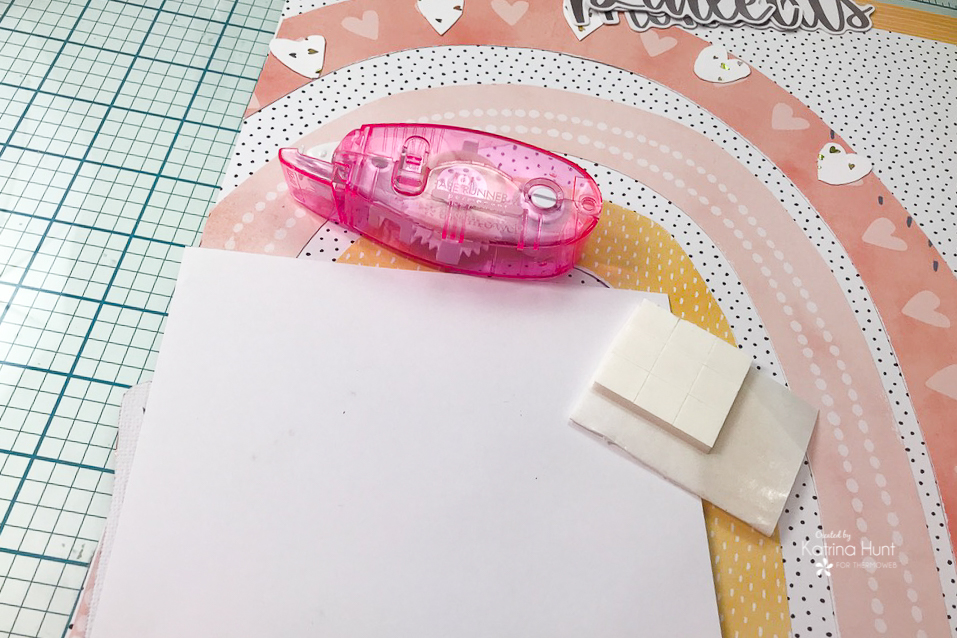
 Finally, I put my entire layout together using the Memory Runner XL and the iCraft Easy Tear Tape. The Easy-Tear Tape is my new favorite for adhering bigger pieces of paper together. If you leave the paper backing and slowly remove it as you lay your paper down, it’s easy to keep everything lined up and straight! On this layout, I used it to adhere the polka dot paper to the striped background. By using the Easy-Tear Tape, this allowed me to cut out most of the striped paper from the background and save it for later!
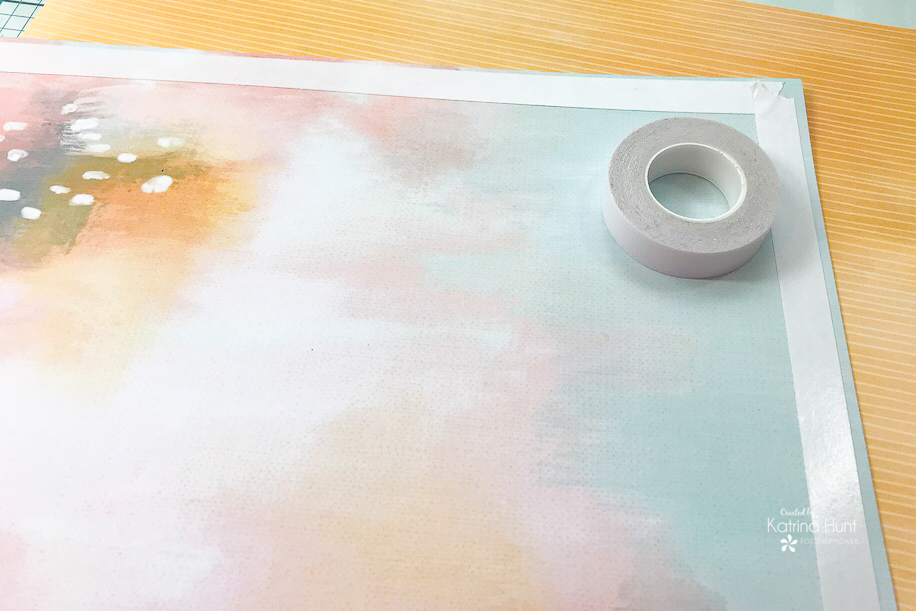
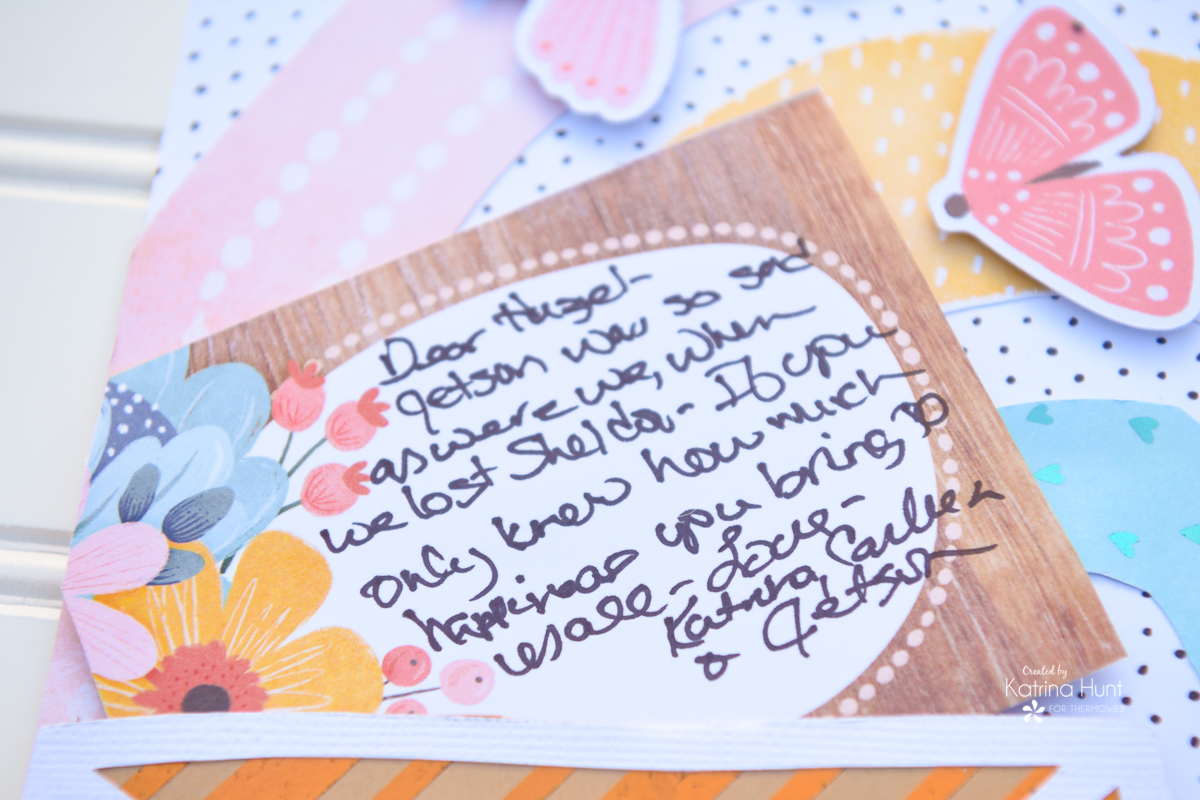
Last but not least, is a close up of my journaling card. Little Miss Hazel has brought many smiles to our house since she arrived. The picture on the layout was the first night home and Jetson is just beaming!!!
Thanks for hanging out with me today!! Happy Scrapping!!!
This post contains affiliate links. For more information, see our disclosure HERE.