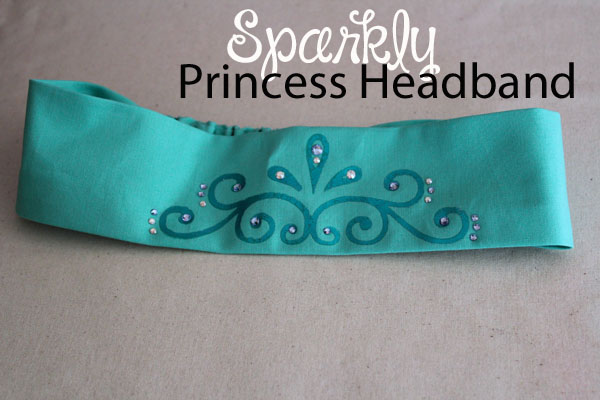
This headband is super simple to make, and looks adorable – great for any outfit that could use a little extra sparkle! Princesses young and young-at-heart will love wearing this princess headband that is as easy to make as it is fun to wear!
You’ll need:
1/4 yard of your choice of fabric
Heat n Bond® Ultra
3/4″ elastic
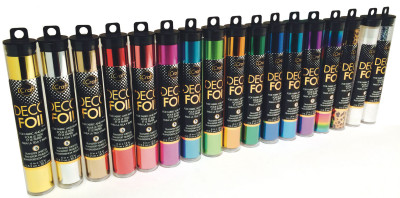
Thermoweb iCraft® Deco Foil™ in coordinating color
Heat-fix crystals and heat setter
Iron, ironing board, ruler, rotary cutter, scissors, sewing machine
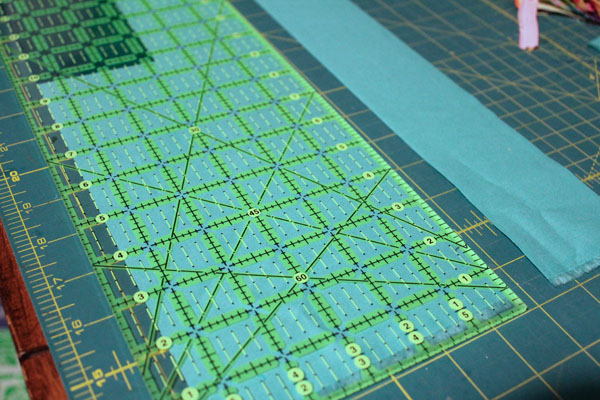
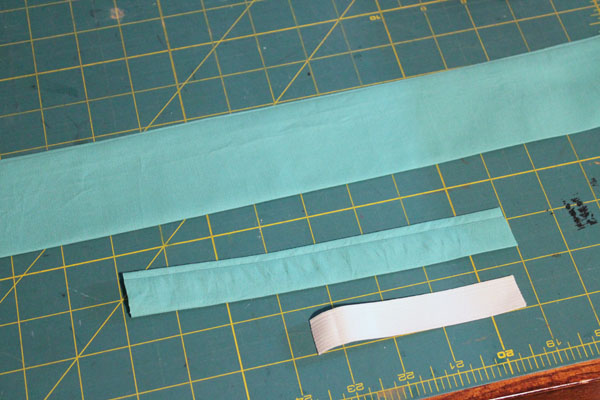
Start by cutting your fabric. One 6.5″xWOF strip for the main headband, one 2.5″ strip for the back.
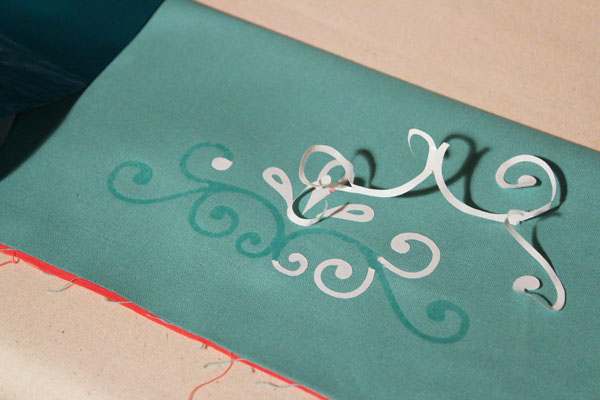
Use the princess crown cut file for Silhouette or PDF to cut the shapes from the HeatnBond® Ultra or our new iCraft® Deco Foil™ Hot Melt Adhesive. Peel away the extra paper.
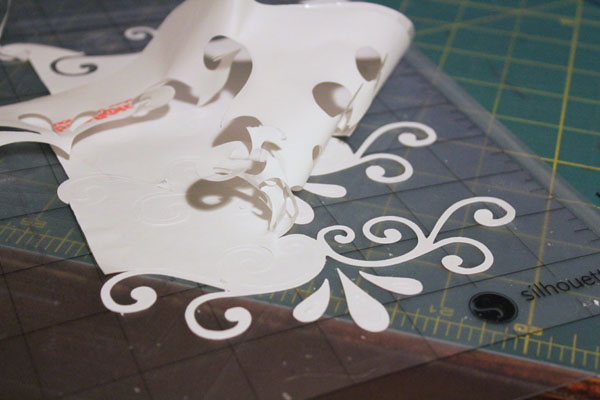
Carefully peel away the crown, place paper-side-up onto the center of the 6.5″ wide strip. Cover with a press cloth or extra piece of HeatnBond® protective paper (with no adhesive left on it). Fuse into place.
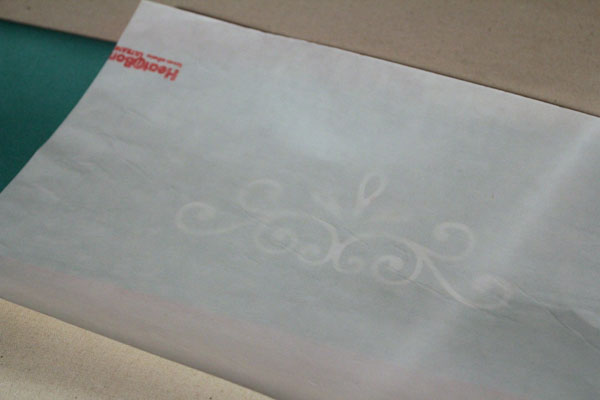
Once cool, peel away the paper and fuse the DecoFoil™ into place.
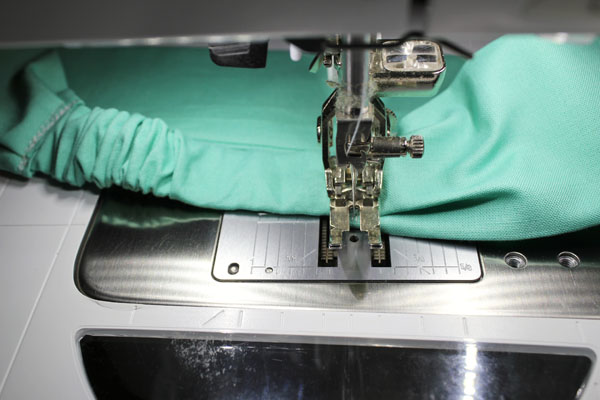
Stitch the 6.5″ strip and 2.5″ strip each into a tube. Then cut to the desired size. For my adult-sized head I cut them 18″ and 8″ respectively. Make sure the crown stays centered on the 18″ piece. You’ll also want a 4.5″ piece of the elastic.
Tuck the elastic into the smaller tube, then insert the end into the end of the larger tube, adding pleats to the end of the larger headband piece. Stitch down. Repeat with the other side.
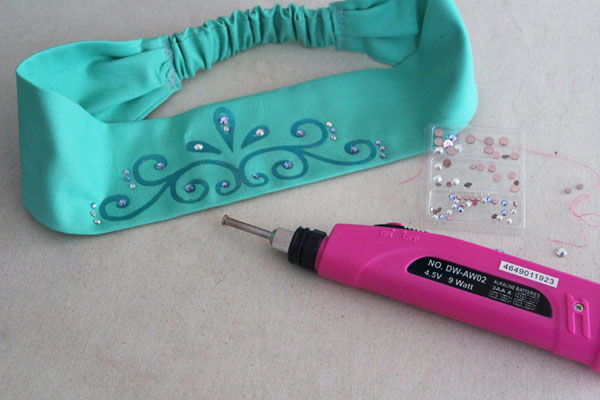
Add Hotfix crystals as desired.
So are you attending the Spring Quilt Market show in Minneapolis? We’ll be there at Booth #2237 showcasing this project and demonstrating how to use our iCraft Deco Foils with fabric. So stop on by to learn more!