


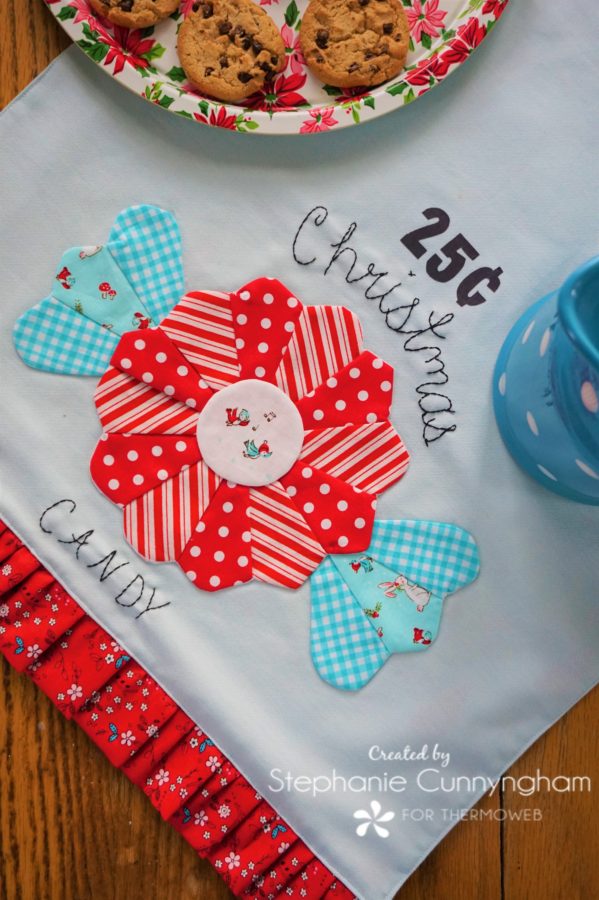
Hello, it’s Stephanie from Sissy Belle Sews, back with another tea towel tutorial for you! This is the second in a series of I don’t know how many yet, but I have ideas for at least one or two more! These tea towels are so fun and easy, and they make the perfect gift. And, as we all know, this is the season for gift giving! I have to be honest with you, though. I’m gifting these to myself…and I’m only slightly embarrassed by that fact. Regardless of who you plan to gift it to, though, follow along for the instructions so you can make one too…and then wrestle with the decision to give it or keep it. Good luck!
Supplies Needed
- Two 18″ x 21″ pieces of fabric, one for the front of the towel and one for the back.
- I used linen for the front and quilting cotton for the back of mine.
- Quarter yard of fabric for the ruffle
- Scraps or small pieces of fabric for the Dresden flower, which will be the candy and the wrappers
- Twill tape or ribbon to make the tab for hanging your towel
- 1 package of HeatnBond Lite Fusible Interfacing
- A small scrap of HeatnBond Ultrahold Fusible Adhesive for the 25 cents part of the towel
- Tea towel templates
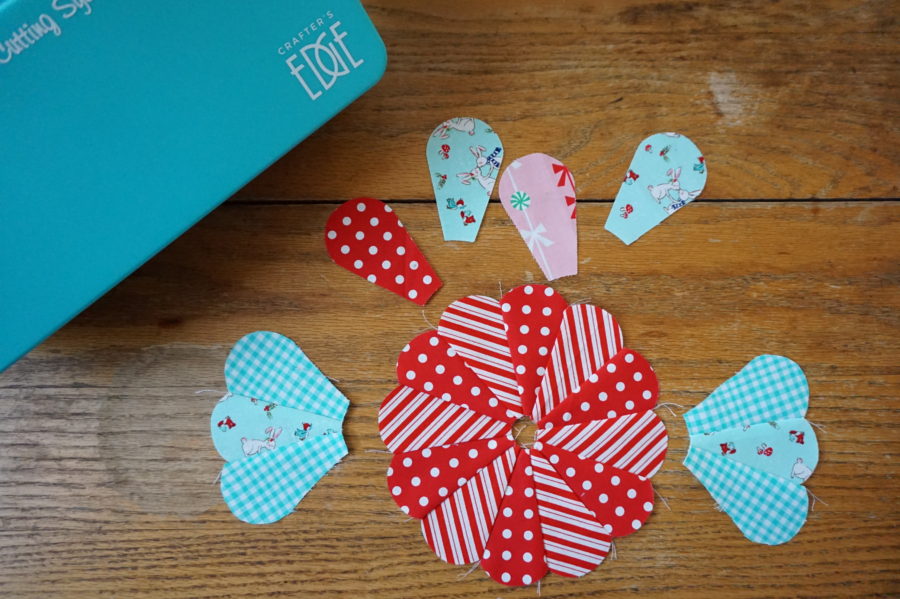
- I used my Crafter’s Edge fabric cutting machine with the rounded Dresden cutting dies to cut out all of my pieces
- OR you can print out the templates from the PDF by following the link above!
- OR you can use your own Dresden ruler!
Towel Sewing Instructions
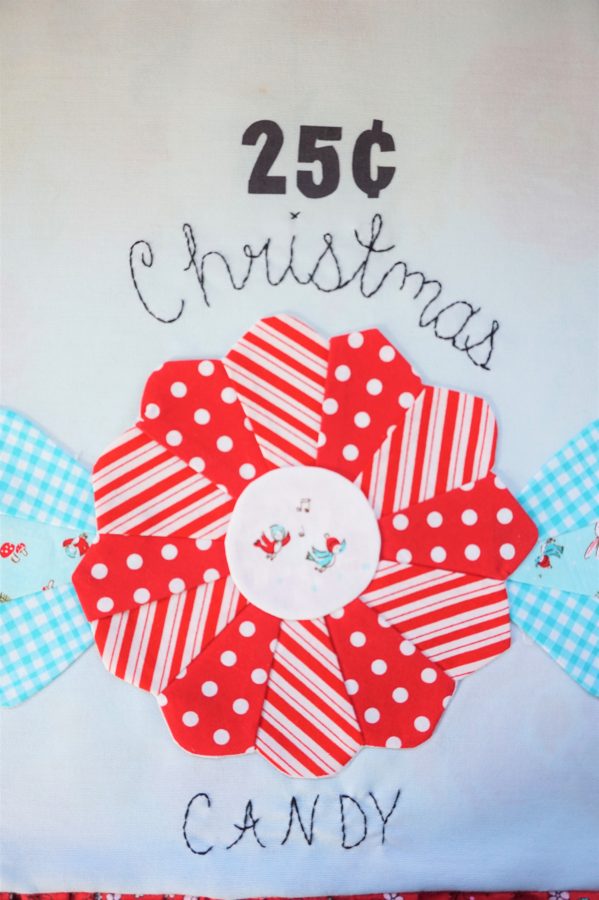
- Cut 12 Dresden blades from the attached template for the candy. Sew these together and press seams. Cut 6 blades for the wrappers. Sew two sets of three Dresden blades for the wrappers. Cut one circle shape for the center of the Dresden.
- Cut a piece of HeatnBond Lite interfacing the same size (or slightly larger) as the Dresden candy, the two wrapper pieces, and the center.
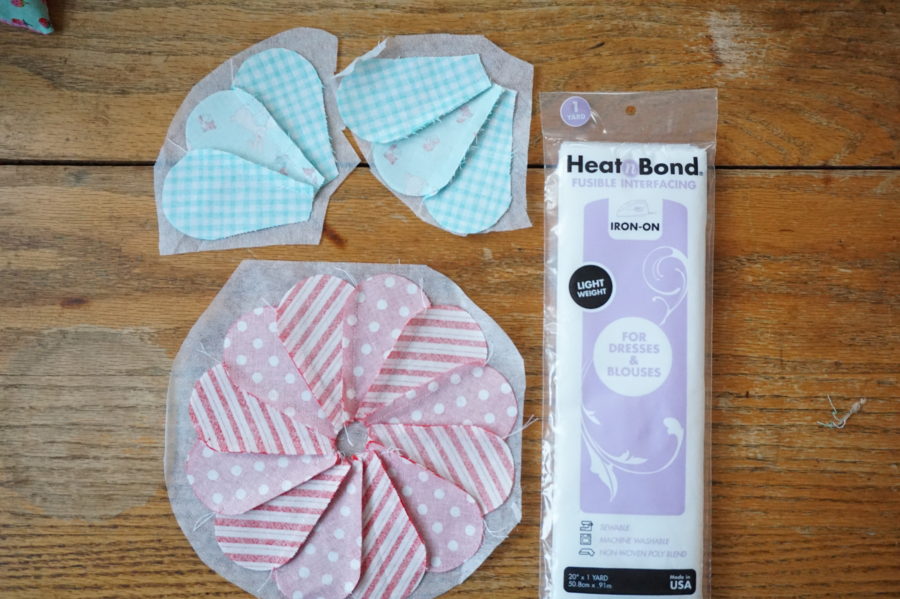
- Place the right side of the fabric on the bumpy side of the interfacing and stitch all the way around the Dresden candy and the Dresden center. Stitch around the three longest sides of each wrapper piece.
- Cut a small opening in the center of the interfacing on the Dresden candy and center and turn right side out. Turn the wrapper pieces right side out through the opening in the shortest edge.
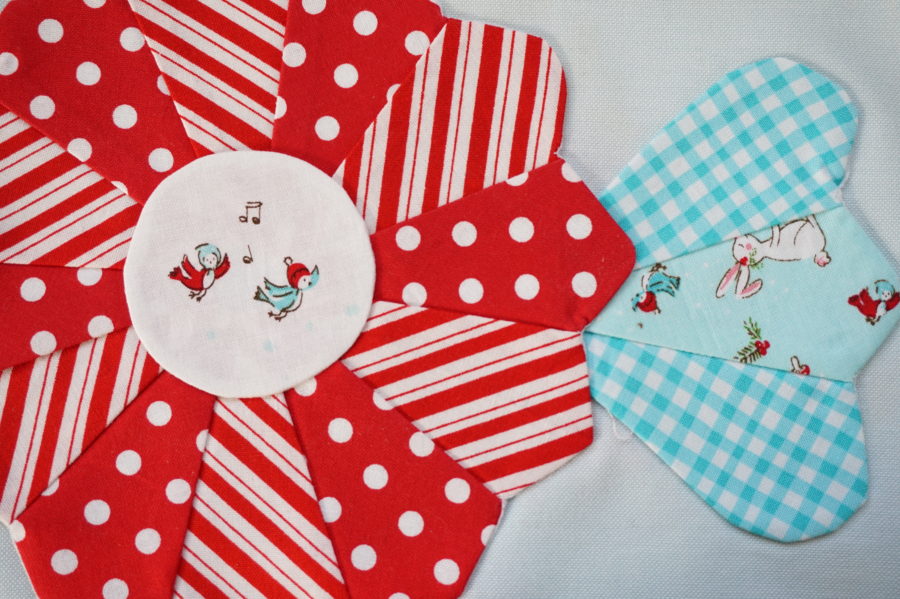
- Layer the Dresden candy over the wrapper pieces as shown. Fuse in place. Hand or machine stitch around applique pieces.
- Embellish with hand embroidery and 25 cents applique if desired. This step is not necessary but just adds a little extra something.
- TIP: The 25 cents template has not been reversed. Place your fabric over the template, right side up, and trace around numbers and symbols on the right side of your fabric. Fuse a piece of HeatnBond Ultra to the back of the fabric where you traced your templates. Cut out along lines on the fabric, then peel off the backing and apply if desired.
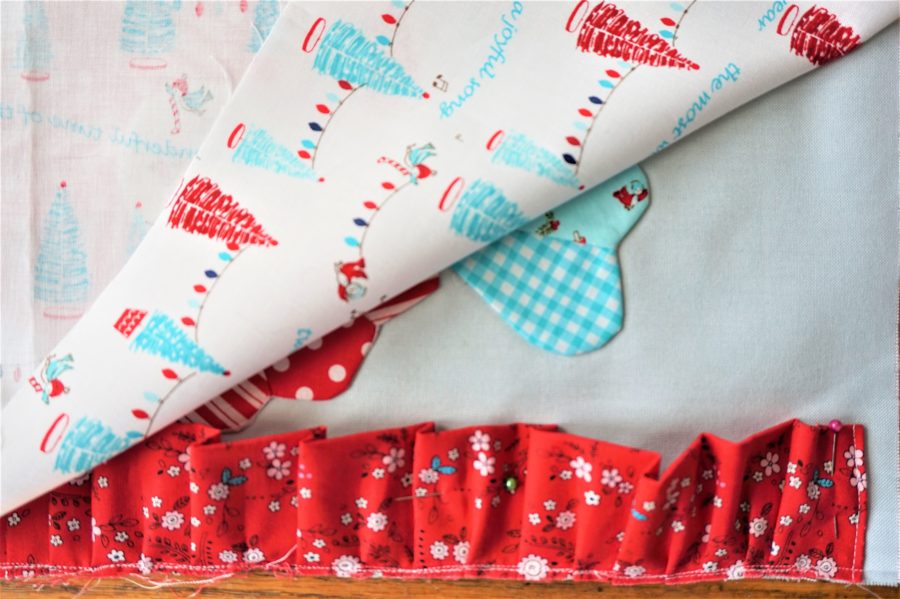
- To make the ruffle, cut a 4.5″ x 30″ piece of fabric. Fold it in half along the long edge, right sides together. Sew along short ends, then turn right side out. Gather or pleat until the ruffle fabric is 17.5″ in length.
- Baste ruffle along the bottom edge of tea towel front, leaving 1/4″ from edge of the ruffle to edge of the tea towel.
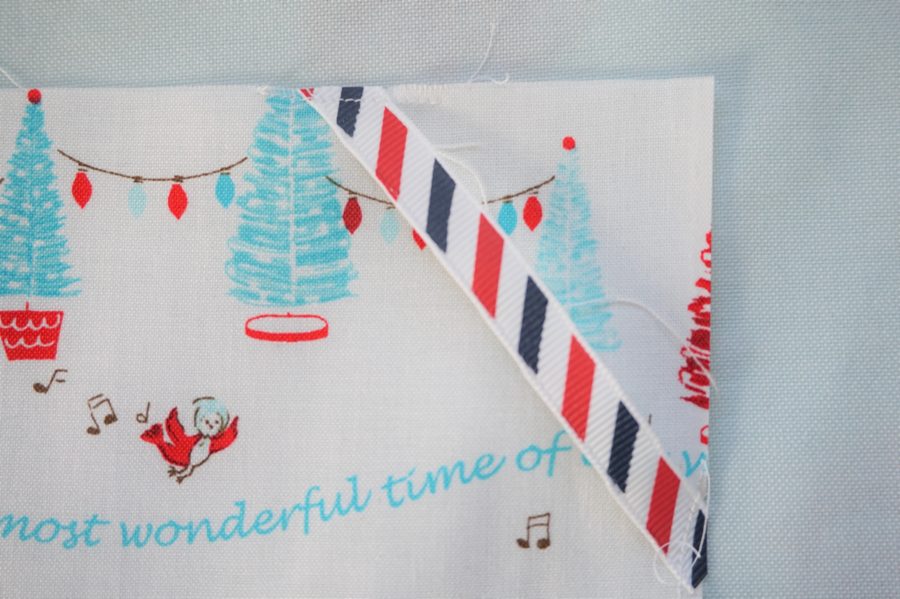
- Cut a 5″ piece from the ribbon and stitch it across the upper right corner of the tea towel backing fabric.
- Place tea towel backing fabric right sides together with towel front, making sure the ruffle is pinned out of the way.
- Leaving an opening along one side of the tea towel, stitch around the tea towel. Turn right side out through the opening. Turn raw edges of the opening to the inside of the towel and press. Stitching close to the edge, top stitch all the way around the towel.
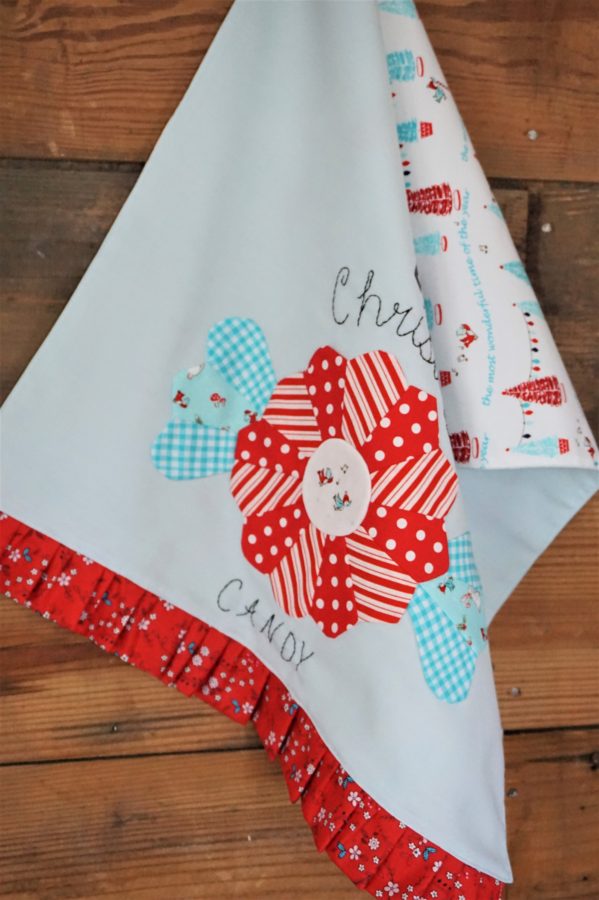
- Press and enjoy! I can’t seem to get enough of these, I think it’s the fun fabric on the back that gets me every time.
I hope you enjoyed this tutorial! Happy Sewing!
Here’s a link to the First Towel Tutorial